
Recommended
More Related Content
What's hot
What's hot (20)
Similar to Ts 0051
Similar to Ts 0051 (20)
Recently uploaded
Recently uploaded (20)
Ts 0051
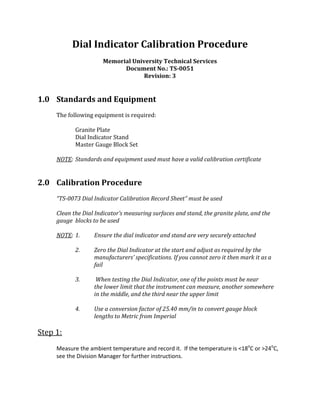
- 1. Dial Indicator Calibration Procedure Memorial University Technical Services Document No.: TS-0051 Revision: 3 1.0 Standards and Equipment The following equipment is required: Granite Plate Dial Indicator Stand Master Gauge Block Set NOTE: Standards and equipment used must have a valid calibration certificate 2.0 Calibration Procedure “TS-0073 Dial Indicator Calibration Record Sheet” must be used Clean the Dial Indicator’s measuring surfaces and stand, the granite plate, and the gauge blocks to be used NOTE: 1. Ensure the dial indicator and stand are very securely attached 2. Zero the Dial Indicator at the start and adjust as required by the manufacturers’ specifications. If you cannot zero it then mark it as a fail 3. When testing the Dial Indicator, one of the points must be near the lower limit that the instrument can measure, another somewhere in the middle, and the third near the upper limit 4. Use a conversion factor of 25.40 mm/in to convert gauge block lengths to Metric from Imperial Step 1: Measure the ambient temperature and record it. If the temperature is <18o C or >24o C, see the Division Manager for further instructions.
- 2. Page 2 of 3 Step 2: Test Characteristic: Range of motion, Stylus, Dial, and all Screws Test Method: Visual, Touch Acceptable Limit: No damage to critical parts, smooth movement, all screws tight Step 3: Test Characteristic: Dial Repeatability Test Method: Position the instrument using the stand so that it rests just above the granite surface and is perpendicular to it. Make sure the stand is very secure. Insert an appropriately sized gauge block (that will push the stylus to near the midpoint of its travel) underneath the stylus (set the dial to zero if you wish). Remove and replace the gauge block to ensure repeatability of the dial Acceptable Limit: +/- 0.001" or 0.025 mm Step 4: Test Characteristic: Measuring Scale Test Method: Replace the gauge block with 3 others that are progressively smaller, and 3 others that are progressively larger. The combination of the blocks should test the entire range of the instrument Acceptable Limit: +/- 0.001" or 0.025 mm
- 3. Page 3 of 3 For Example: Step 3 Gauge Block Measured Value 0.500 0 0.125 -0.375 0.250 -0.250 0.375 -0.125 0.625 0.125 0.750 0.250 0.875 0.375