Downloaded 196 times
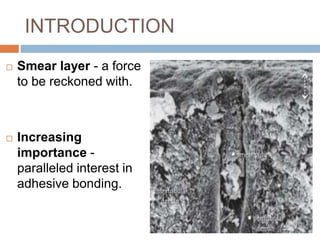
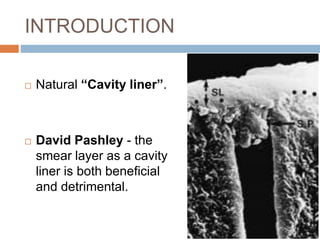


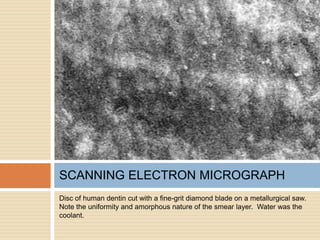
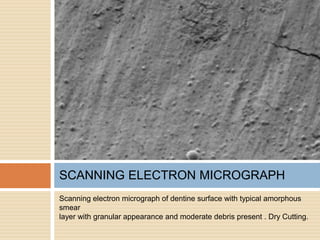
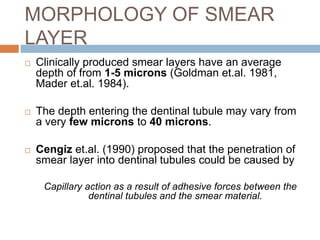
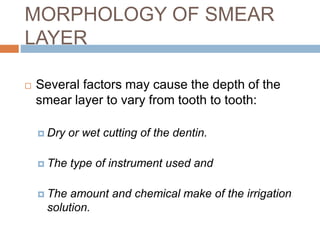


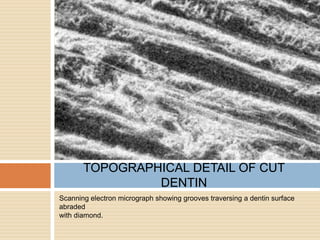

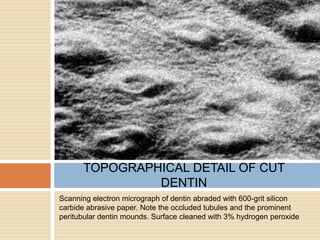
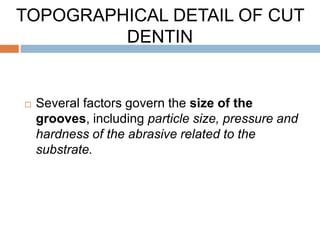
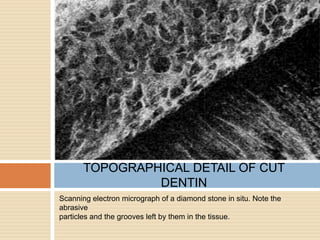

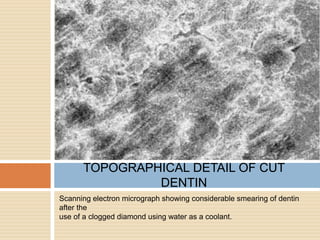
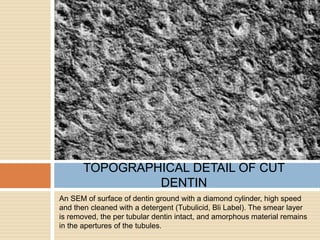
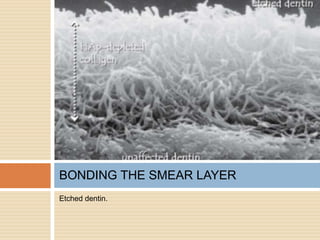
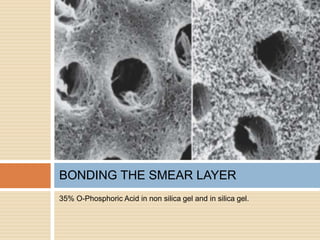
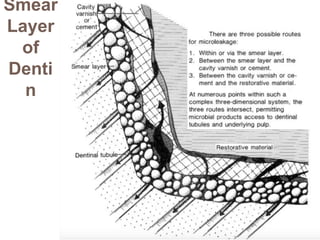


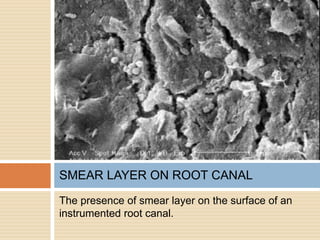
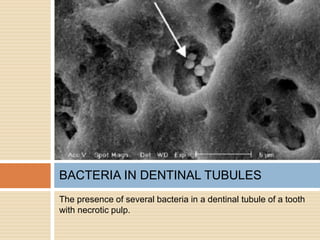
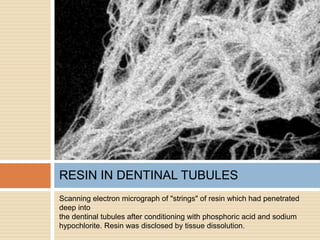
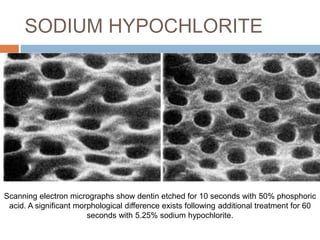
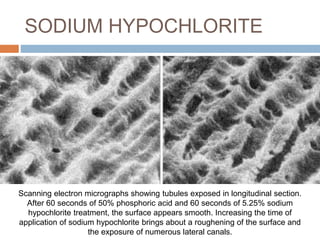


The document discusses the smear layer, which forms when tooth structure is cut. It is defined as debris produced when cutting enamel, dentin, cementum, or root canal walls. The smear layer consists of both organic and inorganic components from the tooth. It was first observed in the 1960s using electron microscopy. While some argue the smear layer protects by blocking dentinal tubules, others contend it should be removed since it can harbor bacteria. The morphology and topographical details of cut dentin and the smear layer are also described based on scanning electron microscope images.


