Download as PDF, PPTX

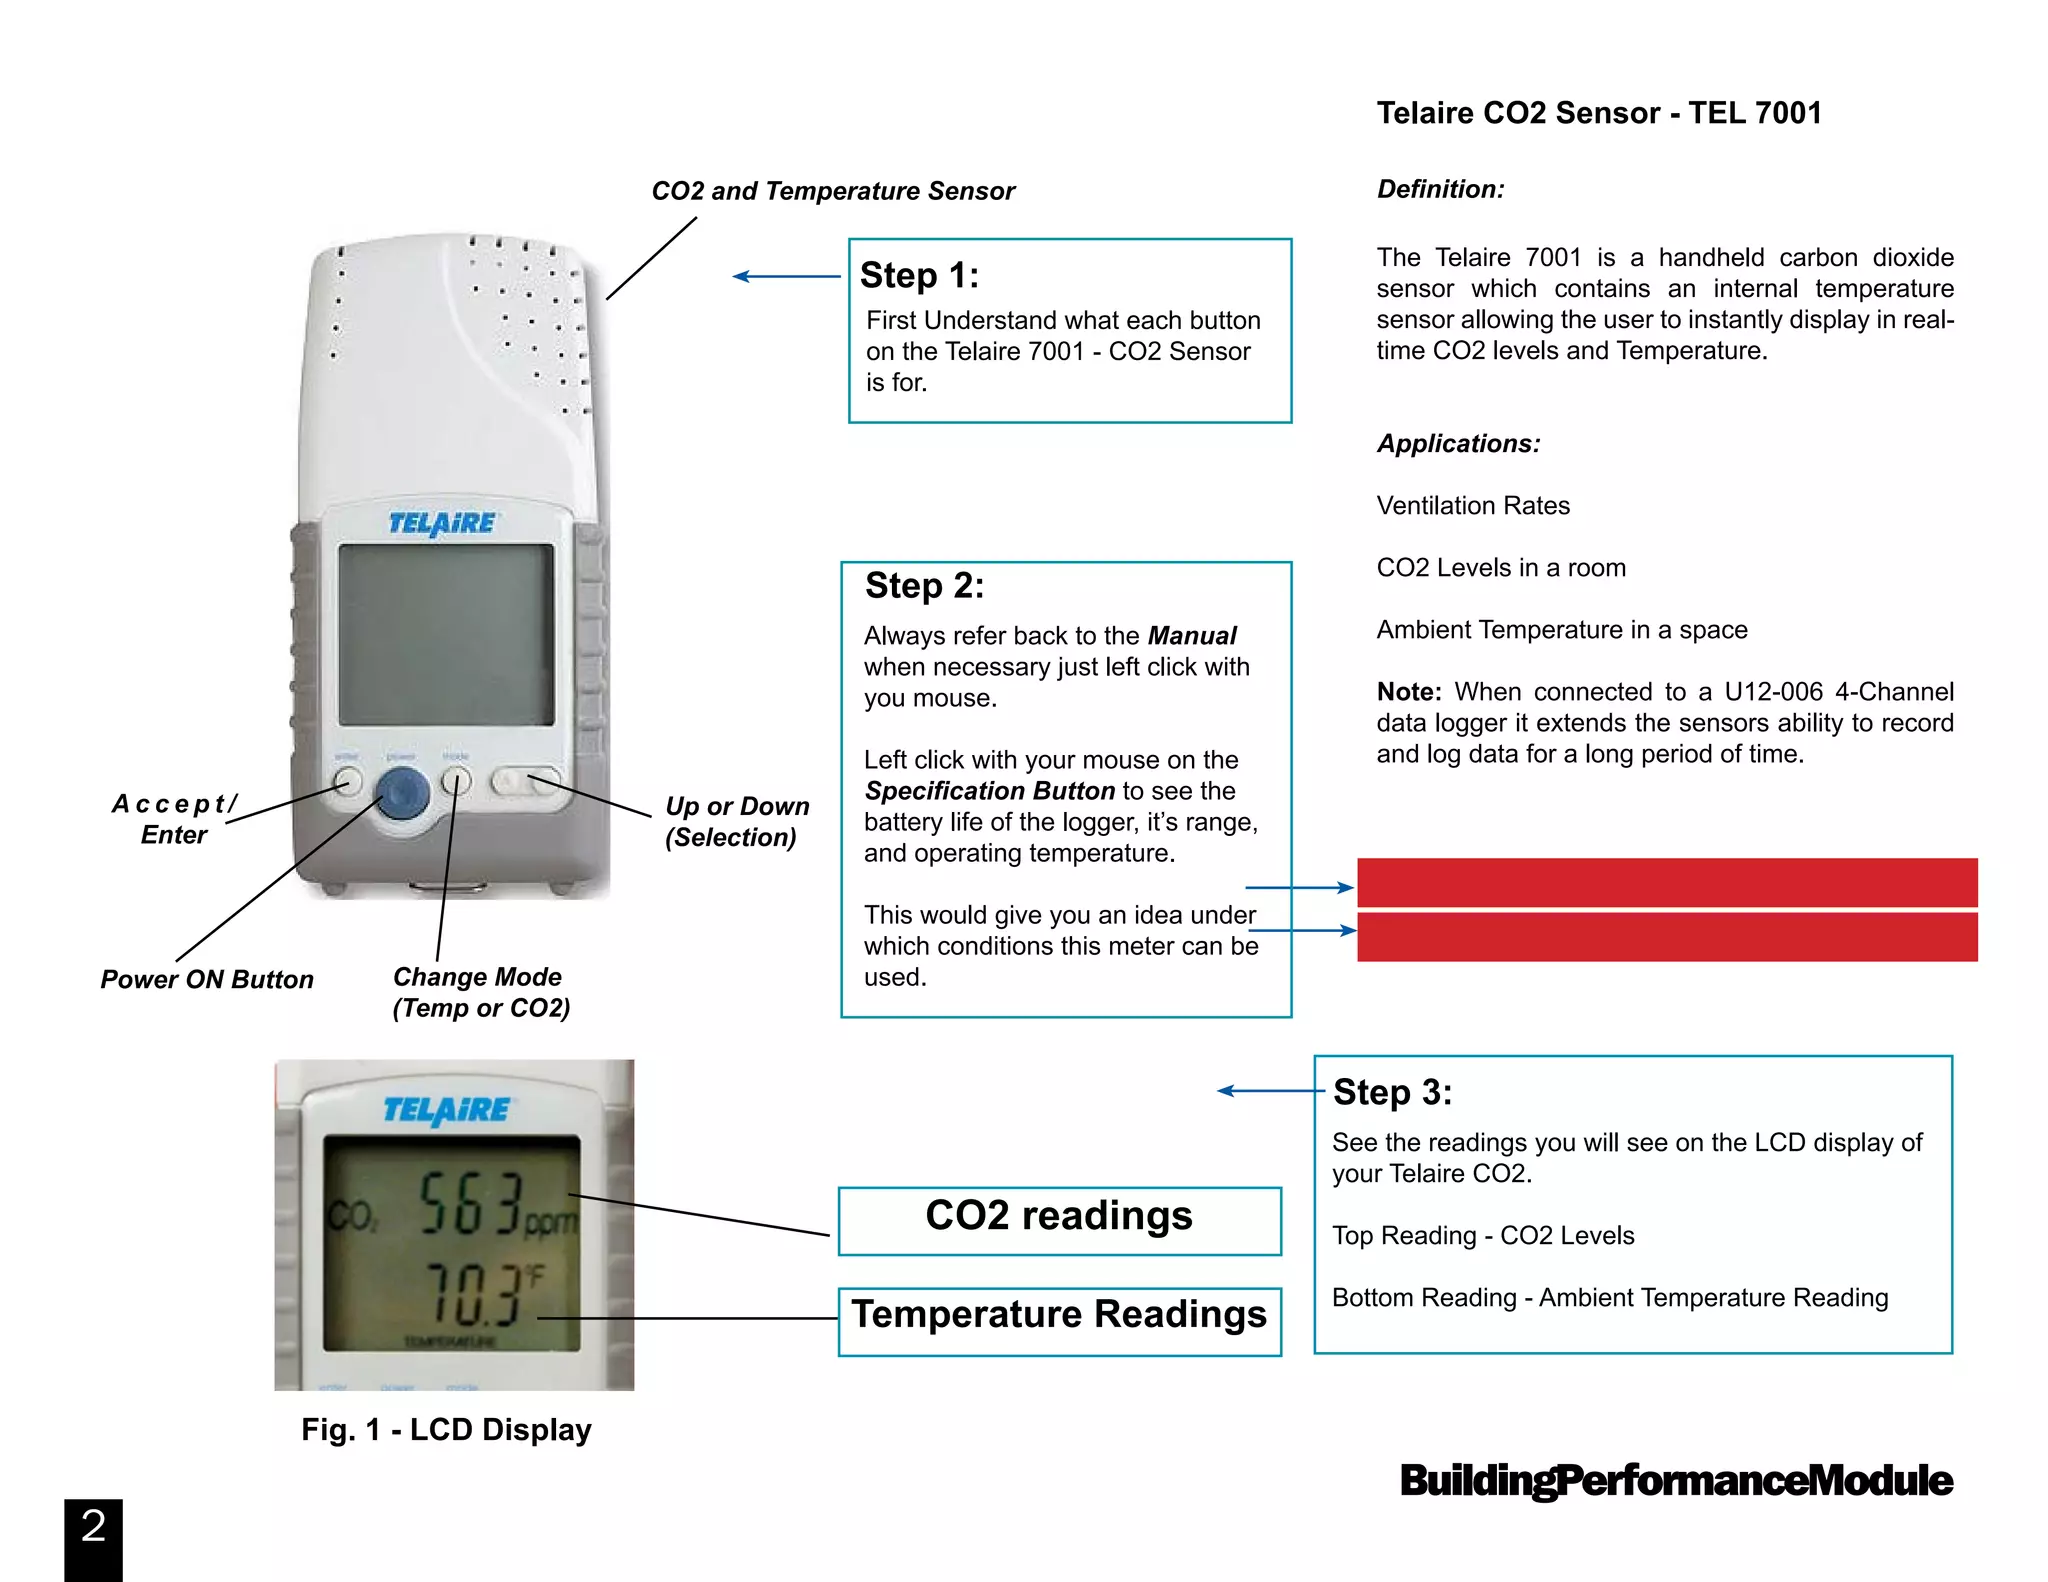

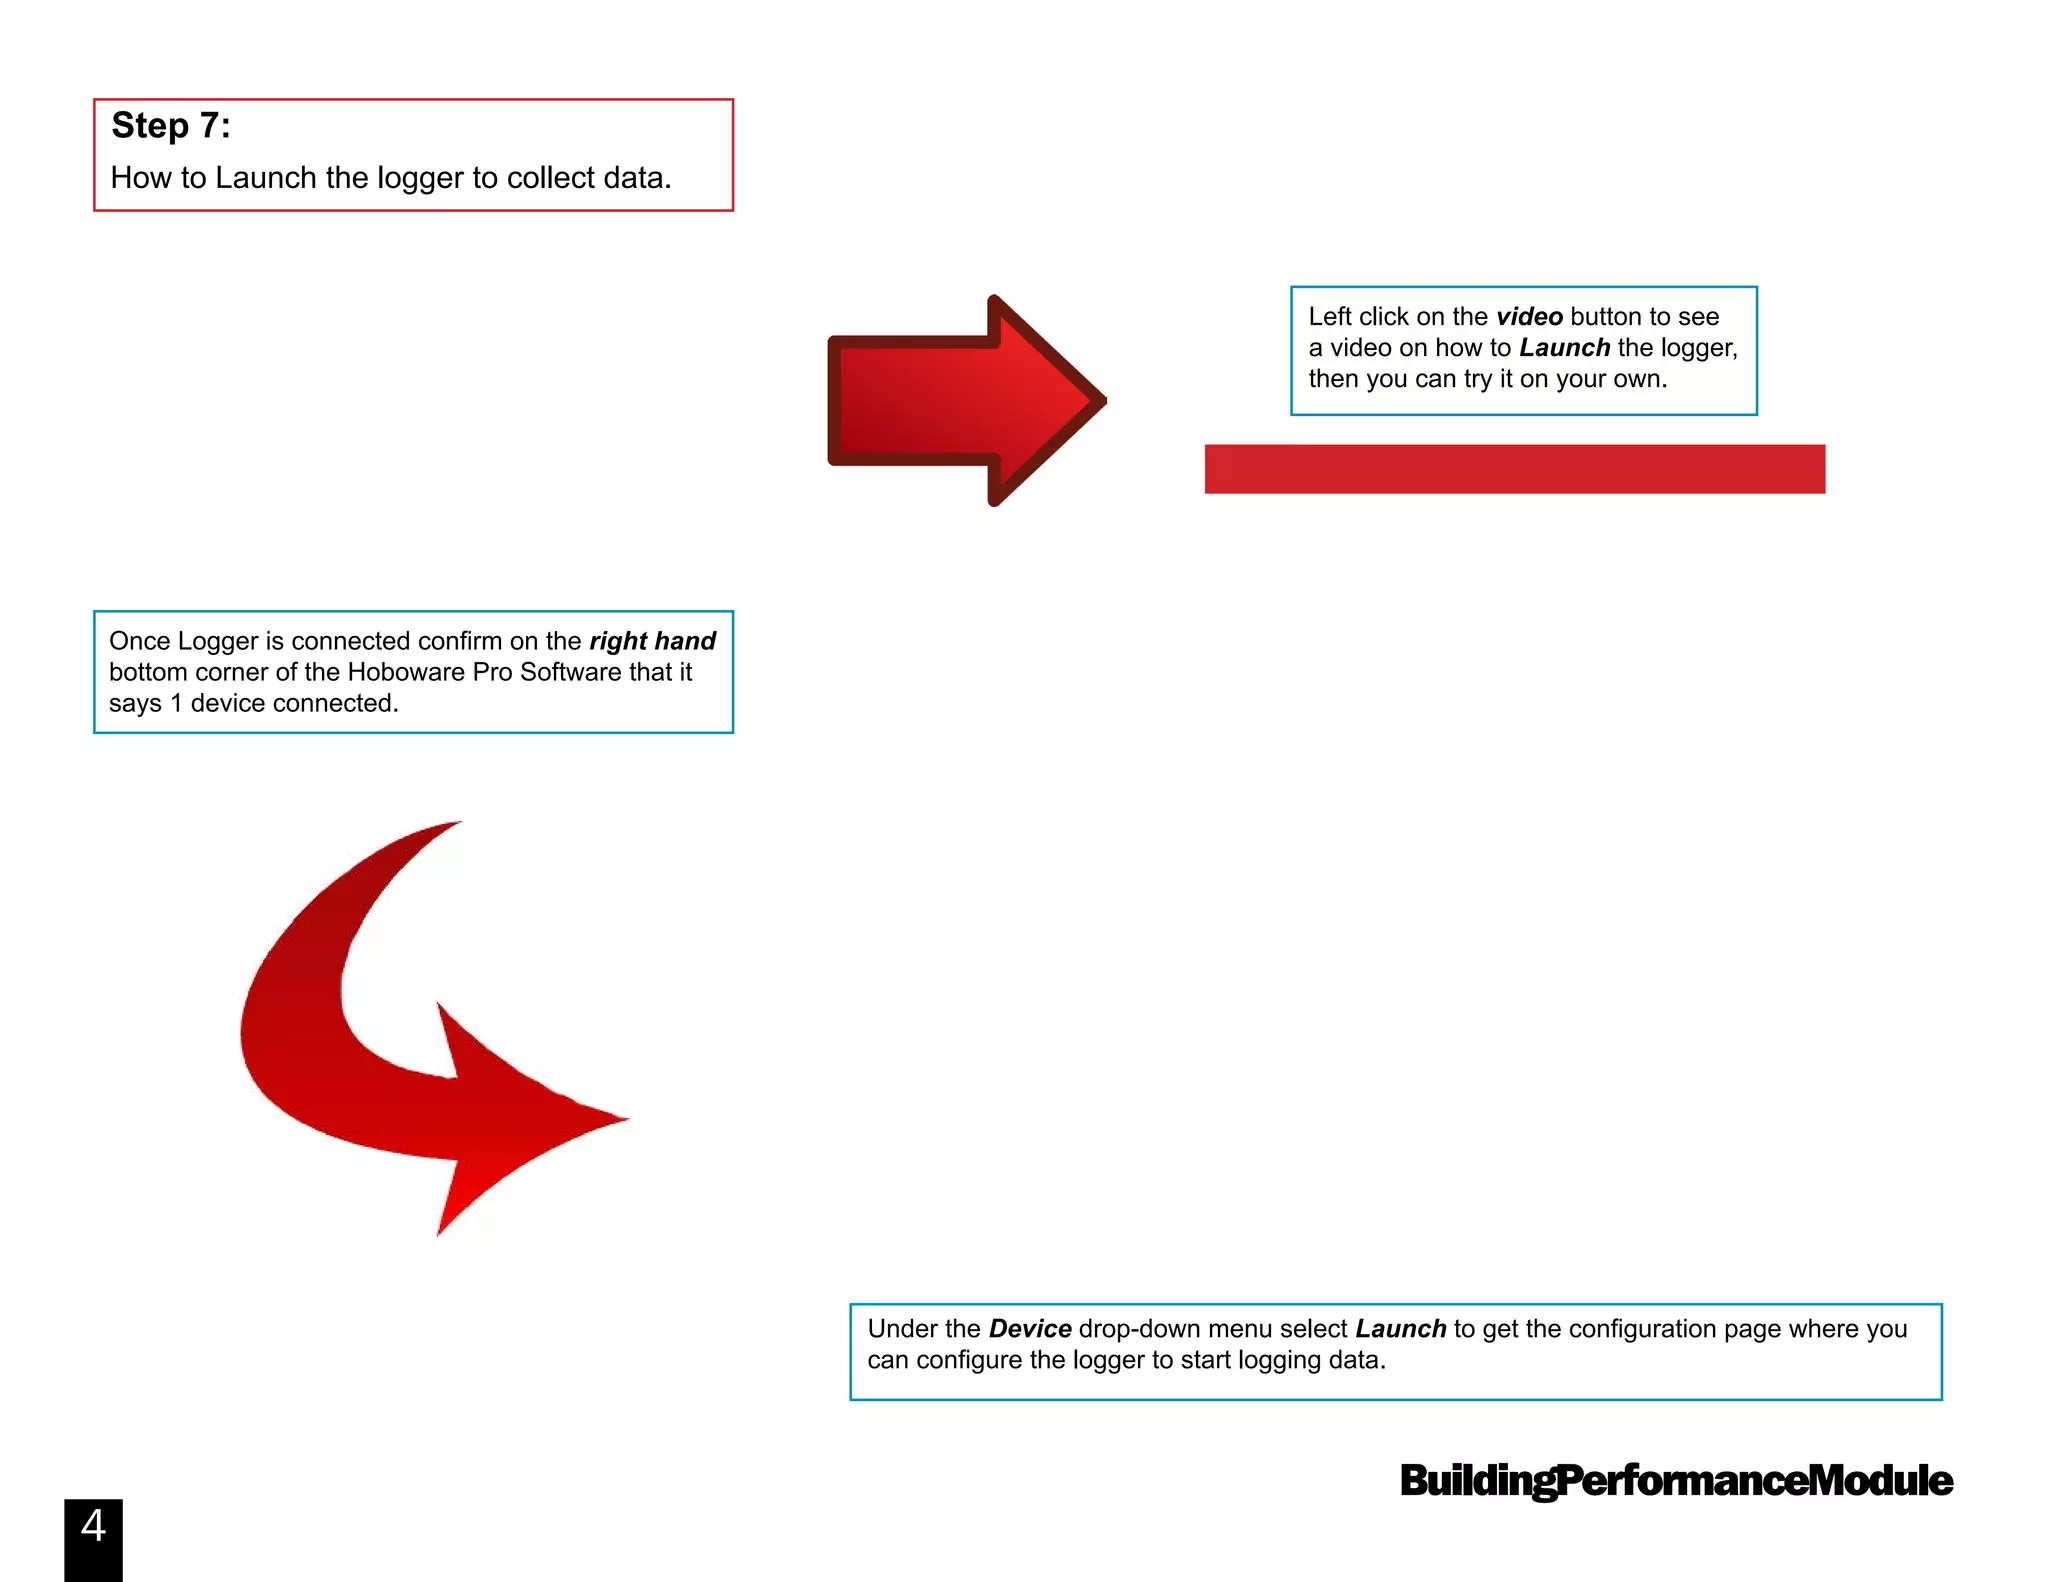
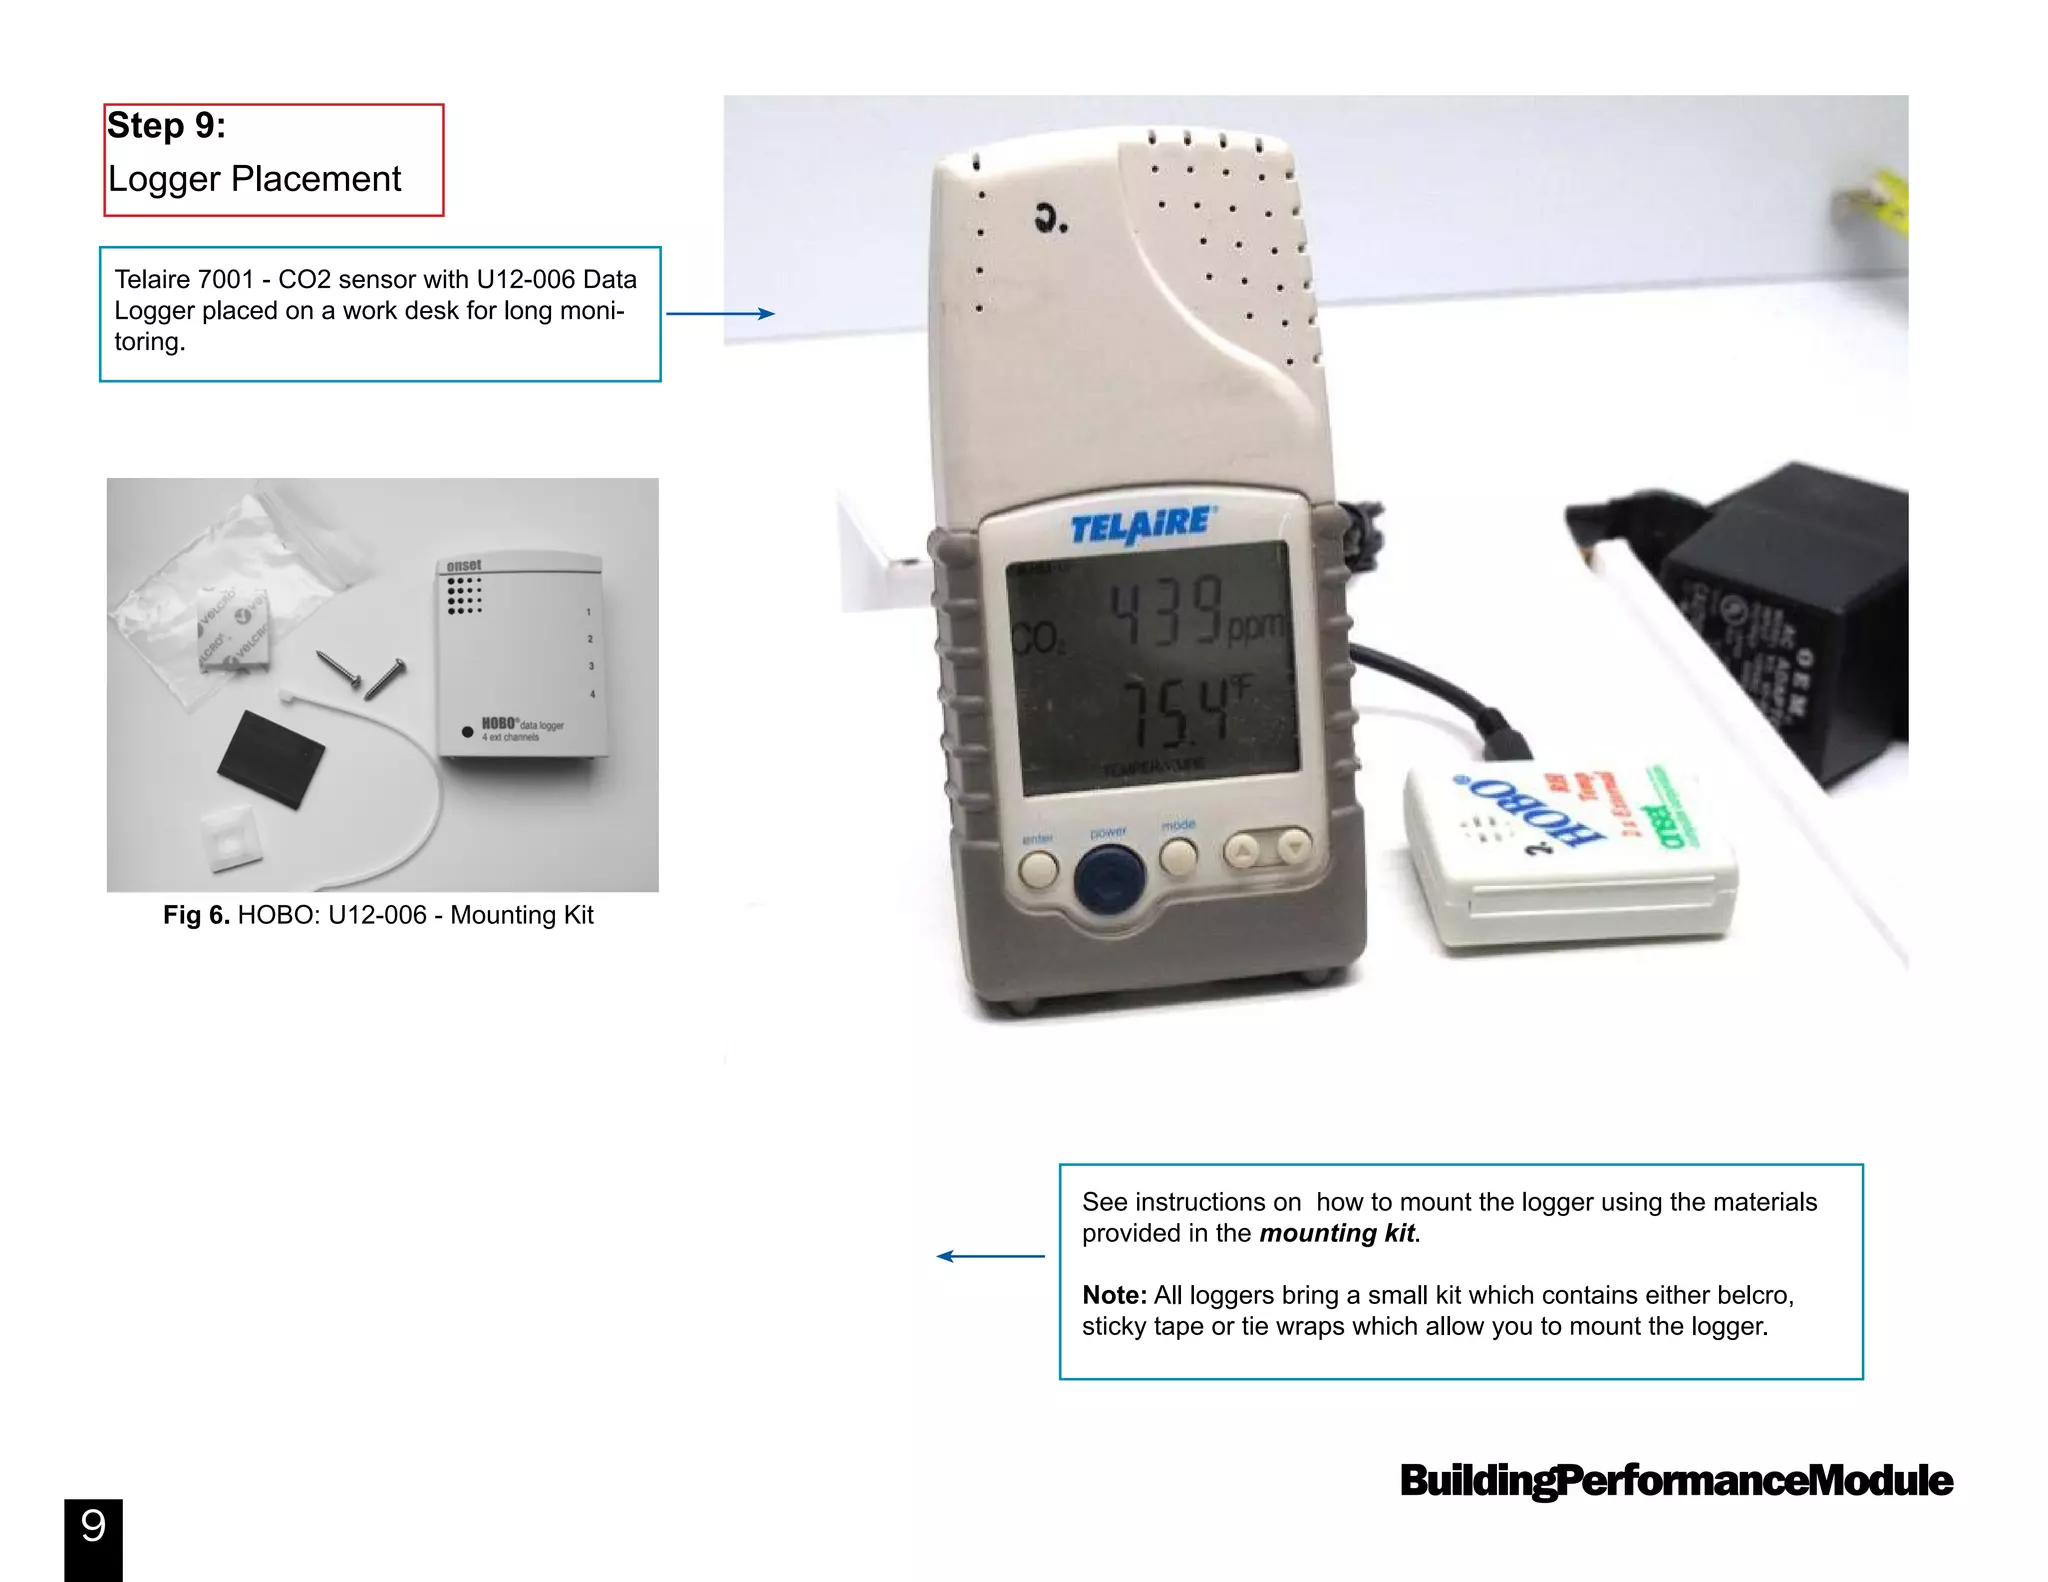

The document provides step-by-step instructions for using a Telaire 7001 CO2 sensor to monitor and log CO2 and temperature levels over time. It describes connecting the sensor to a HOBO U12-006 data logger to extend monitoring capabilities. The instructions explain how to launch the logger, check its status, read out the collected data, graph it in HOBOware software, and export it to Excel for further analysis.


![Coded Agents – with UiPath SDK + LangGraph [Virtual Hands-on Workshop]](https://cdn.slidesharecdn.com/ss_thumbnails/codedagentsdeck-251215155422-5497c599-thumbnail.jpg?width=640&height=640&fit=bounds)


