Download as PDF, PPTX
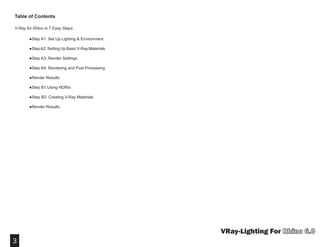
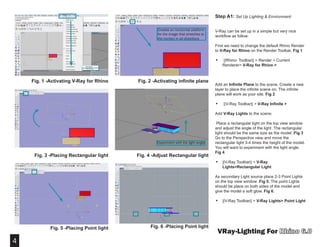

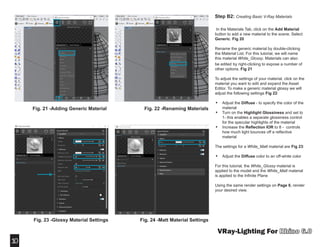
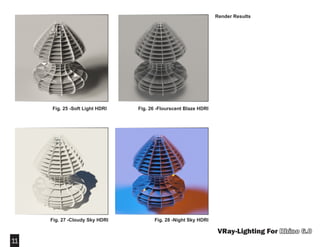

1. The document provides step-by-step instructions for rendering with V-Ray in Rhino in 7 easy steps. These include setting up lighting and environment, basic materials, render settings, and rendering and post-processing. 2. Additional steps are included for using HDRI lighting, creating basic V-Ray materials like glossy and matte, and adjusting the material settings. 3. Examples are given of render results using different HDRI maps that provide varied lighting effects like soft light, fluorescent, cloudy sky, and night sky.


