Downloaded 435 times


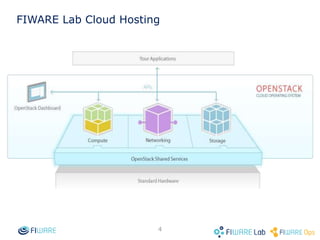
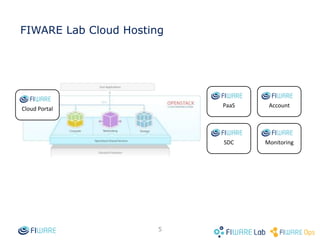


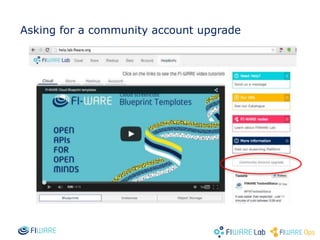


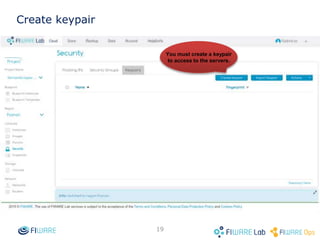


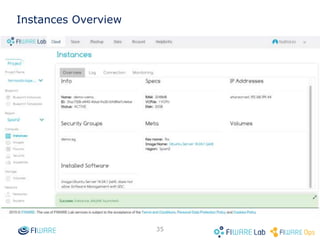


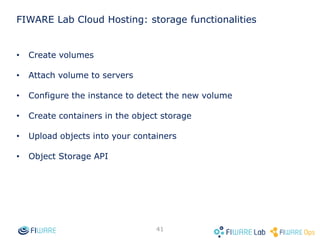

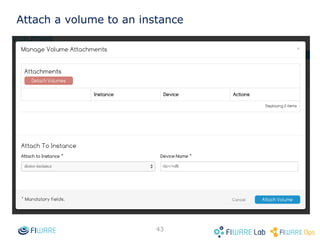


The document provides instructions for setting up virtual infrastructure on FIWARE Lab Cloud. It discusses the basic functionalities including identity services, compute services, storage services and network services. It also covers extended functionalities for deploying applications using blueprint templates which allow defining tiers, software, and network topology and launching blueprint instances.


![5G Explained! A High Level Overview [Introduction]](https://cdn.slidesharecdn.com/ss_thumbnails/5gexplainedahighleveloverview-260119165306-cc137a3e-thumbnail.jpg?width=640&height=640&fit=bounds)


