Download to read offline


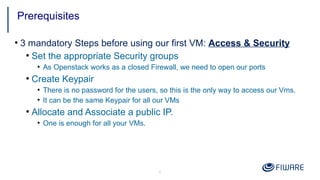
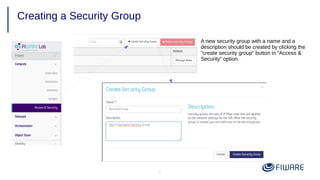
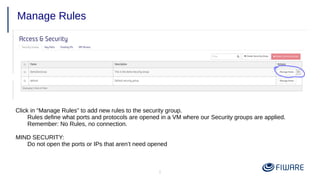
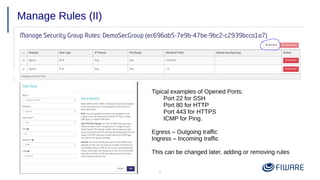
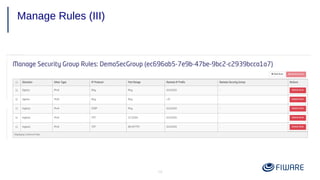
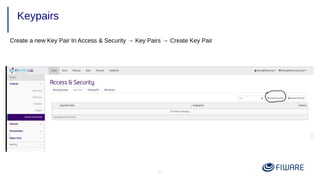
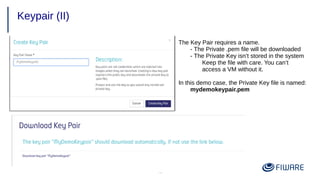
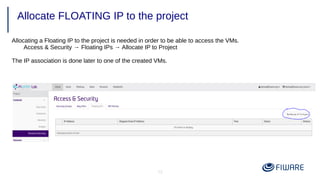
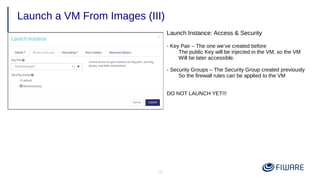
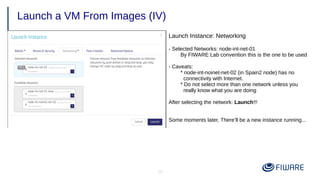
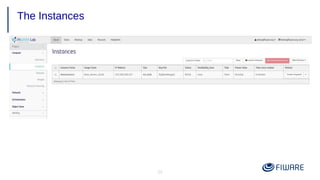
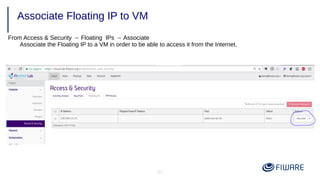

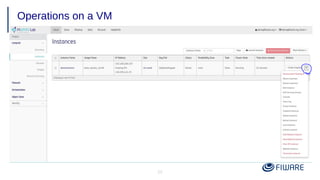
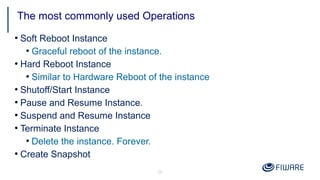


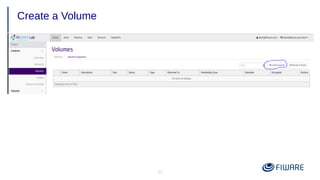
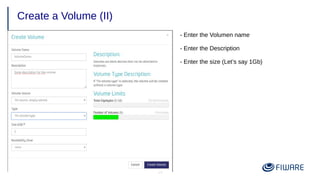
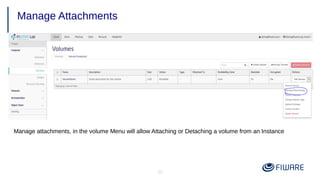
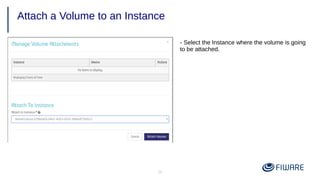

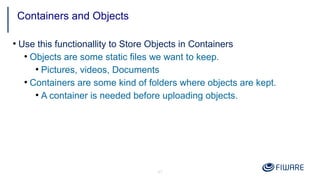


The document provides instructions for using the FIWARE Lab Cloud platform, including: 1) Creating security groups and key pairs to access VMs securely. 2) Launching VMs from images and associating a floating IP to access them remotely. 3) Common operations on VMs like reboot, start/stop, and taking snapshots. 4) Using volumes to attach persistent disks to VMs that survive instance deletion. 5) Storing and managing static objects in containers using the object storage functionality.


