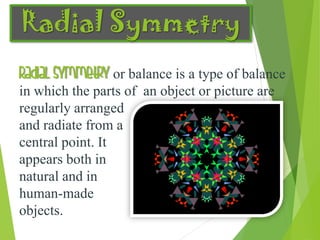
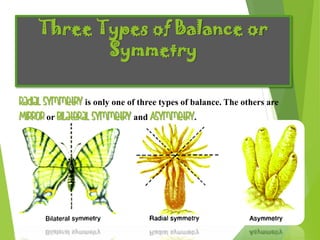
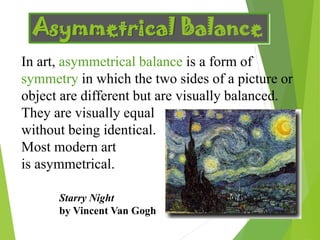
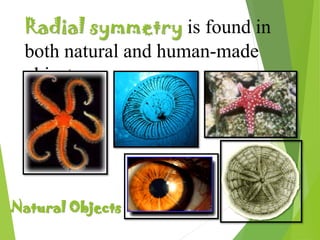
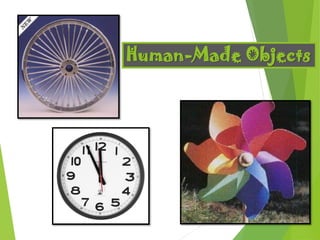
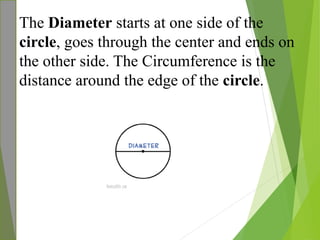
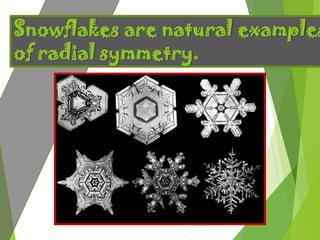
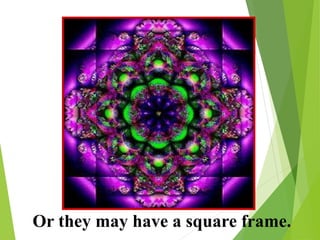
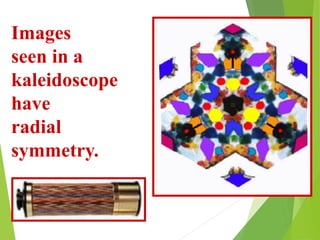
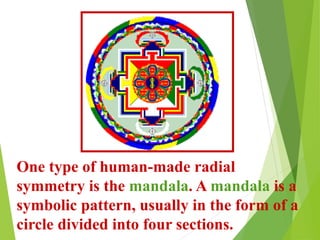
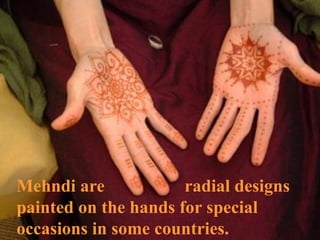
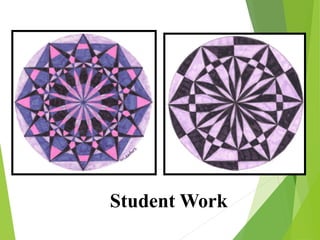
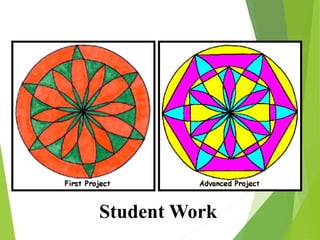
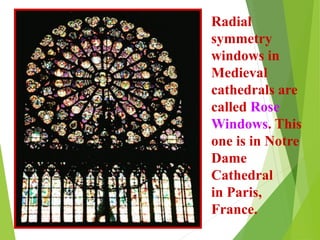
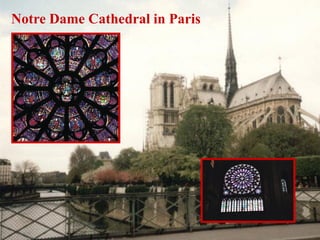
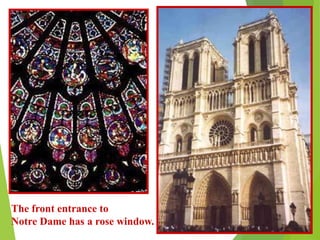
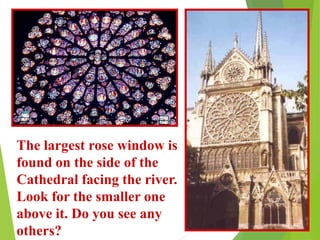
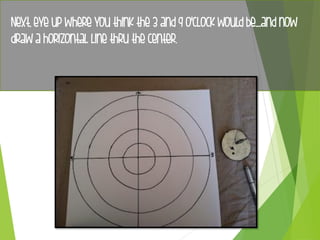
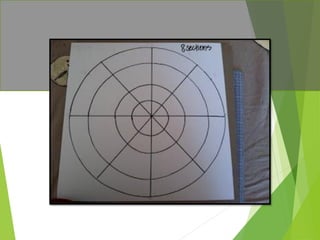
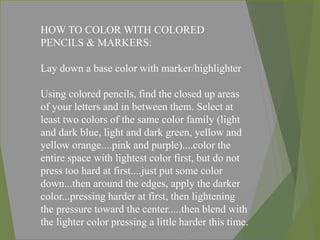
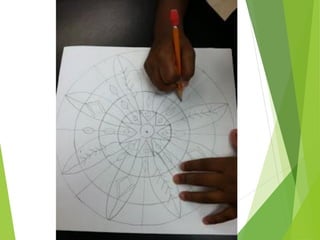
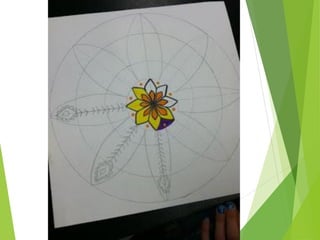
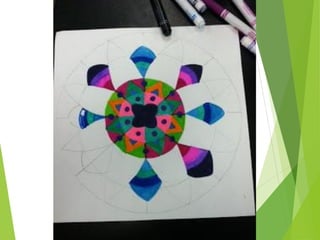
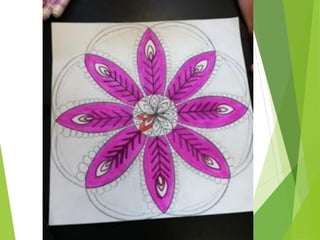
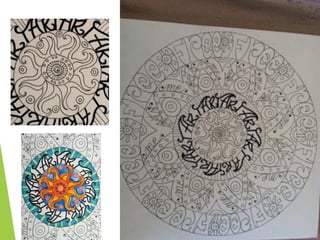
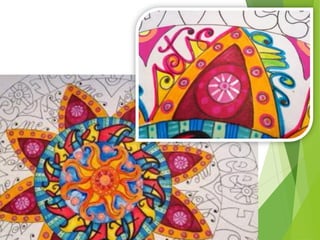
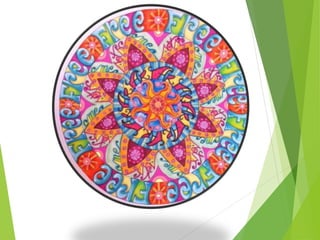
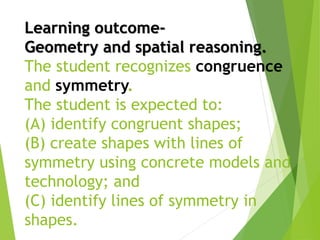
The document provides instructions for creating a radial symmetry mandala art project. It begins with defining key vocabulary words related to types of symmetry like radial, bilateral, and asymmetrical symmetry. Examples of radial symmetry in nature and human-made objects are given like snowflakes, kaleidoscopes, and rose windows in cathedrals. Step-by-step directions are outlined for drawing the initial construction lines of a mandala using a compass and ruler, as well as tips for coloring it with colored pencils and markers. The learning outcome focuses on geometry and spatial reasoning skills like identifying congruent shapes and lines of symmetry.
Mrs. Davis introduces Itten and his contributions to color theory as we know it today. The color wheel, color schemes, qualities of color and the contrasts of color are explained.
You may find thousands of different interpretations of "Design Principles" online... but this is purely my understanding of it. Browse through it and leave a comment if you like it or have something to say about it.
* This presentation has been compiled from references available from the Internet. This is meant purely for educational purposes and the presenter does not claim to hold any ownership whatsoever; of the content (textual or graphical) included in this presentation. The ownership and copyrights of the following content belong to the respective brands /agencies / artists showcased in this presentation.
Teach students observational drawing skills through the study of hands. By simplifying objects (in this case hands) into simple shapes and lines while comparing height and width, students learn how to draw from observation and not prior knowledge. incorporating the study of contour lines in their hands student then think about design- creating a super cool design int he background! My high school students LOVED this project and this PowerPoint really helped! Enjoy!
There are a lot of rules and best practices to consider when designing anything (regardless of the medium– website, print campaign, keynote presentation, etc.), and the process can easily become overwhelming to the uninitiated. Fortunately, various sets of principles exist to help lay out the general premise of a design. There are nine principles, and the process becomes vastly simpler after learning the concepts behind this set. Most of the time, after some practice and comprehension, the principles begin to work subconsciously within the back of your mind, guiding the creative process.
A lesson for beginners in radial design. Covers basic symmetry vocabulary. Take some time to define the word mandala and explain where the term comes from as well as the purpose of a mandala.
It an interesting ppt from with a child can understand the concept of solid shape and different views of a solid shapes from different sides .
thank you
Mathematics: Regular and Irregular ShapesLorenKnights
Use mathematical language to explain the difference between regular and irregular shapes. Regular shapes have sides and angles that are all equal. Irregular shapes have sides and angles of different measures.
'In My Eye' is how I see things, it's not always in a language that others speak, as it concerns symbols and colours. Dr. Ali Anani's recent discussion, on Linked In, called 'Visual Storytelling Using interlinked Standardized Charts' led me to consider the third, or in between element on a PH scale. The first association my mind connected to was the three doshas of Ayurvedic medicine, which led further into the field of vibrating molecules to the philosophising of Wassily Kandinsky. The presentation is a view, from the eye of an artist aka Isabella Wesoly
Geometry in Nature - the DNA of Design for kitchens and bathrooms; art, paint...Mark Rosenhaus
The Golden Rectangle and Fibonacci numbers reveal the secret geometry of pleasing proportions found in nature. You will see the balance of forms behind the genius of Leonardo DaVinci and Frank Lloyd Wright. This program will energize your intuition in creating and selling eye-catching products and kitchen designs.
2. Vocabulary & Q’s to define
during Power Point
1. Radial Symmetry
2. Balance
3. Asymmetrical Balance
4. Mirror/Bilateral Symmetry
5. Types of Man Made Balance
6. Types of Nature Balance
7. Congruent
8. Radius
9. Diameter
10. How many sections should your mandala have?
3. Radial Symmetry
Radial symmetry or balance is a type of balance
in which the parts of an object or picture are
regularly arranged
and radiate from a
central point. It
appears both in
natural and in
human-made
objects.
4. Three Types of Balance or
Symmetry
Radial Symmetry is only one of three types of balance. The others are
Mirror or Bilateral Symmetry and Asymmetry.
5. Mirror or Bilateral Symmetry
Also called reflectional or line
symmetry, mirror or bilateral
symmetry is a type of balance in
which a center line, called the
line of symmetry, divides an
object in half so that one side
mirrors the other.
6. Asymmetrical Balance
In art, asymmetrical balance is a form of
symmetry in which the two sides of a picture or
object are different but are visually balanced.
They are visually equal
without being identical.
Most modern art
is asymmetrical.
Starry Night
by Vincent Van Gogh
7. Radial symmetry is found in
both natural and human-made
objects.
Natural Objects
10. Objects that have radial symmetry can
be divided into equal pieces like a pie.
Each equal piece of a pie
is also a congruent shape.
Congruent shapes are
exactly the same in size
and shape.
11. The radius of a circle is the distance from
the center of a circle to any point on the
circle. If you place two radii end-to-end in
a circle, you would have the same length
as one diameter. Thus, the diameter of a
circle is twice as long as the radius.
12. The Diameter starts at one side of the
circle, goes through the center and ends on
the other side. The Circumference is the
distance around the edge of the circle.
17. One type of human-made radial
symmetry is the mandala. A mandala is a
symbolic pattern, usually in the form of a
circle divided into four sections.
18. Mehndi are radial designs
painted on the hands for special
occasions in some countries.
28. •Do NOT trace over the guide lines with black
marker.....for you may want to erase some of them like
I did.
•Do EVERYTHING in pencil first LIGHTLY. These
lines are just guides that will help to provide you with
"Balance"- the basis of all mandalas.
•
The key is to start at the center and work your way
outward in a radiating manner. So if incorporating any
words or sayings.....it will read from the center out.
Tips before we get started…
29. 1. Trace variety of circles on your square
piece of “good” paper
30. 2. Eye up where you think the CENTER of
the smallest circle is...and place a dot.
31. 3. Use a Ruler to draw a vertical line that goes from 12
o'clock...thru the center dot...and onto 6 o'clock like you see above.
32. Next, eye up where you think the 3 and 9 o'clock would be....and now
draw a horizontal line thru the center.
33. 5. Place a dot where you think the 1 and 2 o'clock will be....as well as
the 10 and 11 o'clock.
You do NOT need to place dots below the horizontal line.
Match up your ruler with each of these marks, one at a time, being
sure to intersect the center dot. This will give you an 8 section
layout when you are done.
34.
35. HOW TO COLOR WITH COLORED
PENCILS & MARKERS:
Lay down a base color with marker/highlighter
Using colored pencils, find the closed up areas
of your letters and in between them. Select at
least two colors of the same color family (light
and dark blue, light and dark green, yellow and
yellow orange....pink and purple)....color the
entire space with lightest color first, but do not
press too hard at first....just put some color
down...then around the edges, apply the darker
color...pressing harder at first, then lightening
the pressure toward the center.....then blend with
the lighter color pressing a little harder this time.
36.
37.
38.
39.
40.
41.
42.
43.
44. Learning outcome-
Geometry and spatial reasoning.
The student recognizes congruence
and symmetry.
The student is expected to:
(A) identify congruent shapes;
(B) create shapes with lines of
symmetry using concrete models and
technology; and
(C) identify lines of symmetry in
shapes.