Downloaded 62 times


![Filter a view
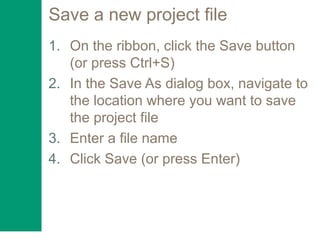
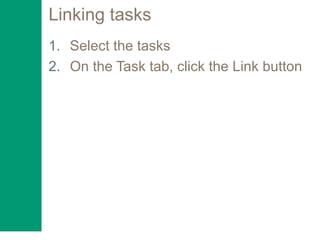
1. Click the View tab
2. From the Filter list, select a filter
3. To return to an unfiltered view,
choose [No Filter] from the Filter list](https://image.slidesharecdn.com/prj101xl-171004215943/85/PRJ101xl-Project-Libre-Basic-Training-58-320.jpg)


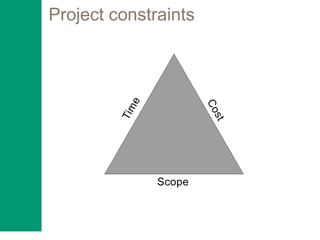
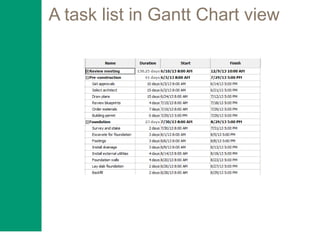
This document provides an overview and outline for a basic Project Libre course. It introduces Project Libre as an open source alternative to Microsoft Project that can read and write Microsoft Project files. The course covers topics like getting started, adding and linking tasks, scheduling tasks, assigning resources, using views and tables, filtering and sorting, and finalizing the task plan. It includes descriptions of key project management and Project Libre concepts for each topic.