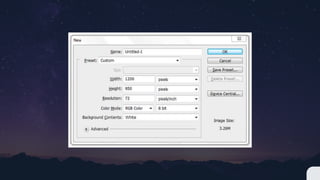
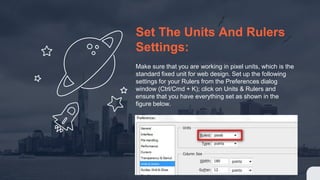
1. Create a new Photoshop document using pixel units and set the rulers to pixels.
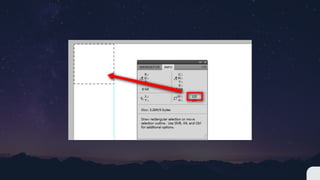
2. Add guides by making a 120px wide selection from the left corner and dragging a guide to mark the content area.
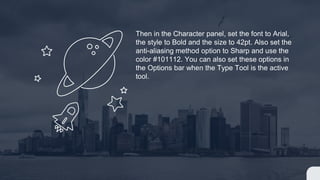
3. Set the font in the Character panel to Arial Bold 42pt, sharp anti-aliasing, and color #101112 for the type tool.