Download as PDF, PPTX
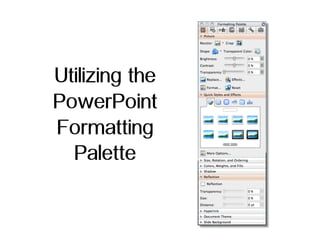


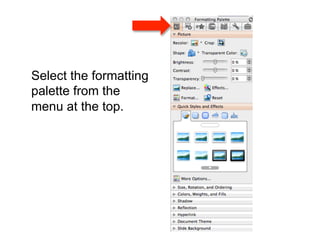
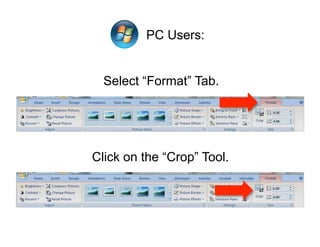
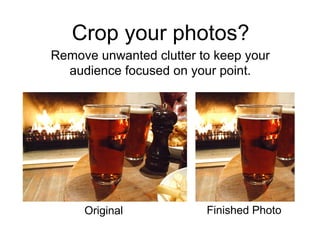
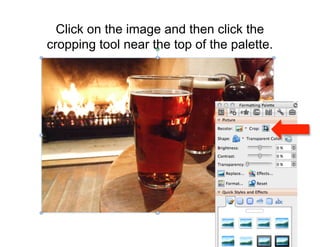
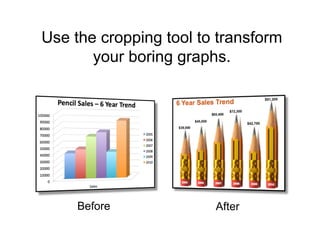
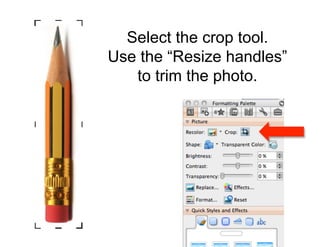
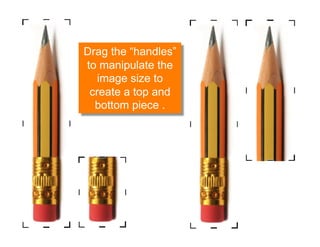
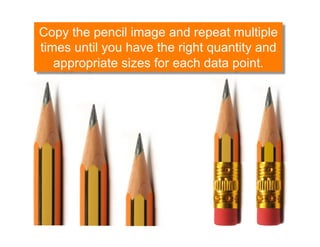


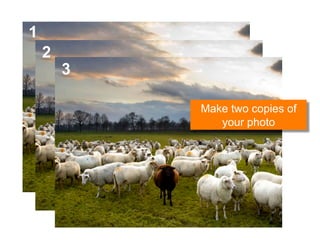
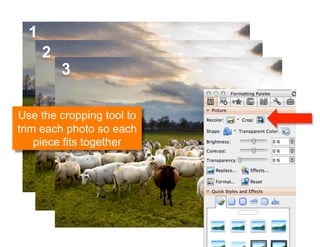
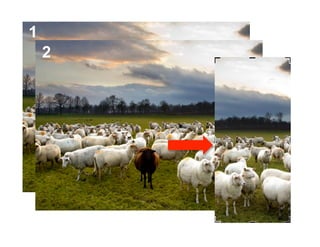
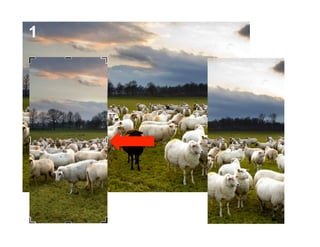
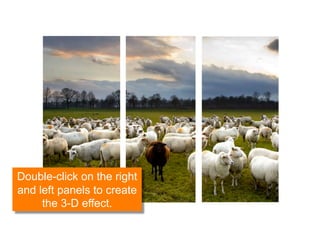
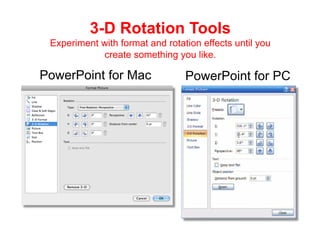
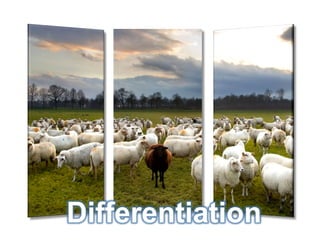


This document provides tips for using PowerPoint's formatting palette tools to enhance slides. It recommends cropping photos to remove clutter and focus audience attention. The cropping tool can be used to trim photos, alter images, and add creative touches. Examples show transforming boring graphs by cropping an image into data points. Effects like 3D rotation and placing images off the slide edge are suggested. In conclusion, the cropping tool offers many ways to improve slides beyond centering images.


