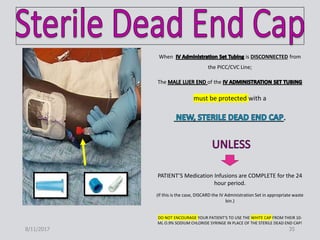
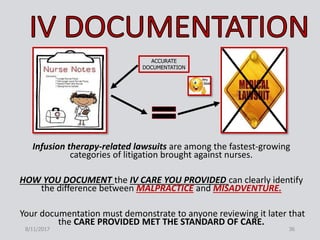
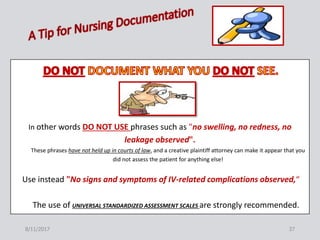
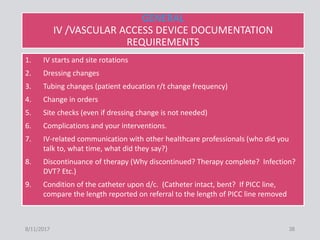
Downloaded 221 times


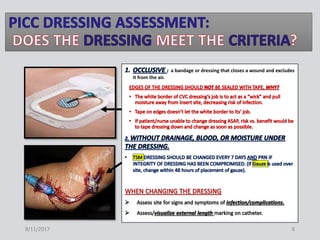


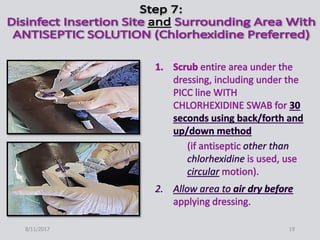

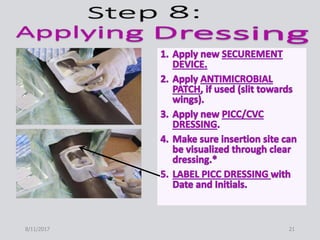
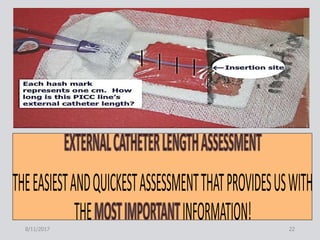

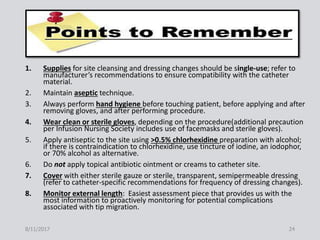


This document provides guidance on peripherally inserted central catheter (PICC) and central venous catheter (CVC) dressing changes and care. It discusses assessing the condition of dressings, indicators for changing dressings, cleaning and dressing change techniques, and documentation requirements. Key steps include cleaning the site with chlorhexidine, using aseptic technique, changing dressings based on integrity and dryness, and documenting assessments, interventions, and patient education.


