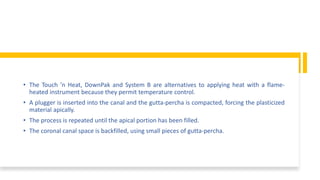
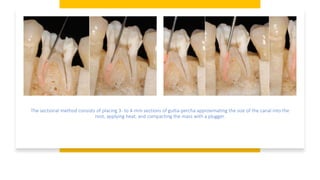
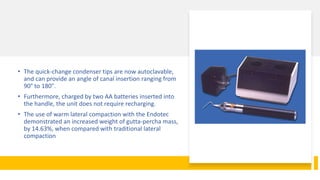
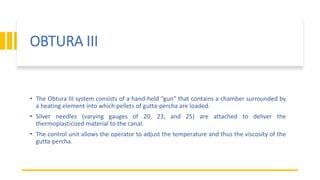
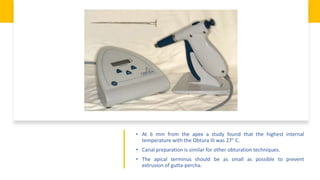
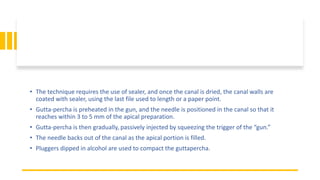
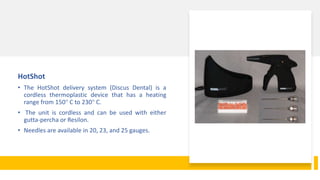
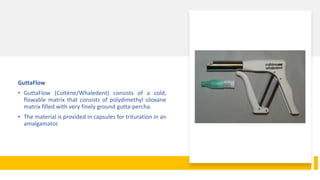
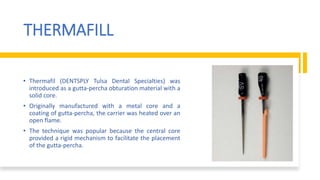
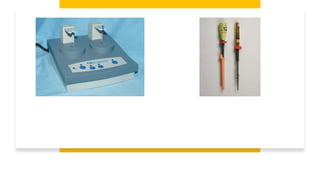
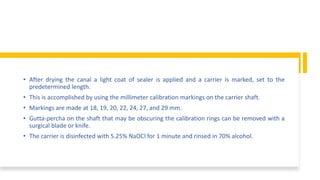
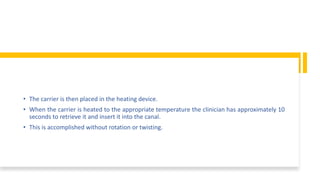
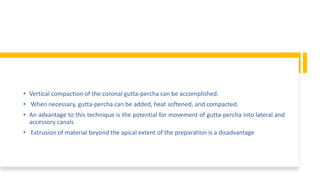
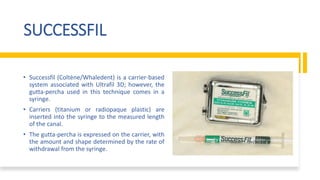
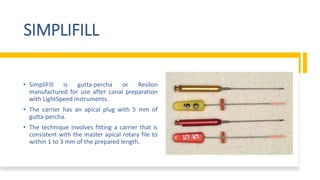
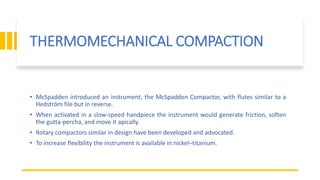
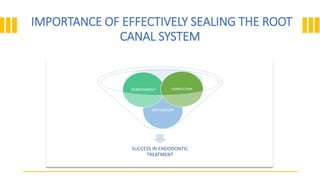
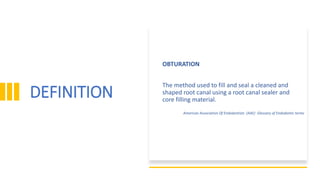
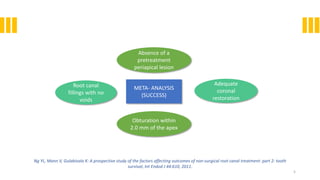
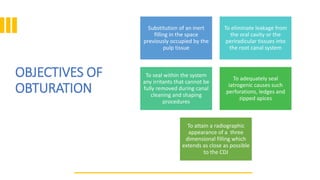
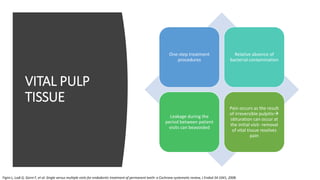
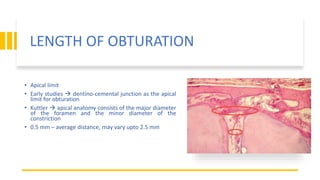
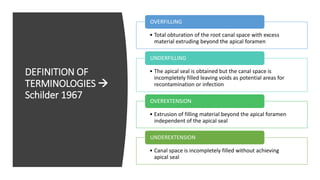
This document discusses root canal obturation, including its importance, historical perspectives, timing, length, and preparation. It covers types of sealers and core filling materials used in obturation. Methods of obturation discussed include cold lateral compaction, warm vertical compaction, continuous wave compaction, thermoplastic injection techniques, and others. The ideal root canal filling is completely sealed with no voids within 2mm of the apex.


![CALCIUM HYDROXIDE SEALERS
• Calciobiotic root canal sealer (CRCS) : Zinc Oxide–eugenol sealer + Calcium hydroxide as one
ingredient
• Sealapex : catalyst-base system
• The base contains zinc oxide, calcium hydroxide, butyl benzene, sulfonamide, and zinc
stearate. The catalyst contains barium sulfate and titanium dioxide as radiopacifiers in
addition to resin, isobutyl salicylate, and aerosol R972.
• Apexit and Apexit Plus : salicylates incorporated
• Activator (disalicylate, bismuth hydroxide/bismuth carbonate, and fillers) and a base (calcium
hydroxide, hydrated colophonium [i.e., pine resin], and fillers).
• Cytotoxicity : Sealapex > CRCS > Apexit
Desai S, Chandler N: Calcium hydroxide-based root canal sealers: a review, J Endod 35:475, 2009.
Mohammadi Z, Dummer PM: Properties and applications of calcium hydroxide in endodontics, Int Endod J 44:697, 2011.](https://image.slidesharecdn.com/obturation-200628111448/85/Obturation-36-320.jpg)

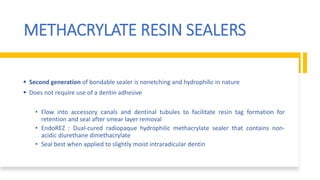
![METHACRYLATE RESIN SEALERS
FOUR GENERATIONS
• First generation of hydrophilic methacrylate resin–based material Hydron
• En masse root filling mid 1970s
• Major component of Hydron was poly [2-hydroxyethyl methacrylate] (poly[HEMA])
• Injected into a root canal and polymerized
• Without the adjunctive use of a root-filling material](https://image.slidesharecdn.com/obturation-200628111448/85/Obturation-41-320.jpg)