Downloaded 11 times
![Continue…
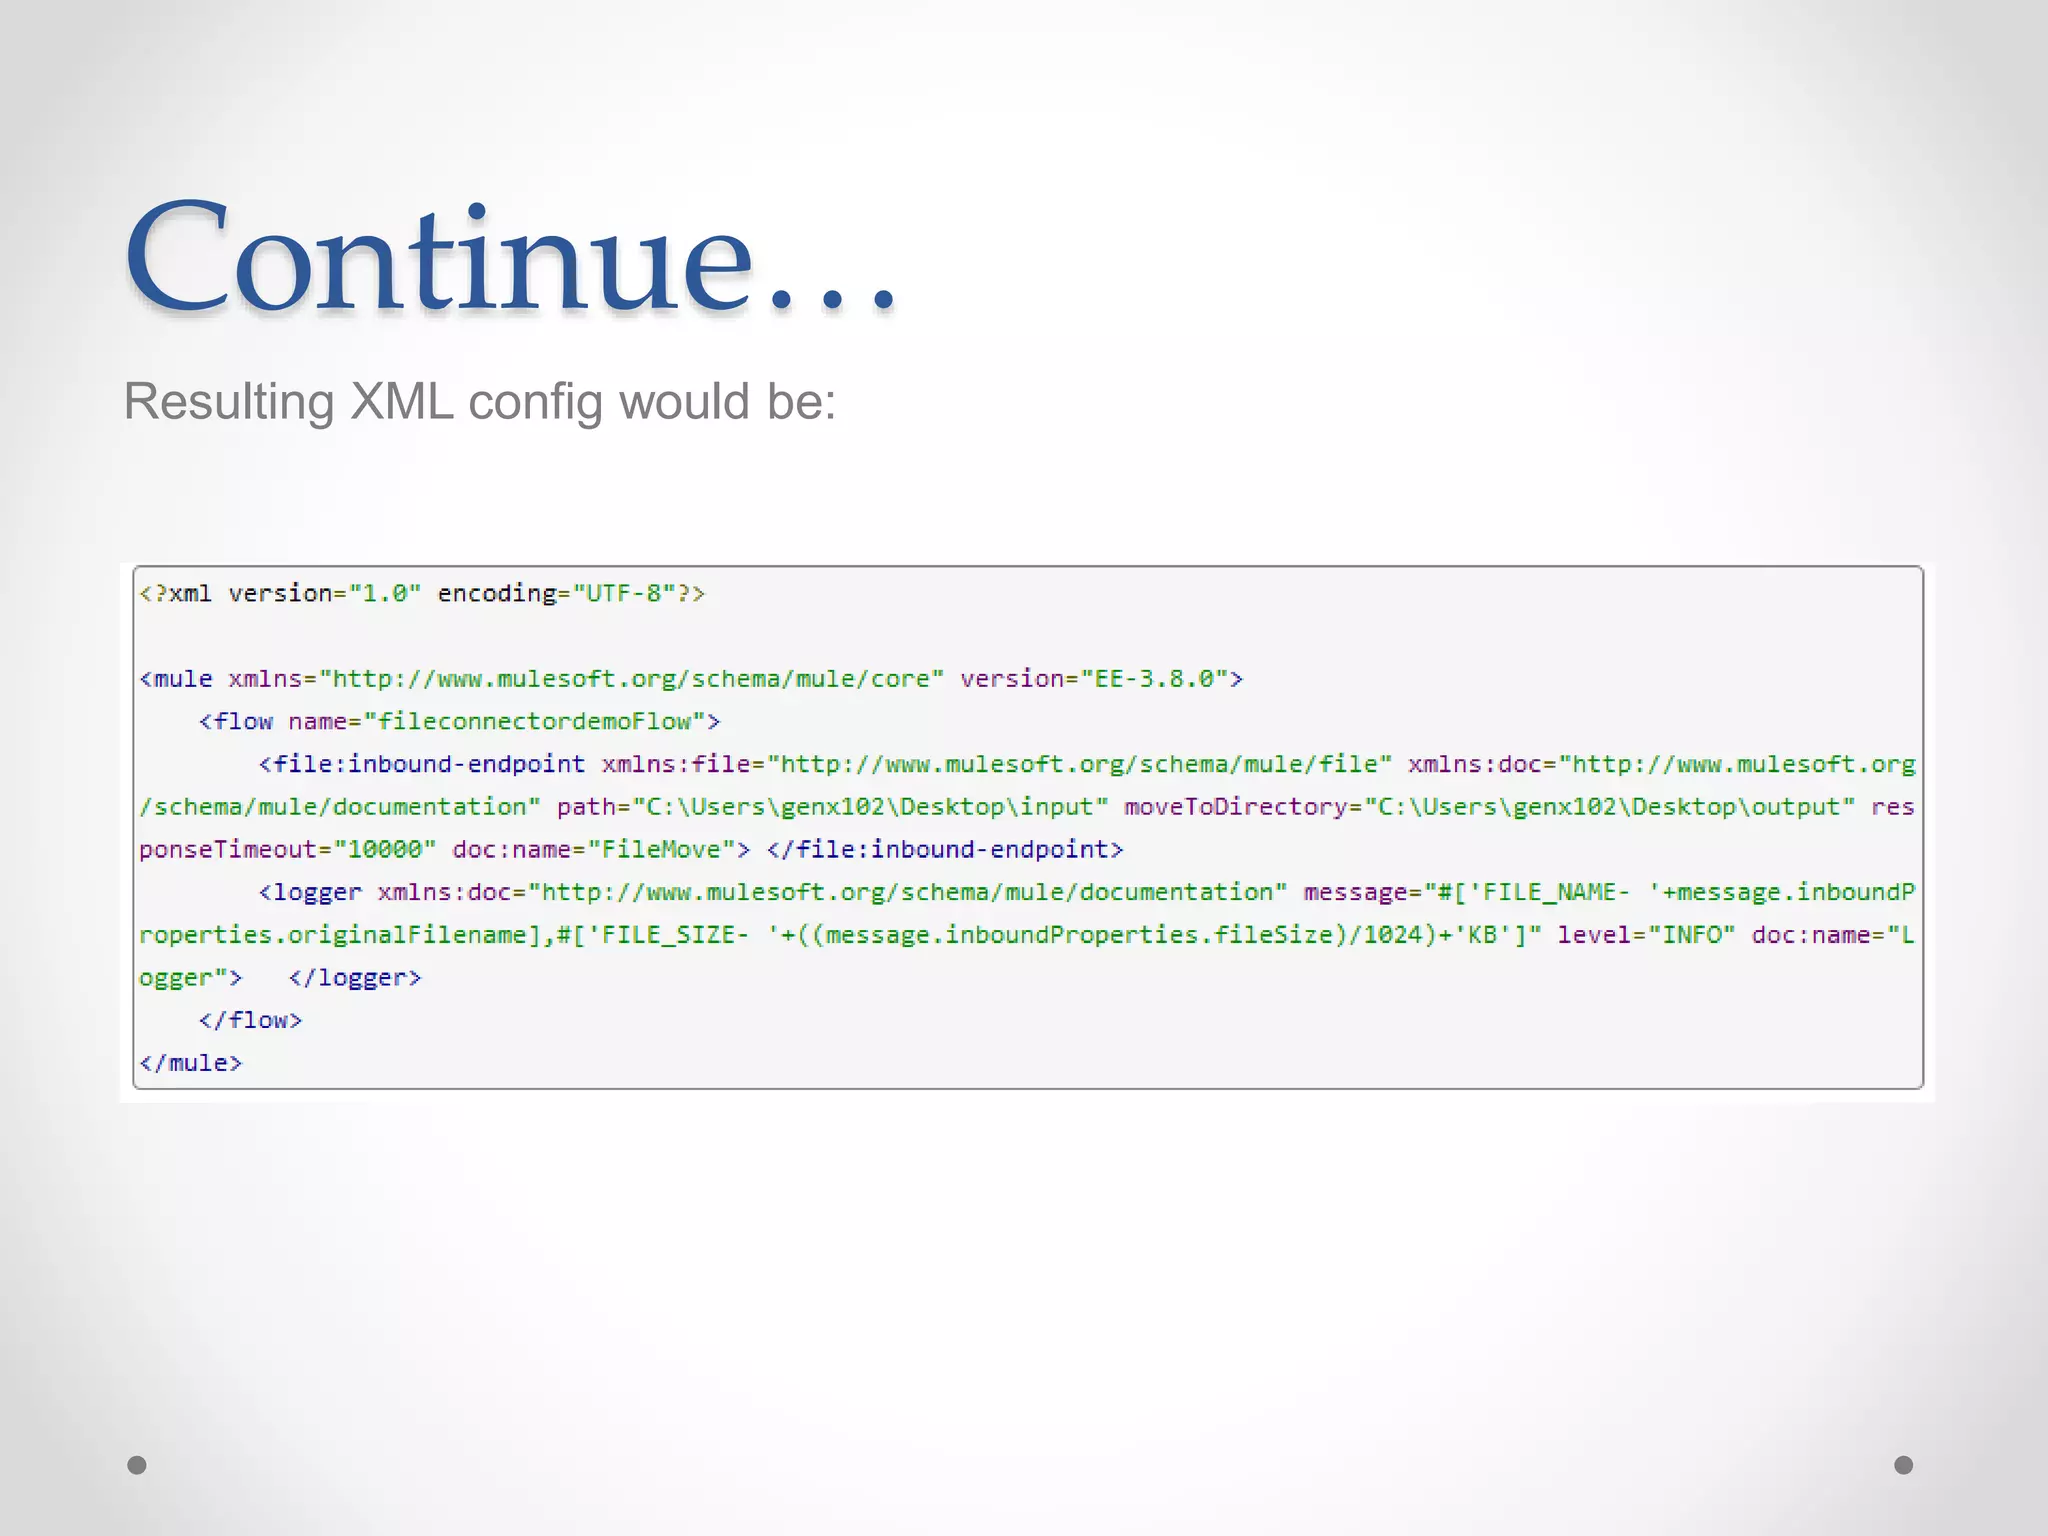
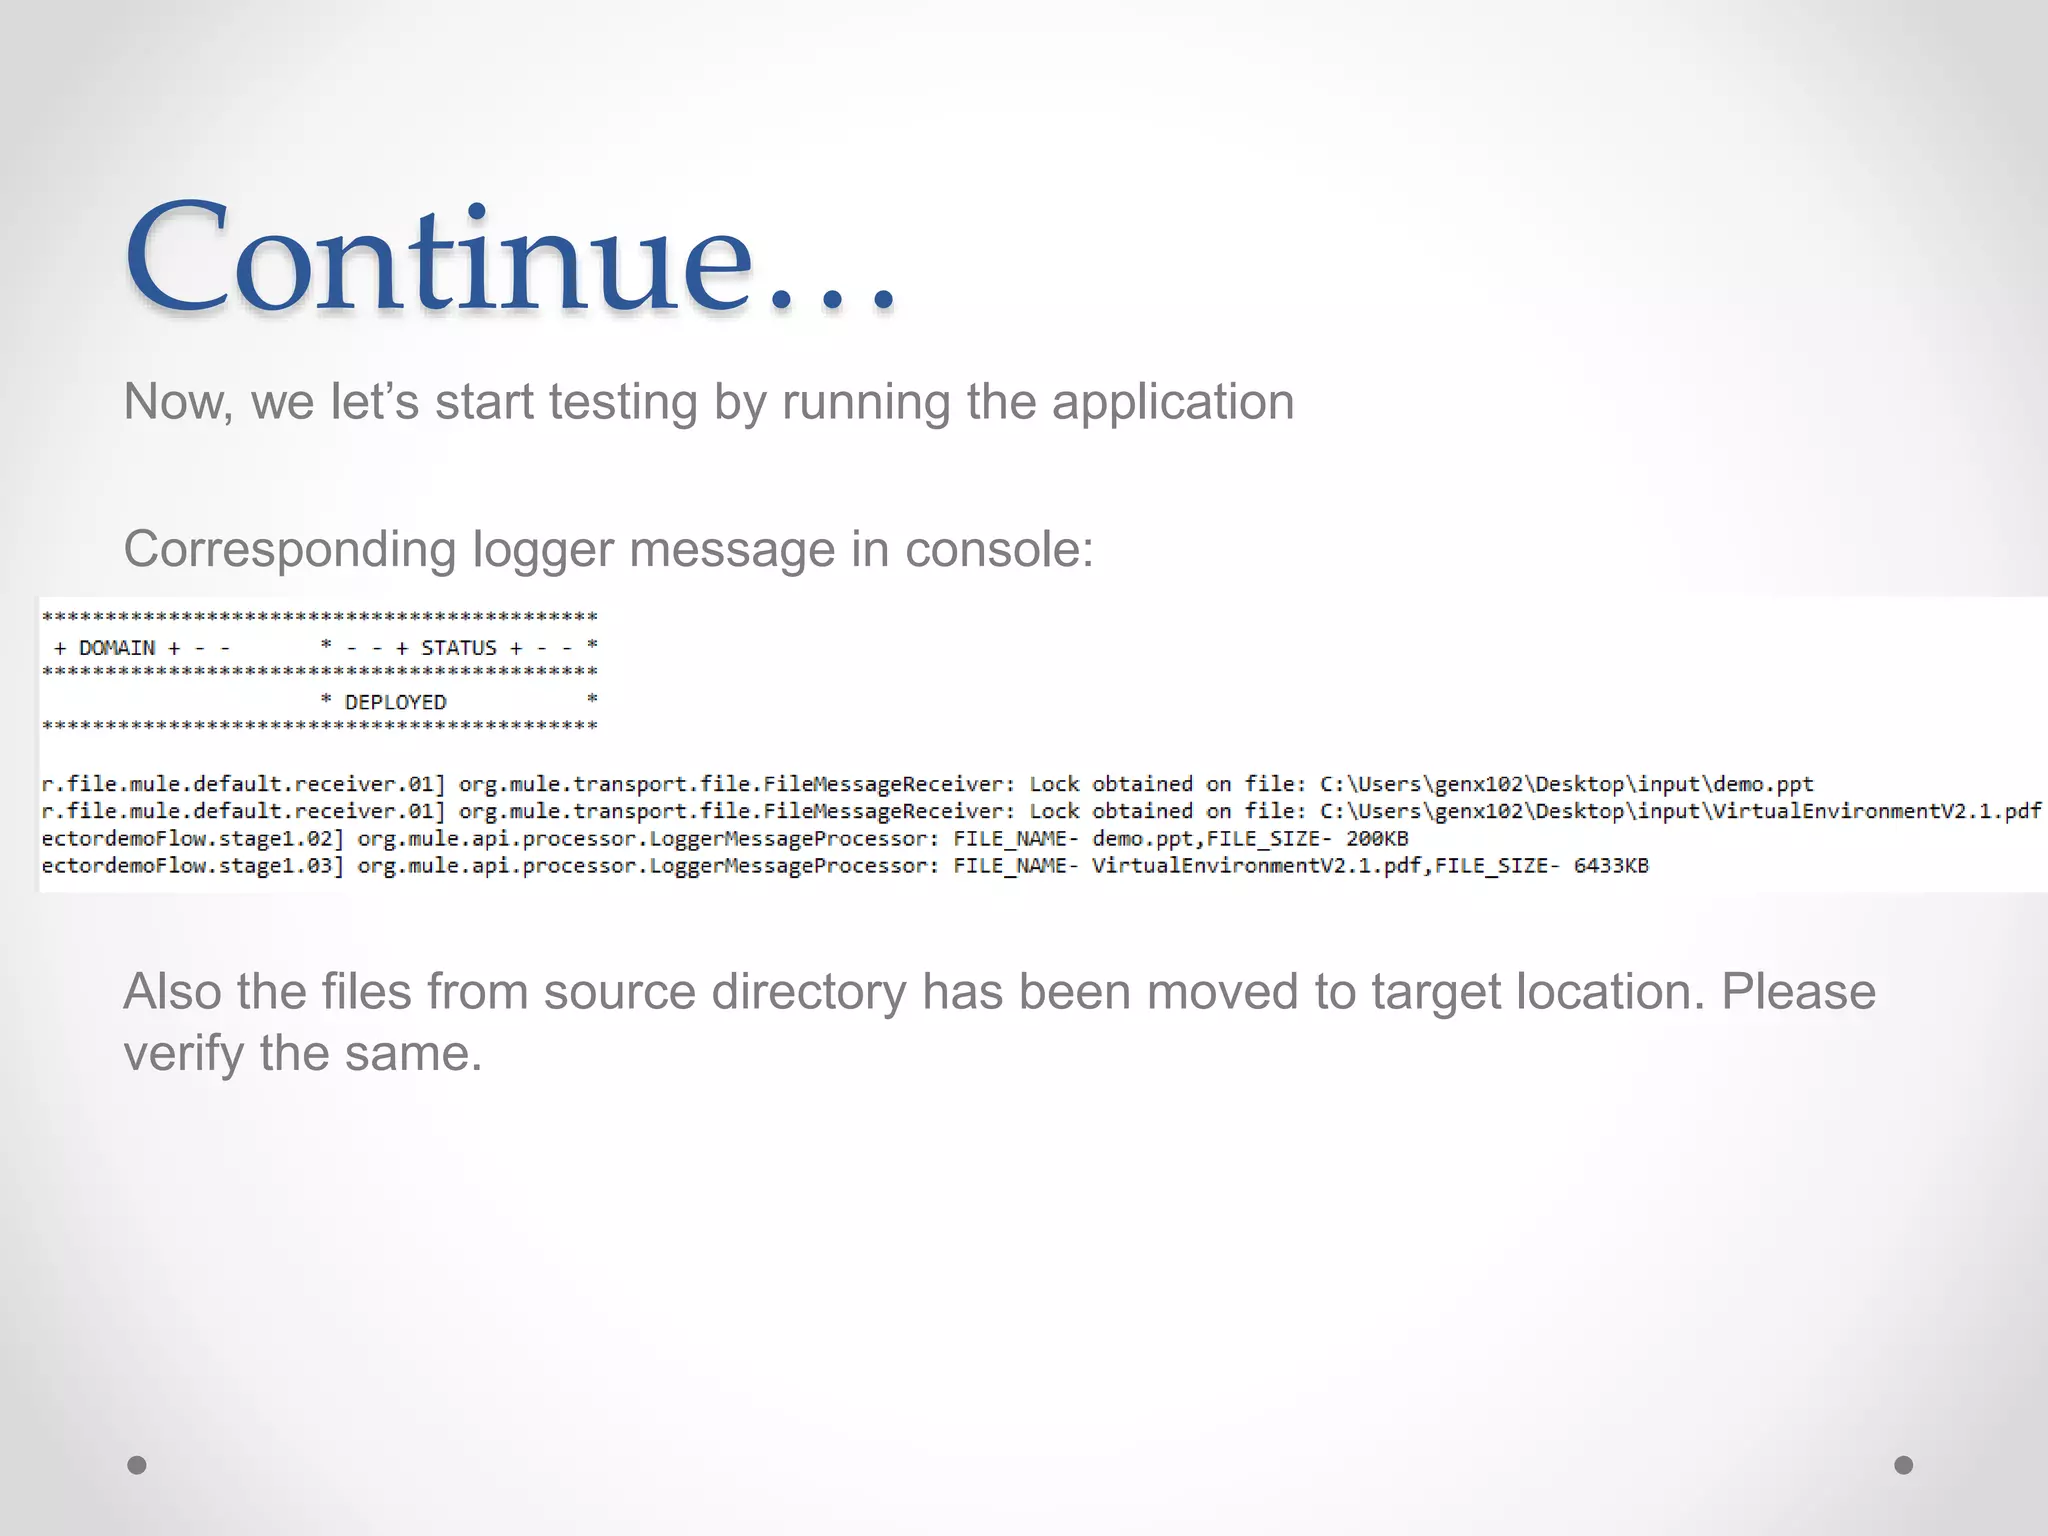
Step 3: Add logger just after it to see the operation in log:
Message:
#['FILE_NAME- '+message.inboundProperties.originalFilename],#['FILE_SIZE- '+((message.inboundProperties.fileSize)/1024)+'KB']]](https://image.slidesharecdn.com/mulesoftfileconnector-160723225609/75/Mulesoft-file-connector-11-2048.jpg)


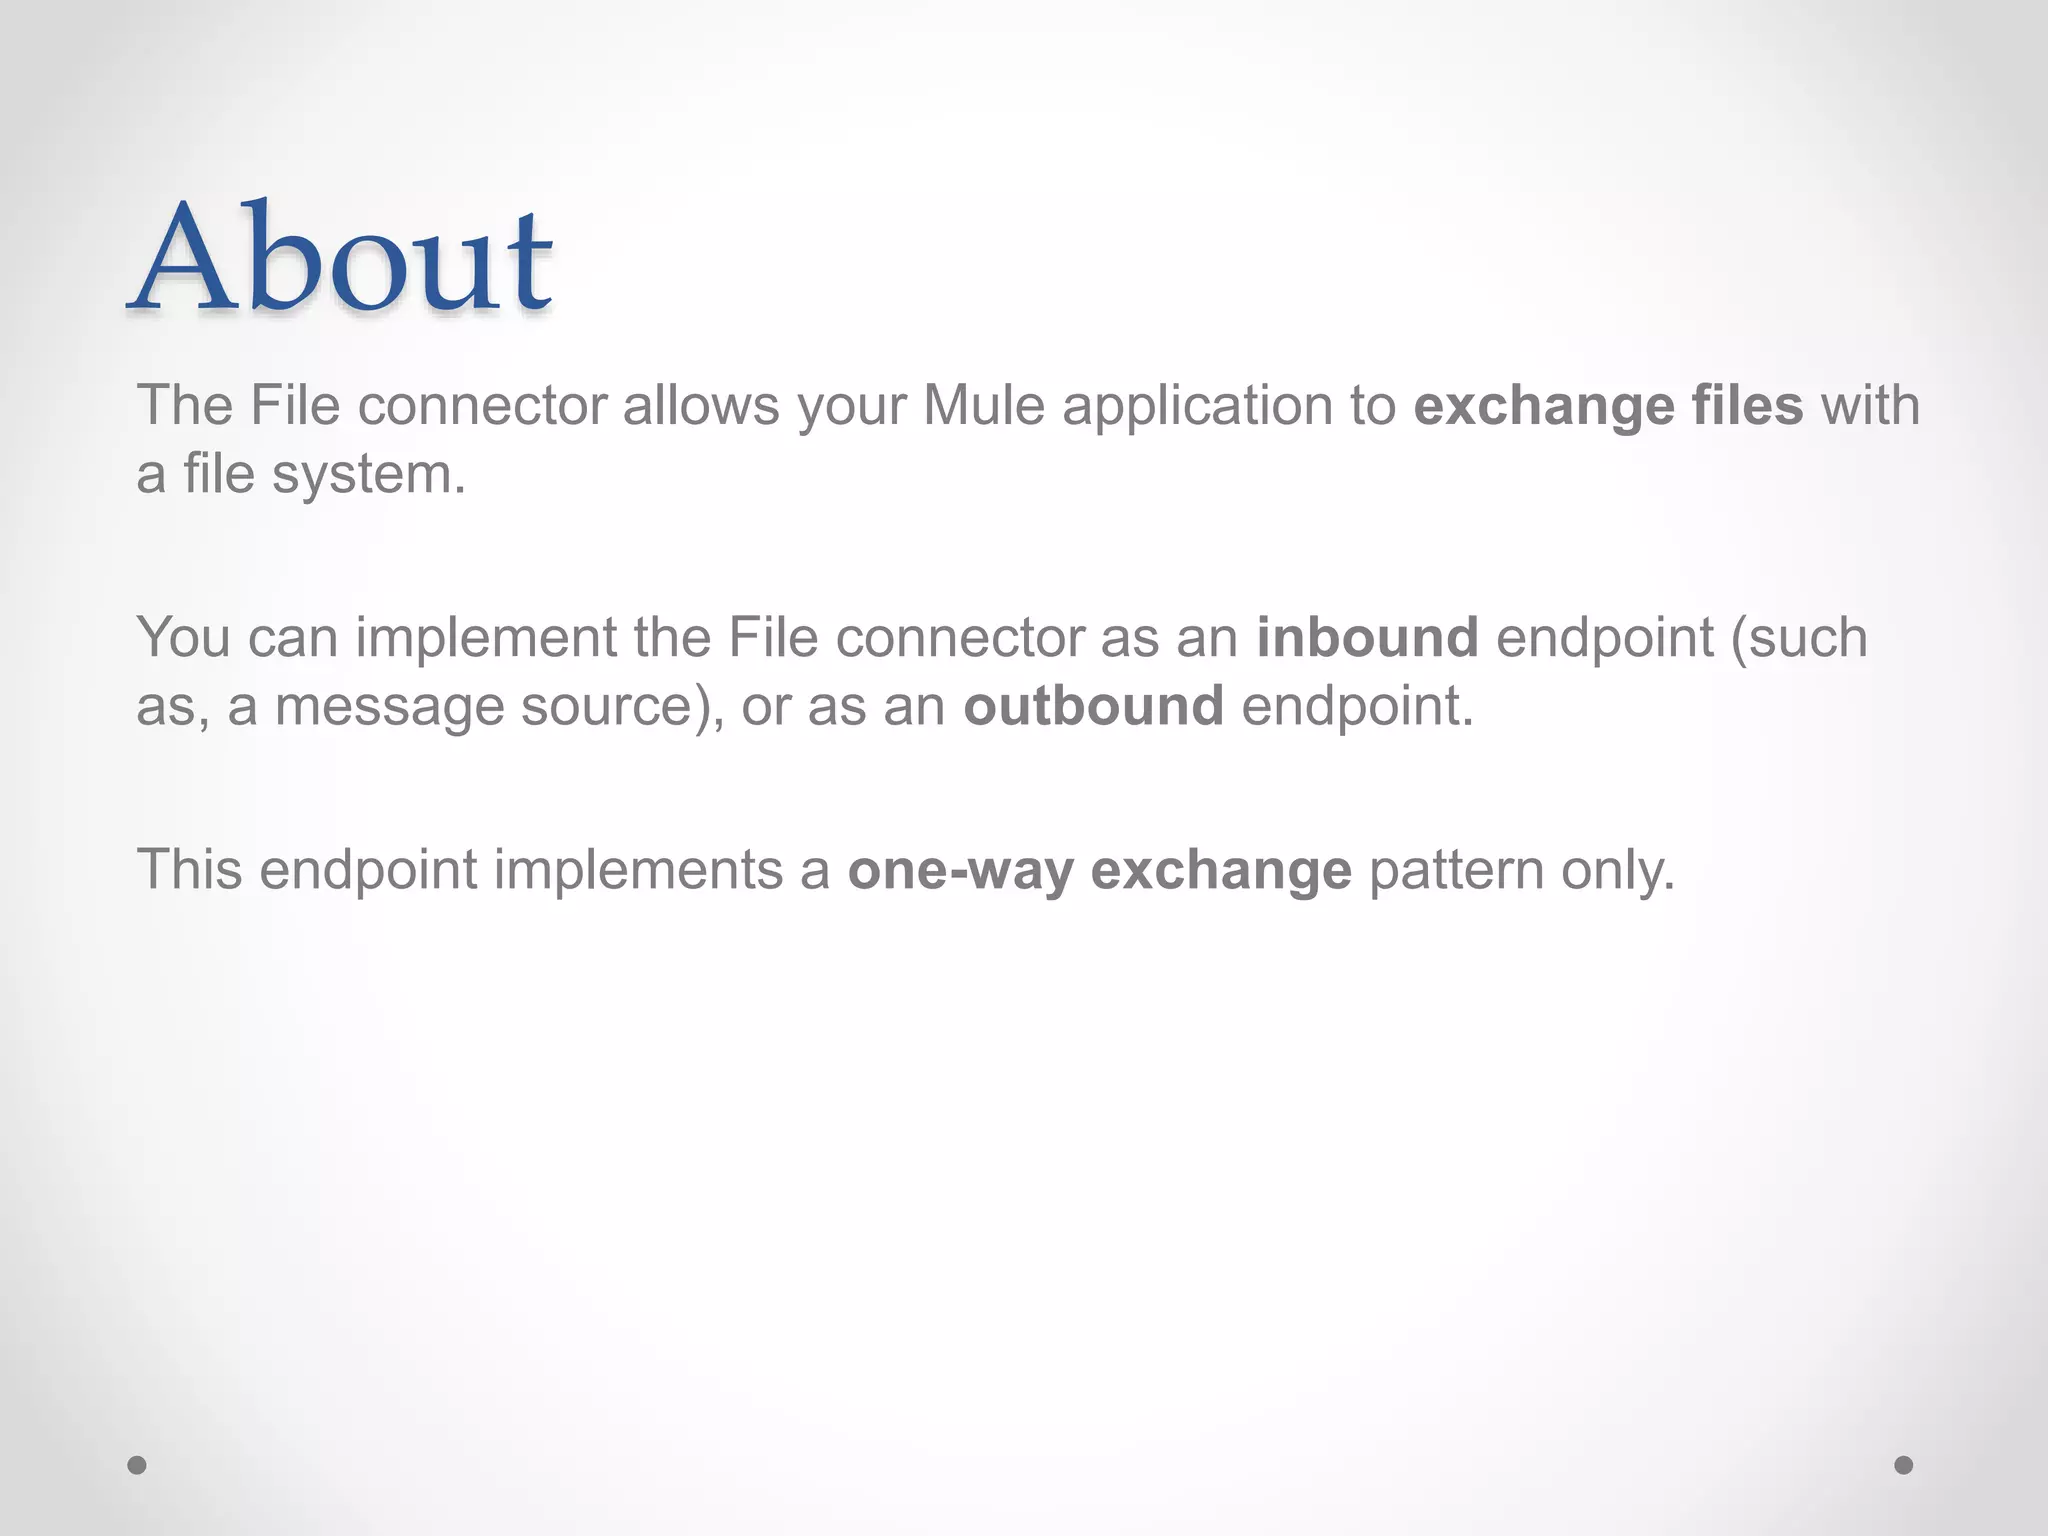
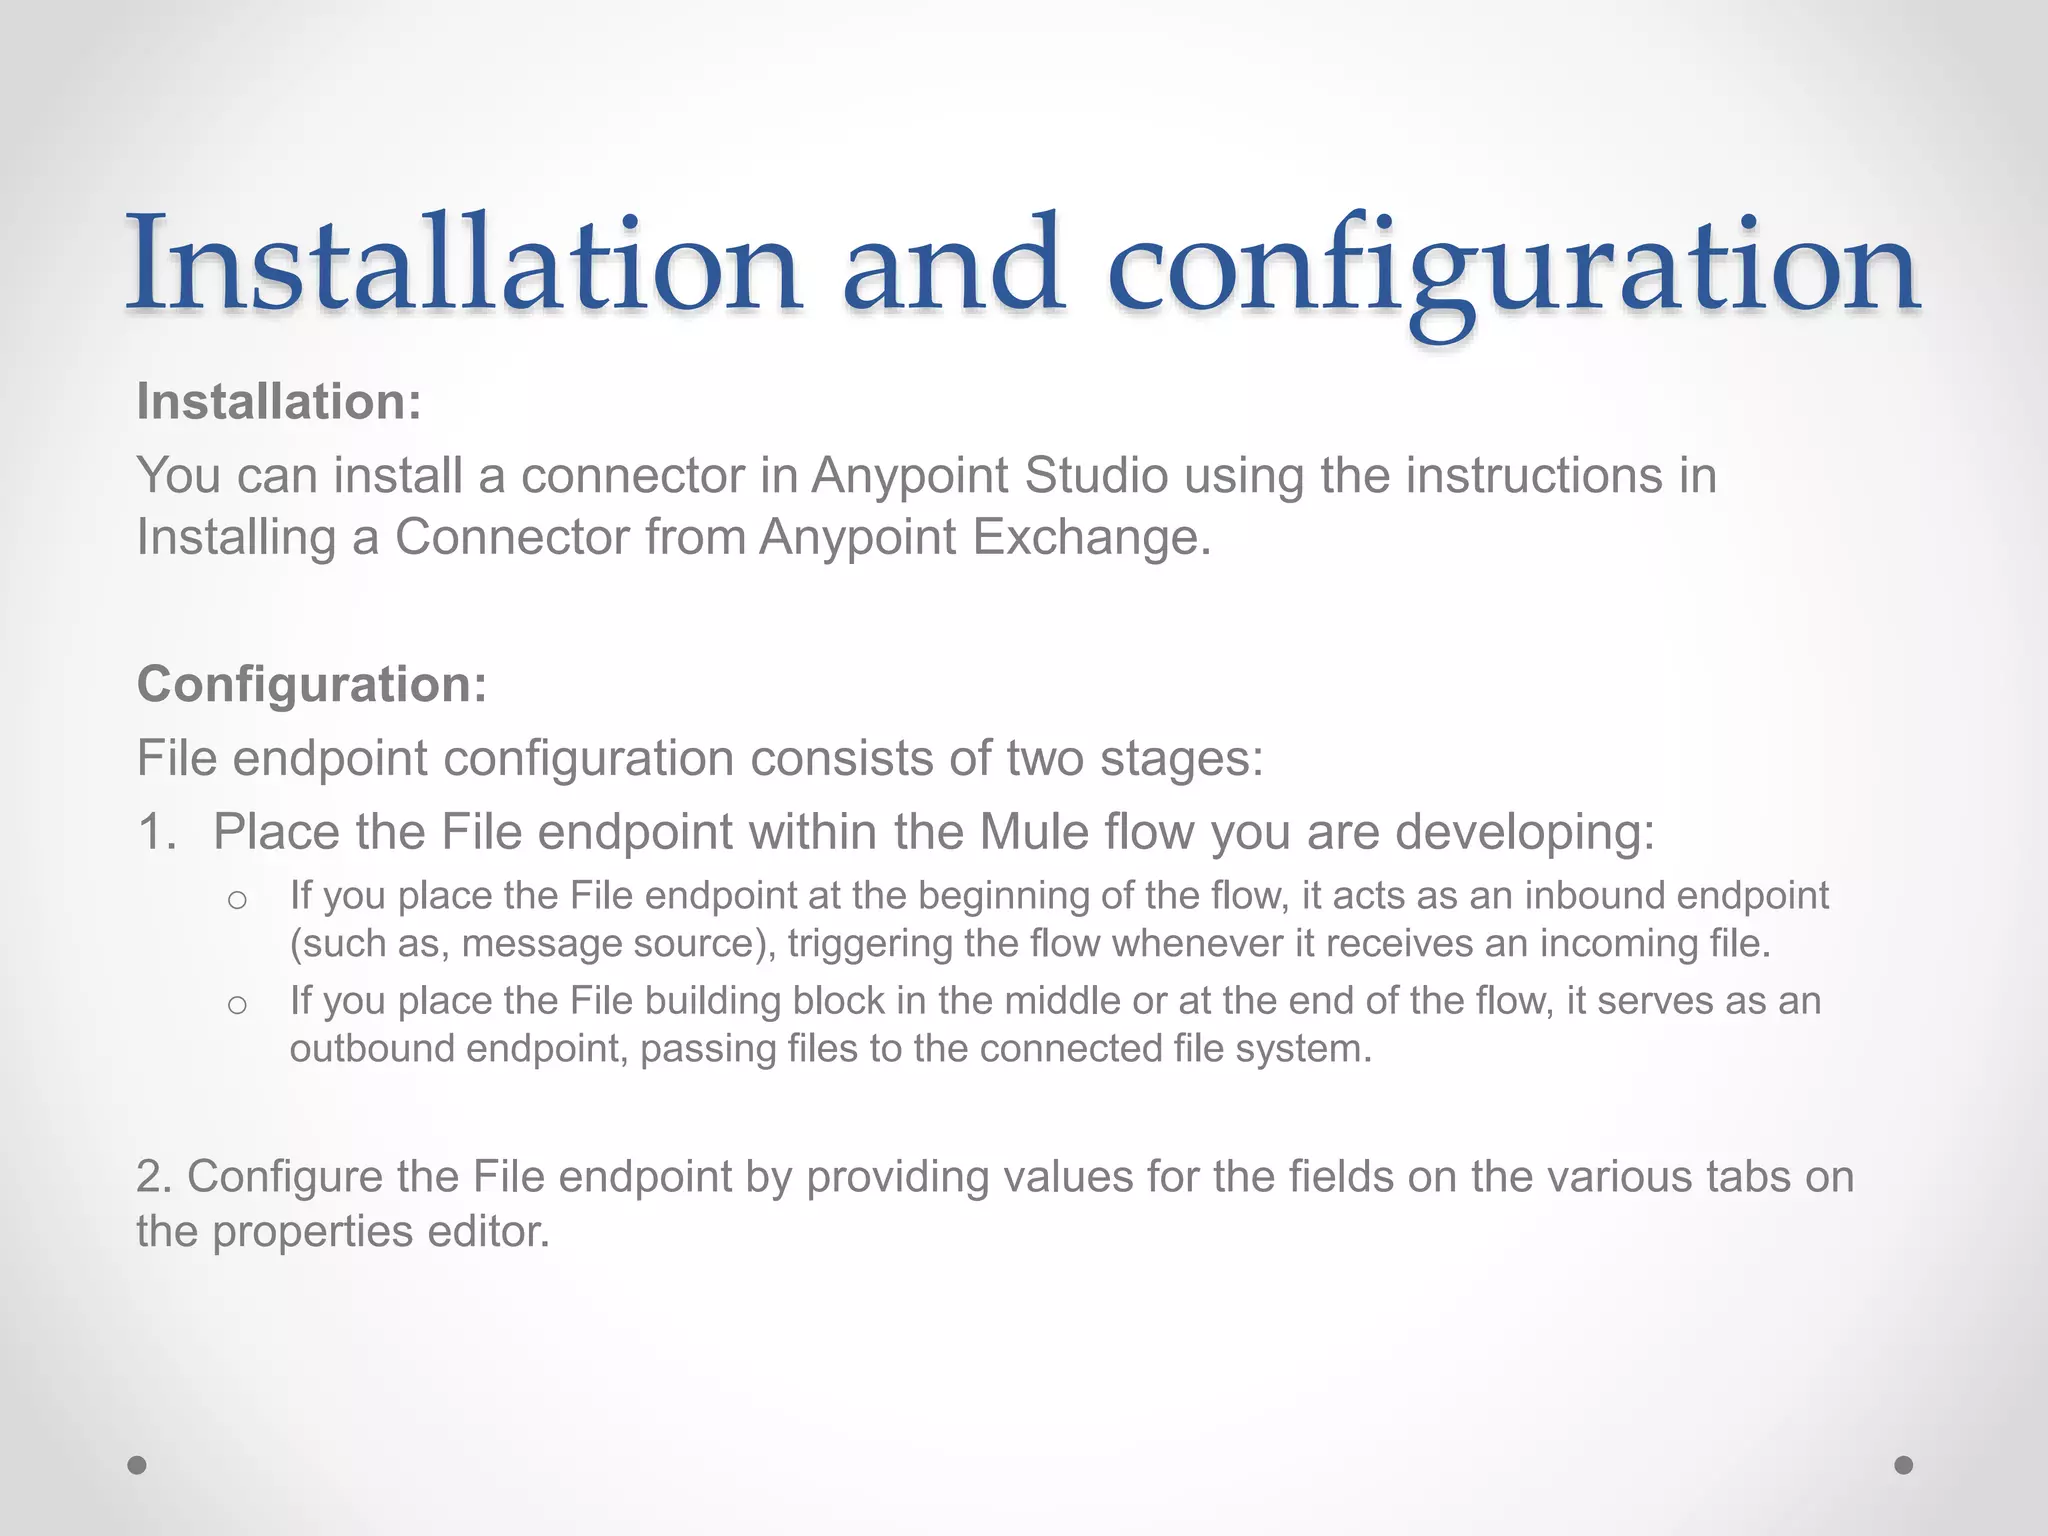
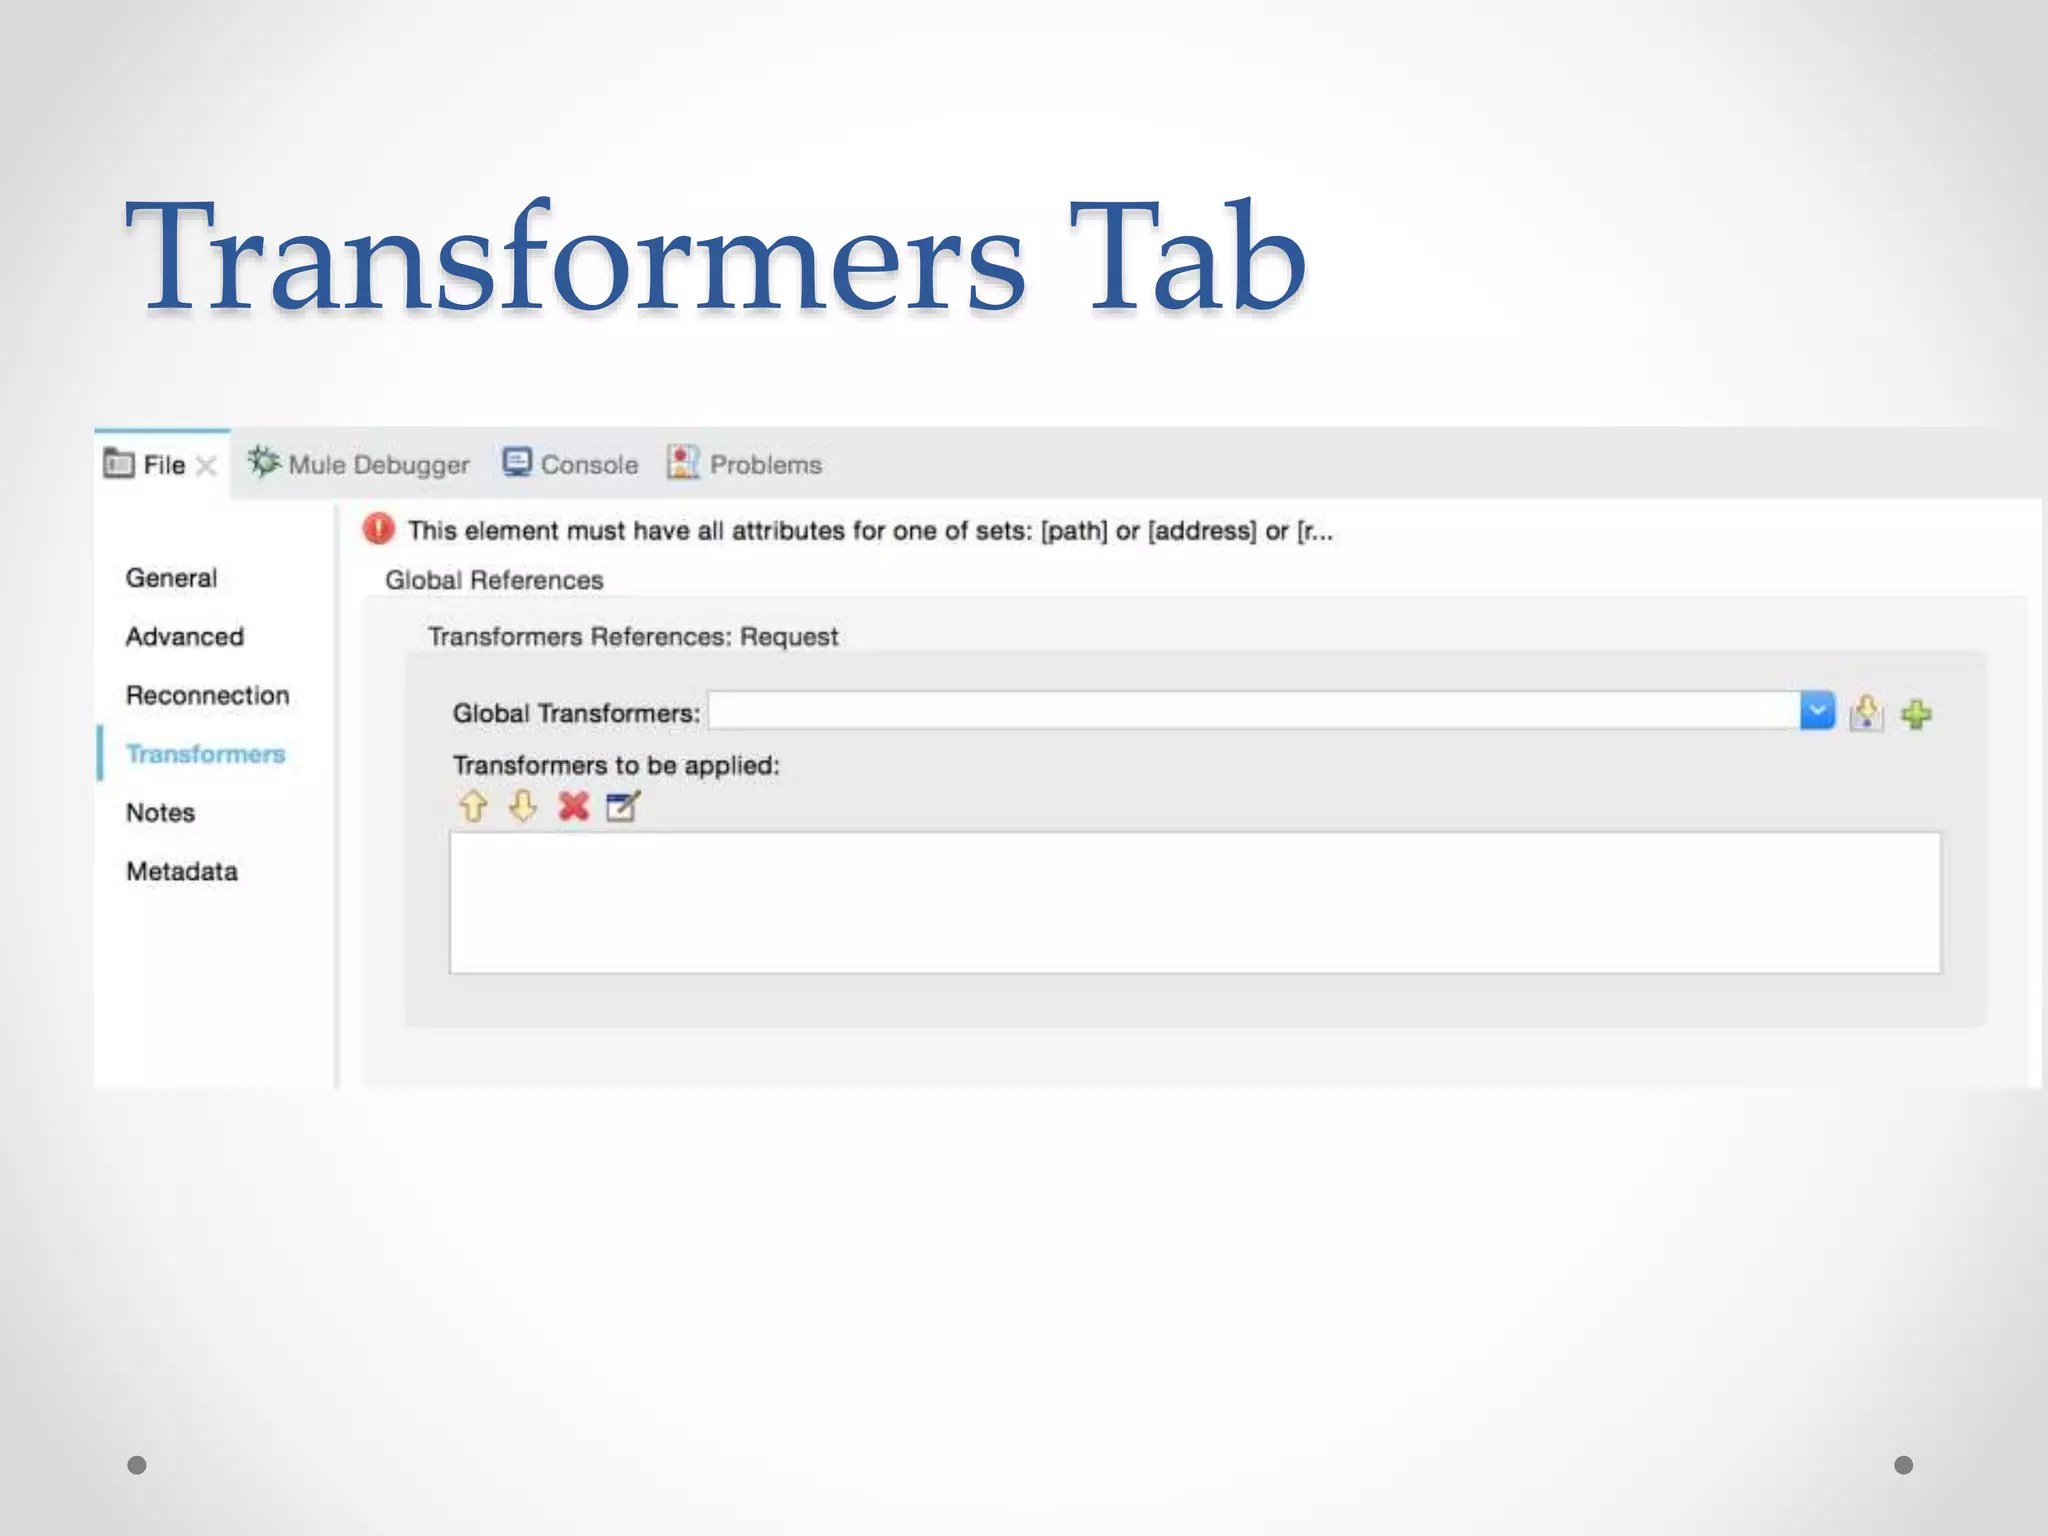
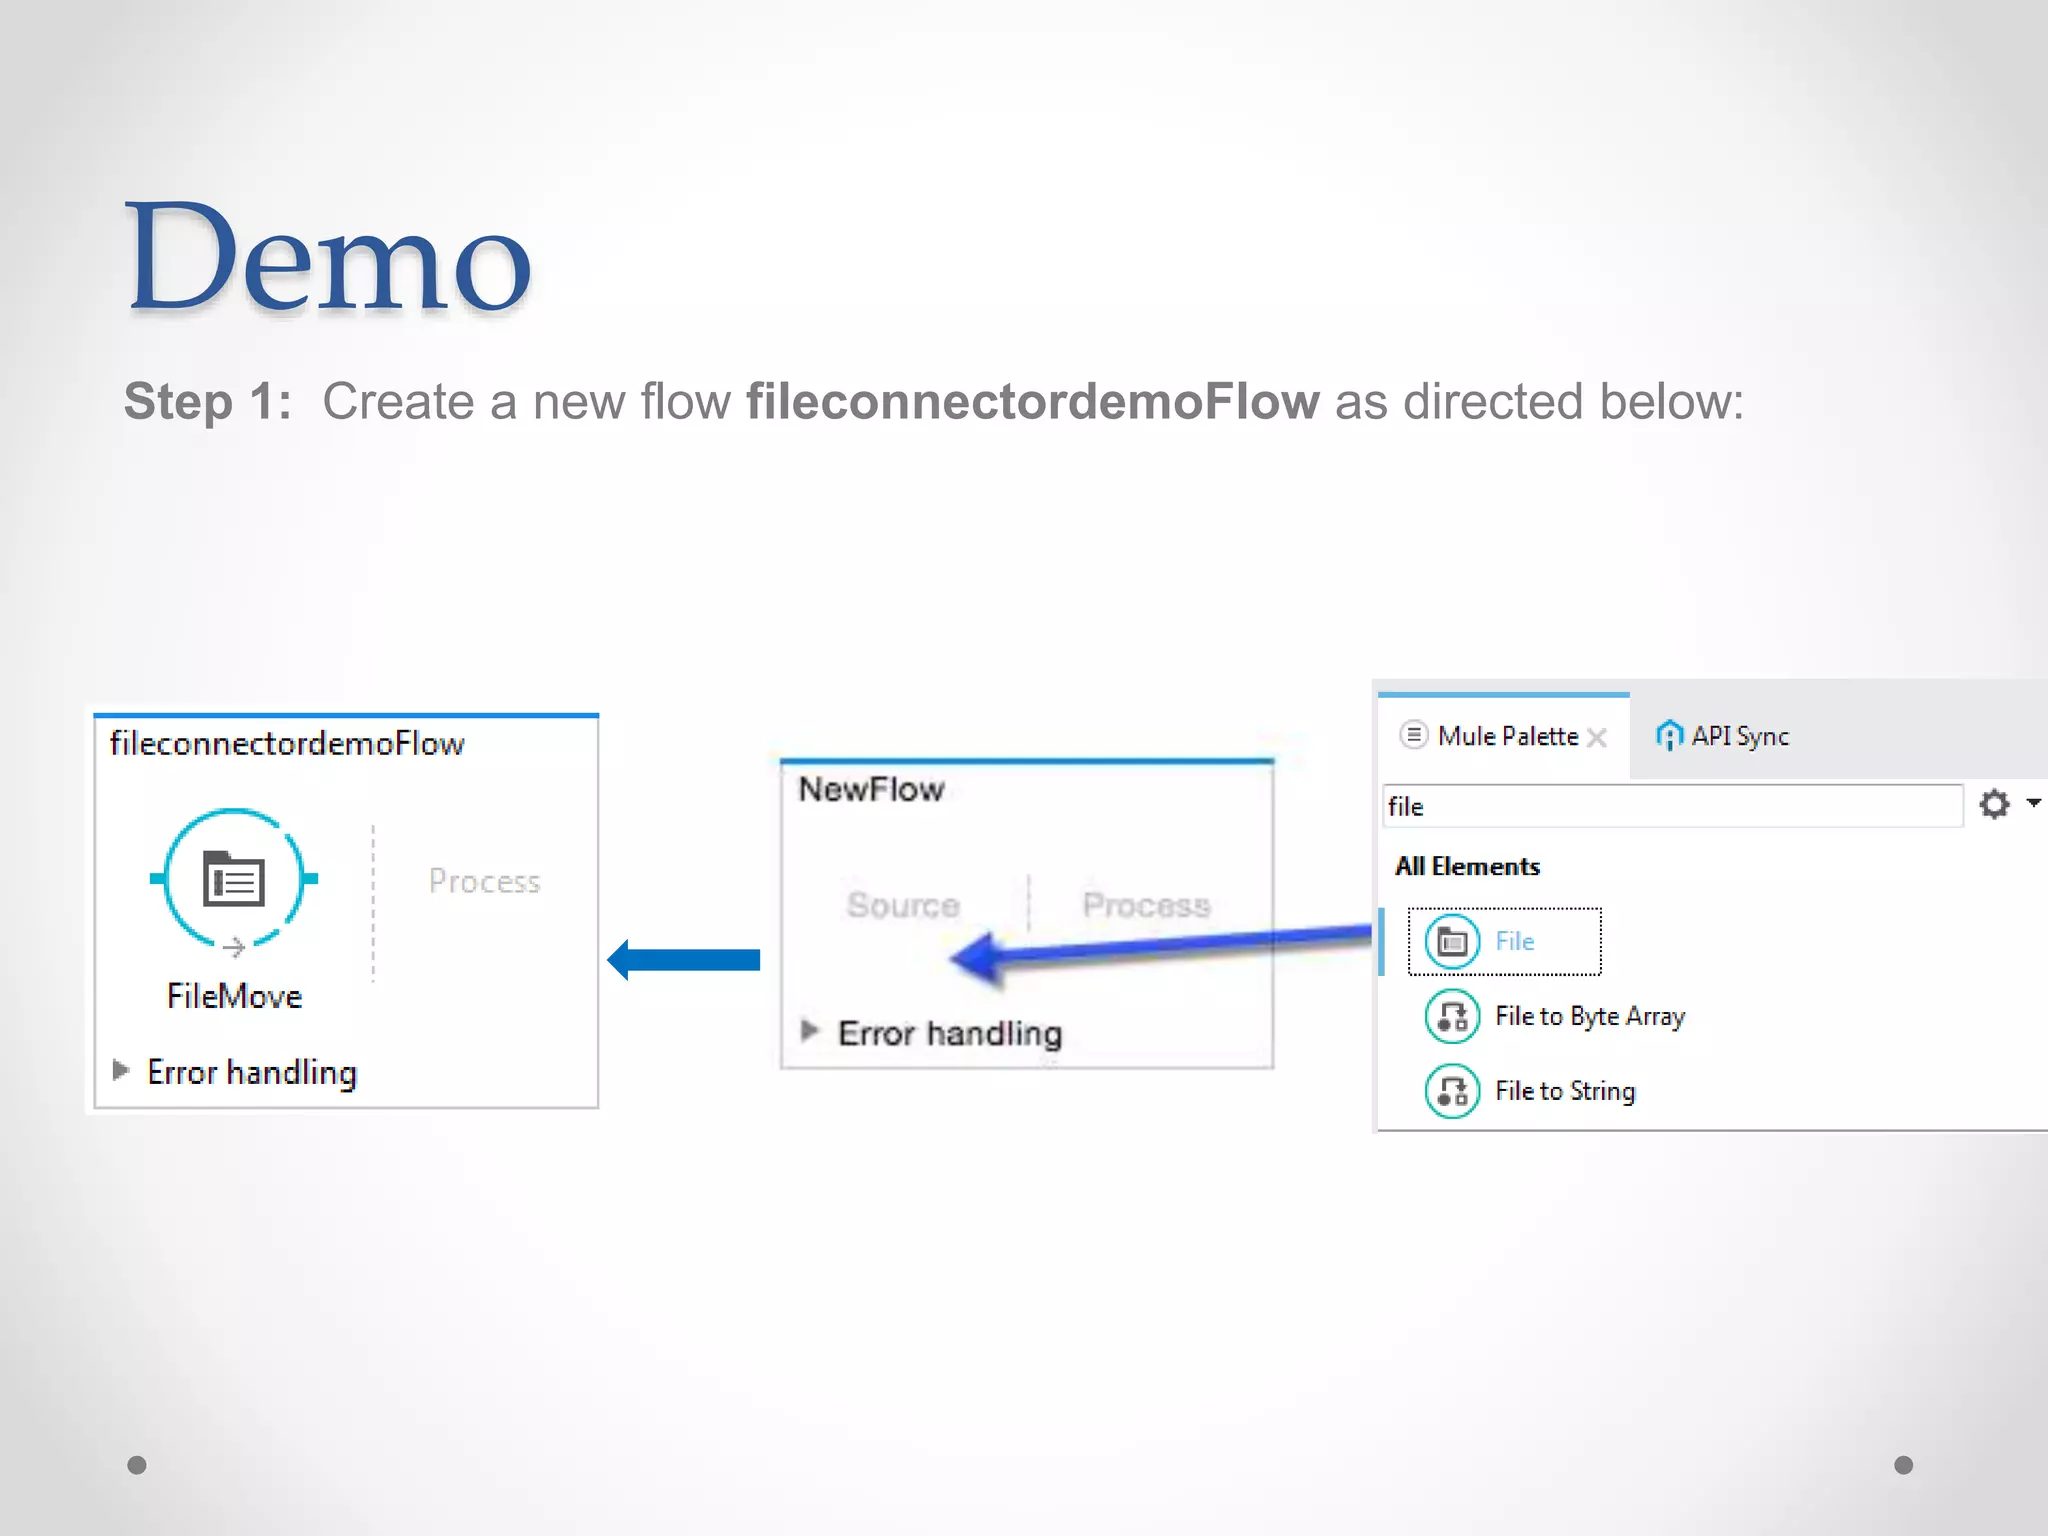
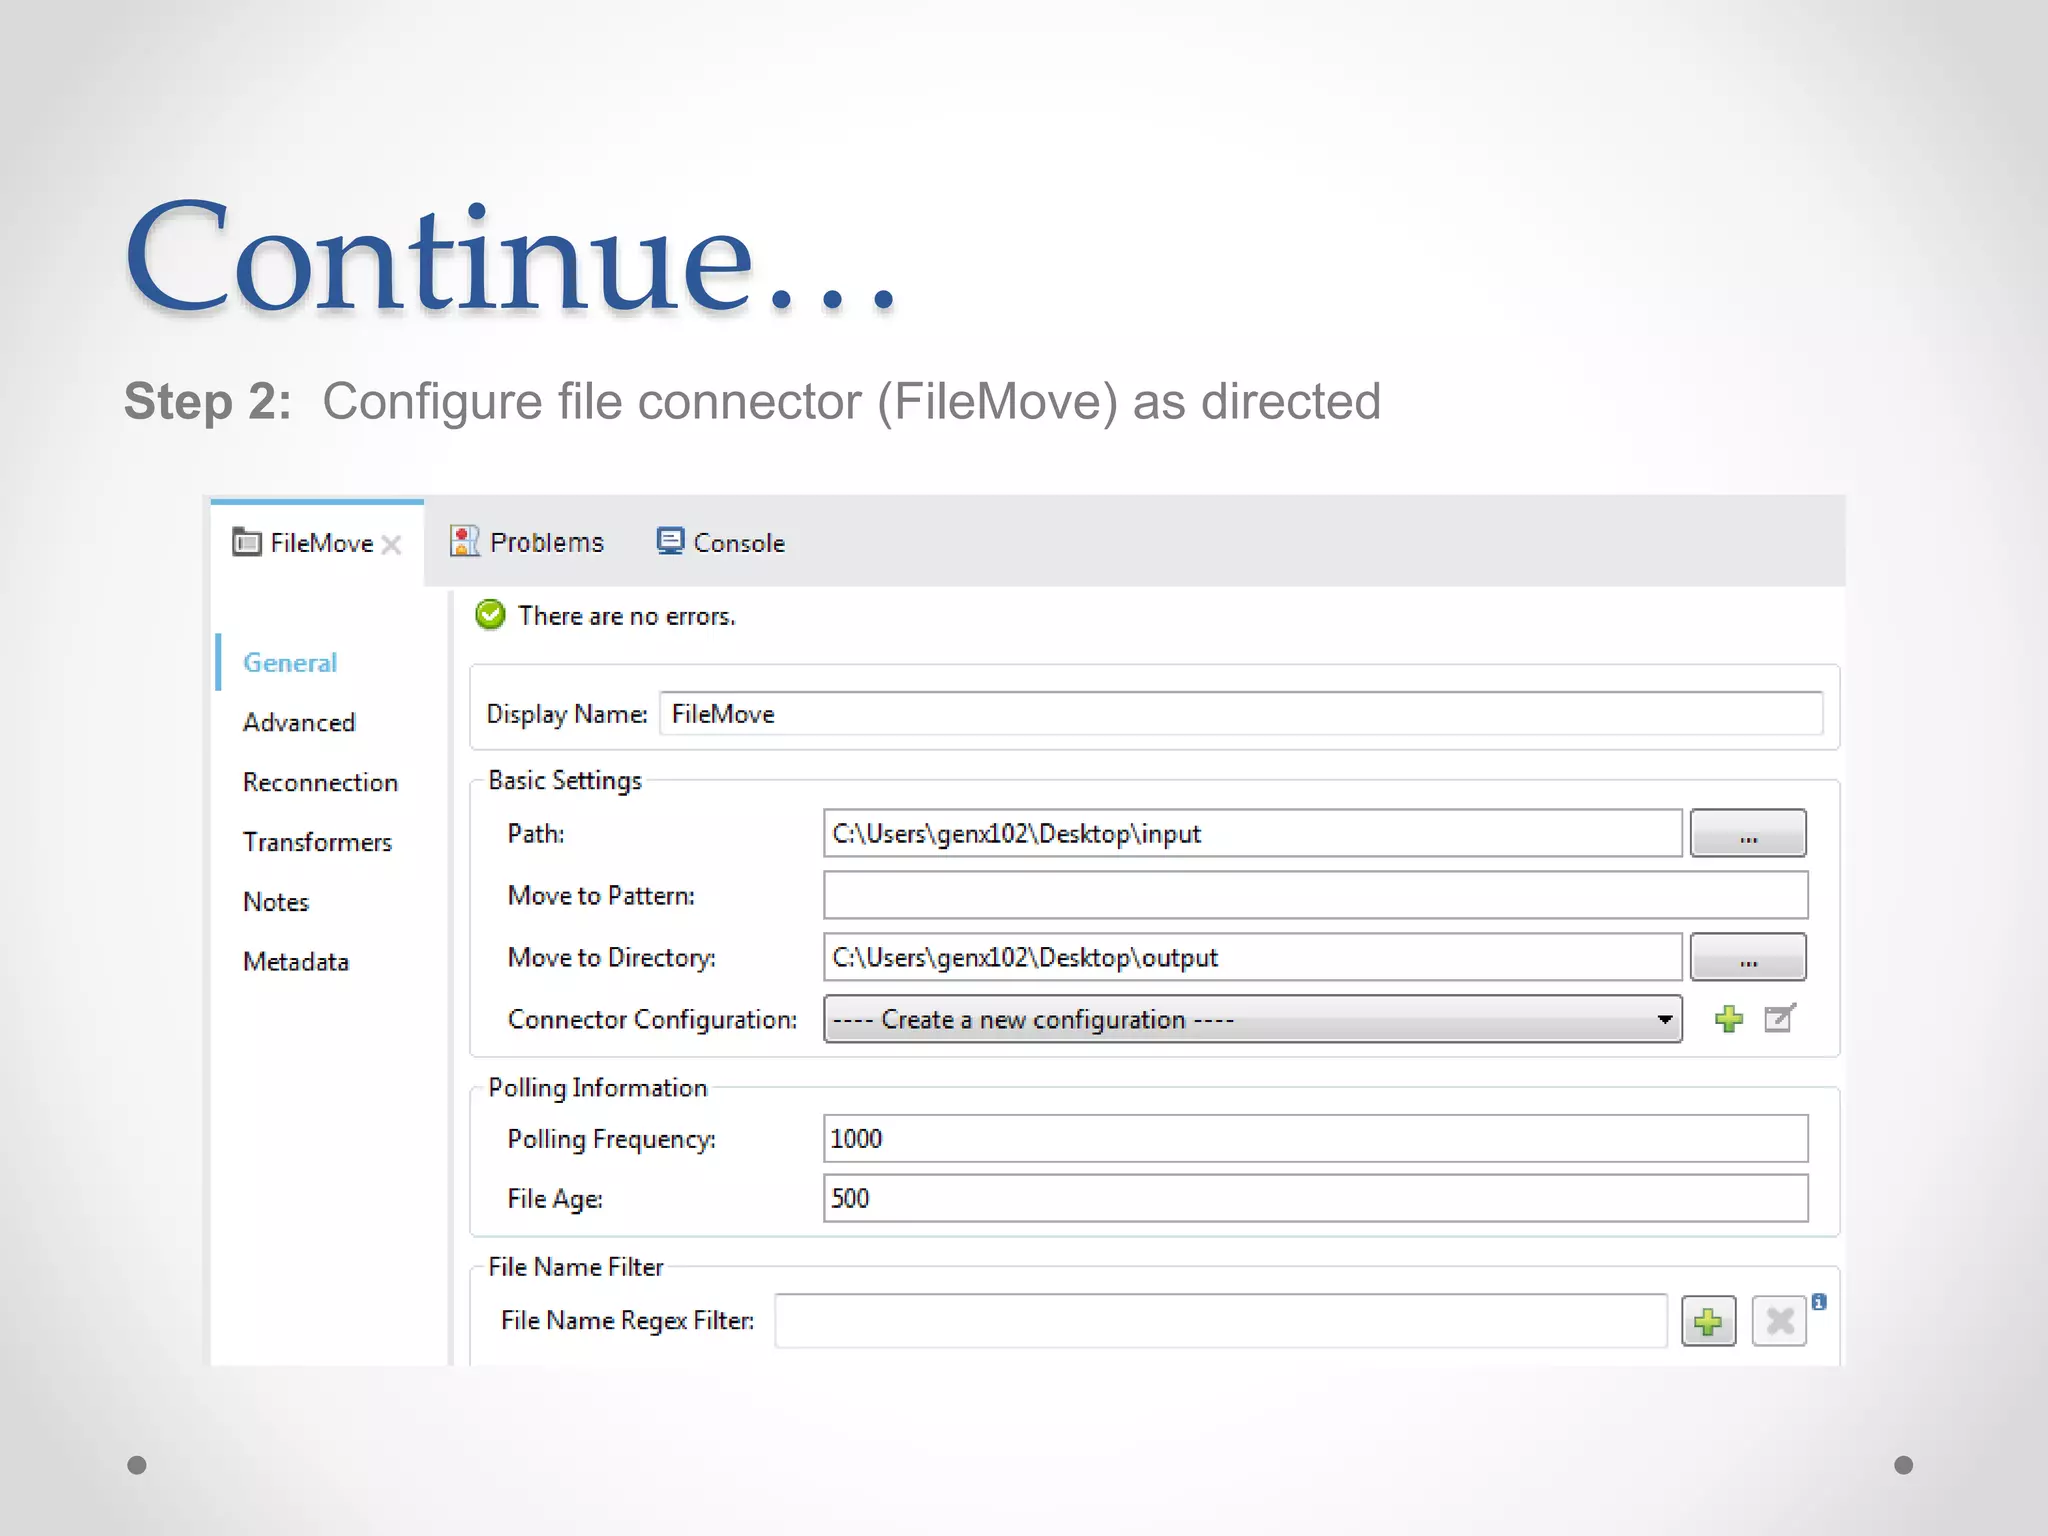
This document provides an overview of Mulesoft's File Connector. It discusses how the File Connector can be used as an inbound or outbound endpoint to exchange files with a file system. It also covers installing and configuring the File Connector, including the inbound vs outbound endpoint types and the Reconnection and Transformer tabs in the properties editor. The document concludes with a demo of using the File Connector to move files from one directory to another.