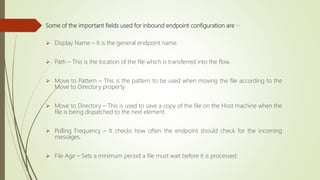
The document discusses various connectors in Mule ESB including the File, Database, and Web Service connectors.
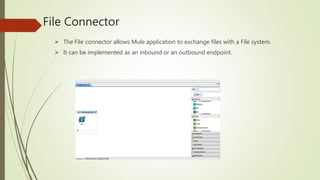
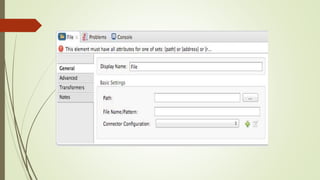
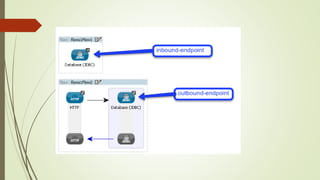
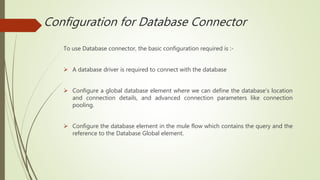
The File connector allows exchanging files with the file system and can be configured as an inbound or outbound endpoint. The Database connector allows connecting to relational databases using JDBC to perform SQL operations. The Web Service connector allows consuming existing web services, building new services, and creating proxies. The REST component allows Mule to act as a RESTful service consumer or publisher.


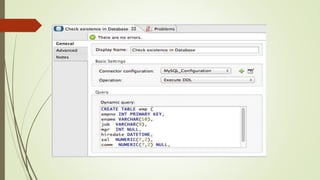
![ Type – To define the type of SQL statement we wish to use to submit queries to a
database :
Parametrized – Mule replaces all MEL expressions inside the query with “?” to create
a prepared statement, then evaluates the MEL expressions.
E.g:- insert into employees where name = #[message.payload.name]
Dynamic – Mule replaces all MEL expressions in the query with the result of the
expression evaluation, then sends the results to the database.
E.g:- select * from #[tablename]
From Template- It enables to define a query once globally and then reuse the query
multiple times in the same application.](https://image.slidesharecdn.com/mule-connectors-part1-170803213729/85/Mule-connectors-part-1-19-320.jpg)