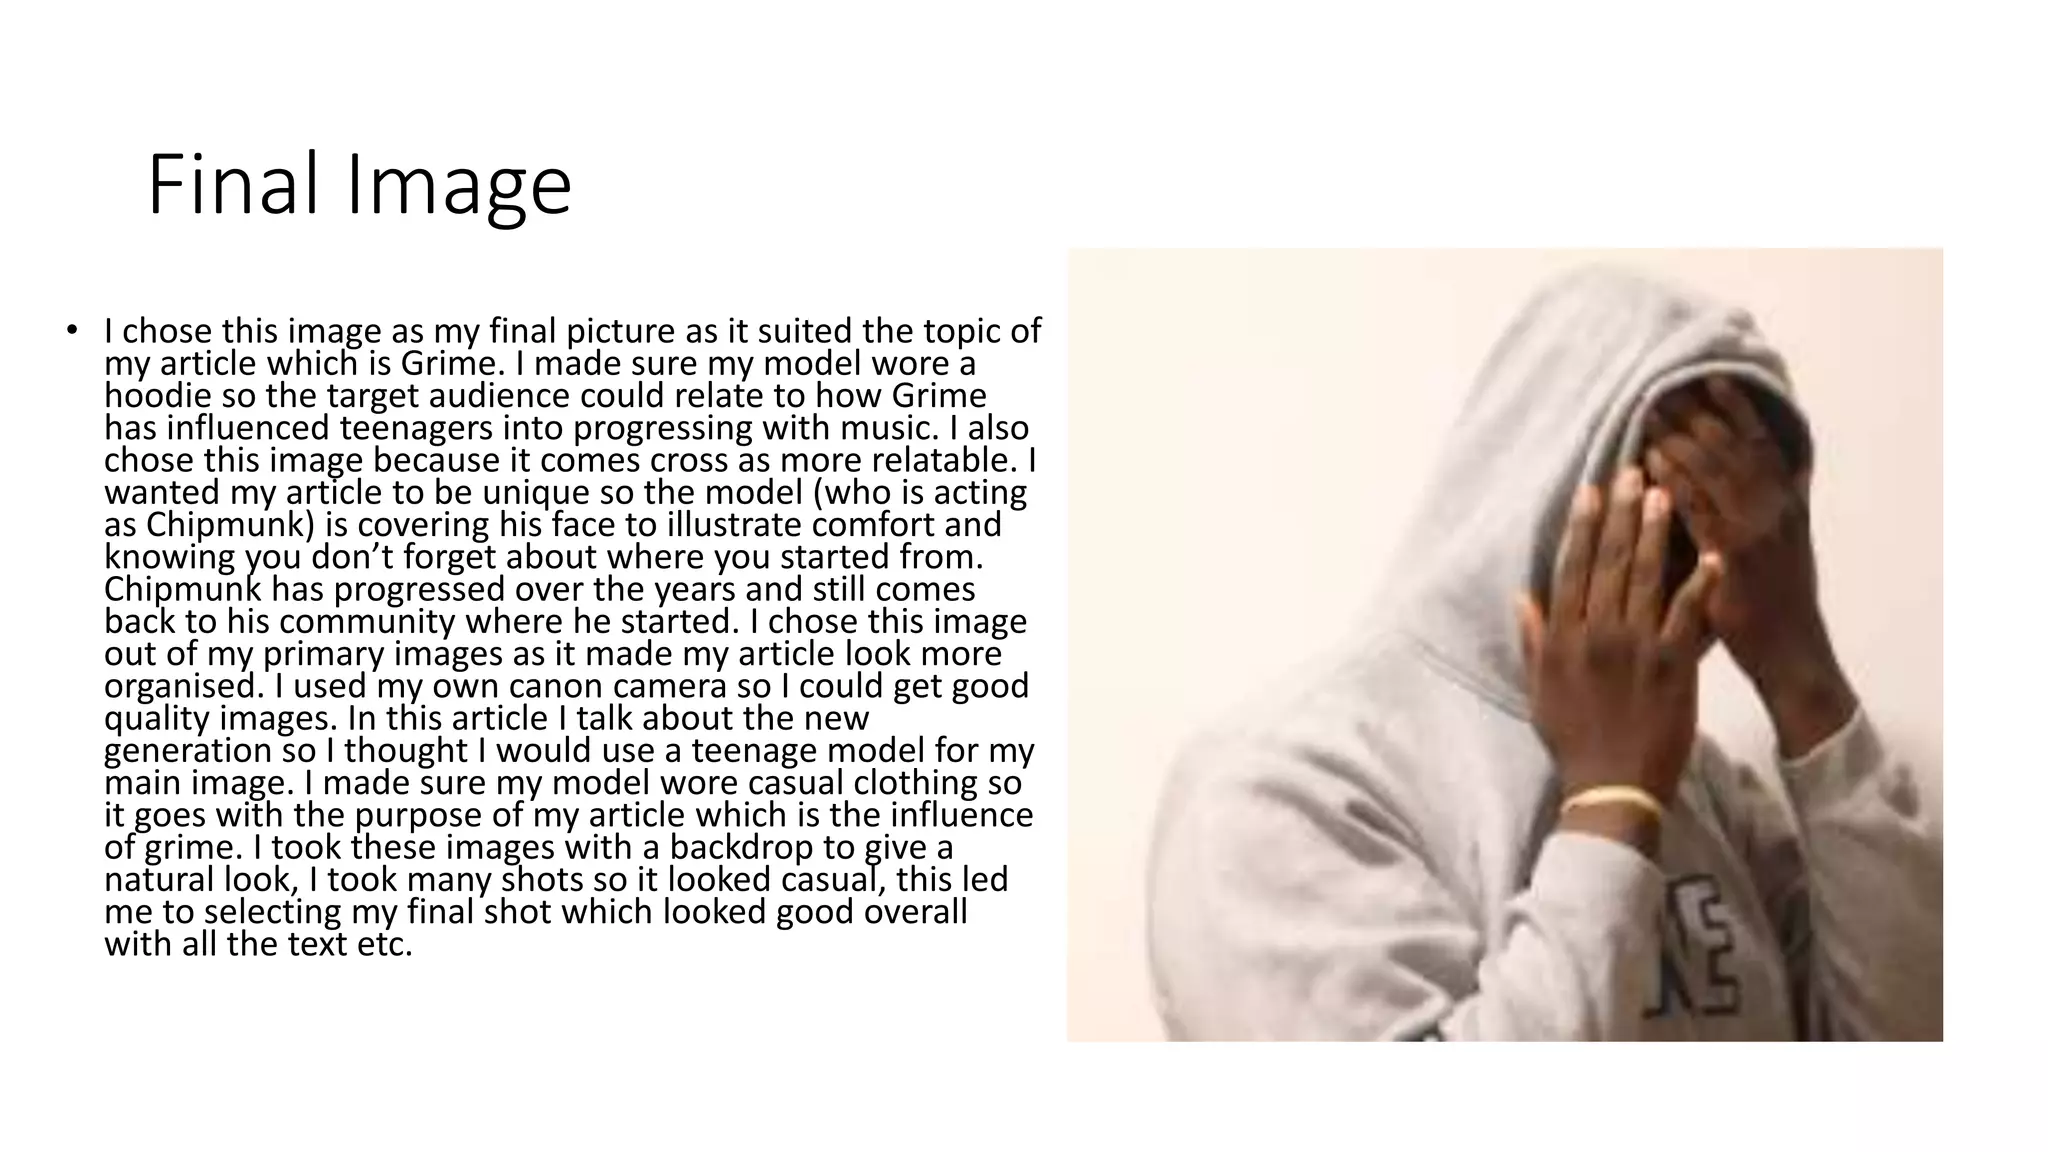
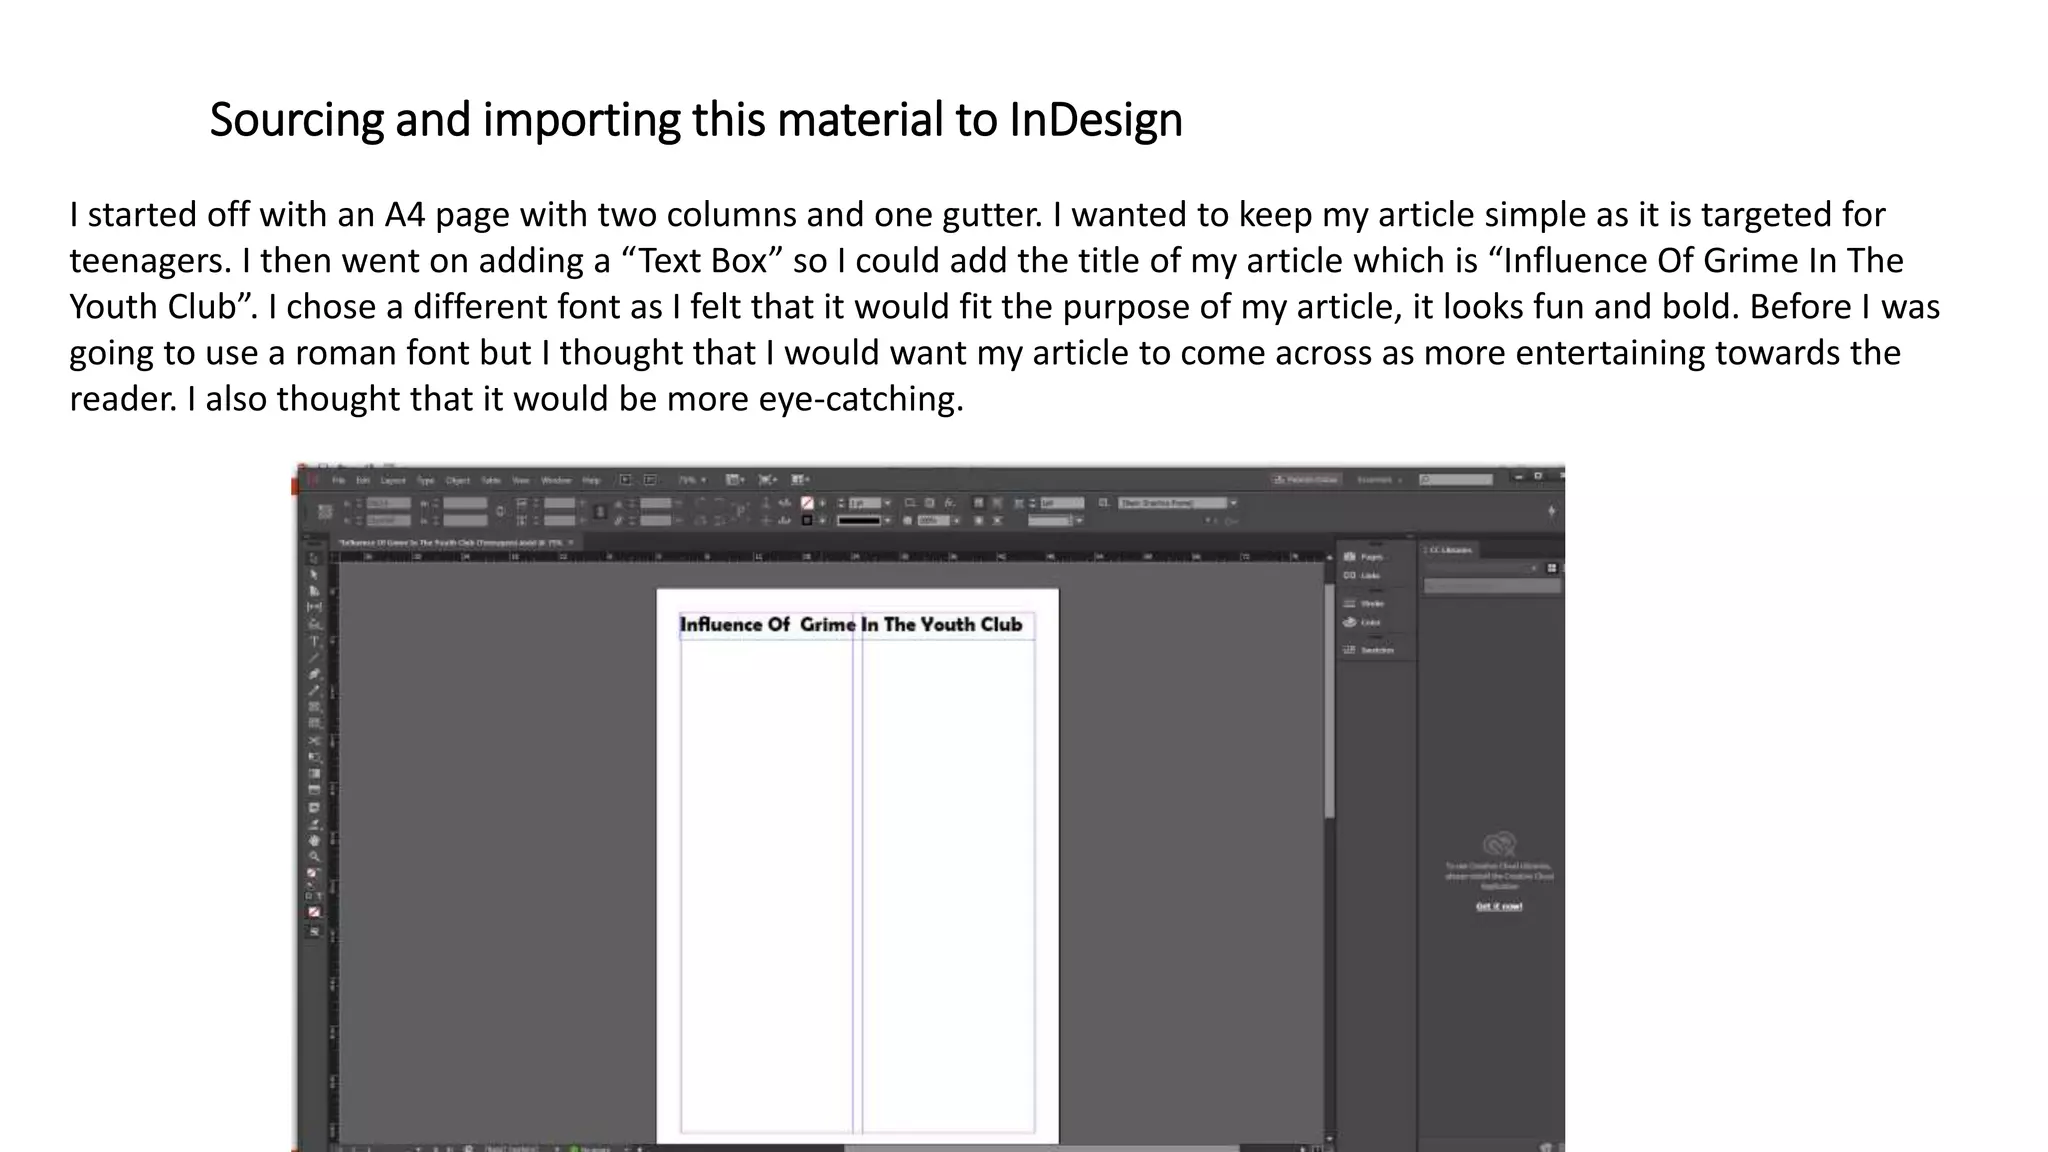
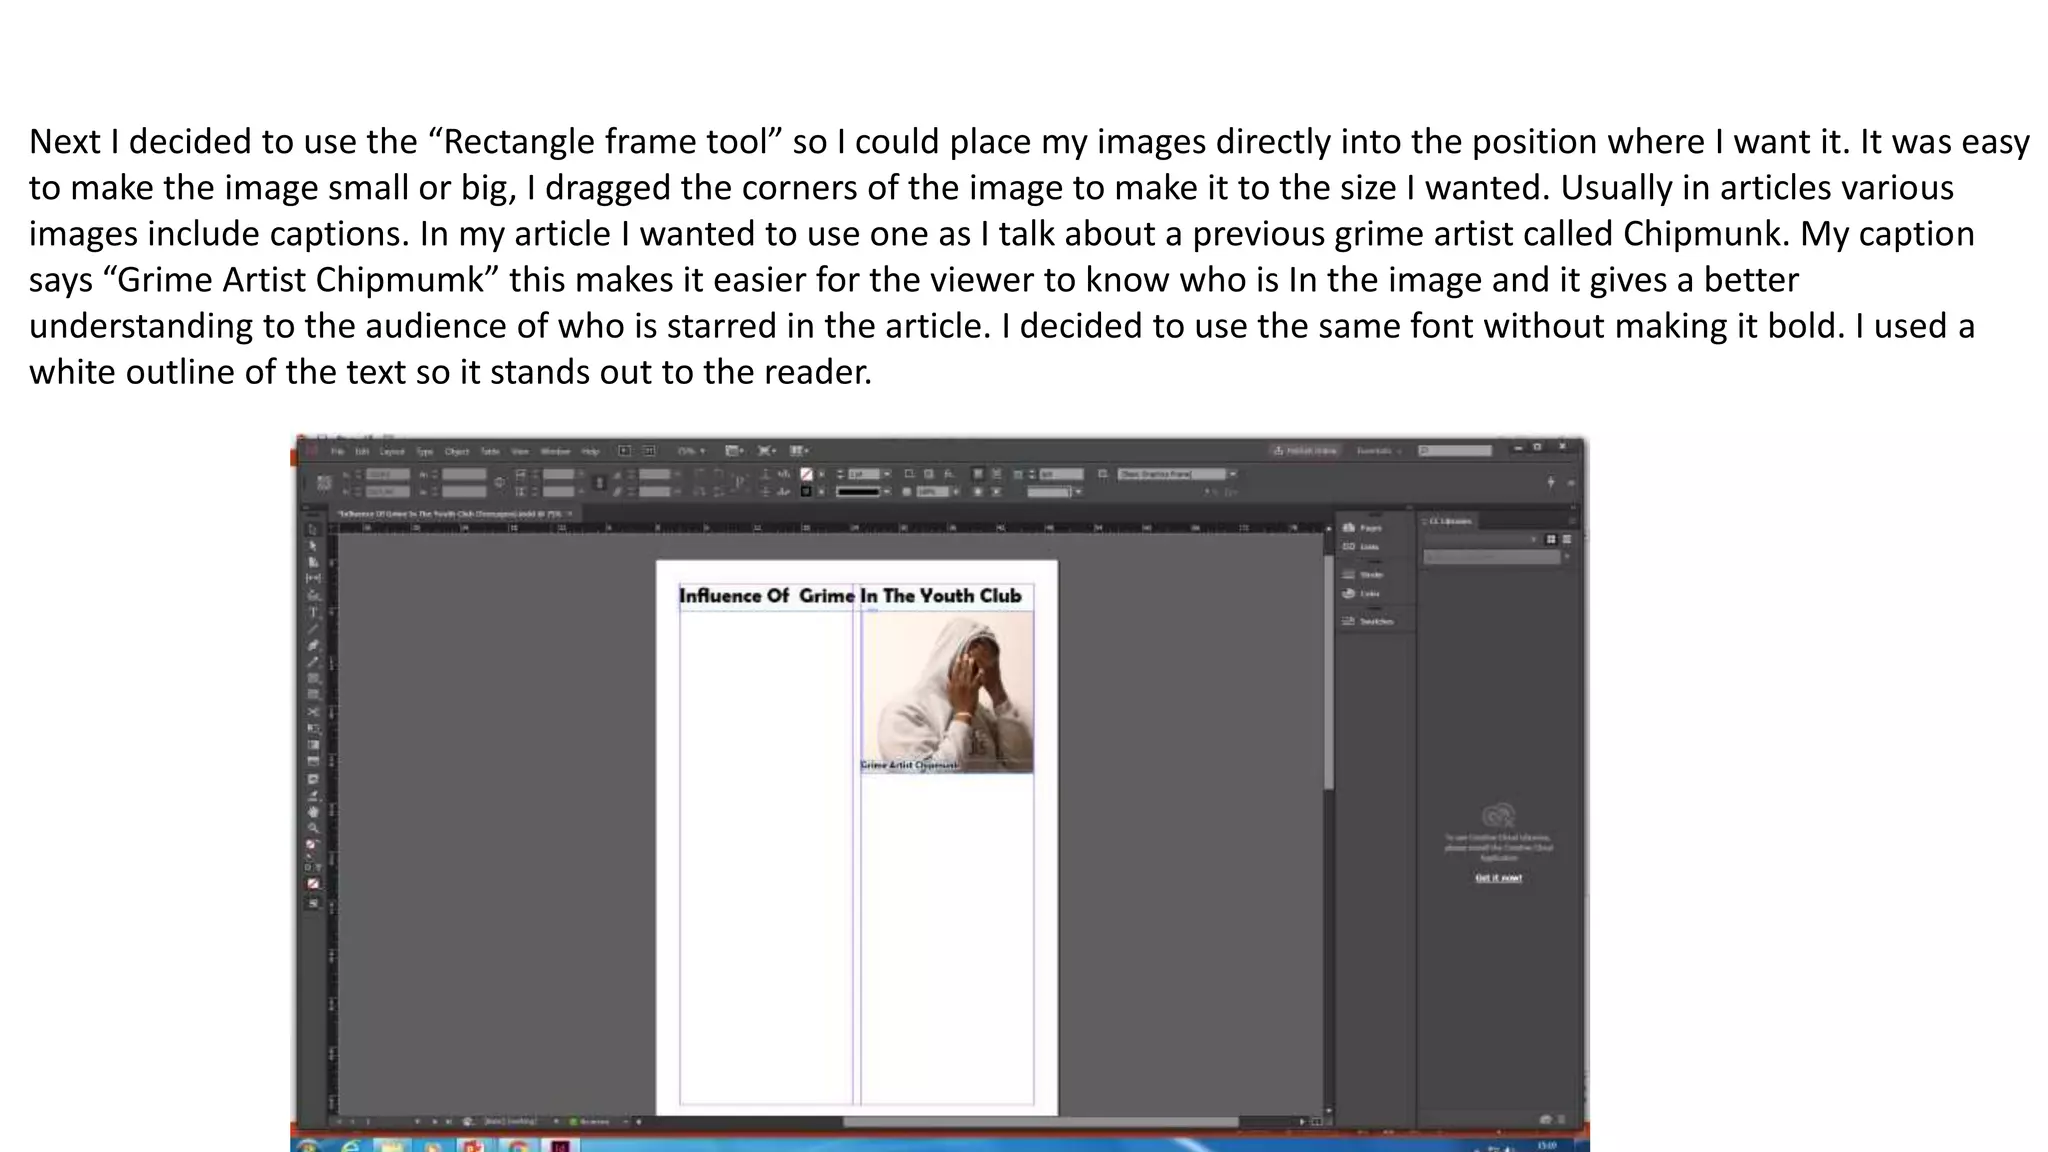
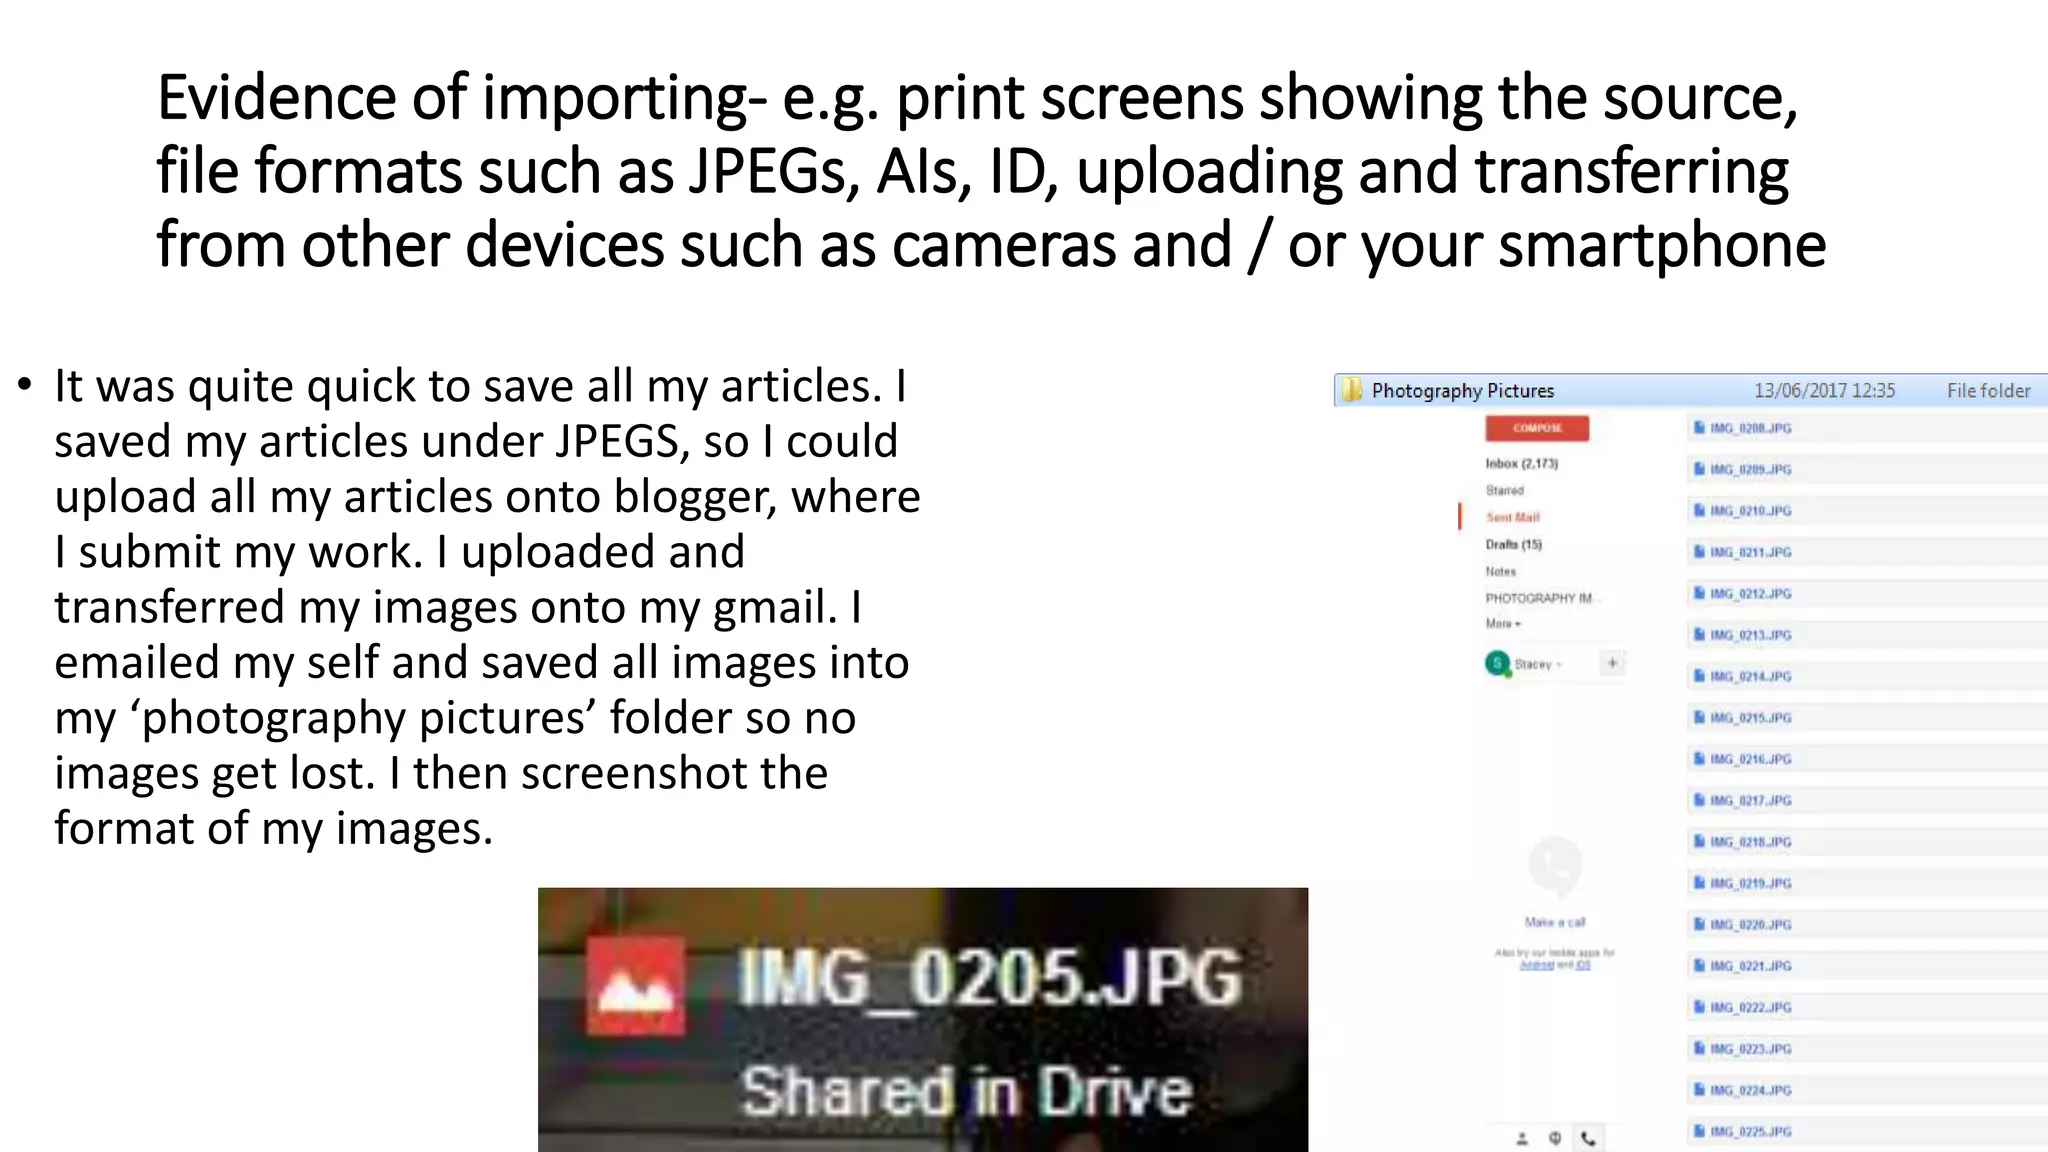
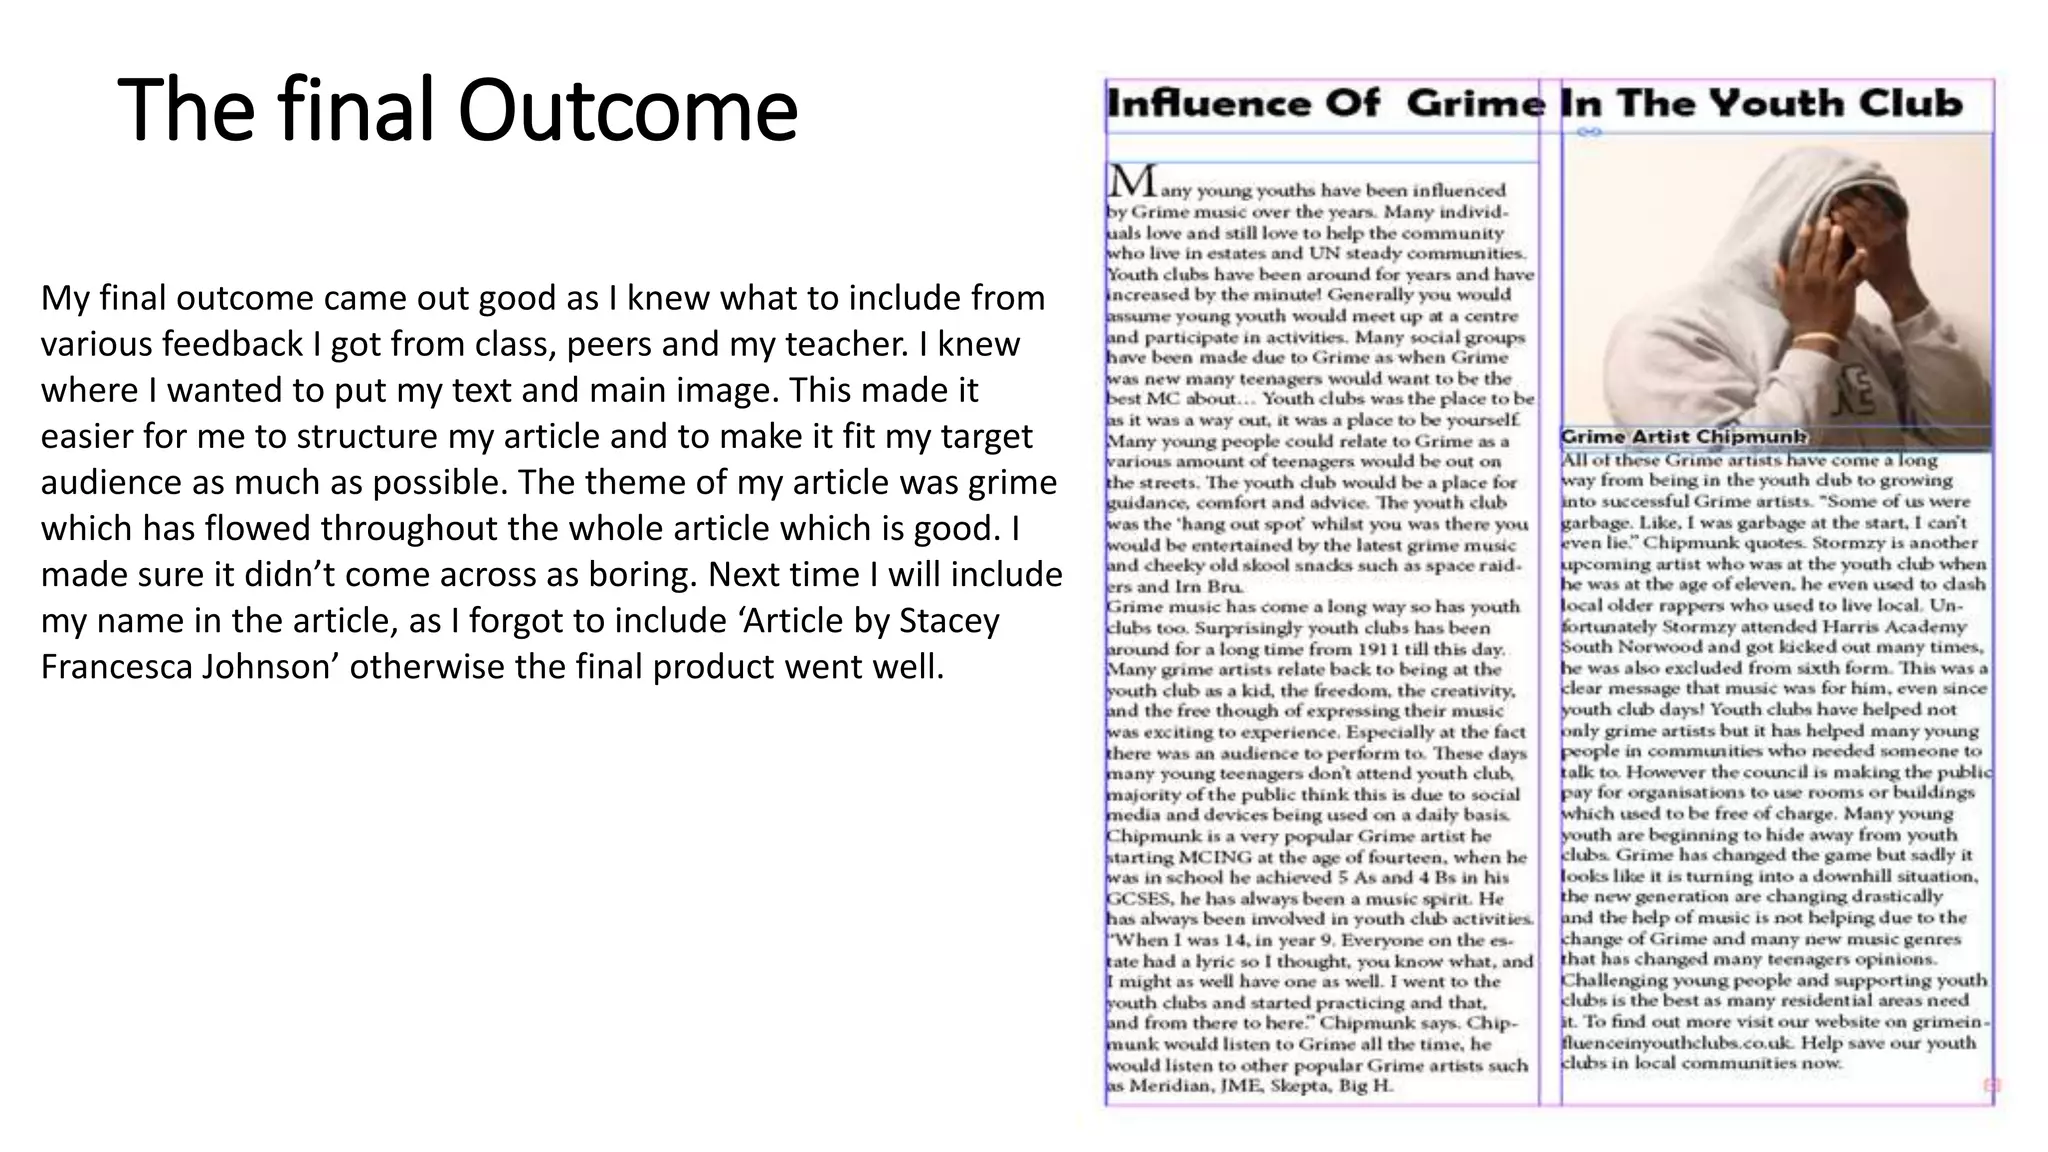
Task 3
The Beginning Of Uprising Youth In The UK
Selected Images Taken
Final Image
• I chose this image as my final picture as it suited the topic of
my article which is Grime. I made sure my model wore a
hoodie so the target audience could relate to how Grime
has influenced teenagers into progressing with music. I also
chose this image because it comes cross as more relatable. I
wanted my article to be unique so the model (who is acting
as Chipmunk) is covering his face to illustrate comfort and
knowing you don’t forget about where you started from.
Chipmunk has progressed over the years and still comes
back to his community where he started. I chose this image
out of my primary images as it made my article look more
organised. I used my own canon camera so I could get good
quality images. In this article I talk about the new
generation so I thought I would use a teenage model for my
main image. I made sure my model wore casual clothing so
it goes with the purpose of my article which is the influence
of grime. I took these images with a backdrop to give a
natural look, I took many shots so it looked casual, this led
me to selecting my final shot which looked good overall
with all the text etc.
Sourcing and importing this material to InDesign
I started off with an A4 page with two columns and one gutter. I wanted to keep my article simple as it is targeted for
teenagers. I then went on adding a “Text Box” so I could add the title of my article which is “Influence Of Grime In The
Youth Club”. I chose a different font as I felt that it would fit the purpose of my article, it looks fun and bold. Before I was
going to use a roman font but I thought that I would want my article to come across as more entertaining towards the
reader. I also thought that it would be more eye-catching.
Next I decided to use the “Rectangle frame tool” so I could place my images directly into the position where I want it. It was easy
to make the image small or big, I dragged the corners of the image to make it to the size I wanted. Usually in articles various
images include captions. In my article I wanted to use one as I talk about a previous grime artist called Chipmunk. My caption
says “Grime Artist Chipmumk” this makes it easier for the viewer to know who is In the image and it gives a better
understanding to the audience of who is starred in the article. I decided to use the same font without making it bold. I used a
white outline of the text so it stands out to the reader.
I then went on to adding two “Text boxes” so I could add my actual text for the article. I made the text a size
13 because it fit perfectly and size 14 was too big. I made sure the text was not squashed and is easy to
read. I then went on to adding my drop cap on ‘Many’ so the reader knows where the article starts. I made
sure the spacing of the text was equal. I used a roman font as It gave a modern look. It made the article
look slick and organised.
Evidence of importing- e.g. print screens showing the source,
file formats such as JPEGs, AIs, ID, uploading and transferring
from other devices such as cameras and / or your smartphone
• It was quite quick to save all my articles. I
saved my articles under JPEGS, so I could
upload all my articles onto blogger, where
I submit my work. I uploaded and
transferred my images onto my gmail. I
emailed my self and saved all images into
my ‘photography pictures’ folder so no
images get lost. I then screenshot the
format of my images.
The final Outcome
My final outcome came out good as I knew what to include from
various feedback I got from class, peers and my teacher. I knew
where I wanted to put my text and main image. This made it
easier for me to structure my article and to make it fit my target
audience as much as possible. The theme of my article was grime
which has flowed throughout the whole article which is good. I
made sure it didn’t come across as boring. Next time I will include
my name in the article, as I forgot to include ‘Article by Stacey
Francesca Johnson’ otherwise the final product went well.
Main article step by step 2 (1)

Main article step by step 2 (1)

  • 1.
    Task 3 The BeginningOf Uprising Youth In The UK
  • 2.
  • 3.
    Final Image • Ichose this image as my final picture as it suited the topic of my article which is Grime. I made sure my model wore a hoodie so the target audience could relate to how Grime has influenced teenagers into progressing with music. I also chose this image because it comes cross as more relatable. I wanted my article to be unique so the model (who is acting as Chipmunk) is covering his face to illustrate comfort and knowing you don’t forget about where you started from. Chipmunk has progressed over the years and still comes back to his community where he started. I chose this image out of my primary images as it made my article look more organised. I used my own canon camera so I could get good quality images. In this article I talk about the new generation so I thought I would use a teenage model for my main image. I made sure my model wore casual clothing so it goes with the purpose of my article which is the influence of grime. I took these images with a backdrop to give a natural look, I took many shots so it looked casual, this led me to selecting my final shot which looked good overall with all the text etc.
  • 4.
    Sourcing and importingthis material to InDesign I started off with an A4 page with two columns and one gutter. I wanted to keep my article simple as it is targeted for teenagers. I then went on adding a “Text Box” so I could add the title of my article which is “Influence Of Grime In The Youth Club”. I chose a different font as I felt that it would fit the purpose of my article, it looks fun and bold. Before I was going to use a roman font but I thought that I would want my article to come across as more entertaining towards the reader. I also thought that it would be more eye-catching.
  • 5.
    Next I decidedto use the “Rectangle frame tool” so I could place my images directly into the position where I want it. It was easy to make the image small or big, I dragged the corners of the image to make it to the size I wanted. Usually in articles various images include captions. In my article I wanted to use one as I talk about a previous grime artist called Chipmunk. My caption says “Grime Artist Chipmumk” this makes it easier for the viewer to know who is In the image and it gives a better understanding to the audience of who is starred in the article. I decided to use the same font without making it bold. I used a white outline of the text so it stands out to the reader.
  • 6.
    I then wenton to adding two “Text boxes” so I could add my actual text for the article. I made the text a size 13 because it fit perfectly and size 14 was too big. I made sure the text was not squashed and is easy to read. I then went on to adding my drop cap on ‘Many’ so the reader knows where the article starts. I made sure the spacing of the text was equal. I used a roman font as It gave a modern look. It made the article look slick and organised.
  • 7.
    Evidence of importing-e.g. print screens showing the source, file formats such as JPEGs, AIs, ID, uploading and transferring from other devices such as cameras and / or your smartphone • It was quite quick to save all my articles. I saved my articles under JPEGS, so I could upload all my articles onto blogger, where I submit my work. I uploaded and transferred my images onto my gmail. I emailed my self and saved all images into my ‘photography pictures’ folder so no images get lost. I then screenshot the format of my images.
  • 8.
    The final Outcome Myfinal outcome came out good as I knew what to include from various feedback I got from class, peers and my teacher. I knew where I wanted to put my text and main image. This made it easier for me to structure my article and to make it fit my target audience as much as possible. The theme of my article was grime which has flowed throughout the whole article which is good. I made sure it didn’t come across as boring. Next time I will include my name in the article, as I forgot to include ‘Article by Stacey Francesca Johnson’ otherwise the final product went well.