Download to read offline


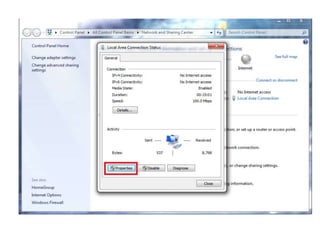


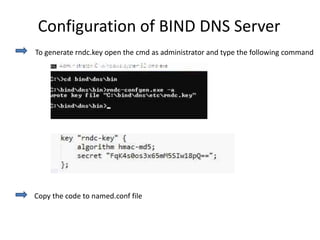


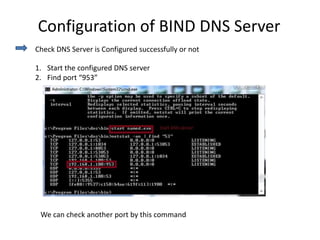

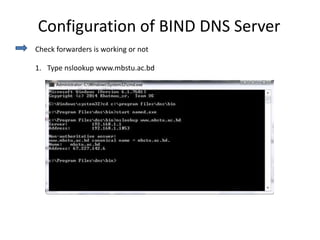


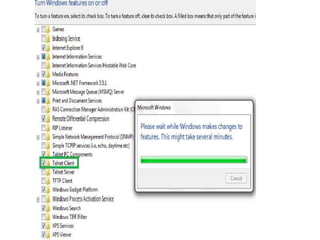


The presentation summarizes DNS, SMTP, and POP3 protocols. It discusses configuring a local host file to map IP addresses to hostnames, setting up a DNS server using Bind on Windows 7, and interacting with an email server using SMTP and POP3 commands via Telnet. The objectives are to resolve hostnames, configure DNS, and send emails between mailboxes on the email server. Requirements include networked PCs and servers running Windows 7 with TCP/IP and an email server configured with user mailboxes.