Downloaded 312 times

![(Skipped)
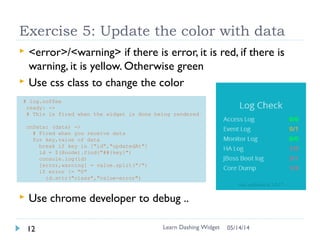
Exercise 5: Update the color with data
<error>/<warning> if there is error, it is red, if there is
warning, it is yellow. Otherwise green
Use css class to change the color
Use chrome developer to debug ..
Learn Dashing Widget15 06/16/16
# log.coffee
ready: ->
# This is fired when the widget is done being rendered
onData: (data) ->
# Fired when you receive data
for key,value of data
break if key in ["id","updatedAt"]
id = $(@node).find("##{key}")
console.log(id)
[error,warning] = value.split("/")
if error != "0"
id.attr("class","value-error")](https://image.slidesharecdn.com/learndashingwidget-140505205541-phpapp02/85/Learn-Dashing-Widget-in-90-minutes-14-320.jpg)
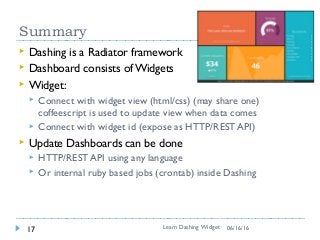

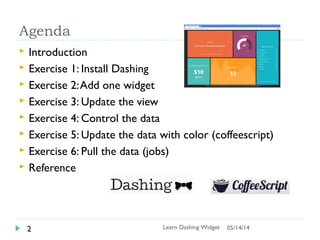
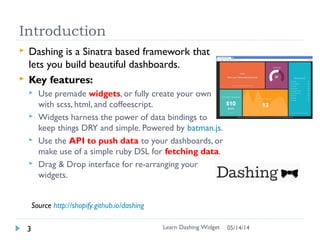
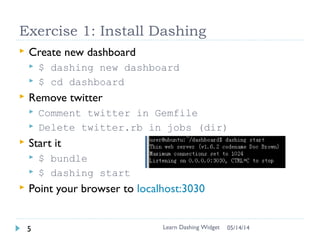
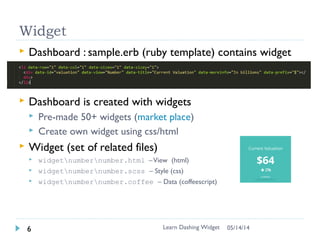
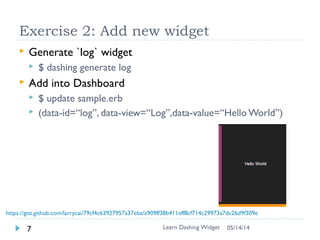
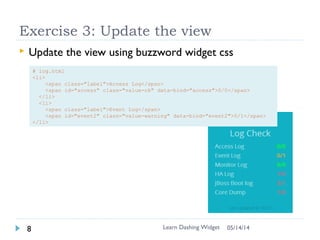
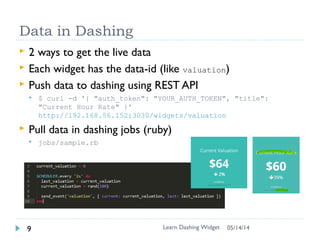
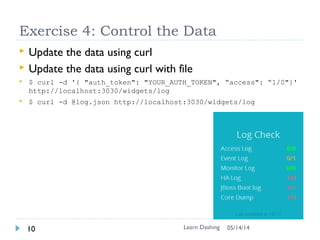
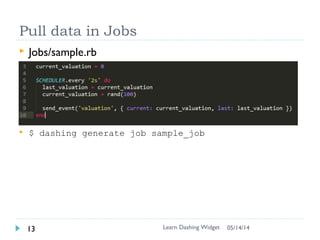
The document outlines an agenda for learning how to build dashboards using the Dashing framework. The exercises include installing Dashing, adding and customizing widgets, updating widget data via REST API calls, and pulling data into widgets using jobs. Dashing allows creating customizable dashboards using premade or custom widgets that can be updated dynamically by connecting widget views to data through CoffeeScript.