Download as PDF, PPTX

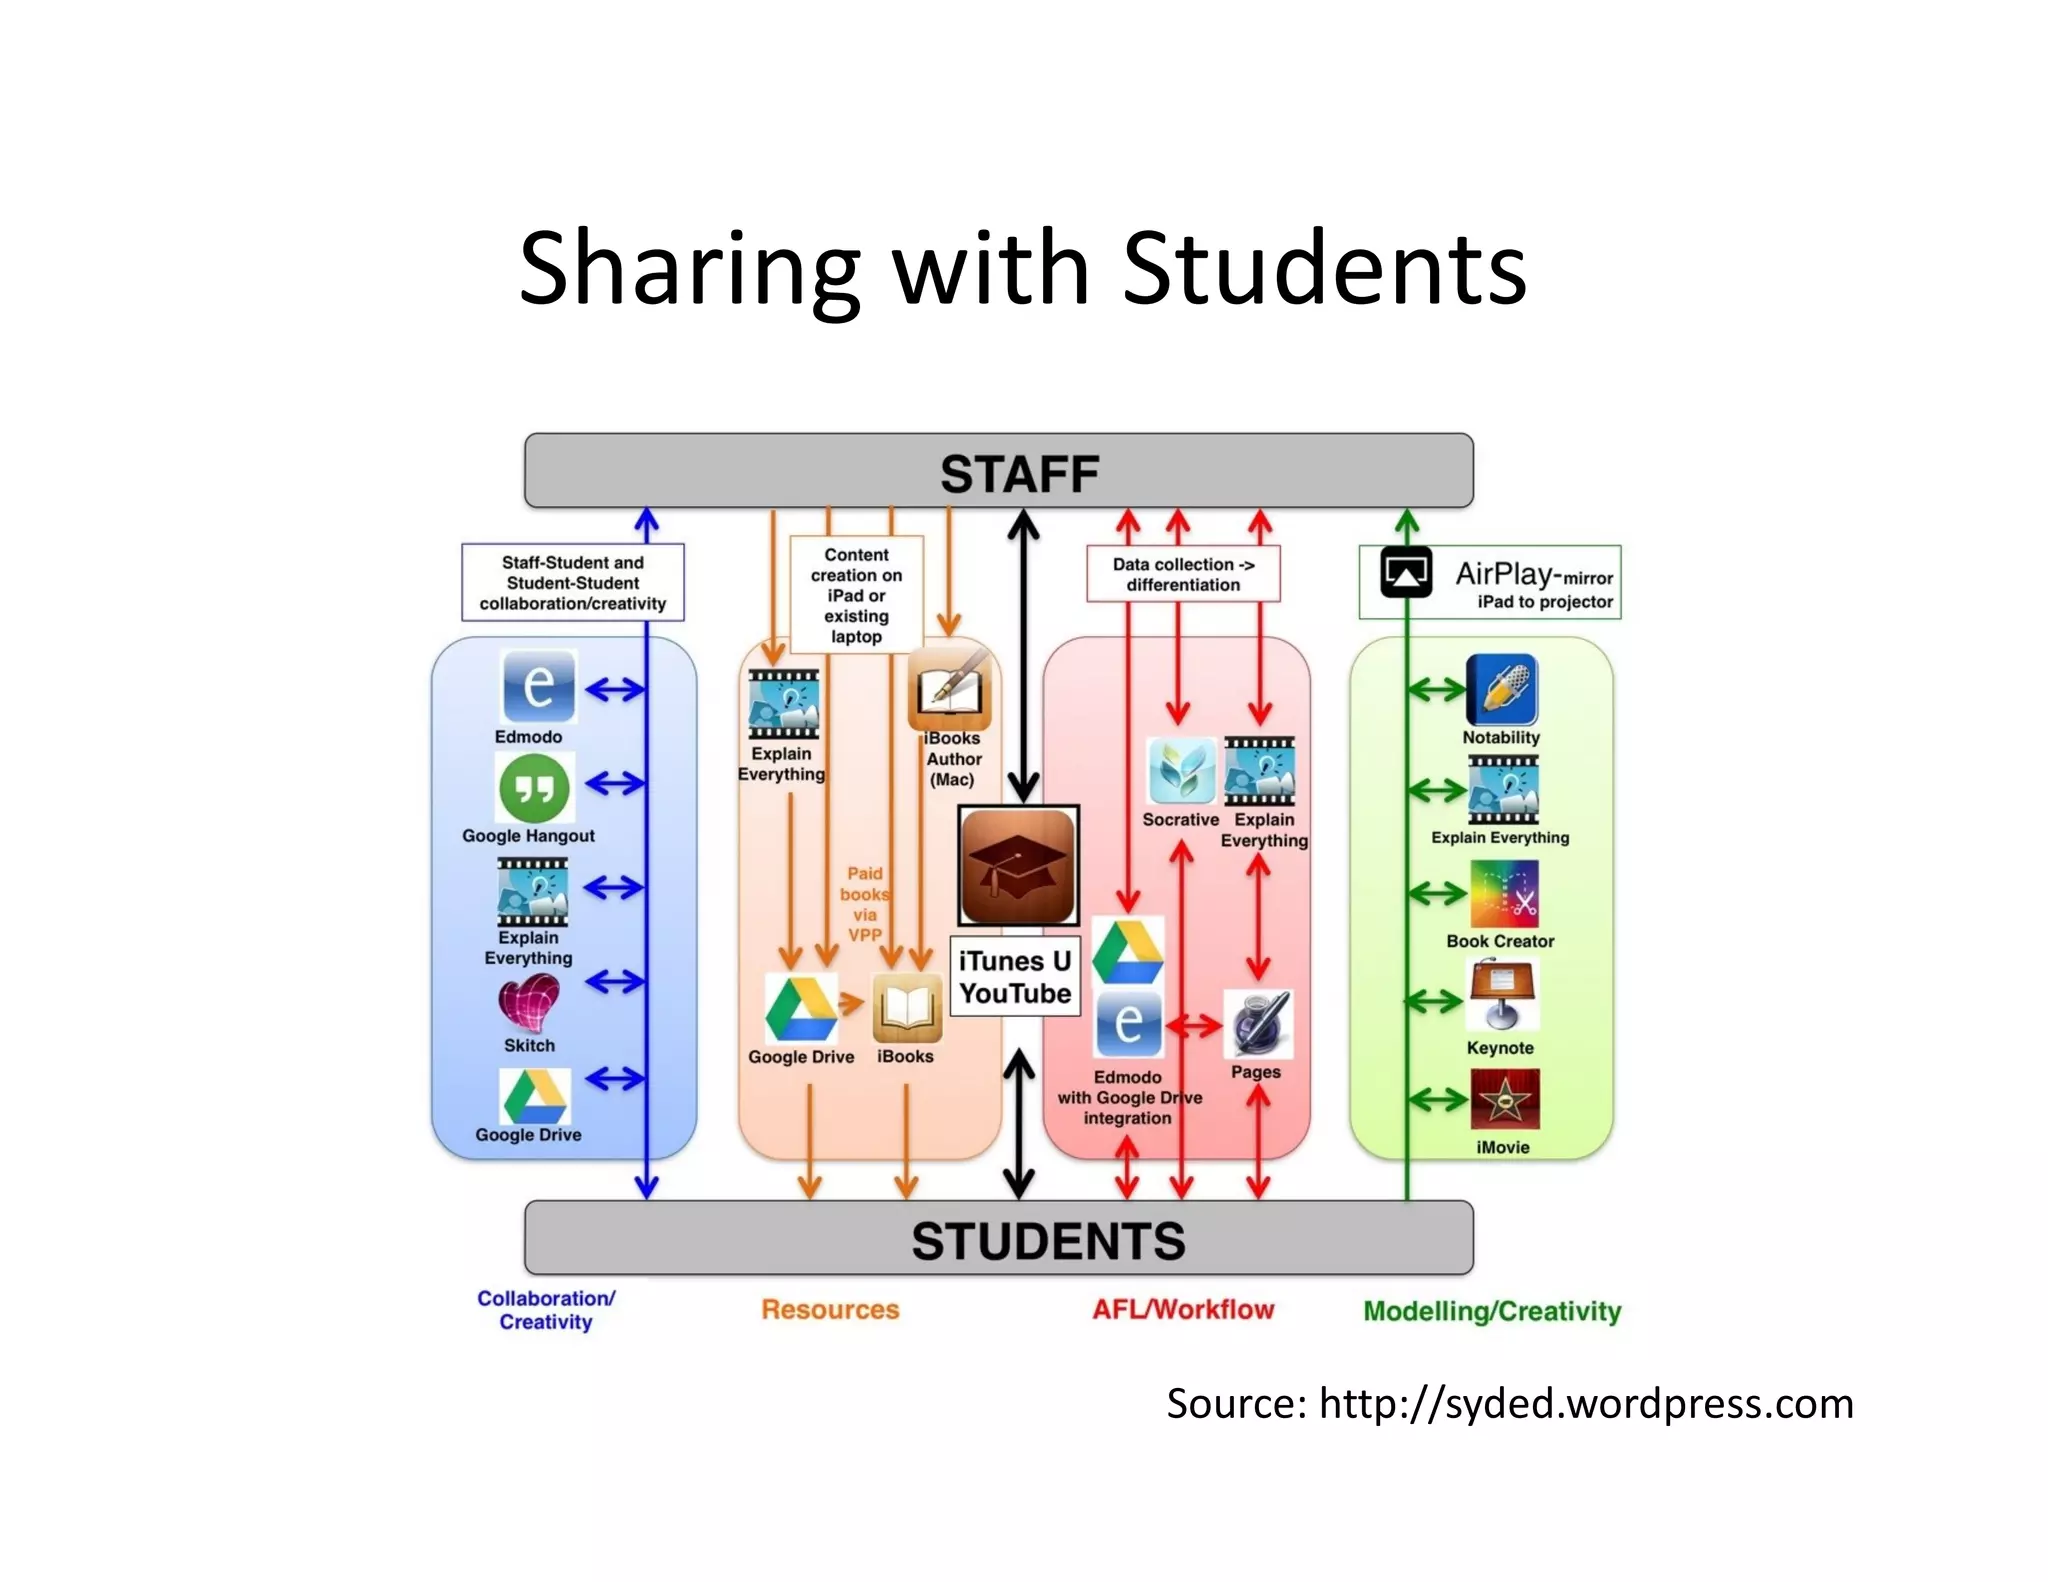
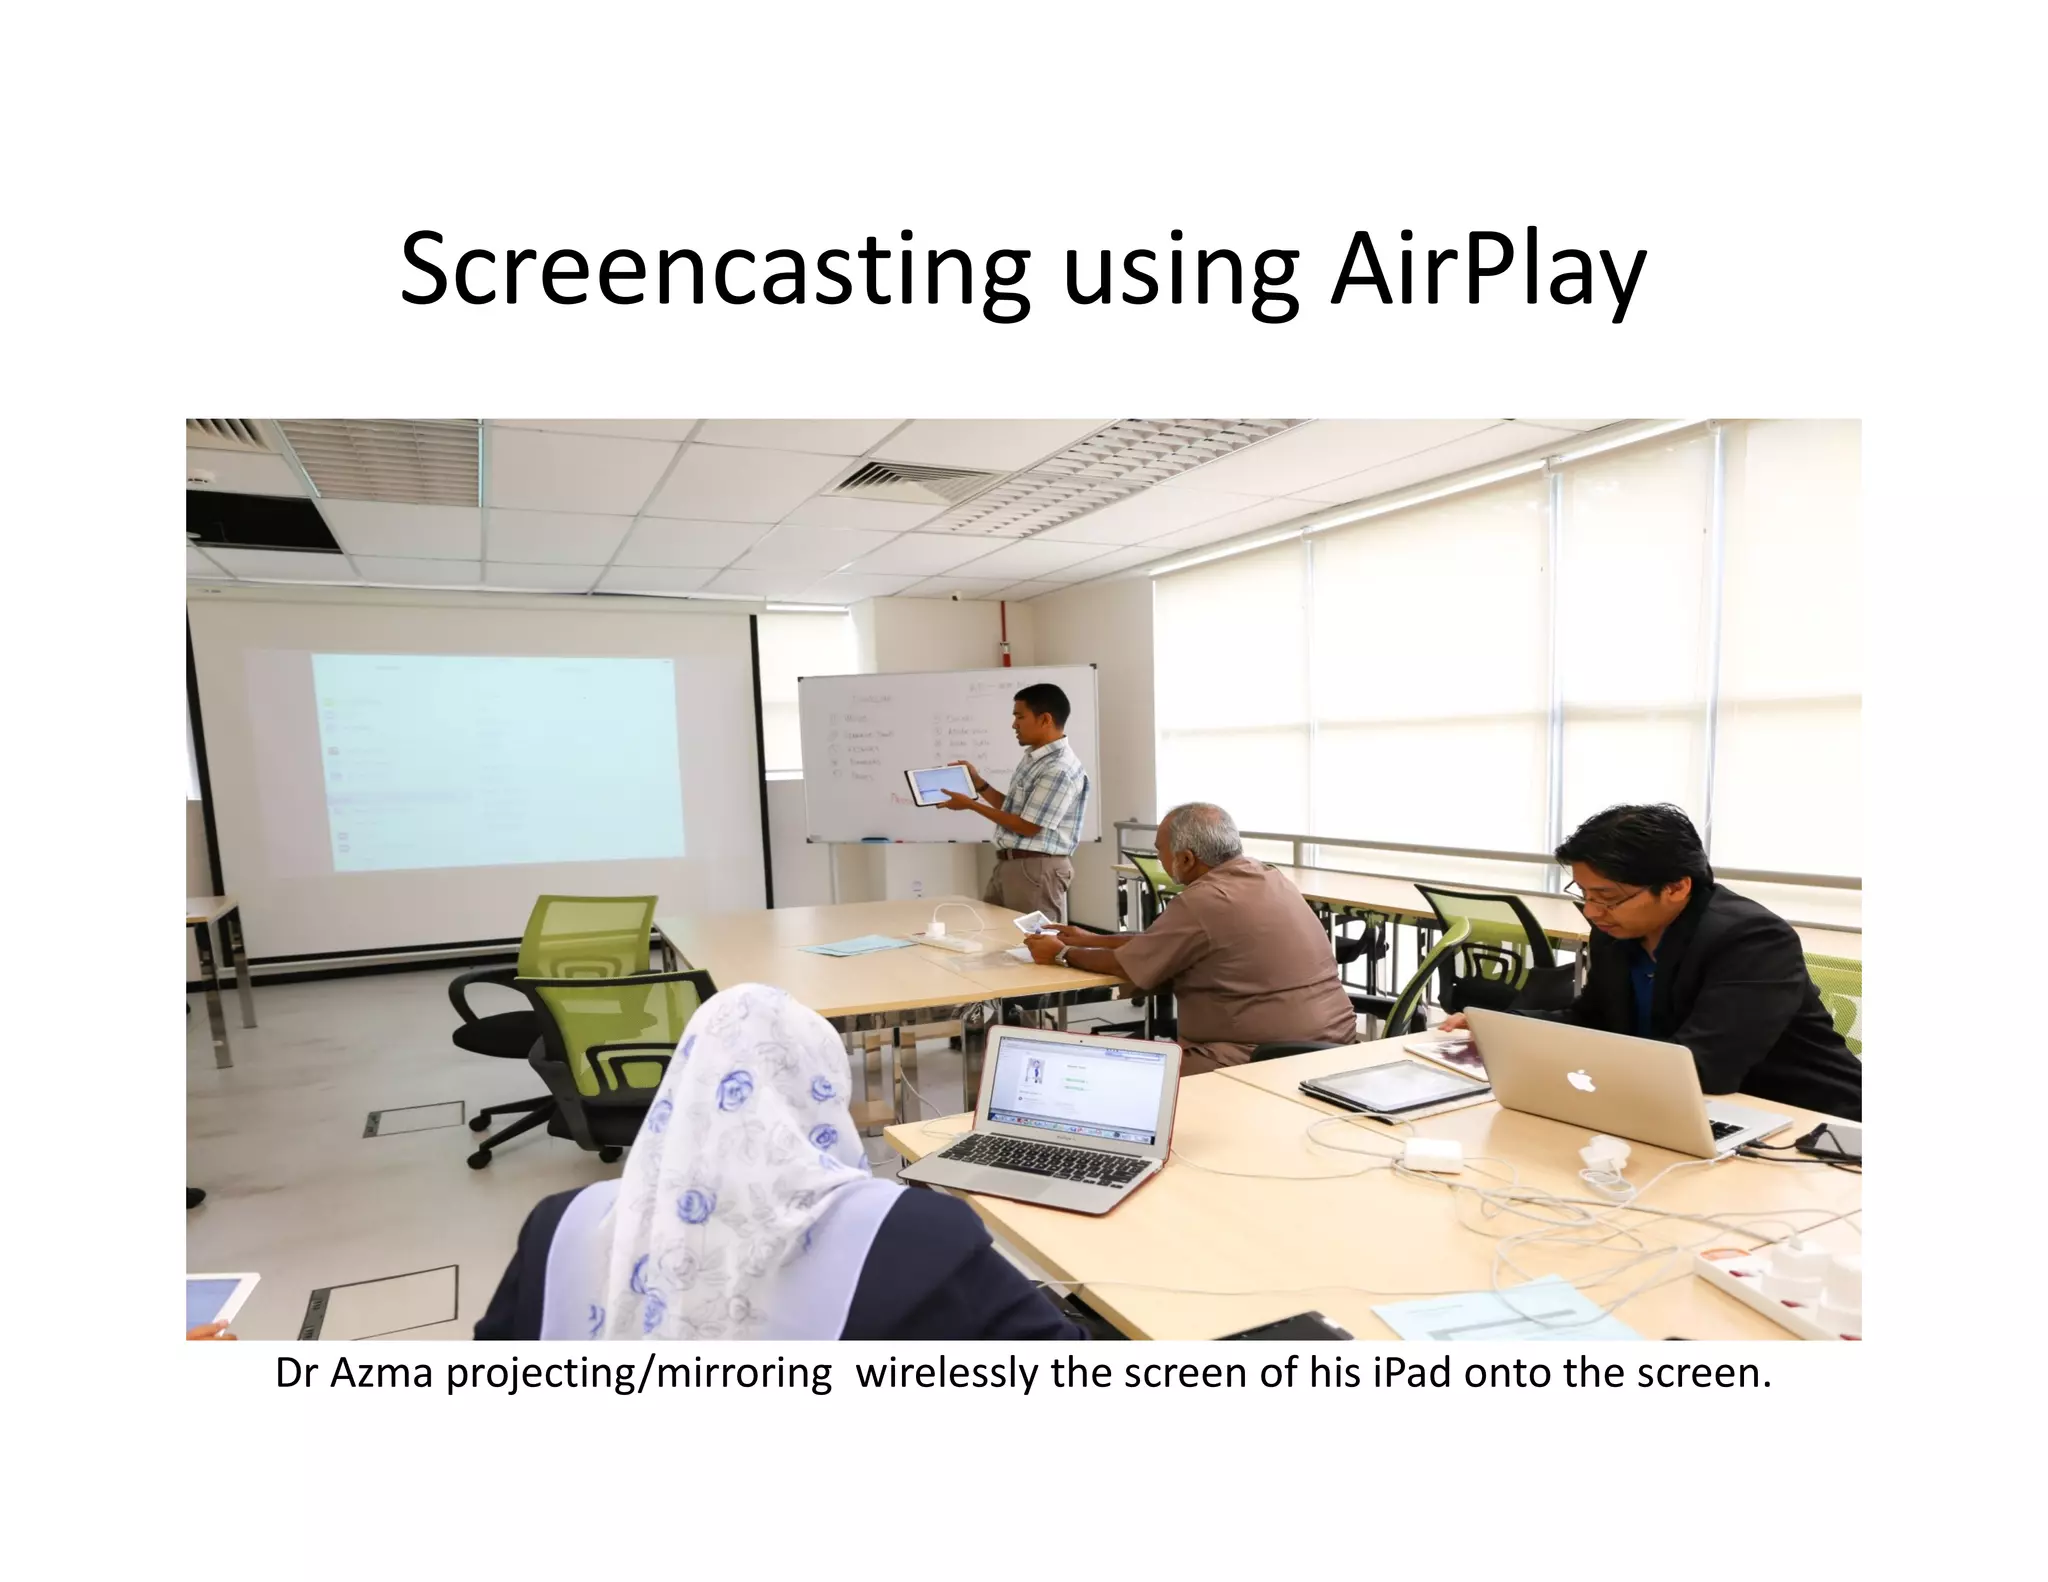
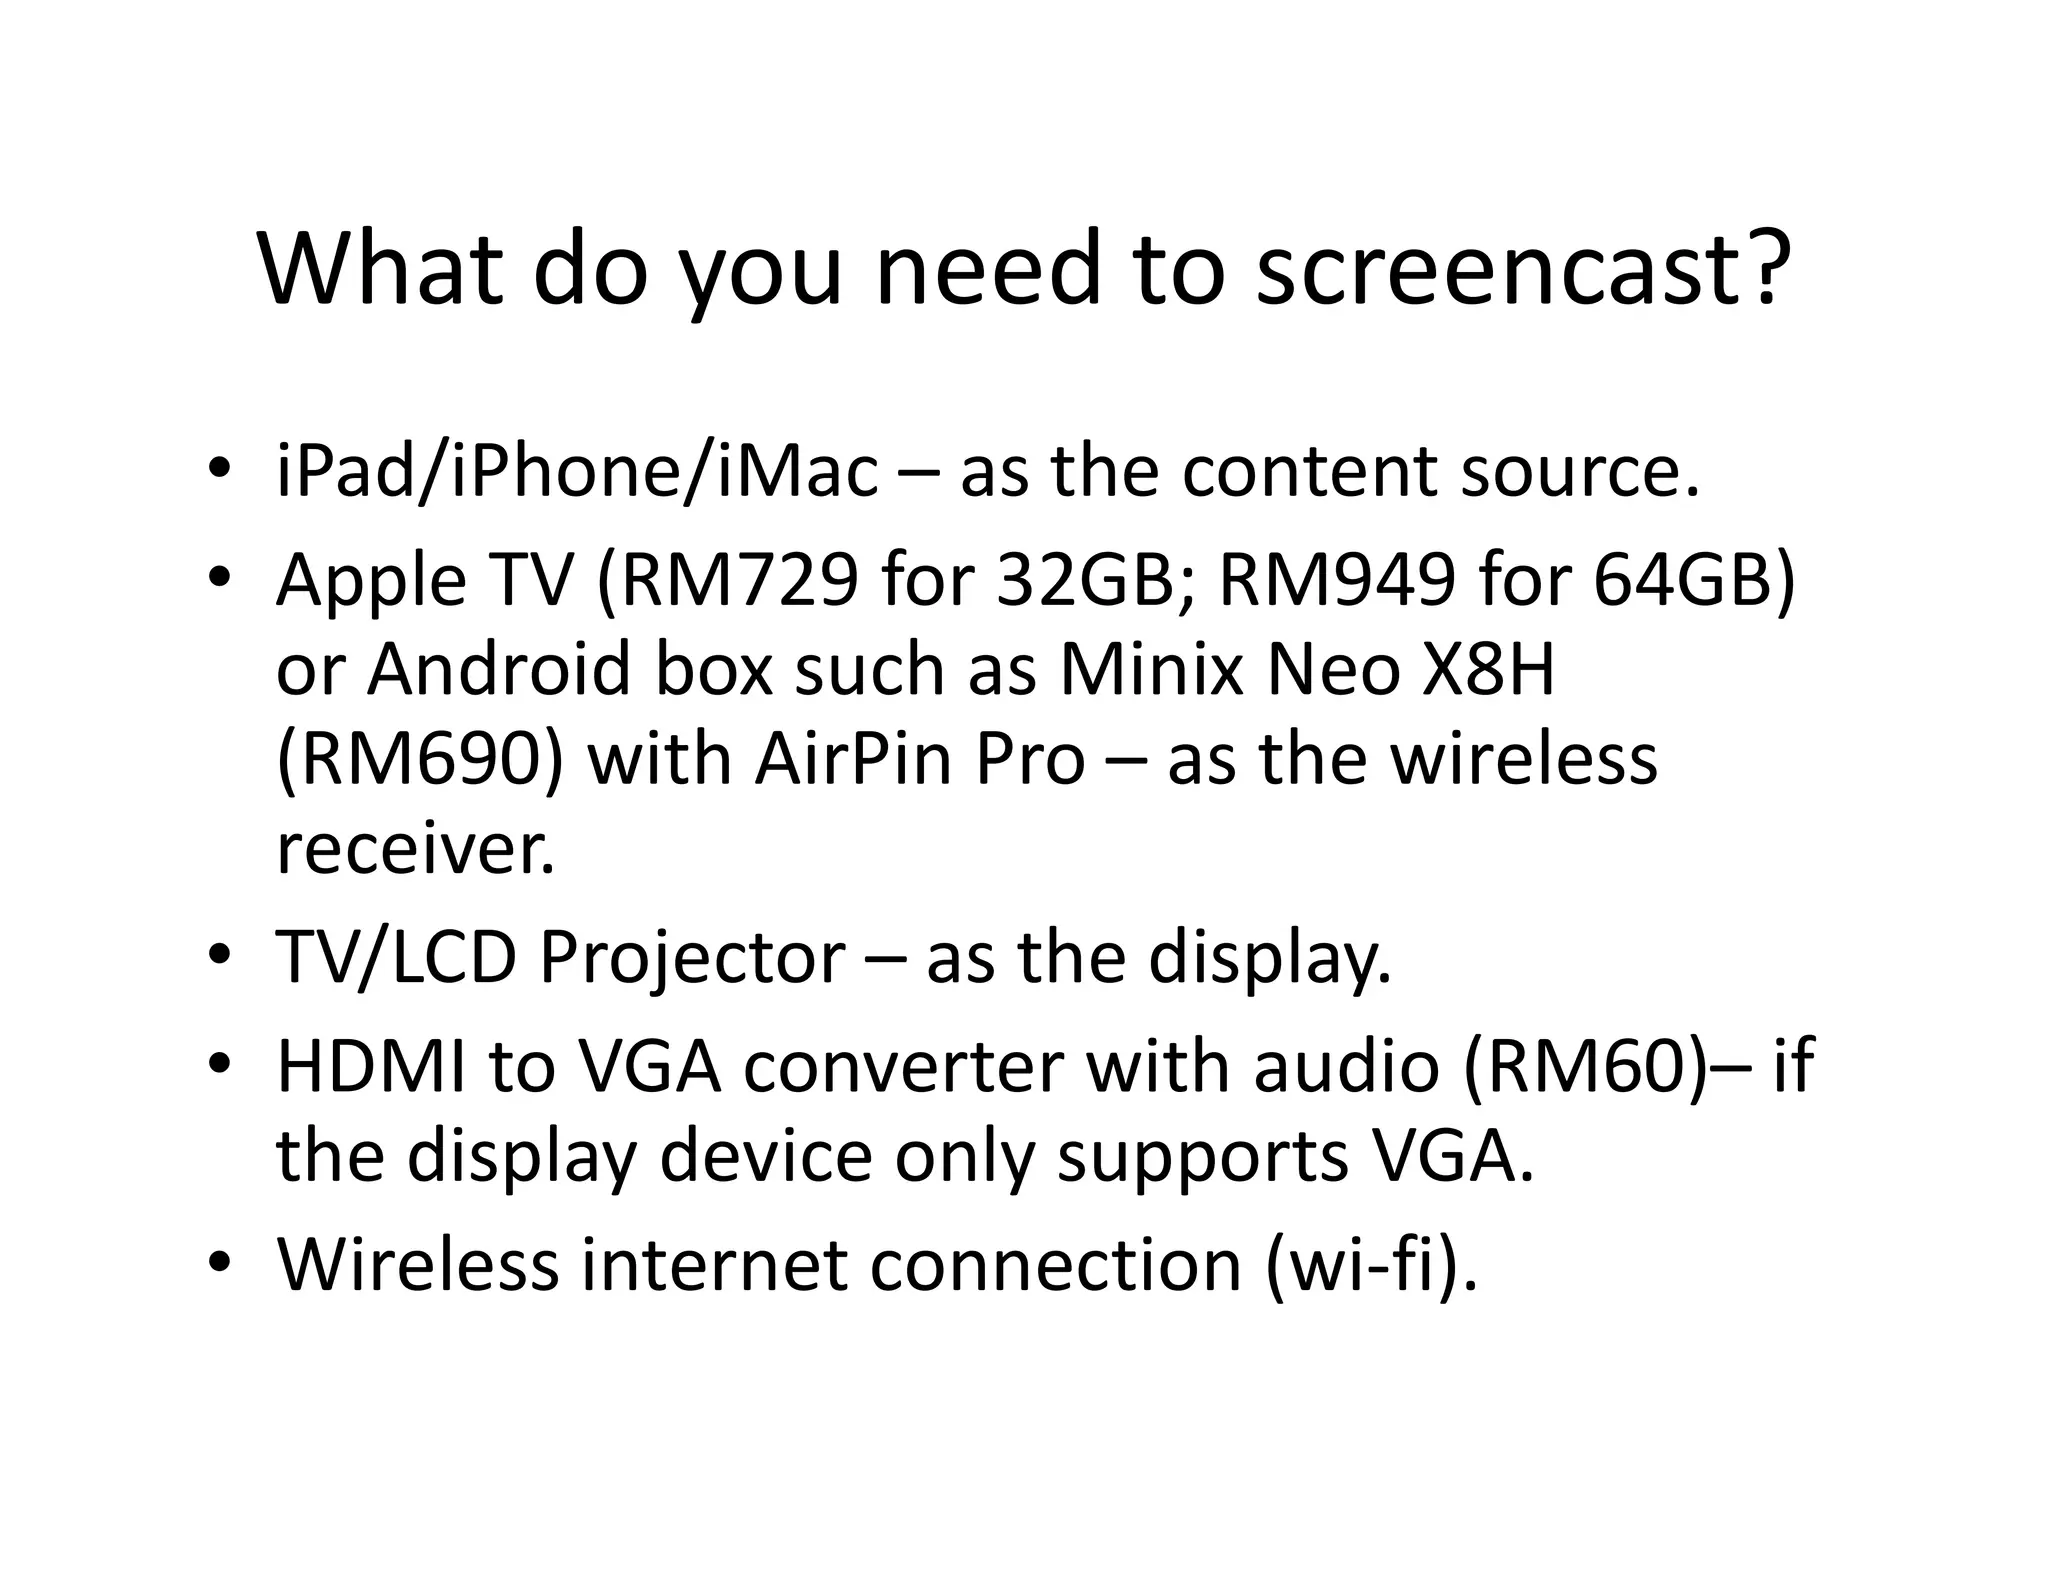
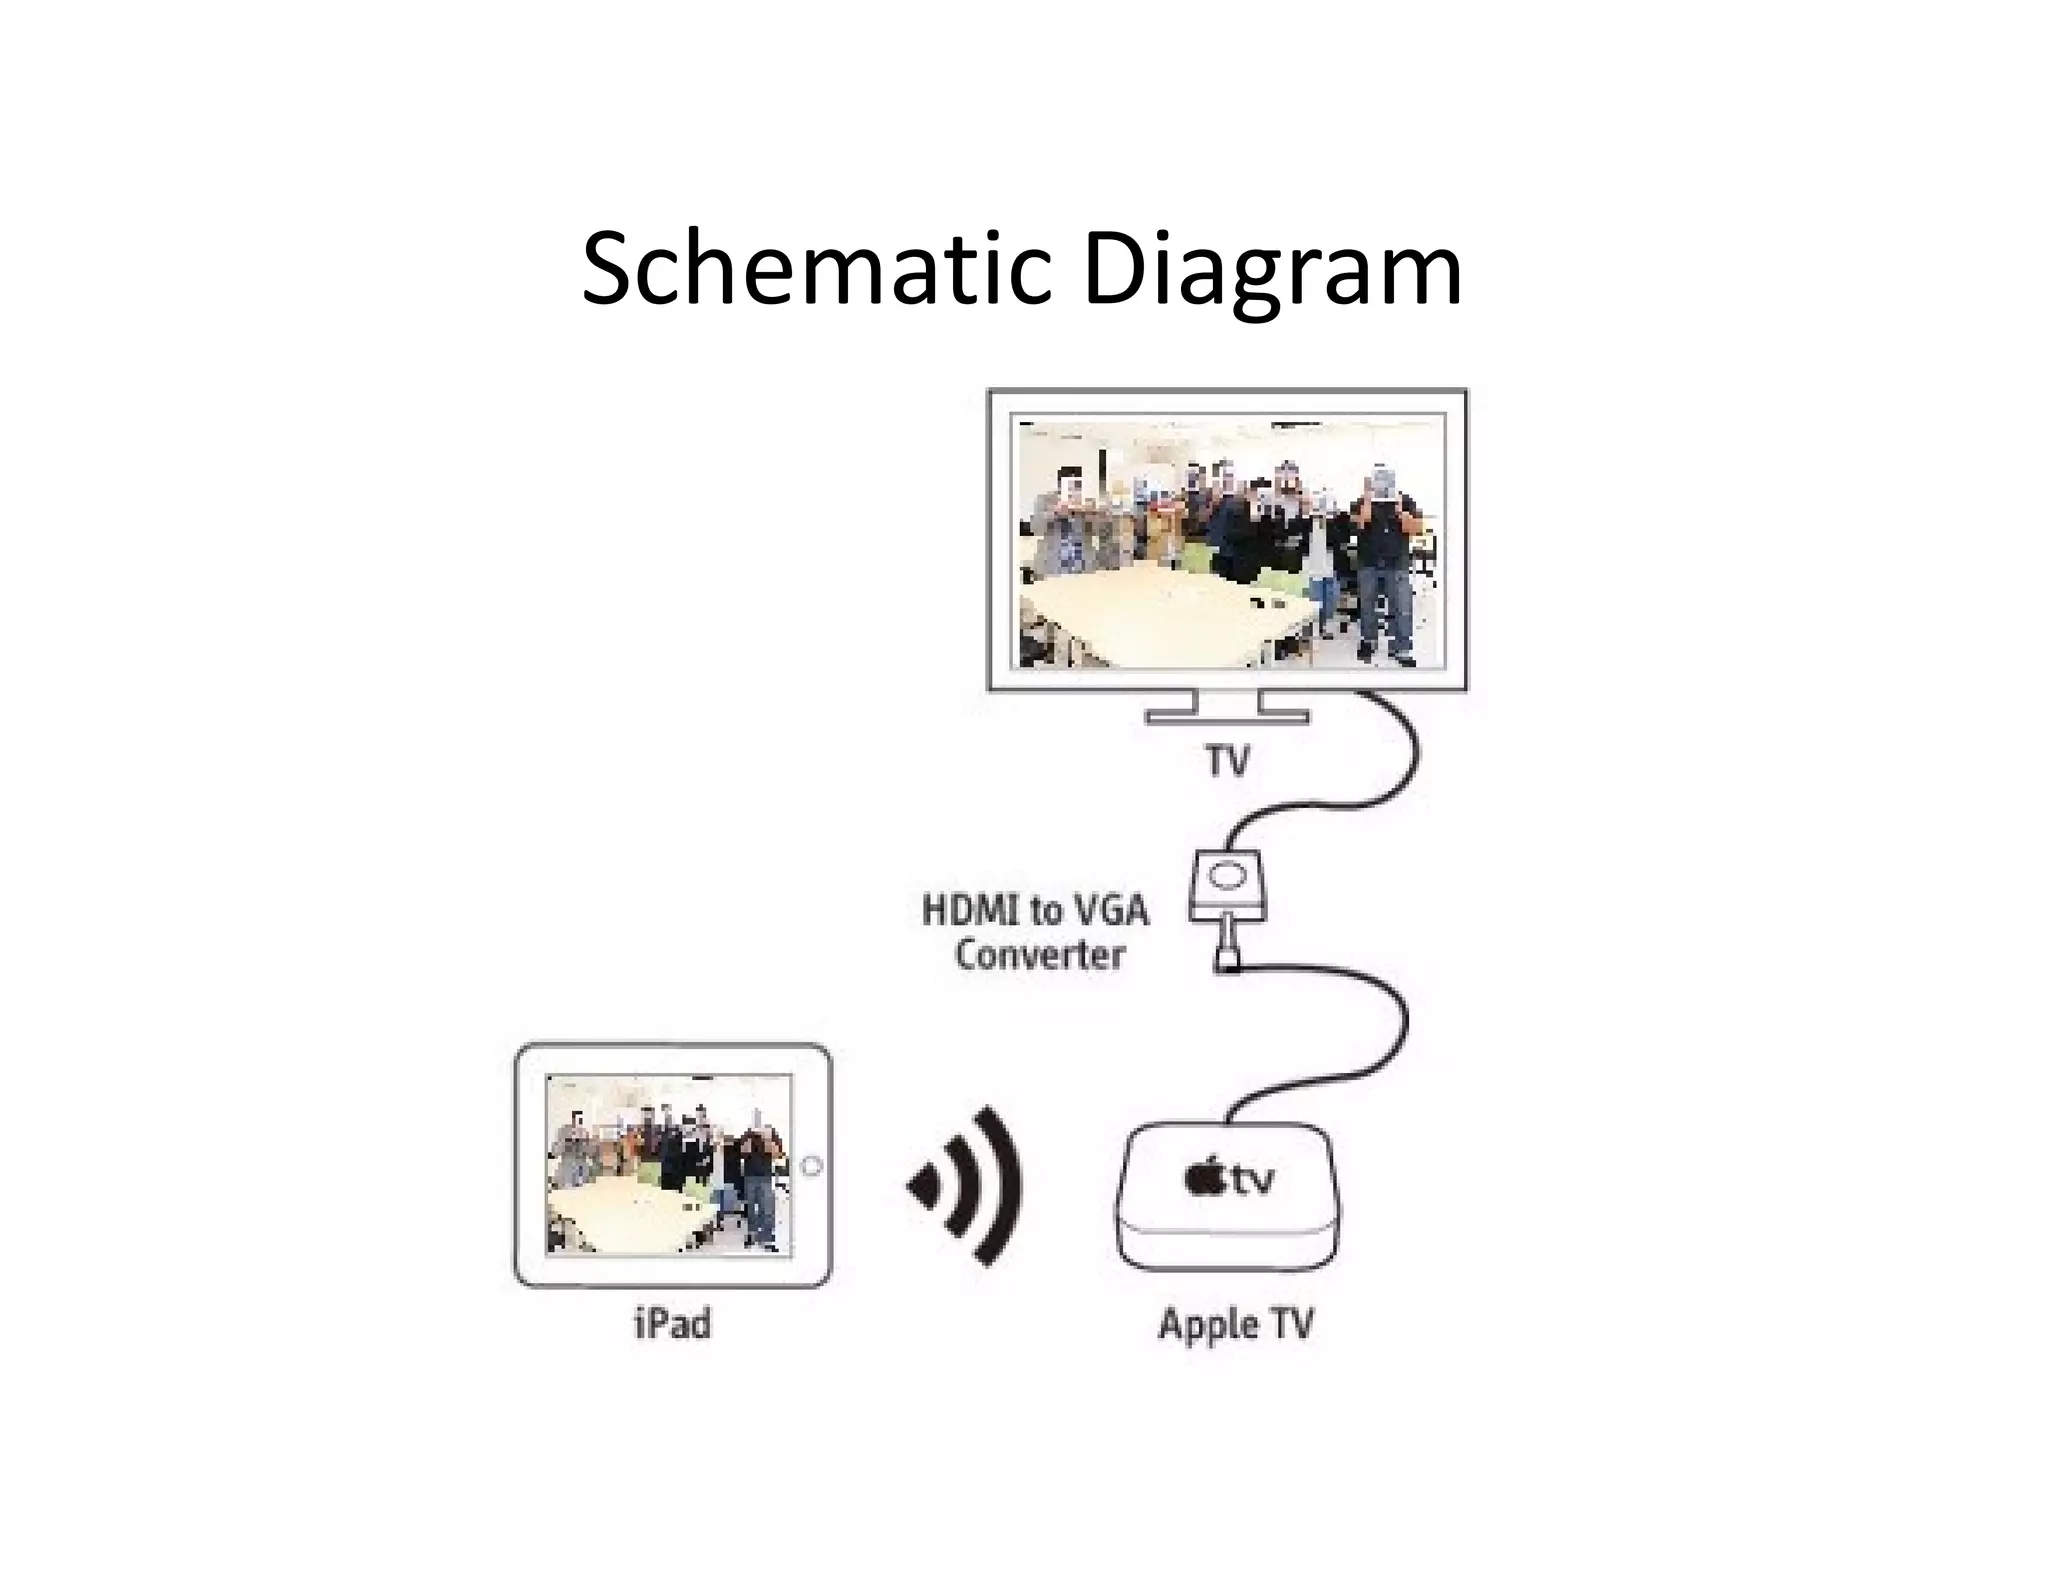
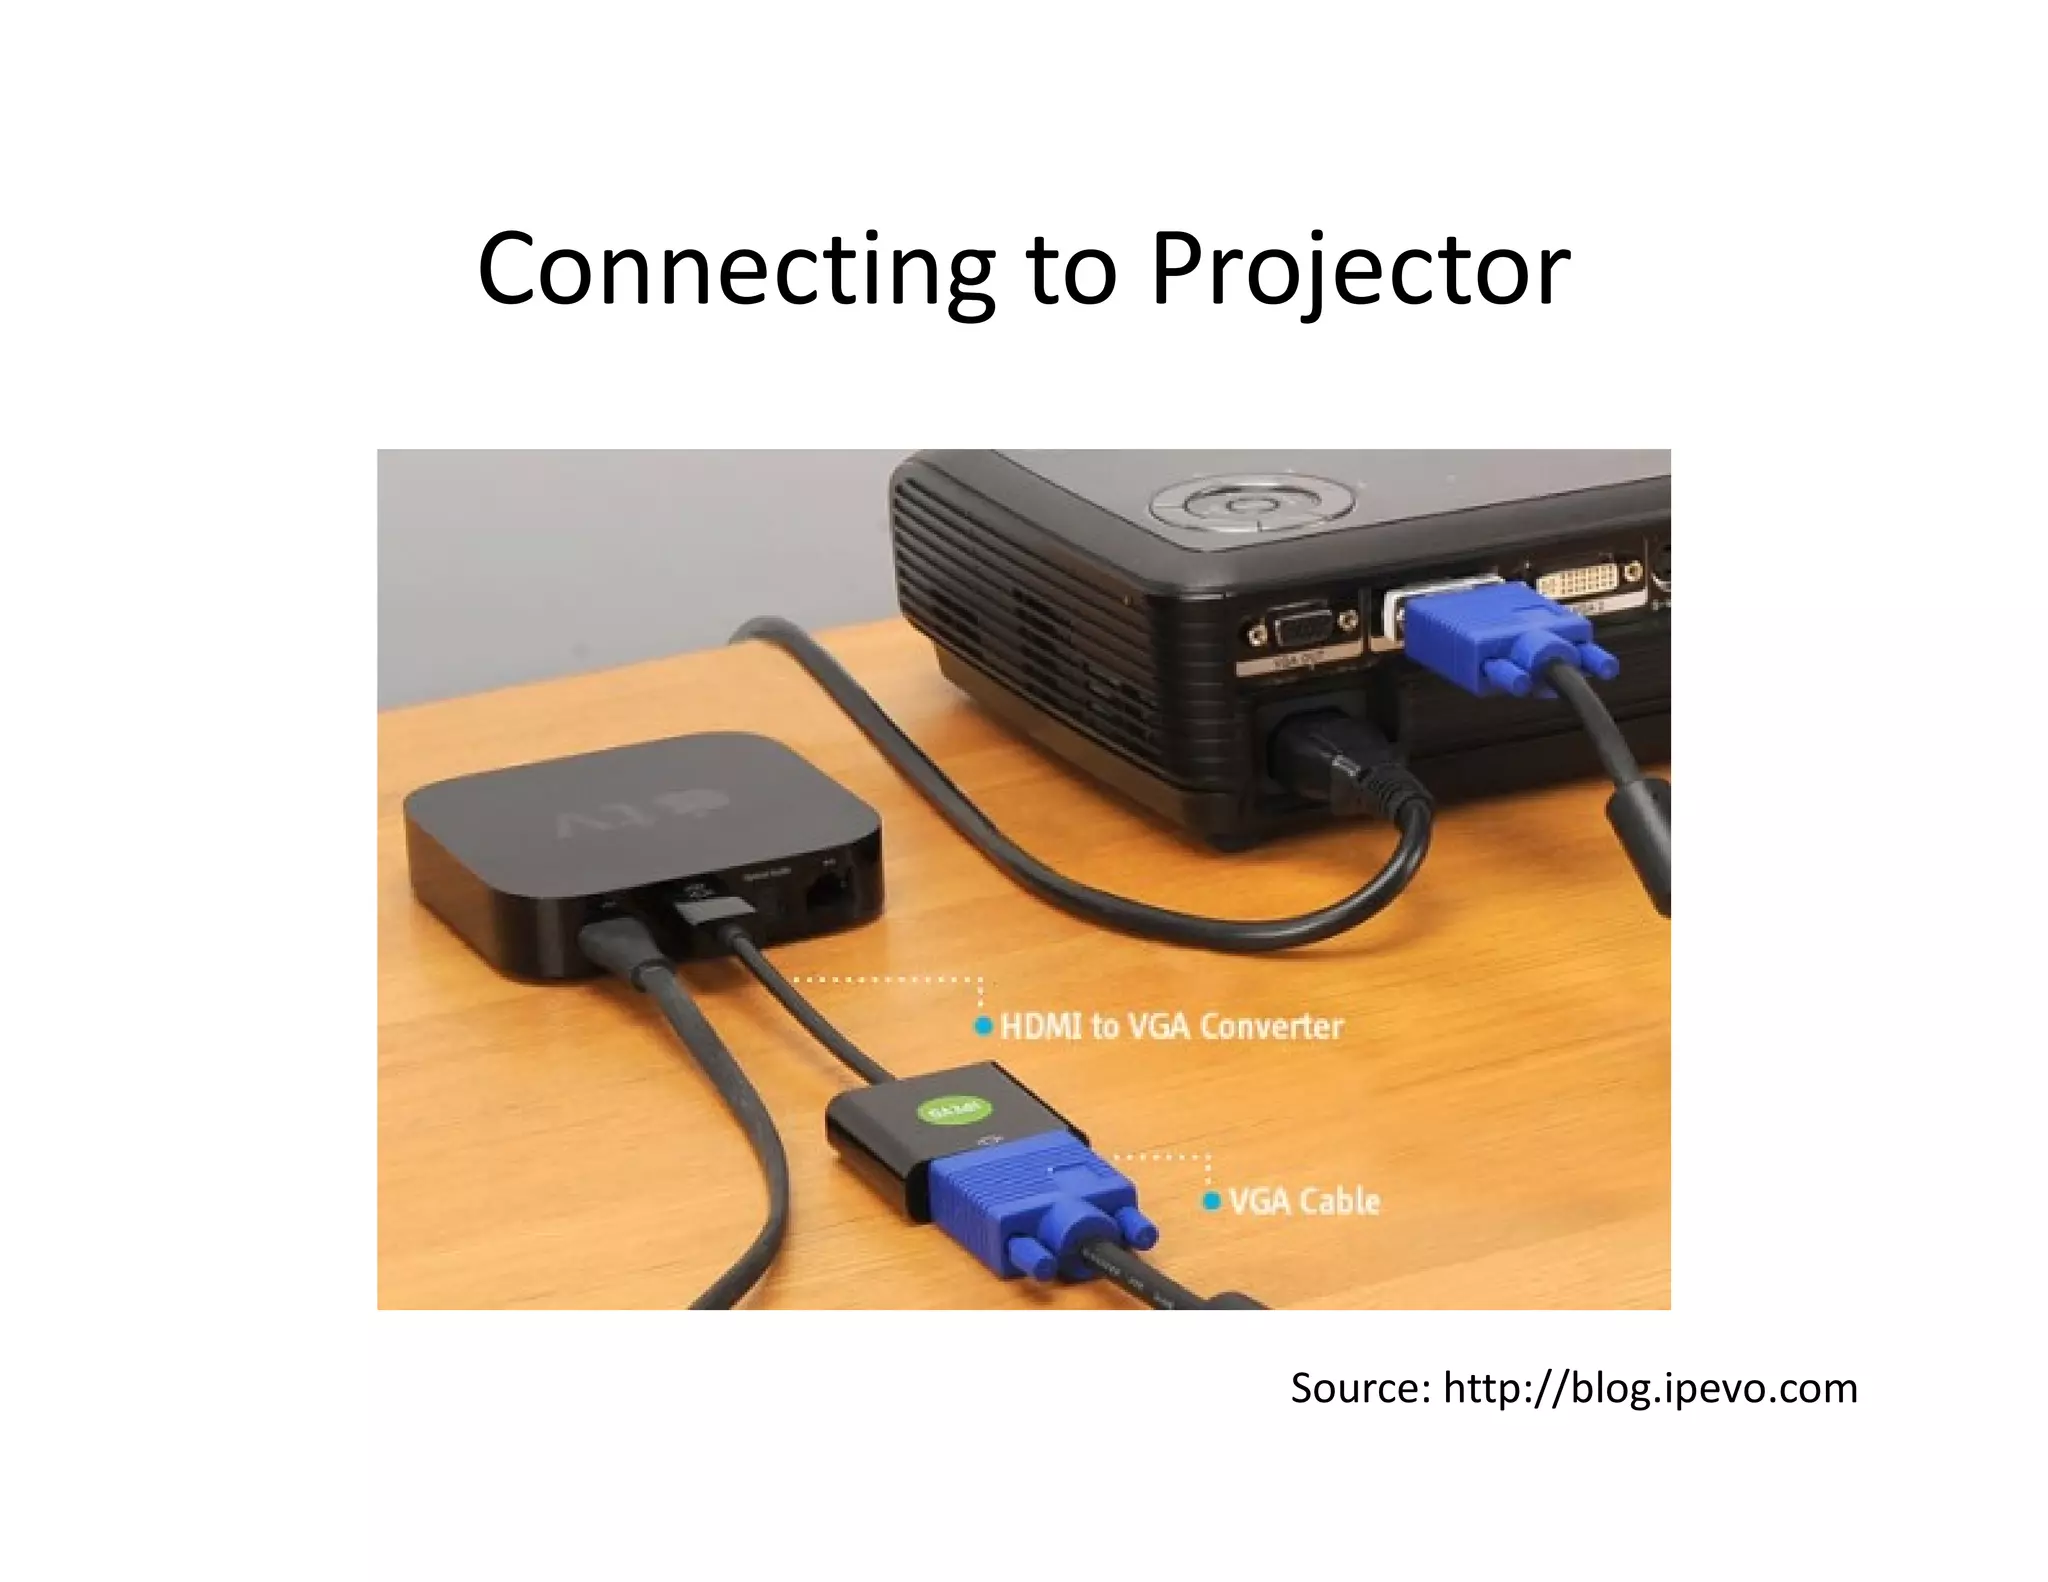
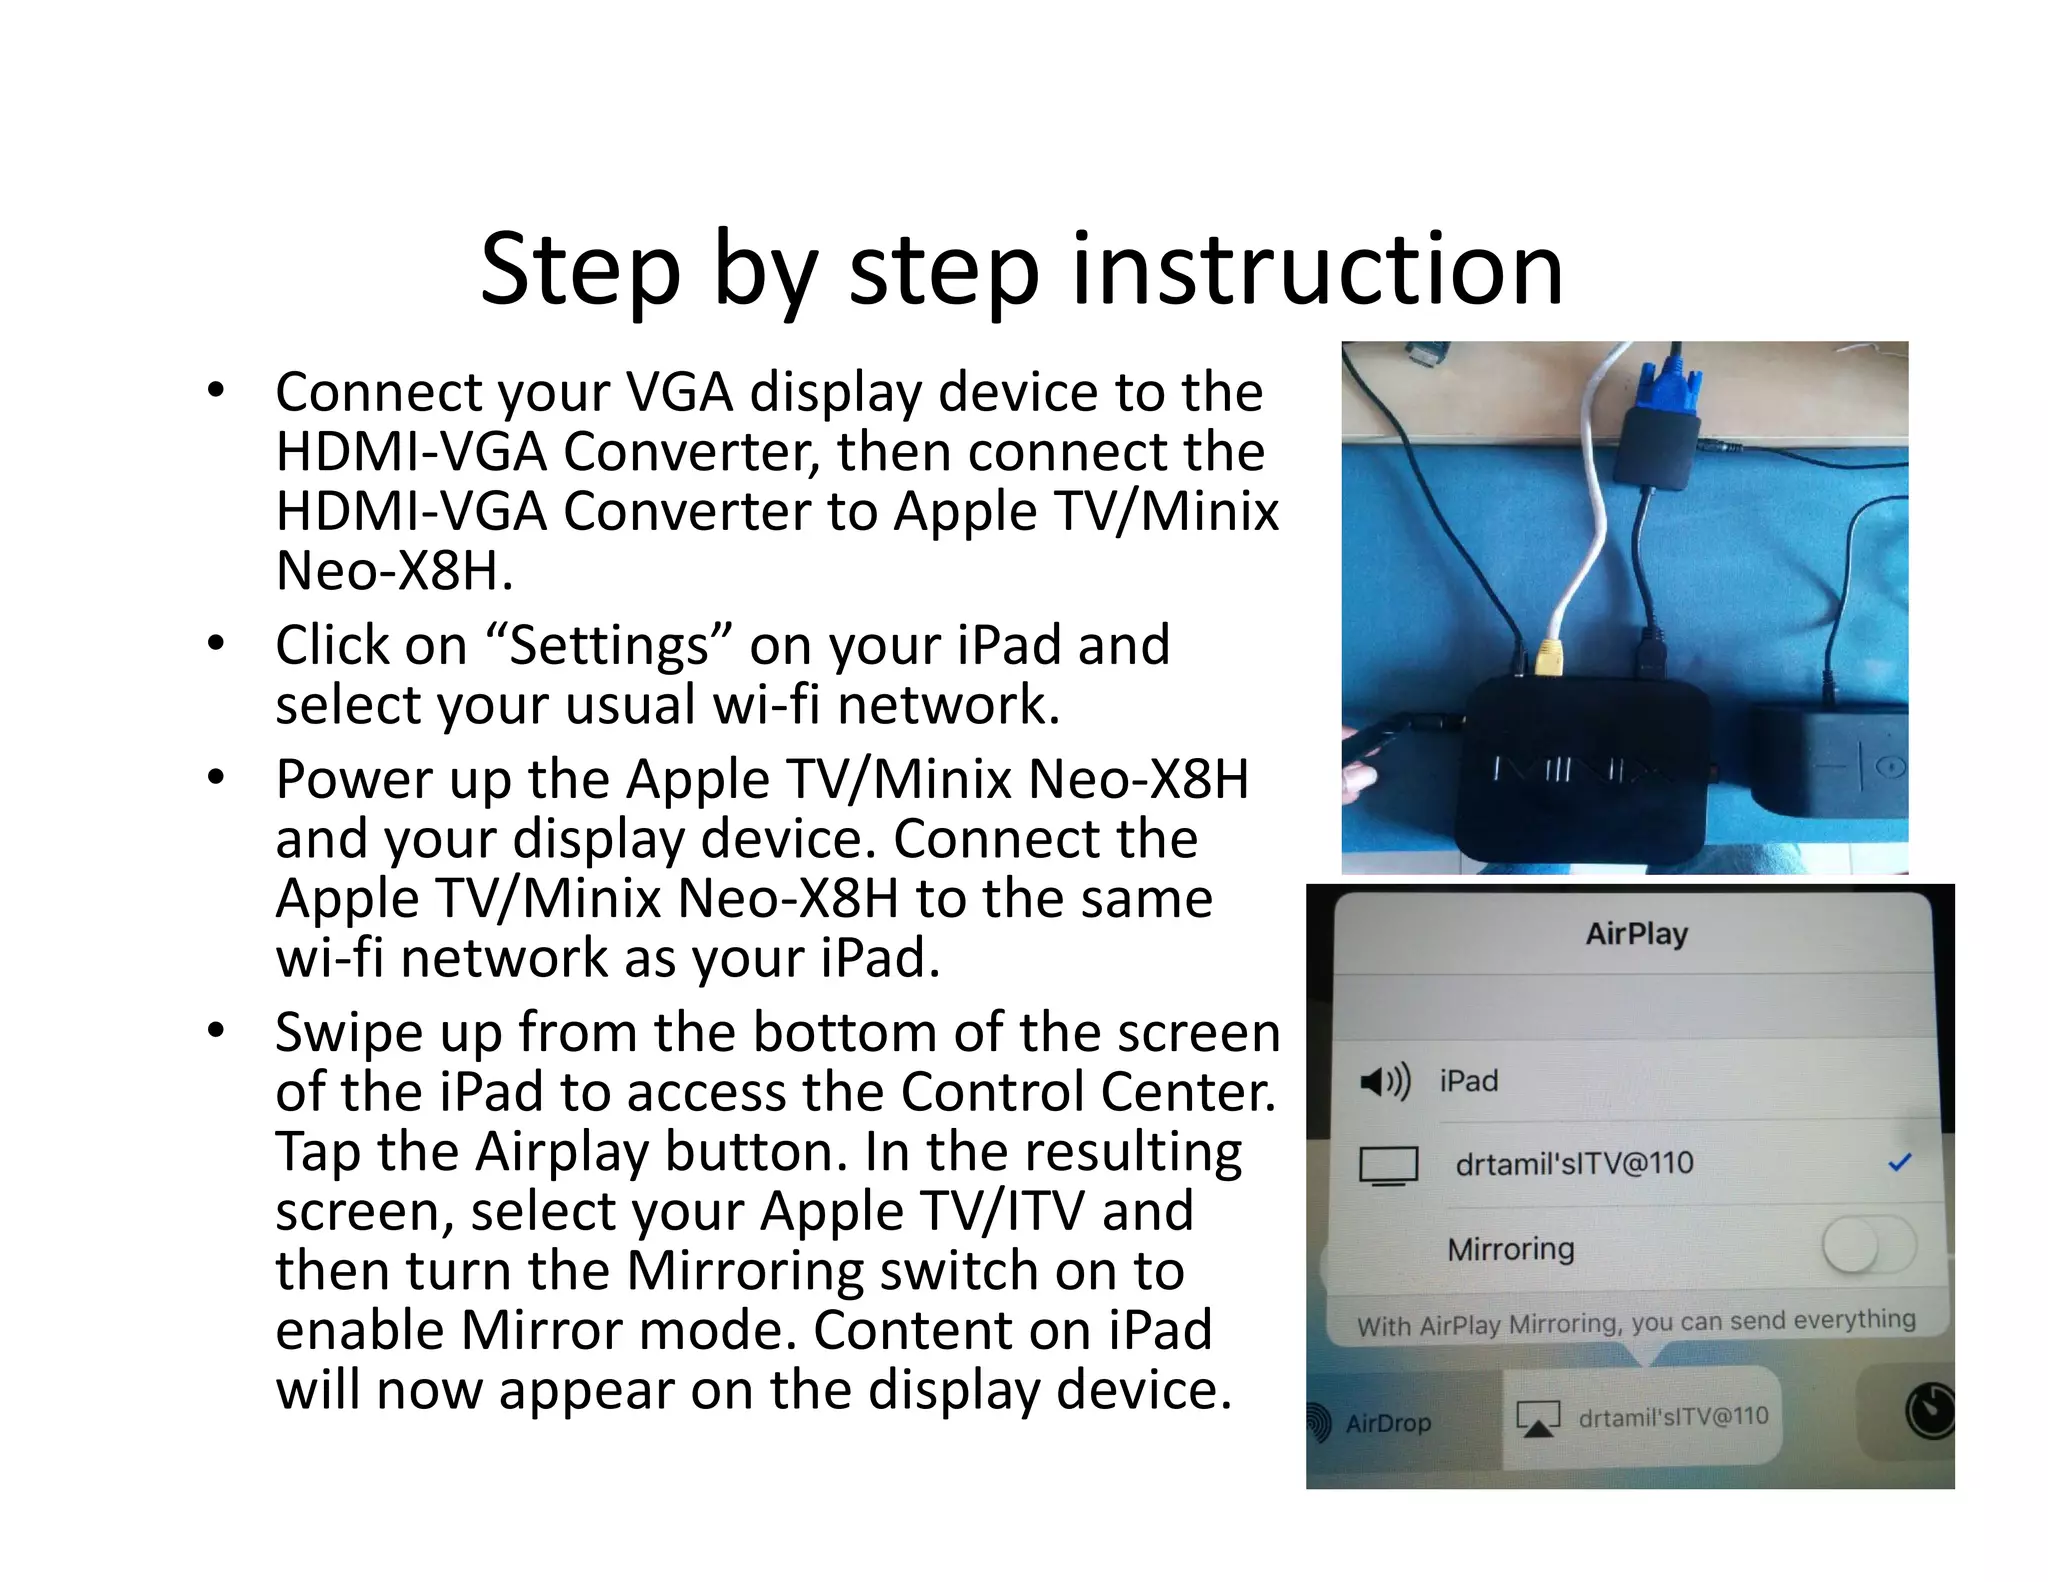
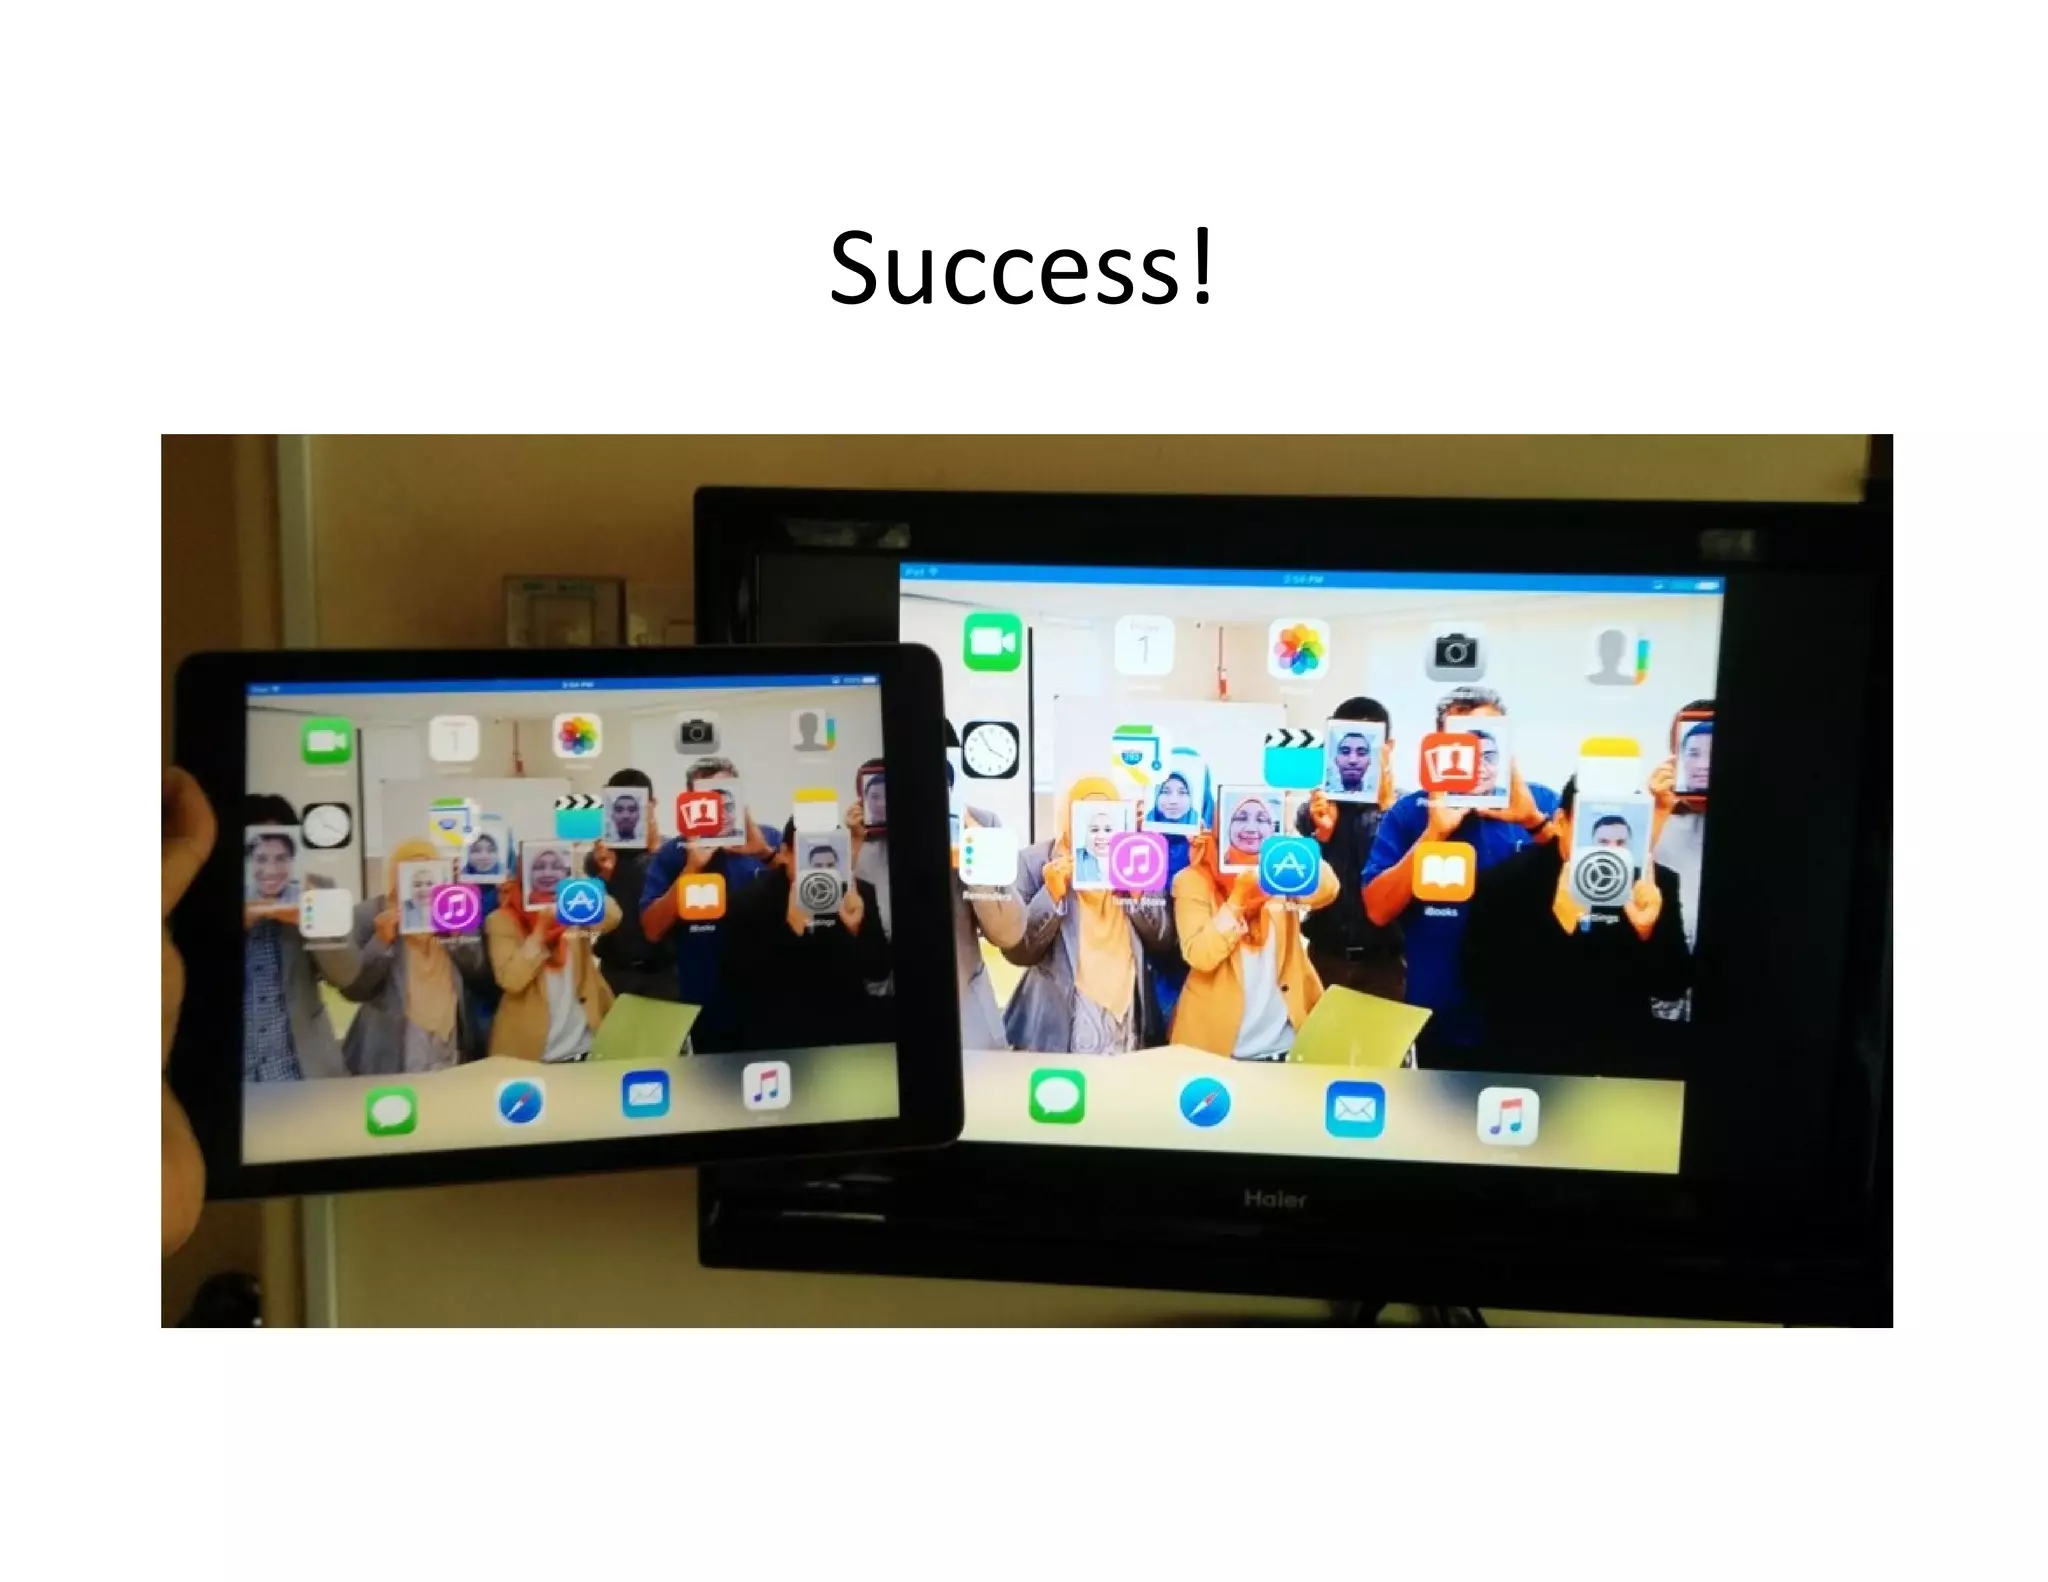

This document discusses using the iPad for education. It is divided into three parts. Part 1 discusses screencasting the iPad screen onto a large display using AirPlay. This allows lecturers to project teaching materials from their iPad while walking around the classroom. It describes the necessary equipment, including an iPad, Apple TV or Android box, HDMI to VGA converter if needed, and a wireless internet connection. Diagrams and step-by-step instructions are provided for setting up and using screencasting. Part 2 will discuss using iPad apps to create teaching materials, and Part 3 will cover using iTunesU to share materials with students.