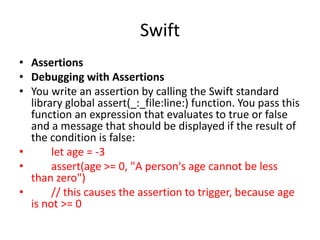
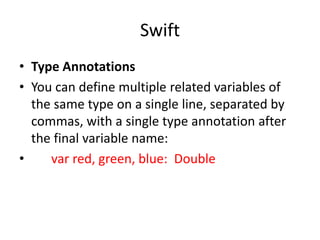
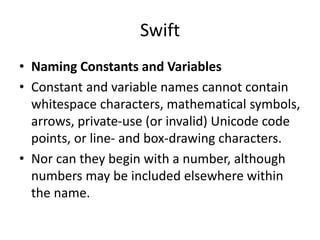
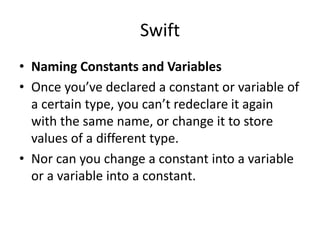
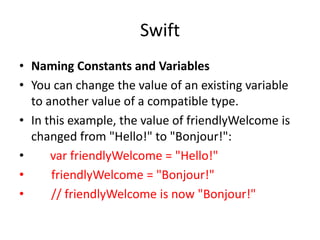
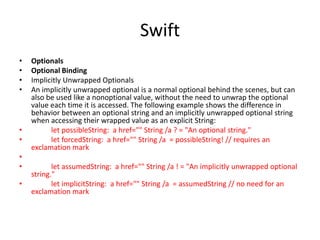
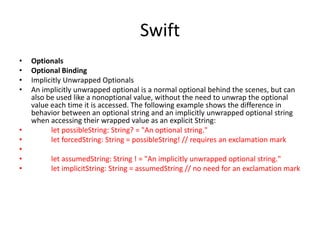
The document covers fundamental concepts in Swift programming, focusing on constants and variables, including their declaration, types, and naming conventions. It explains type annotations, type safety, and type inference, as well as numeric literals, floating-point numbers, and integer types. Additionally, there are guidelines for numeric type conversion and usage to ensure efficient coding practices.


![Swift
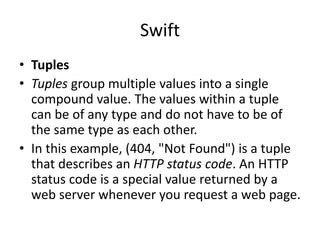
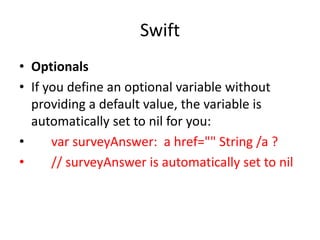
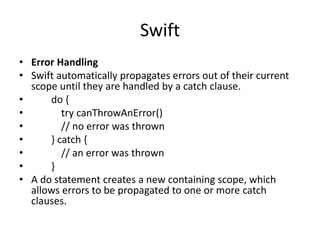
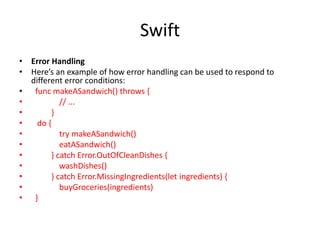
• Error Handling
• If no error is thrown, the eatASandwich() function
is called.
• If an error is thrown and it matches the
Error.OutOfCleanDishes case, then the
washDishes() function will be called.
• If an error is thrown and it matches the
Error.MissingIngredients case, then the
buyGroceries(_:) function is called with the
associated [String] value captured by the catch
pattern.](https://image.slidesharecdn.com/week2-151203141507-lva1-app6892/85/IOS-Swift-language-2nd-tutorial-94-320.jpg)