This document provides steps for adding pictures, fonts, and formatting text in InDesign, including:
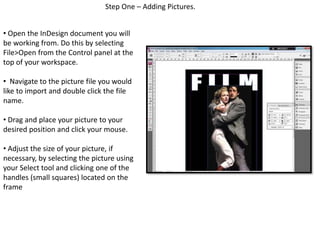
1. Importing pictures and adjusting their size and position.
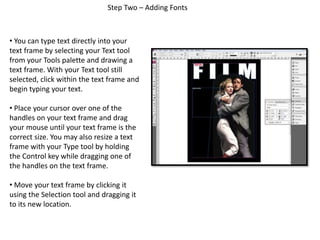
2. Creating text frames, typing text, and resizing frames.
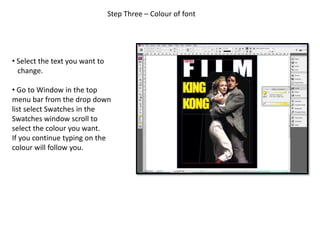
3. Changing the color of selected text using the Swatches panel.
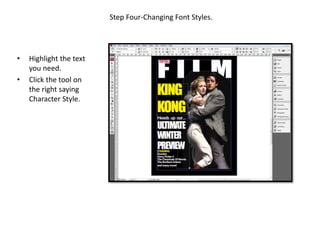
4. Applying character styles to highlighted text.
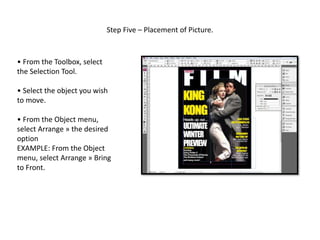
5. Selecting and moving objects using the Selection tool and Arrange menu.
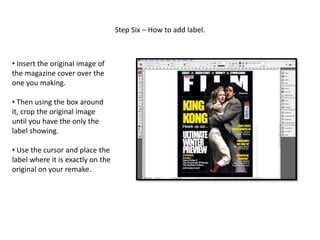
6. Cropping an inserted image to extract a label and place it accurately.
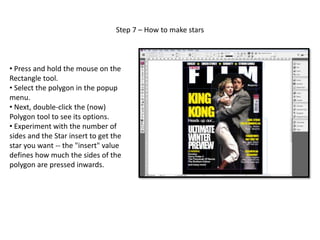
7. Creating stars by adjusting the side count and inset value of the Polygon tool.


![Christine rose nd. tipones [gr. 11 abm, caritas]](https://cdn.slidesharecdn.com/ss_thumbnails/christinerosend-190129074921-thumbnail.jpg?width=640&height=640&fit=bounds)


![5G Explained! A High Level Overview [Introduction]](https://cdn.slidesharecdn.com/ss_thumbnails/5gexplainedahighleveloverview-260119165306-cc137a3e-thumbnail.jpg?width=640&height=640&fit=bounds)


