Downloaded 137 times


Microsoft PowerPoint can be used to create interactive presentations. This tutorial explains how to open PowerPoint, save presentations, format slides using themes and layouts, insert objects like clip art, pictures and tables, and print presentations. It provides step-by-step instructions on the PowerPoint interface and tools for creating and modifying slides on PC. Screenshots illustrate where to find various options to launch PowerPoint, apply slide designs, adjust slide layouts and insert images, charts, and other objects.
Introduction to Microsoft PowerPoint as a popular presentation program for various platforms.
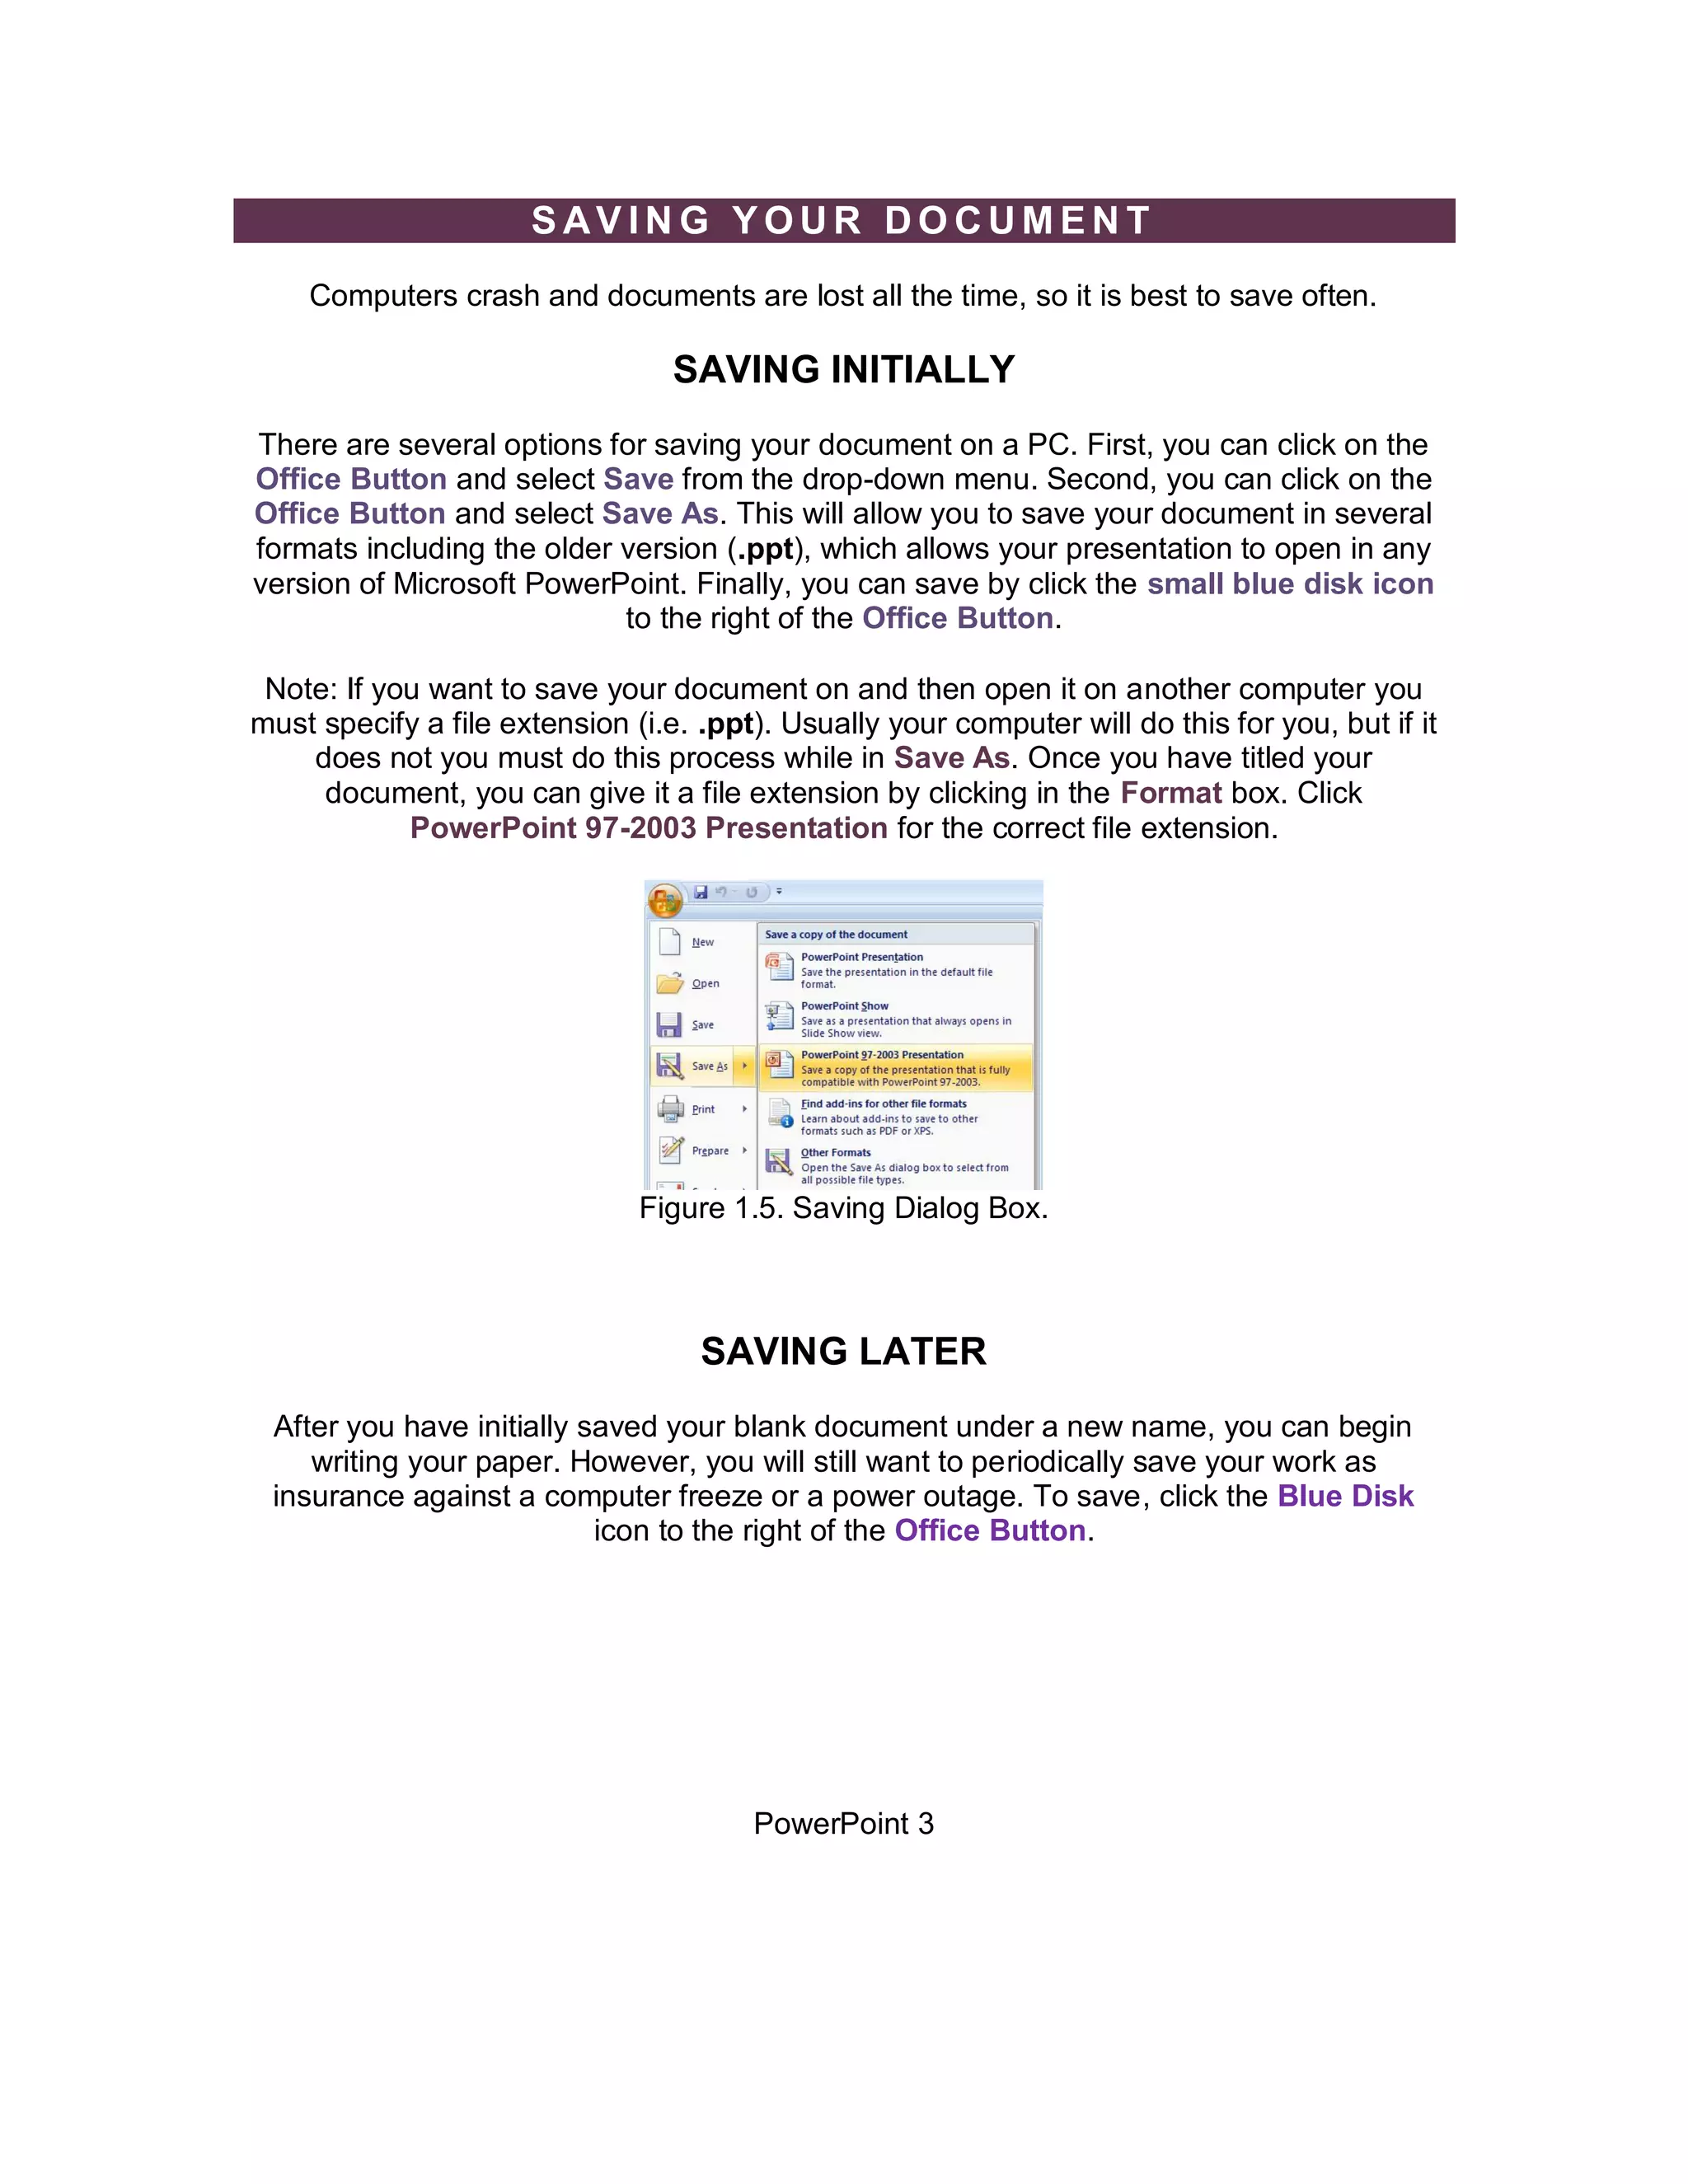
Initial steps for starting PowerPoint, saving documents, and ensuring data safety by saving regularly.
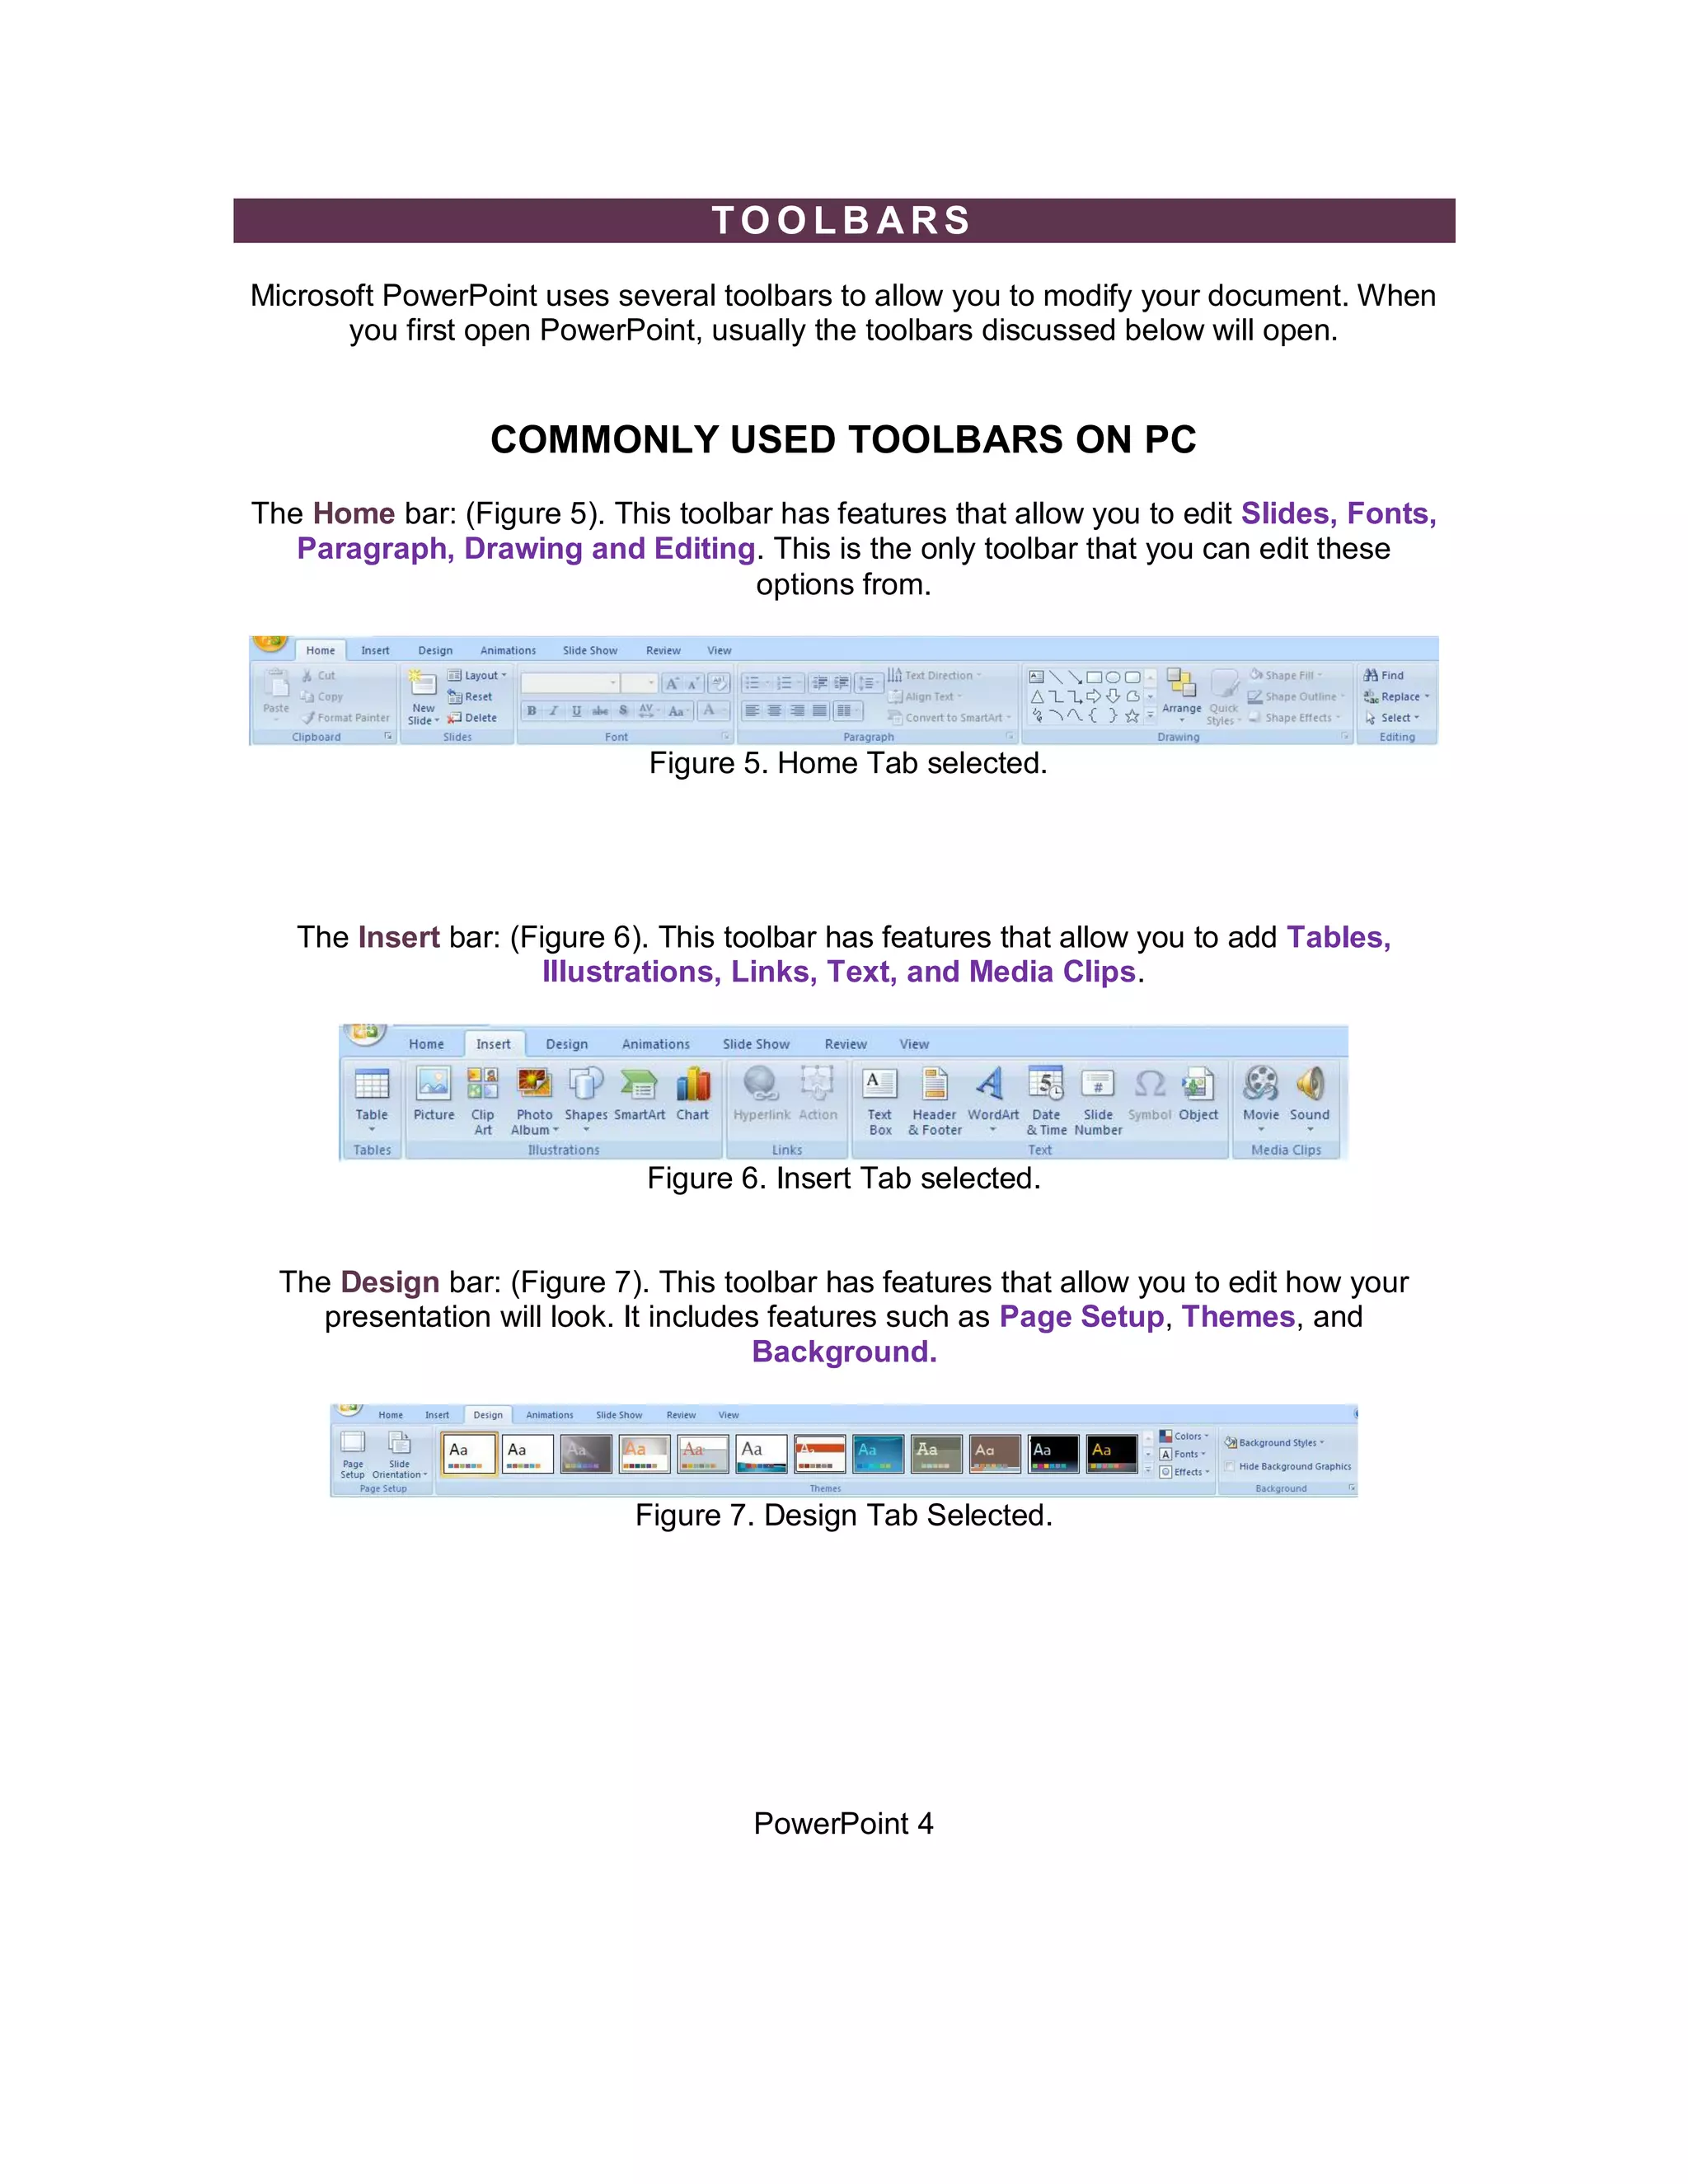
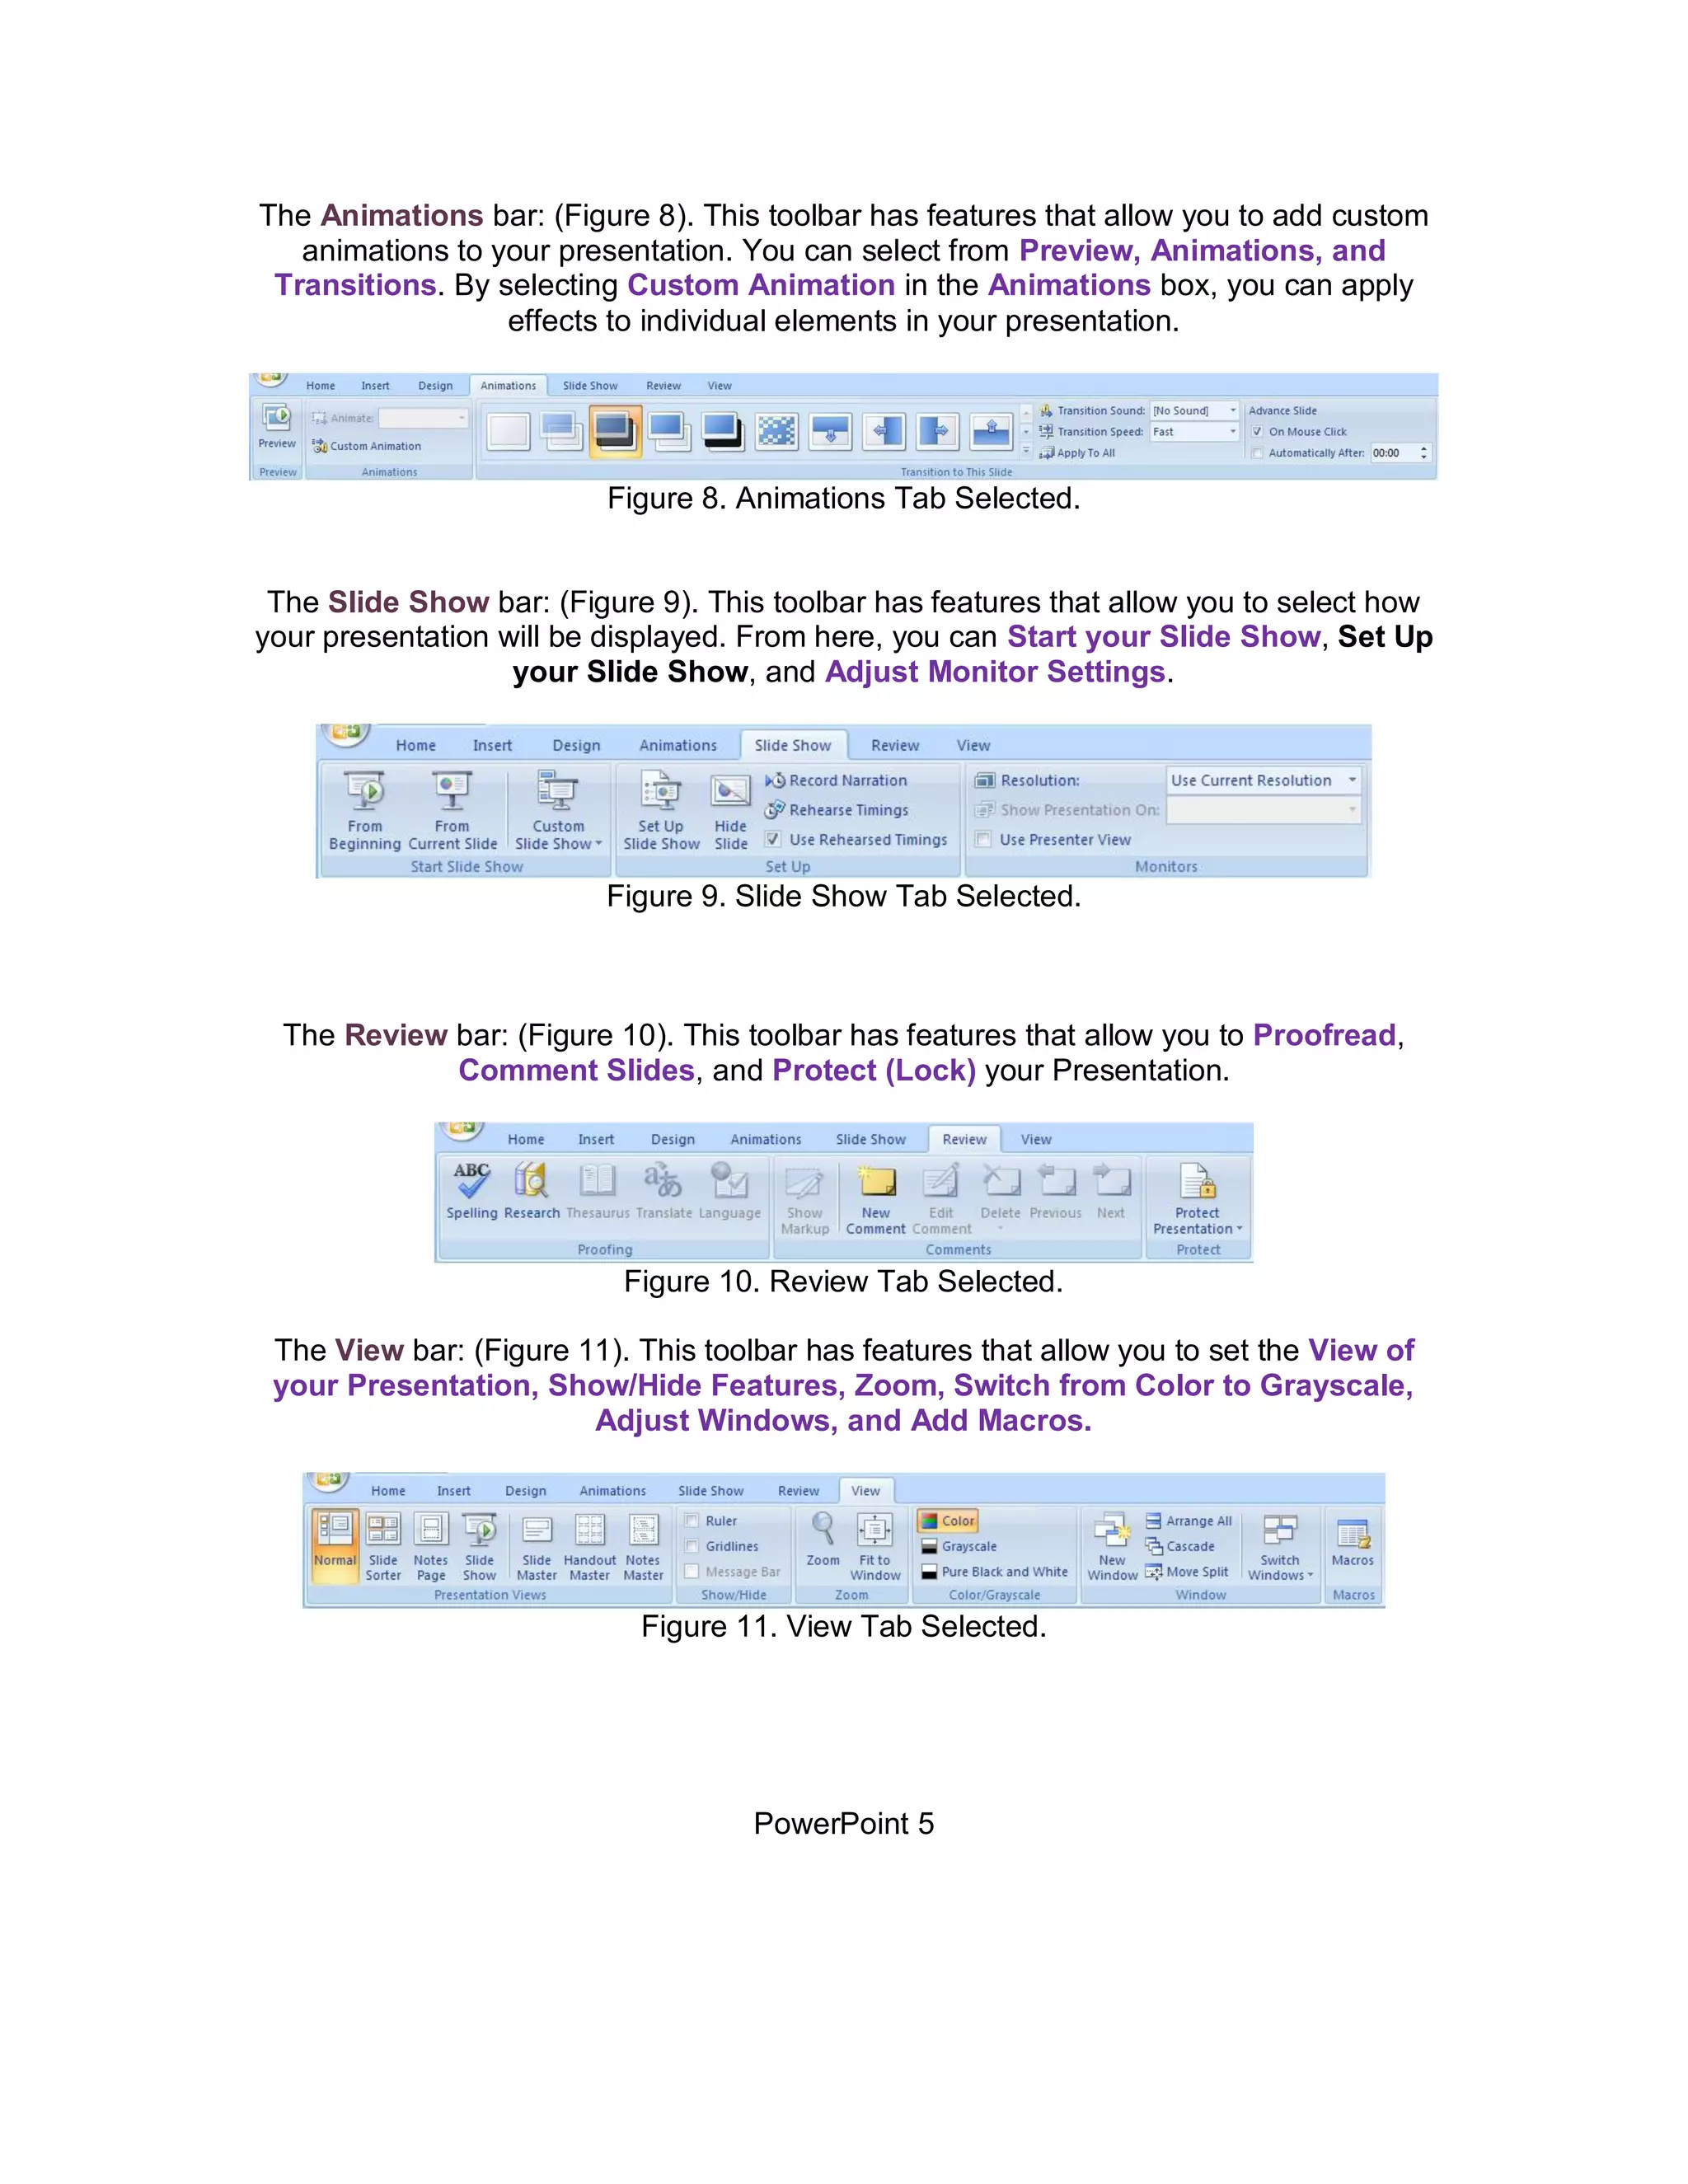
Overview of commonly used toolbars in PowerPoint such as Home, Insert, Design, Animations, Slide Show, Review, and View.
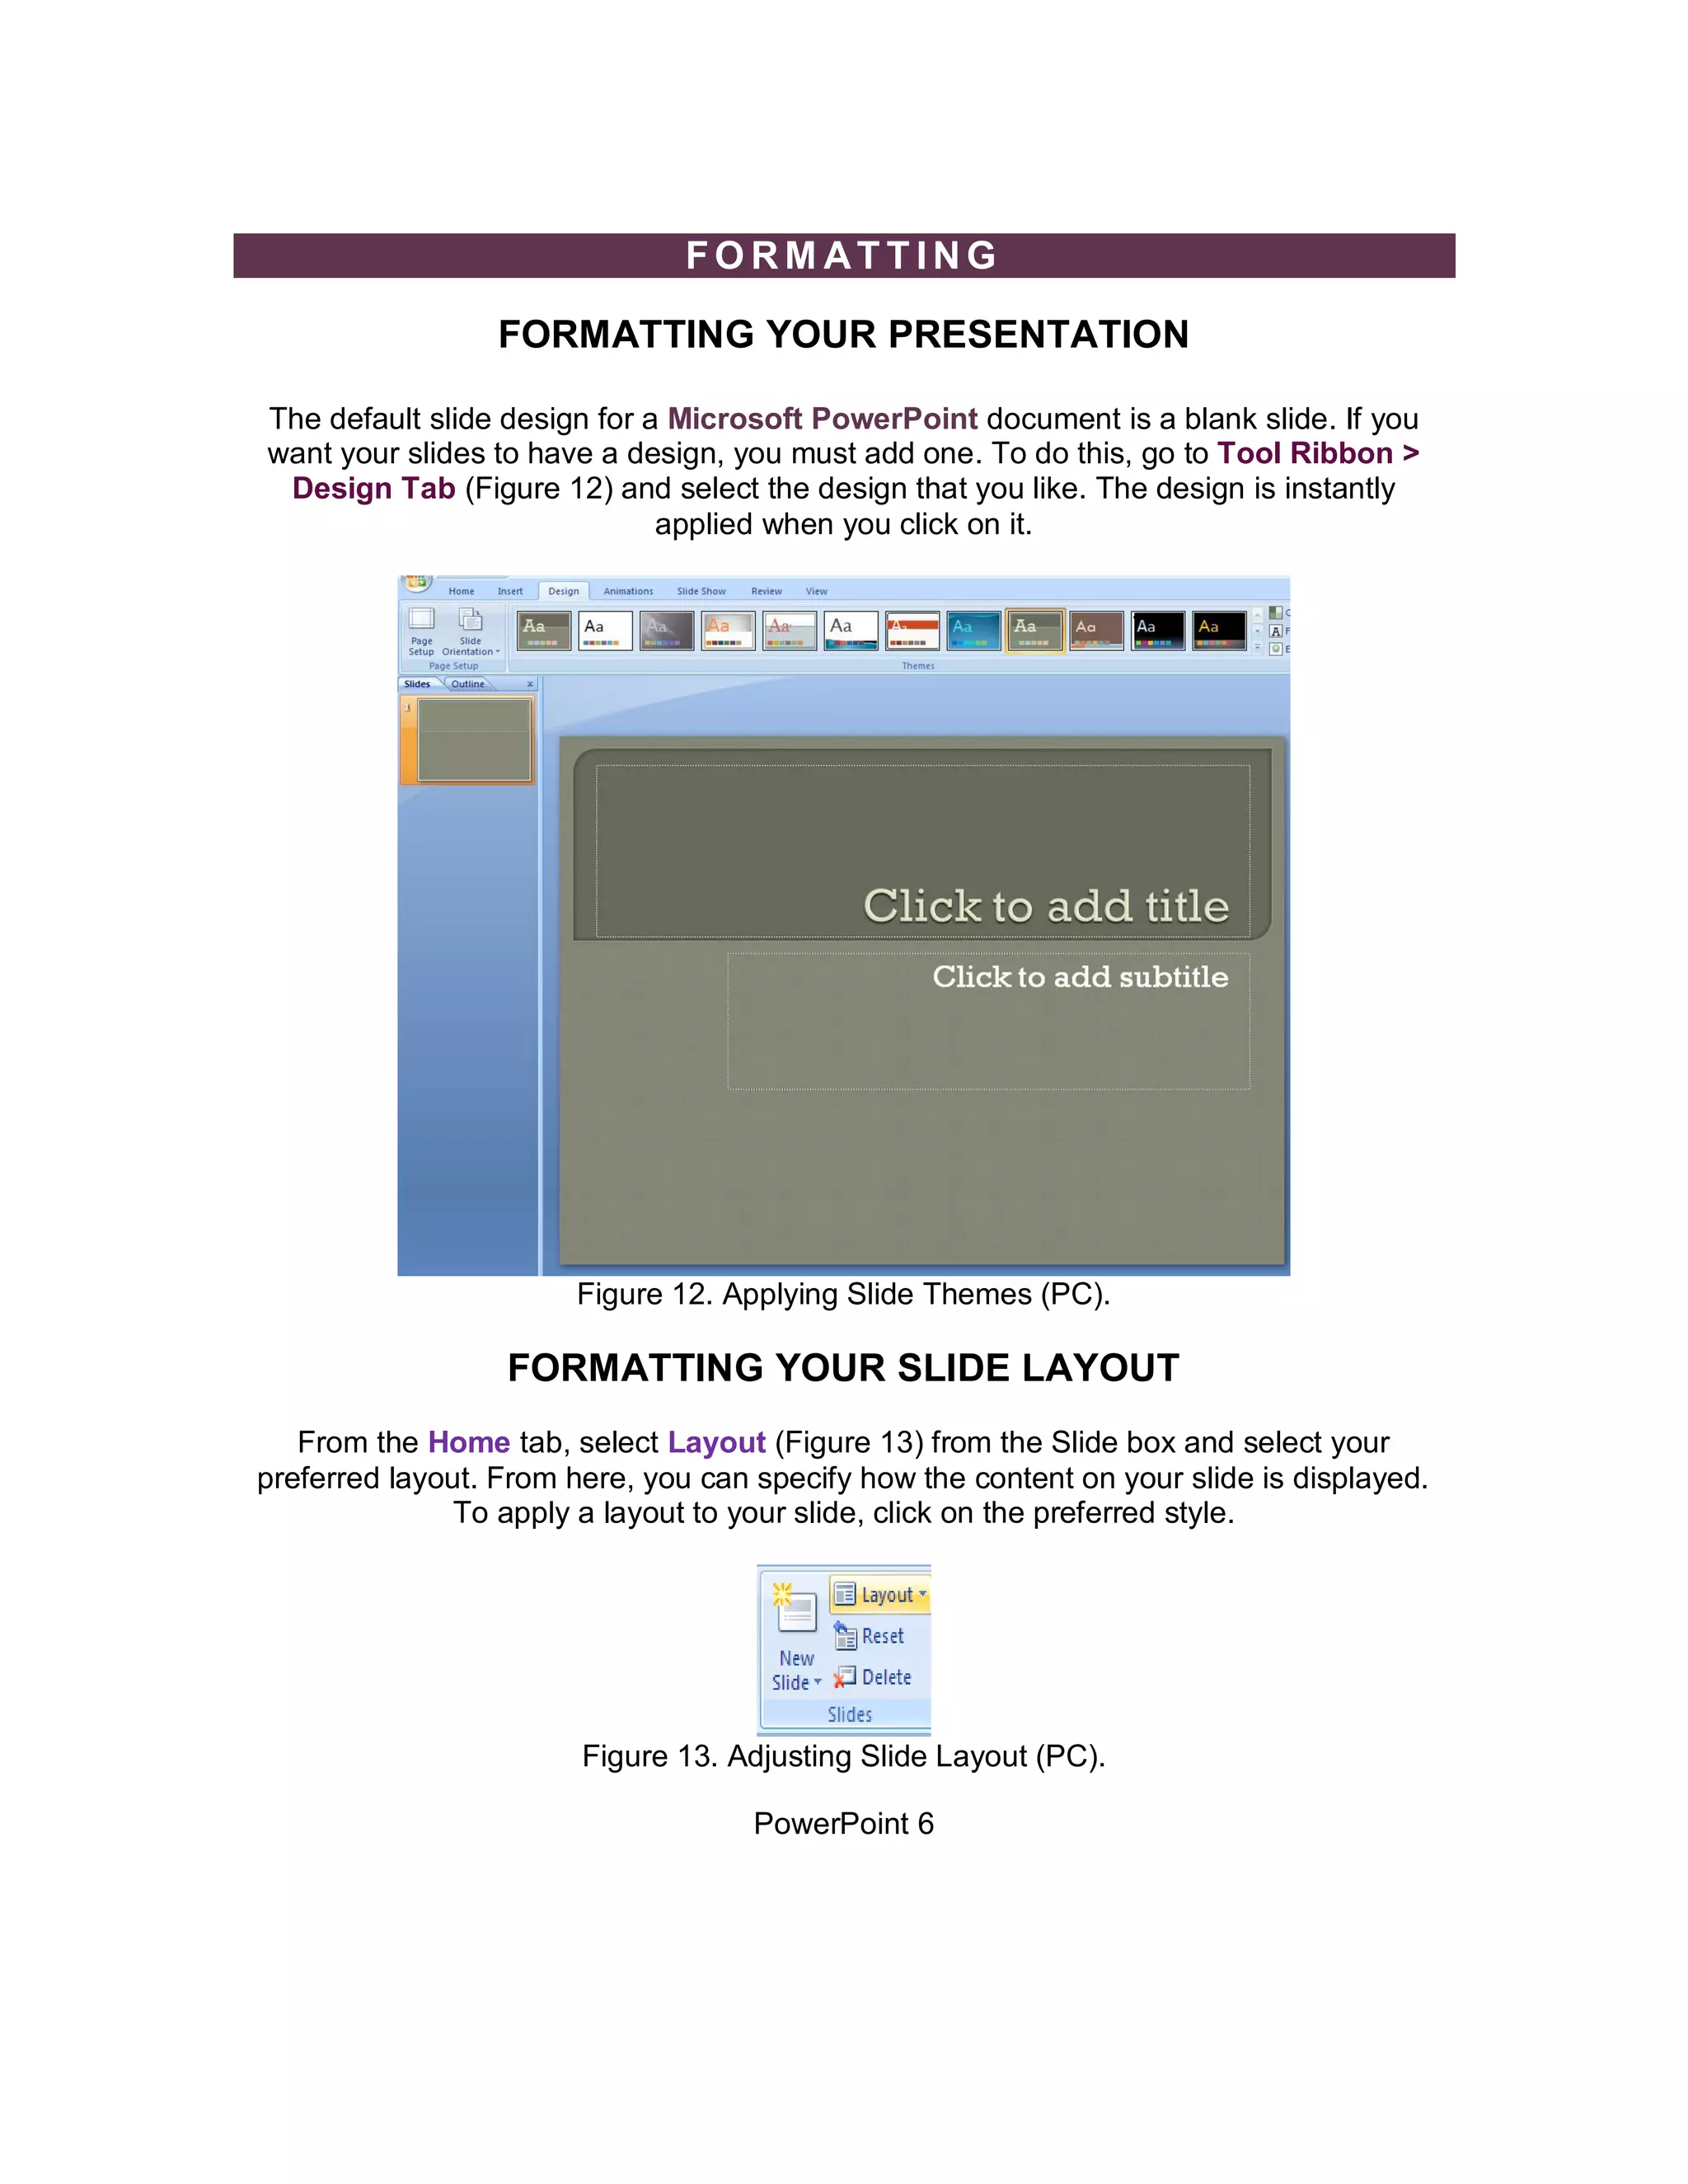
Instructions on formatting slide design and layout using the Tool Ribbon and Design Tab.
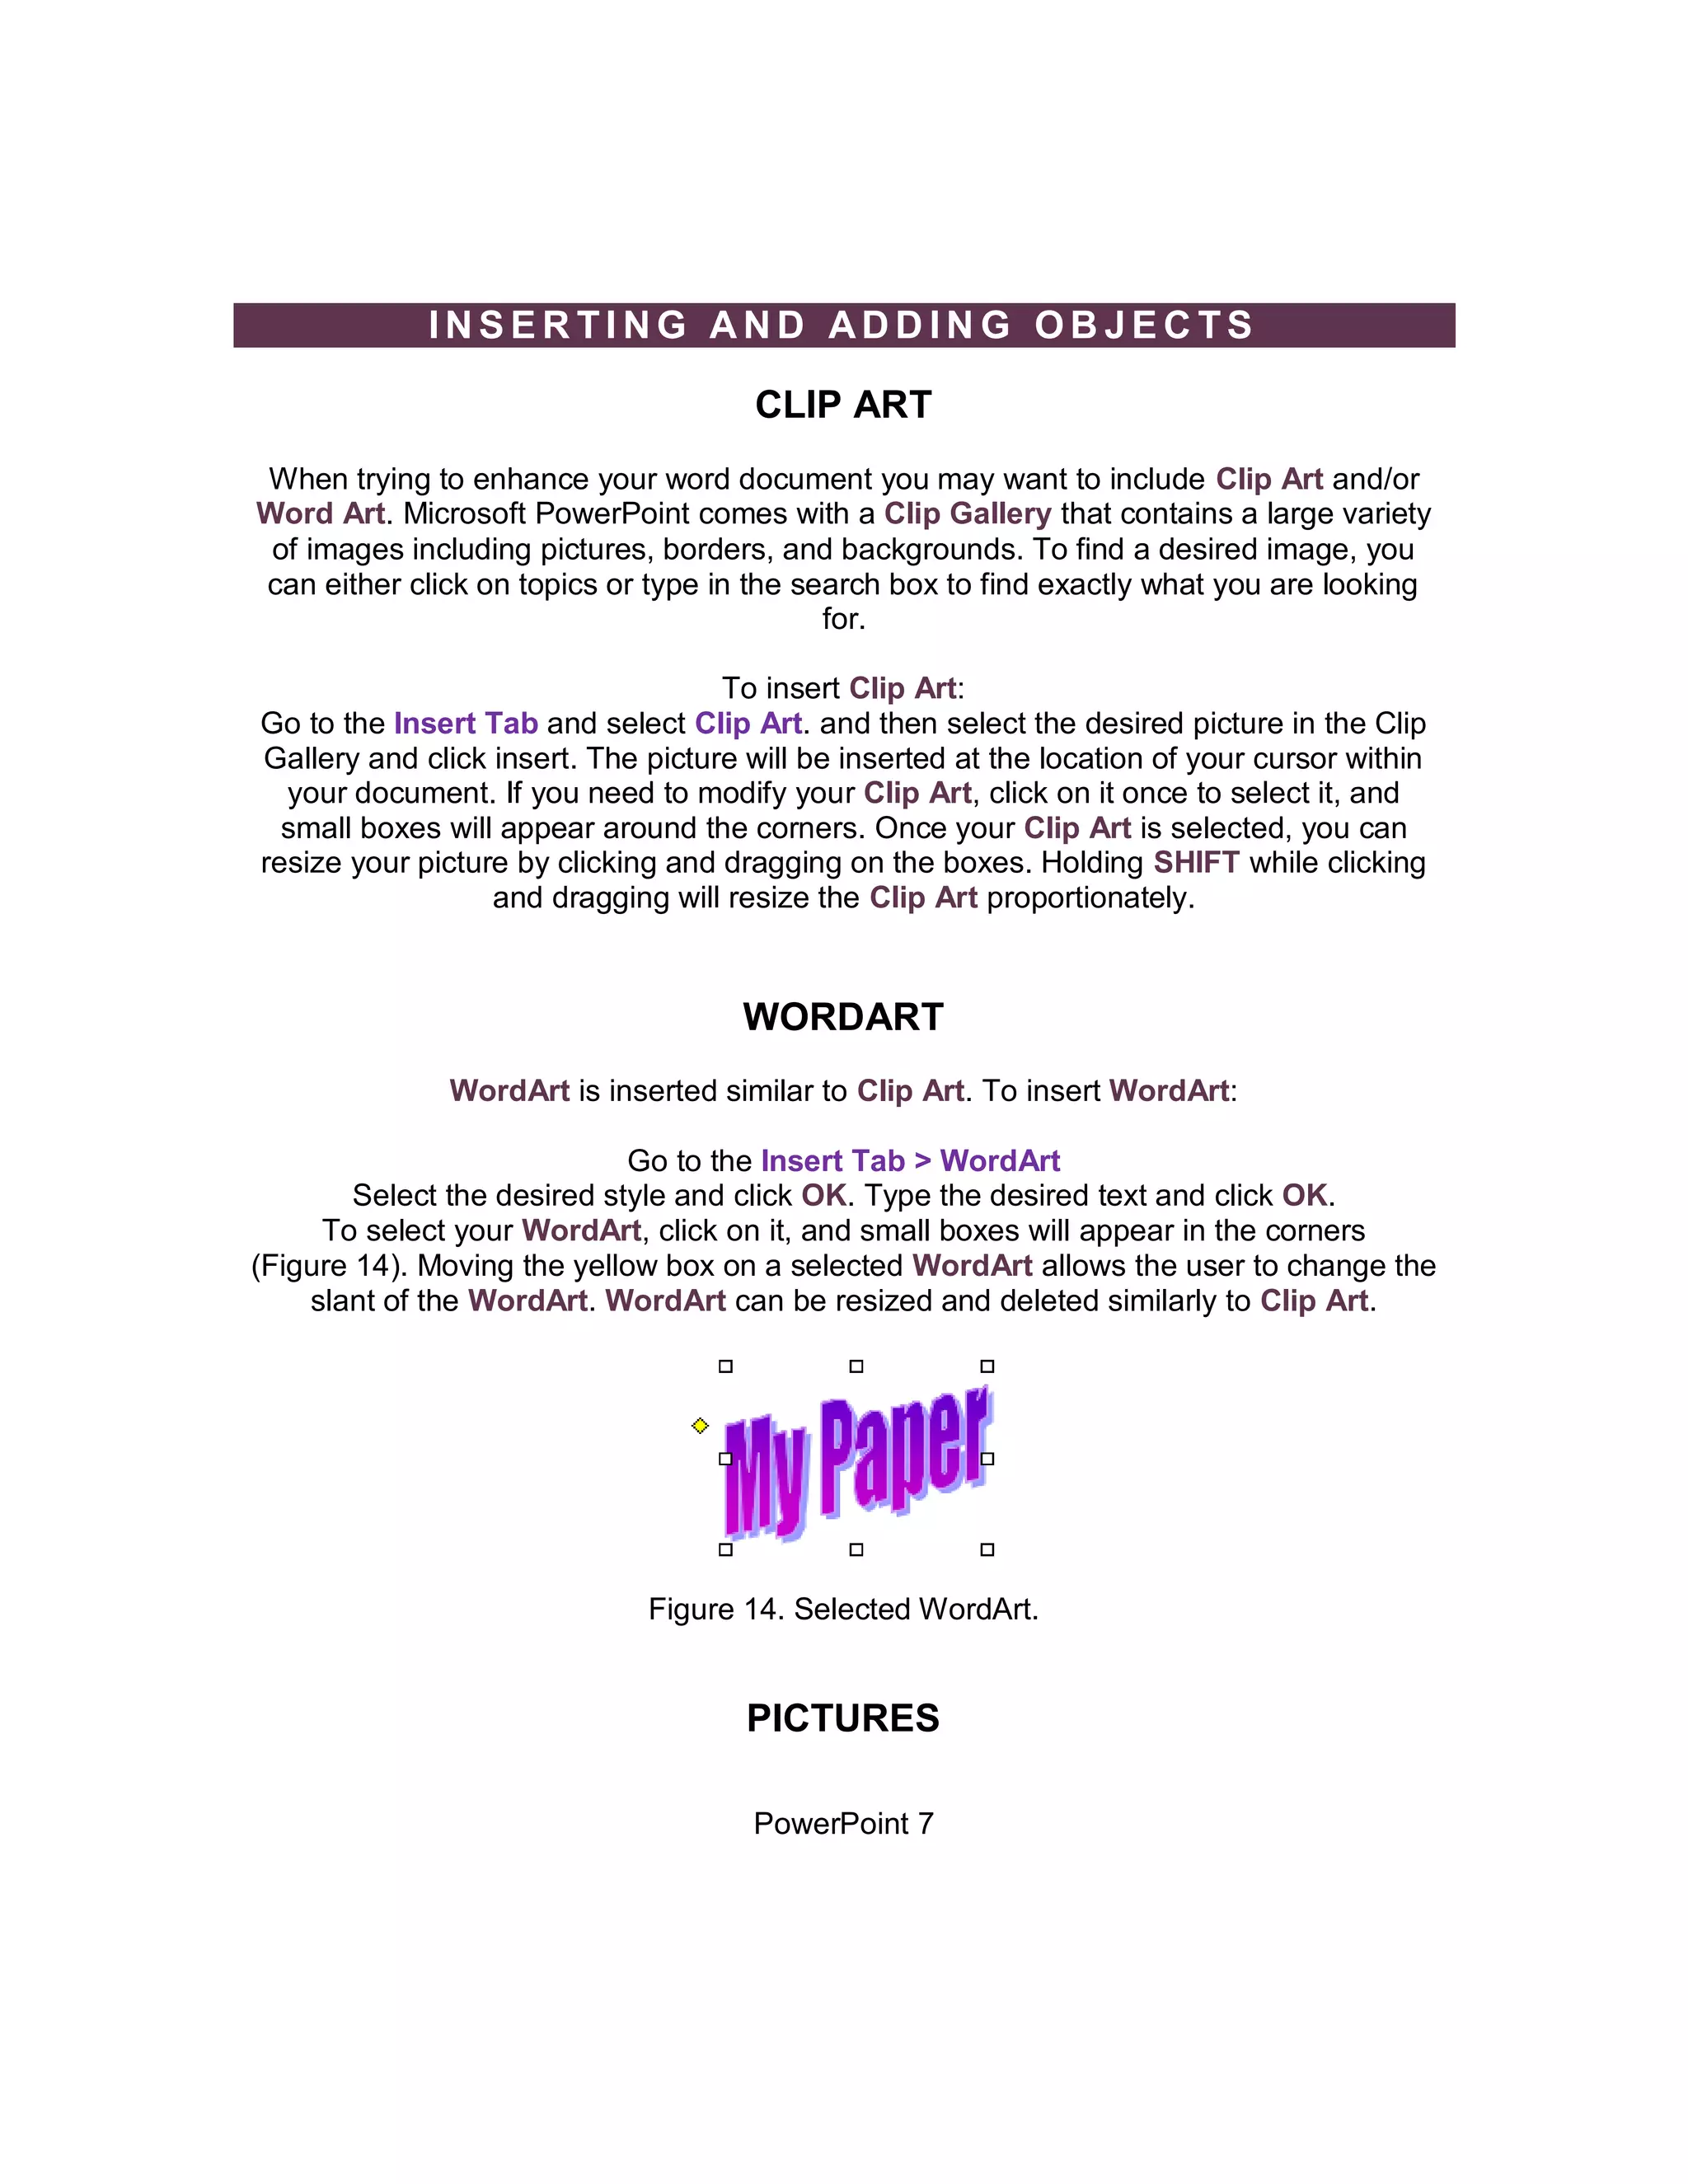
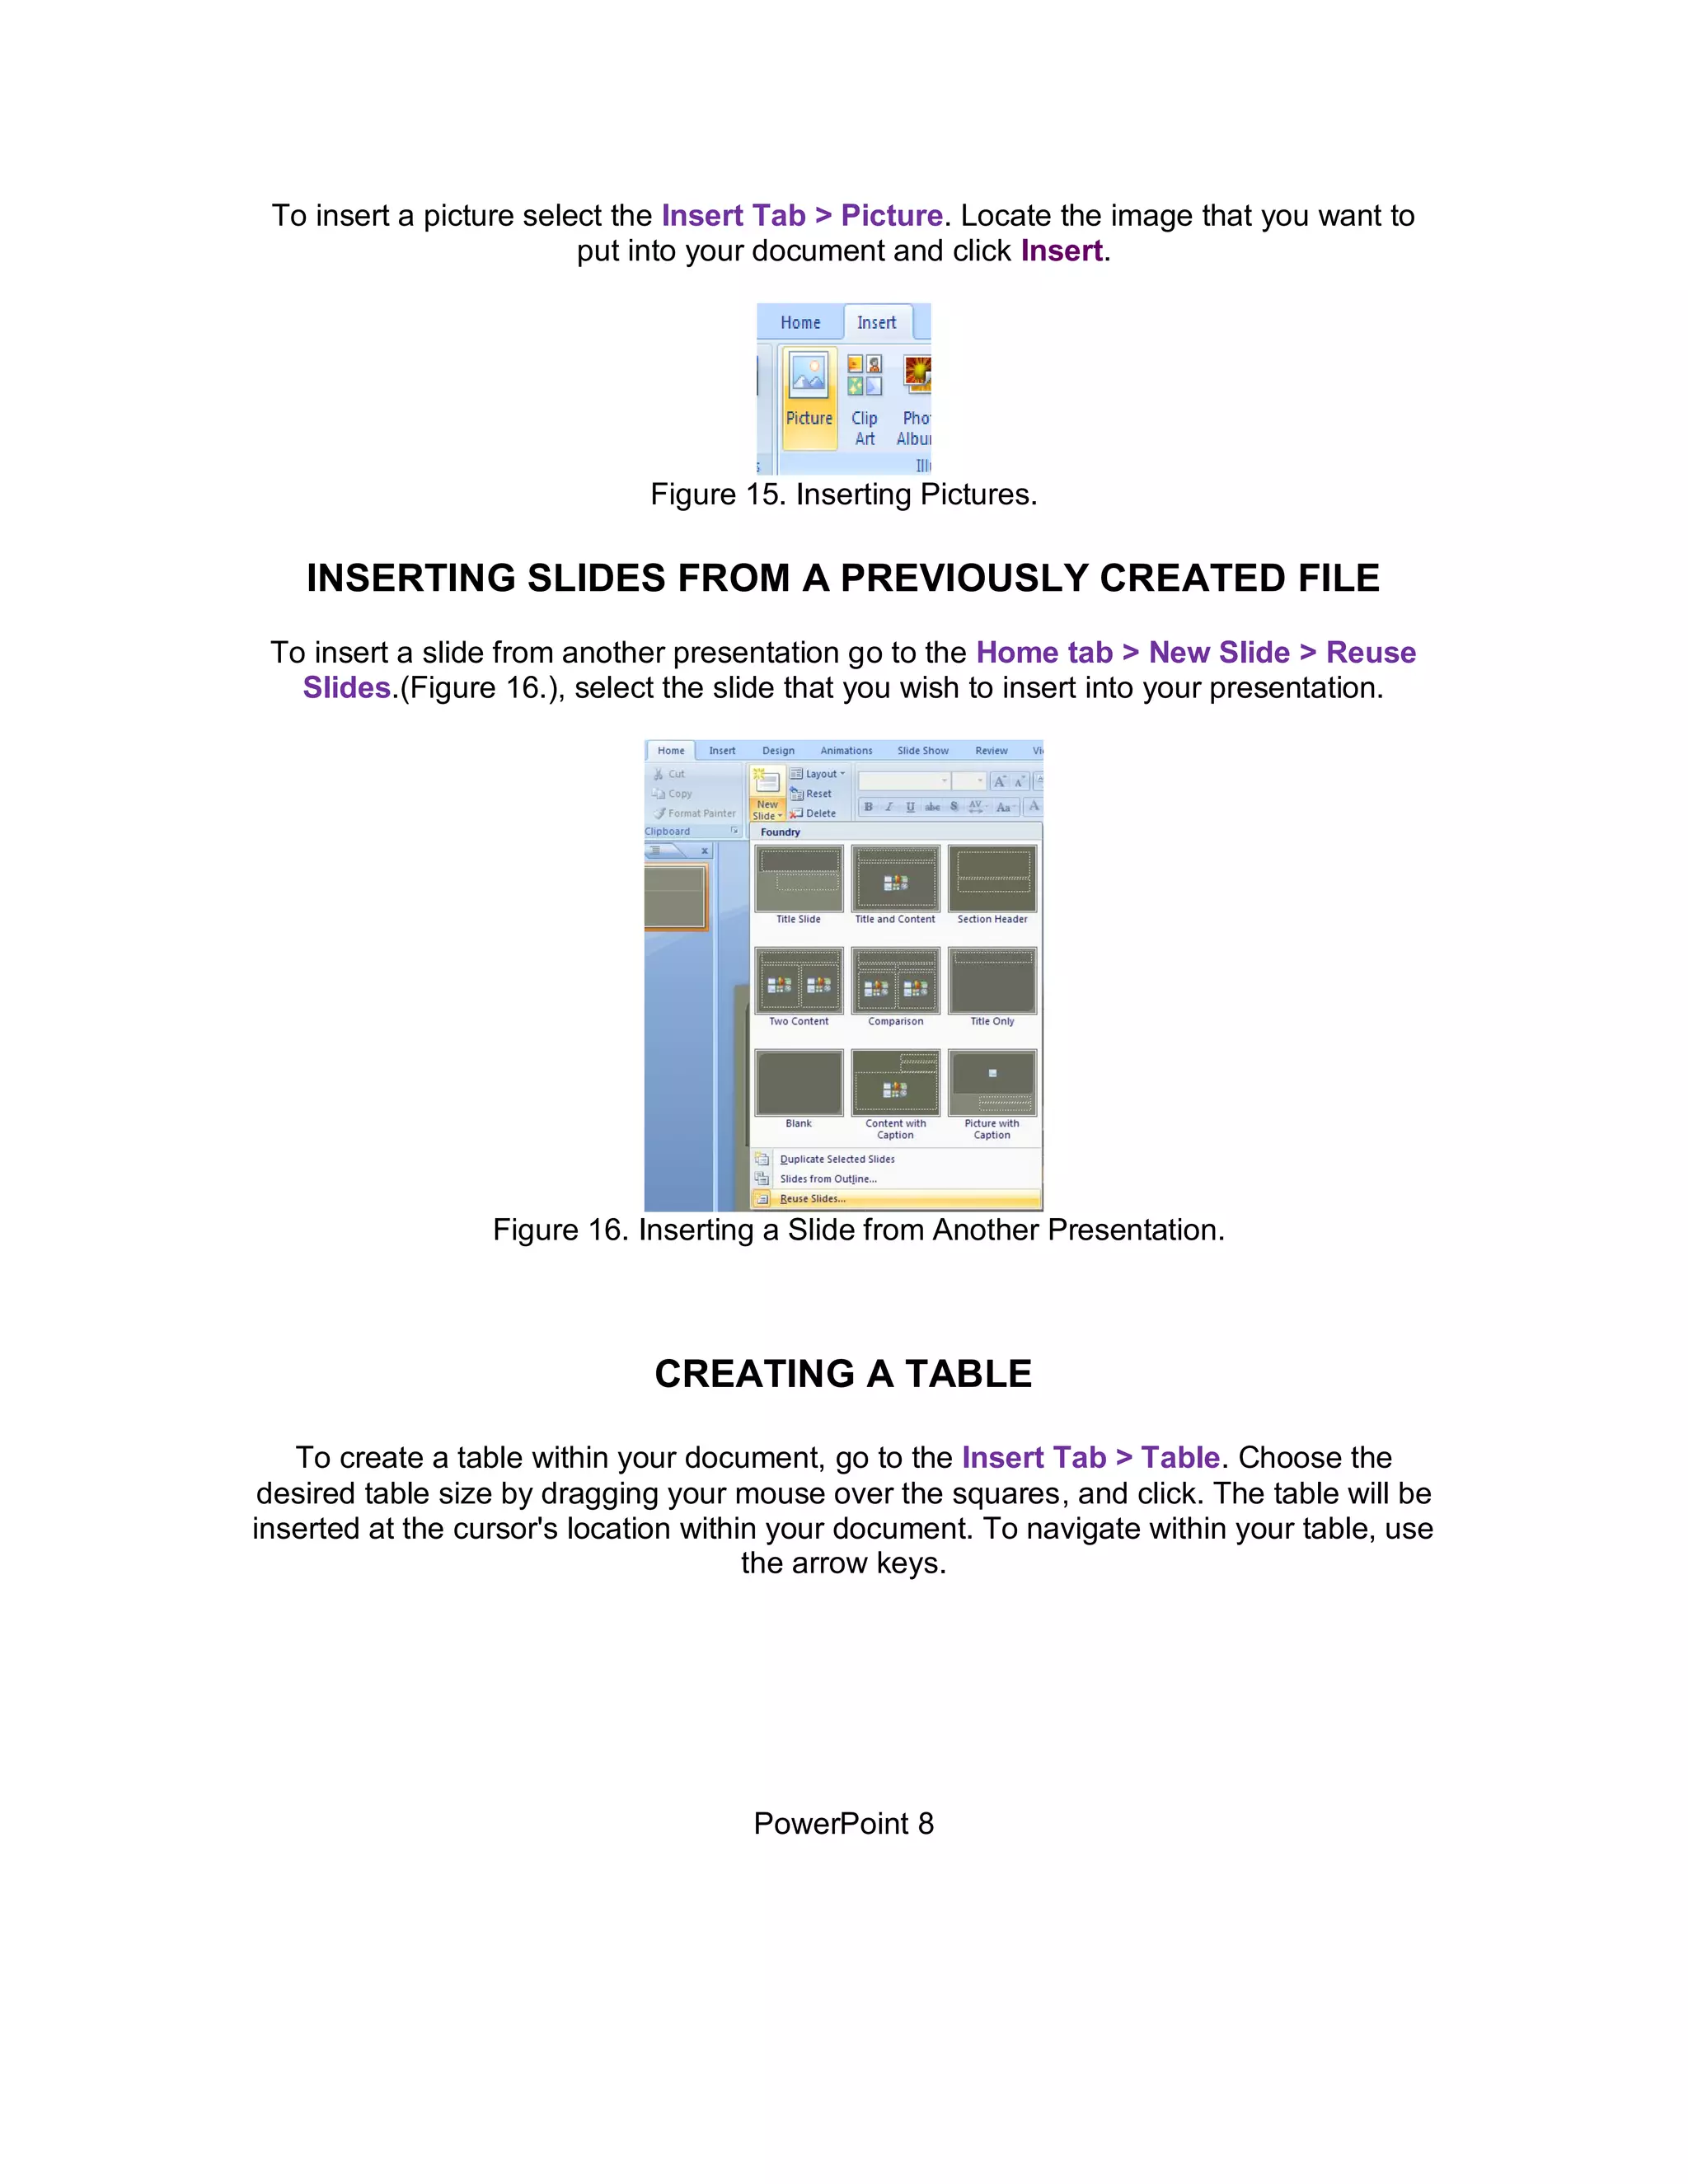
Guidelines on inserting Clip Art, WordArt, Pictures, and creating tables in your presentation.
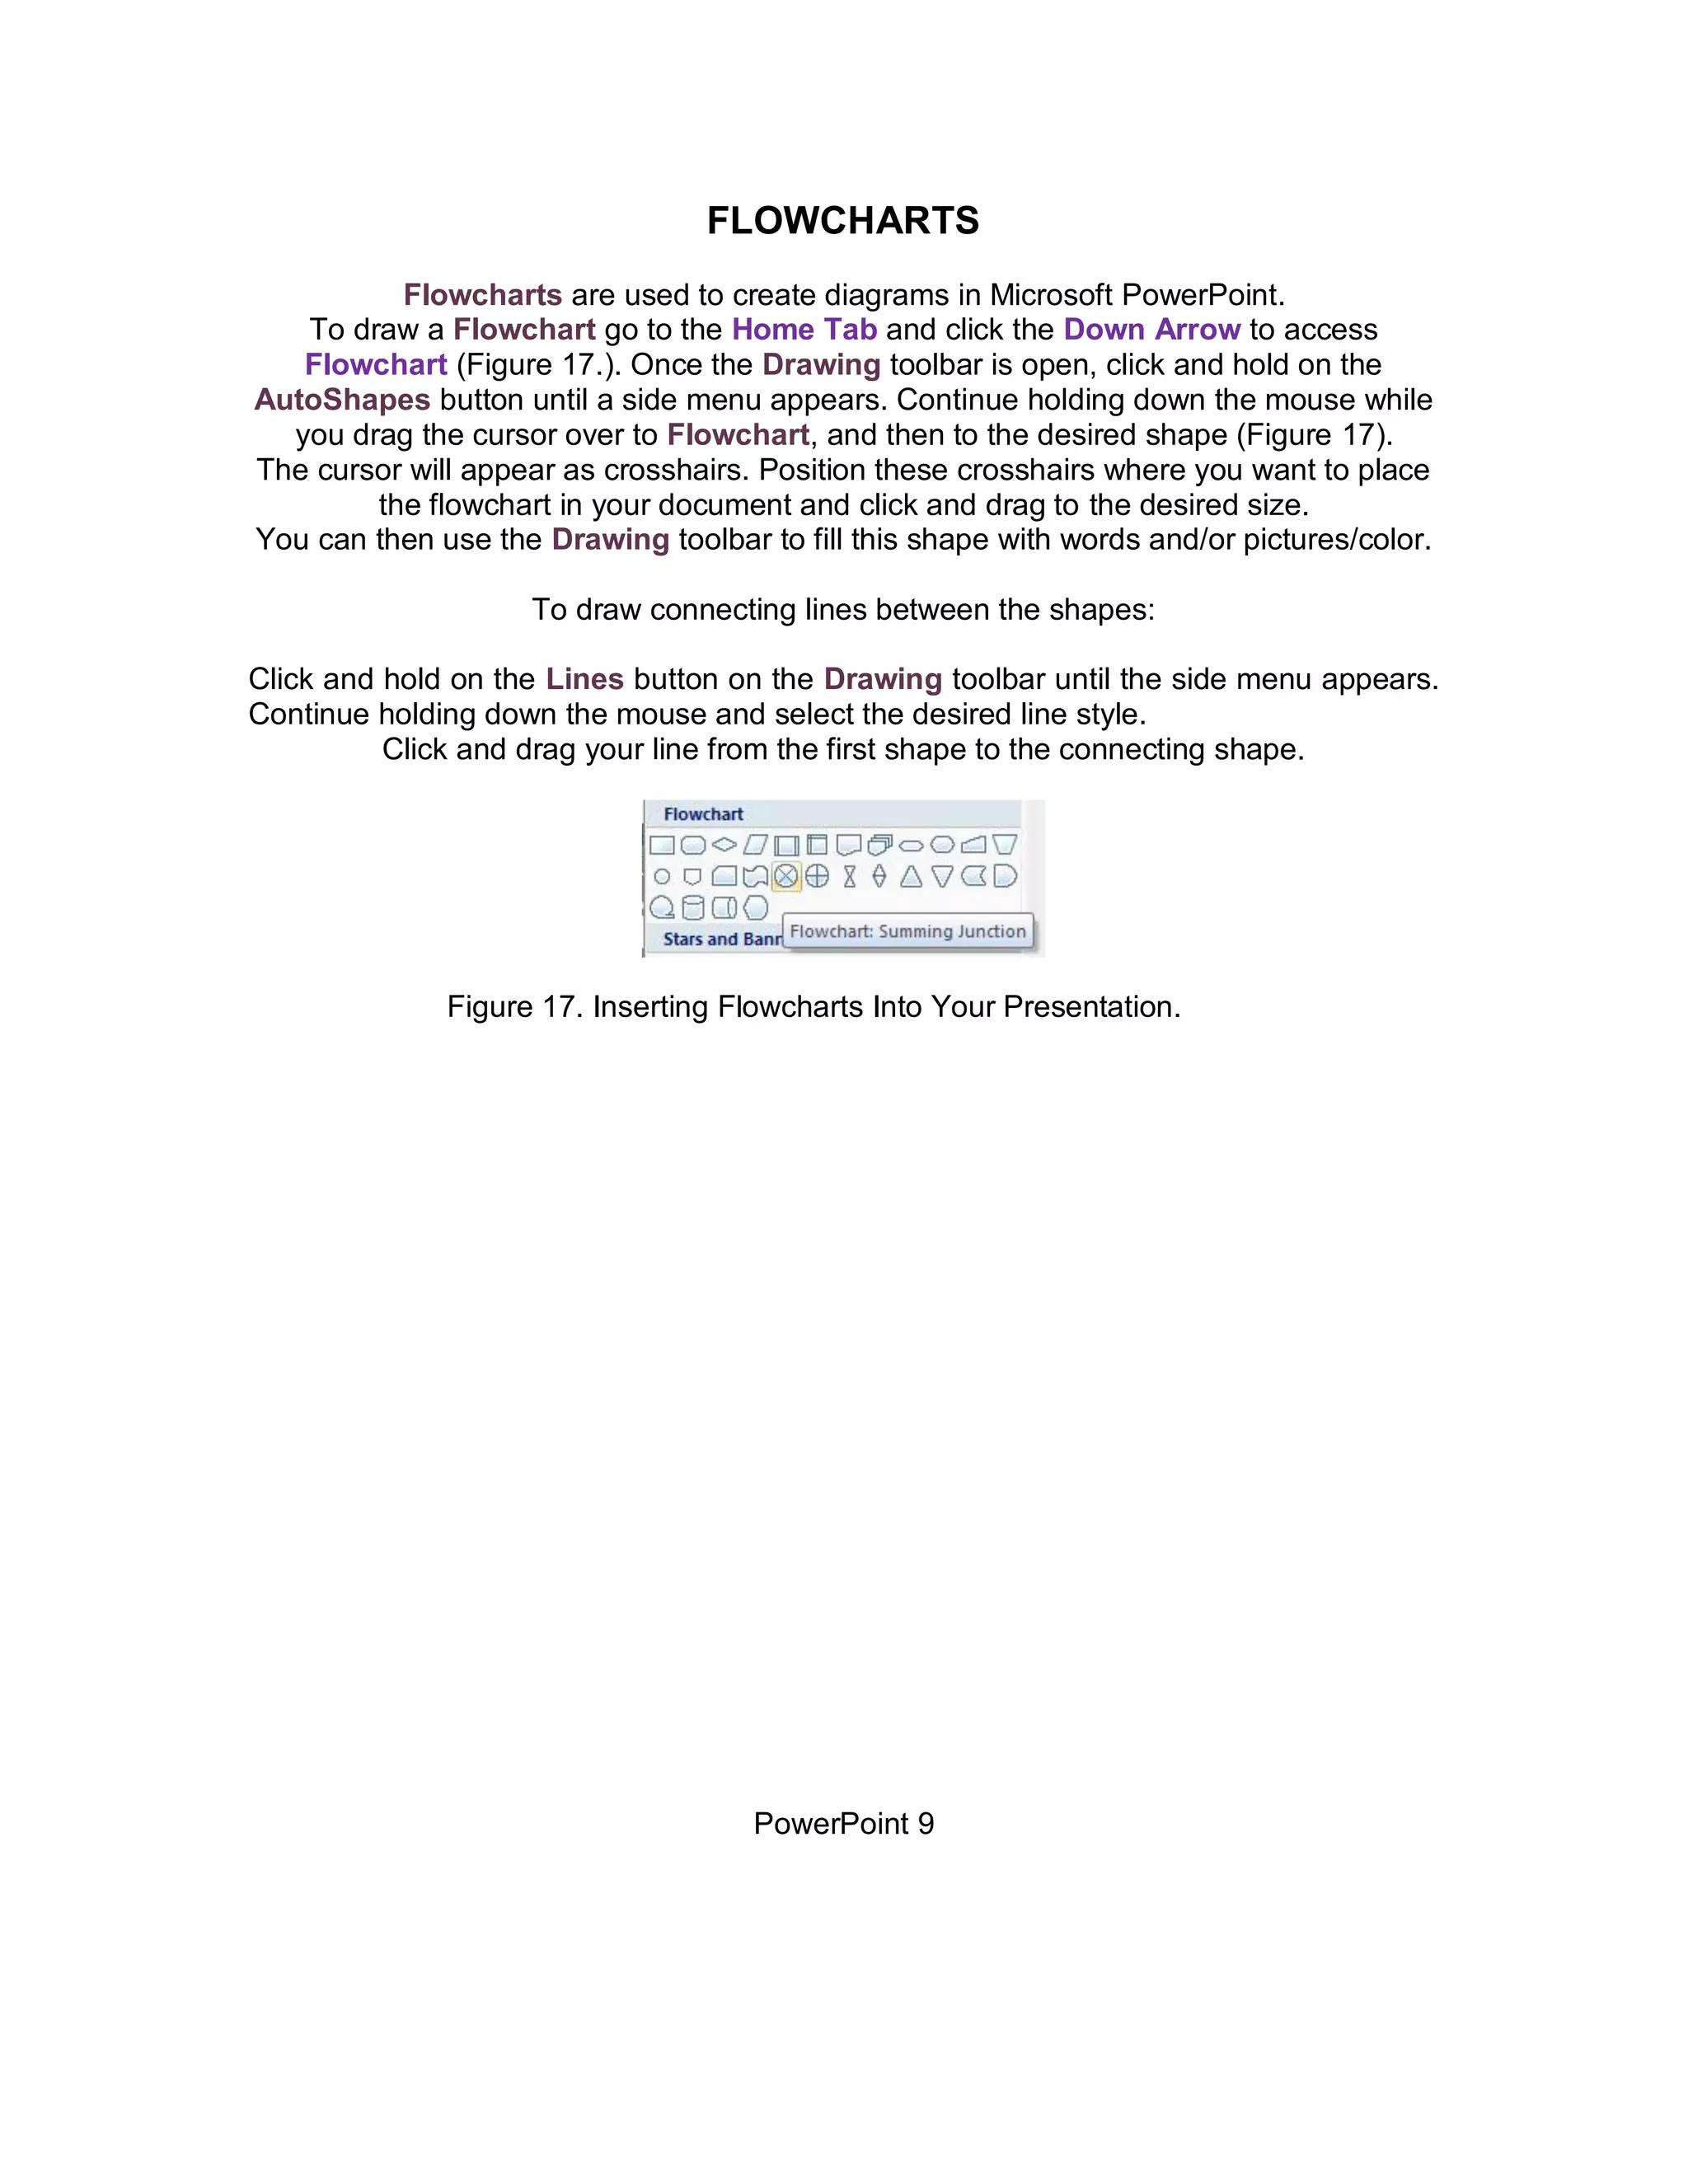
Steps to create diagrams and flowcharts using the Drawing toolbar and connecting shapes with lines.
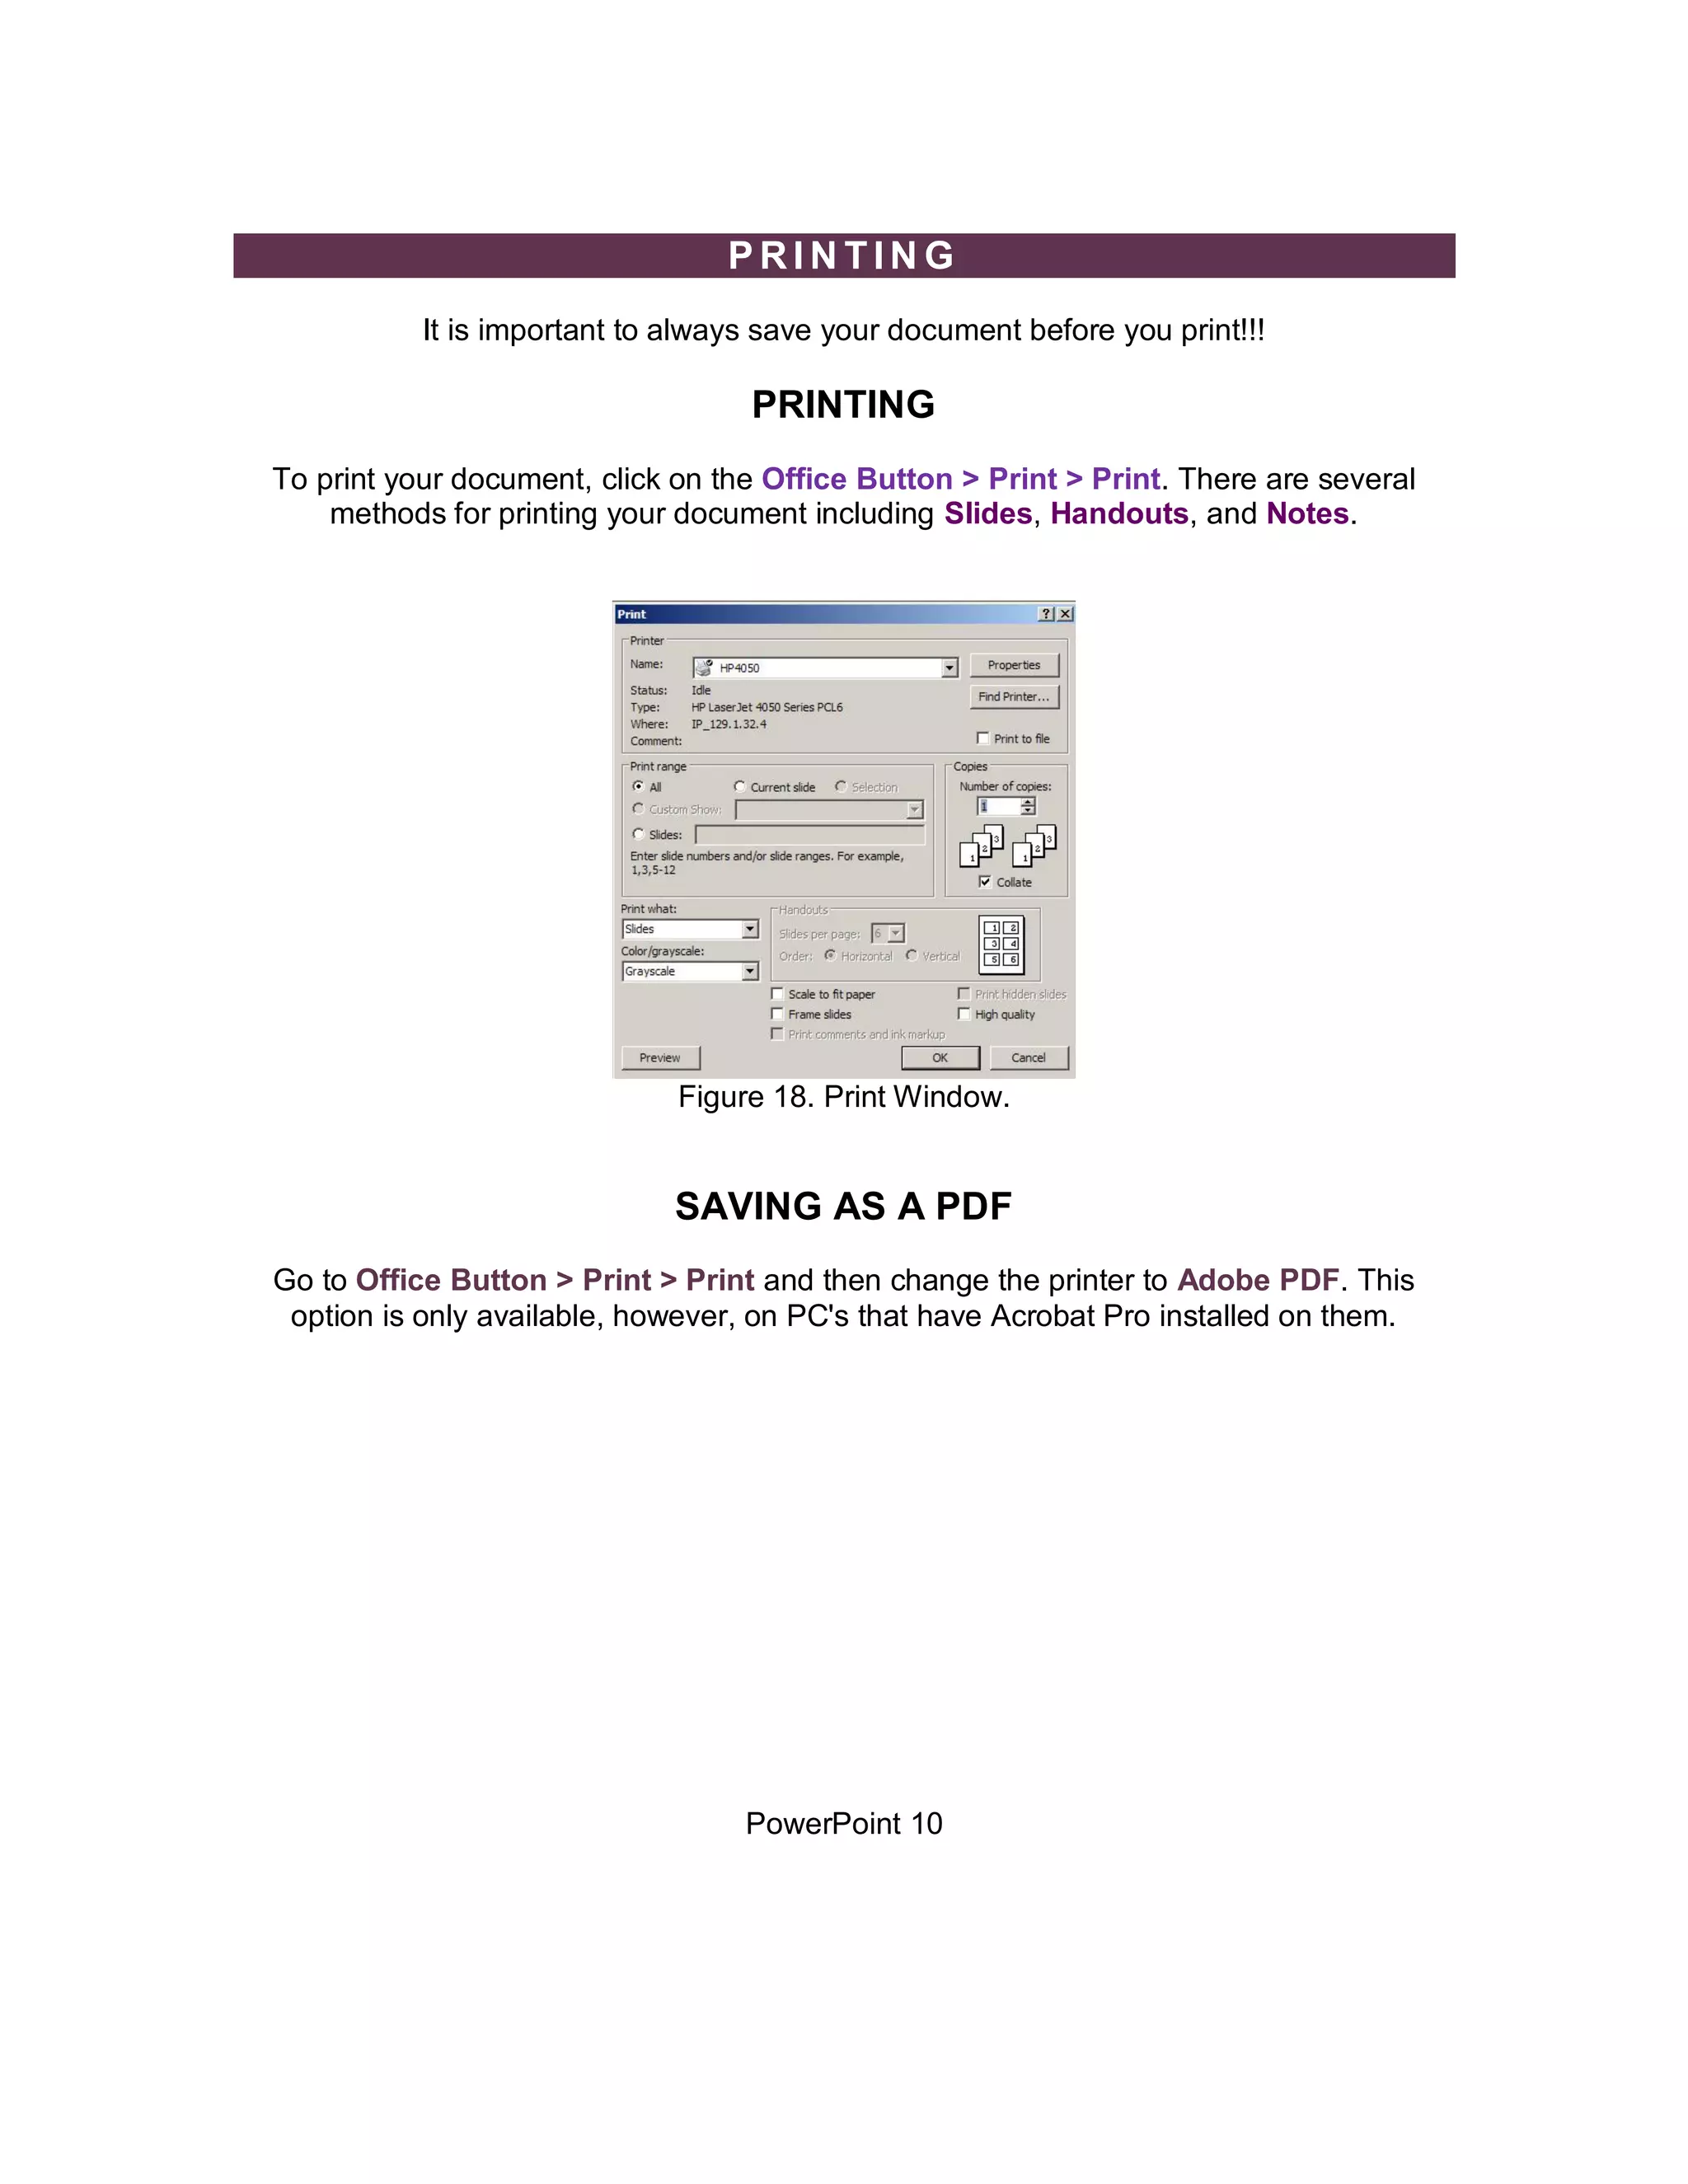
Instructions for printing documents, including saving as a PDF, and the importance of saving before printing.
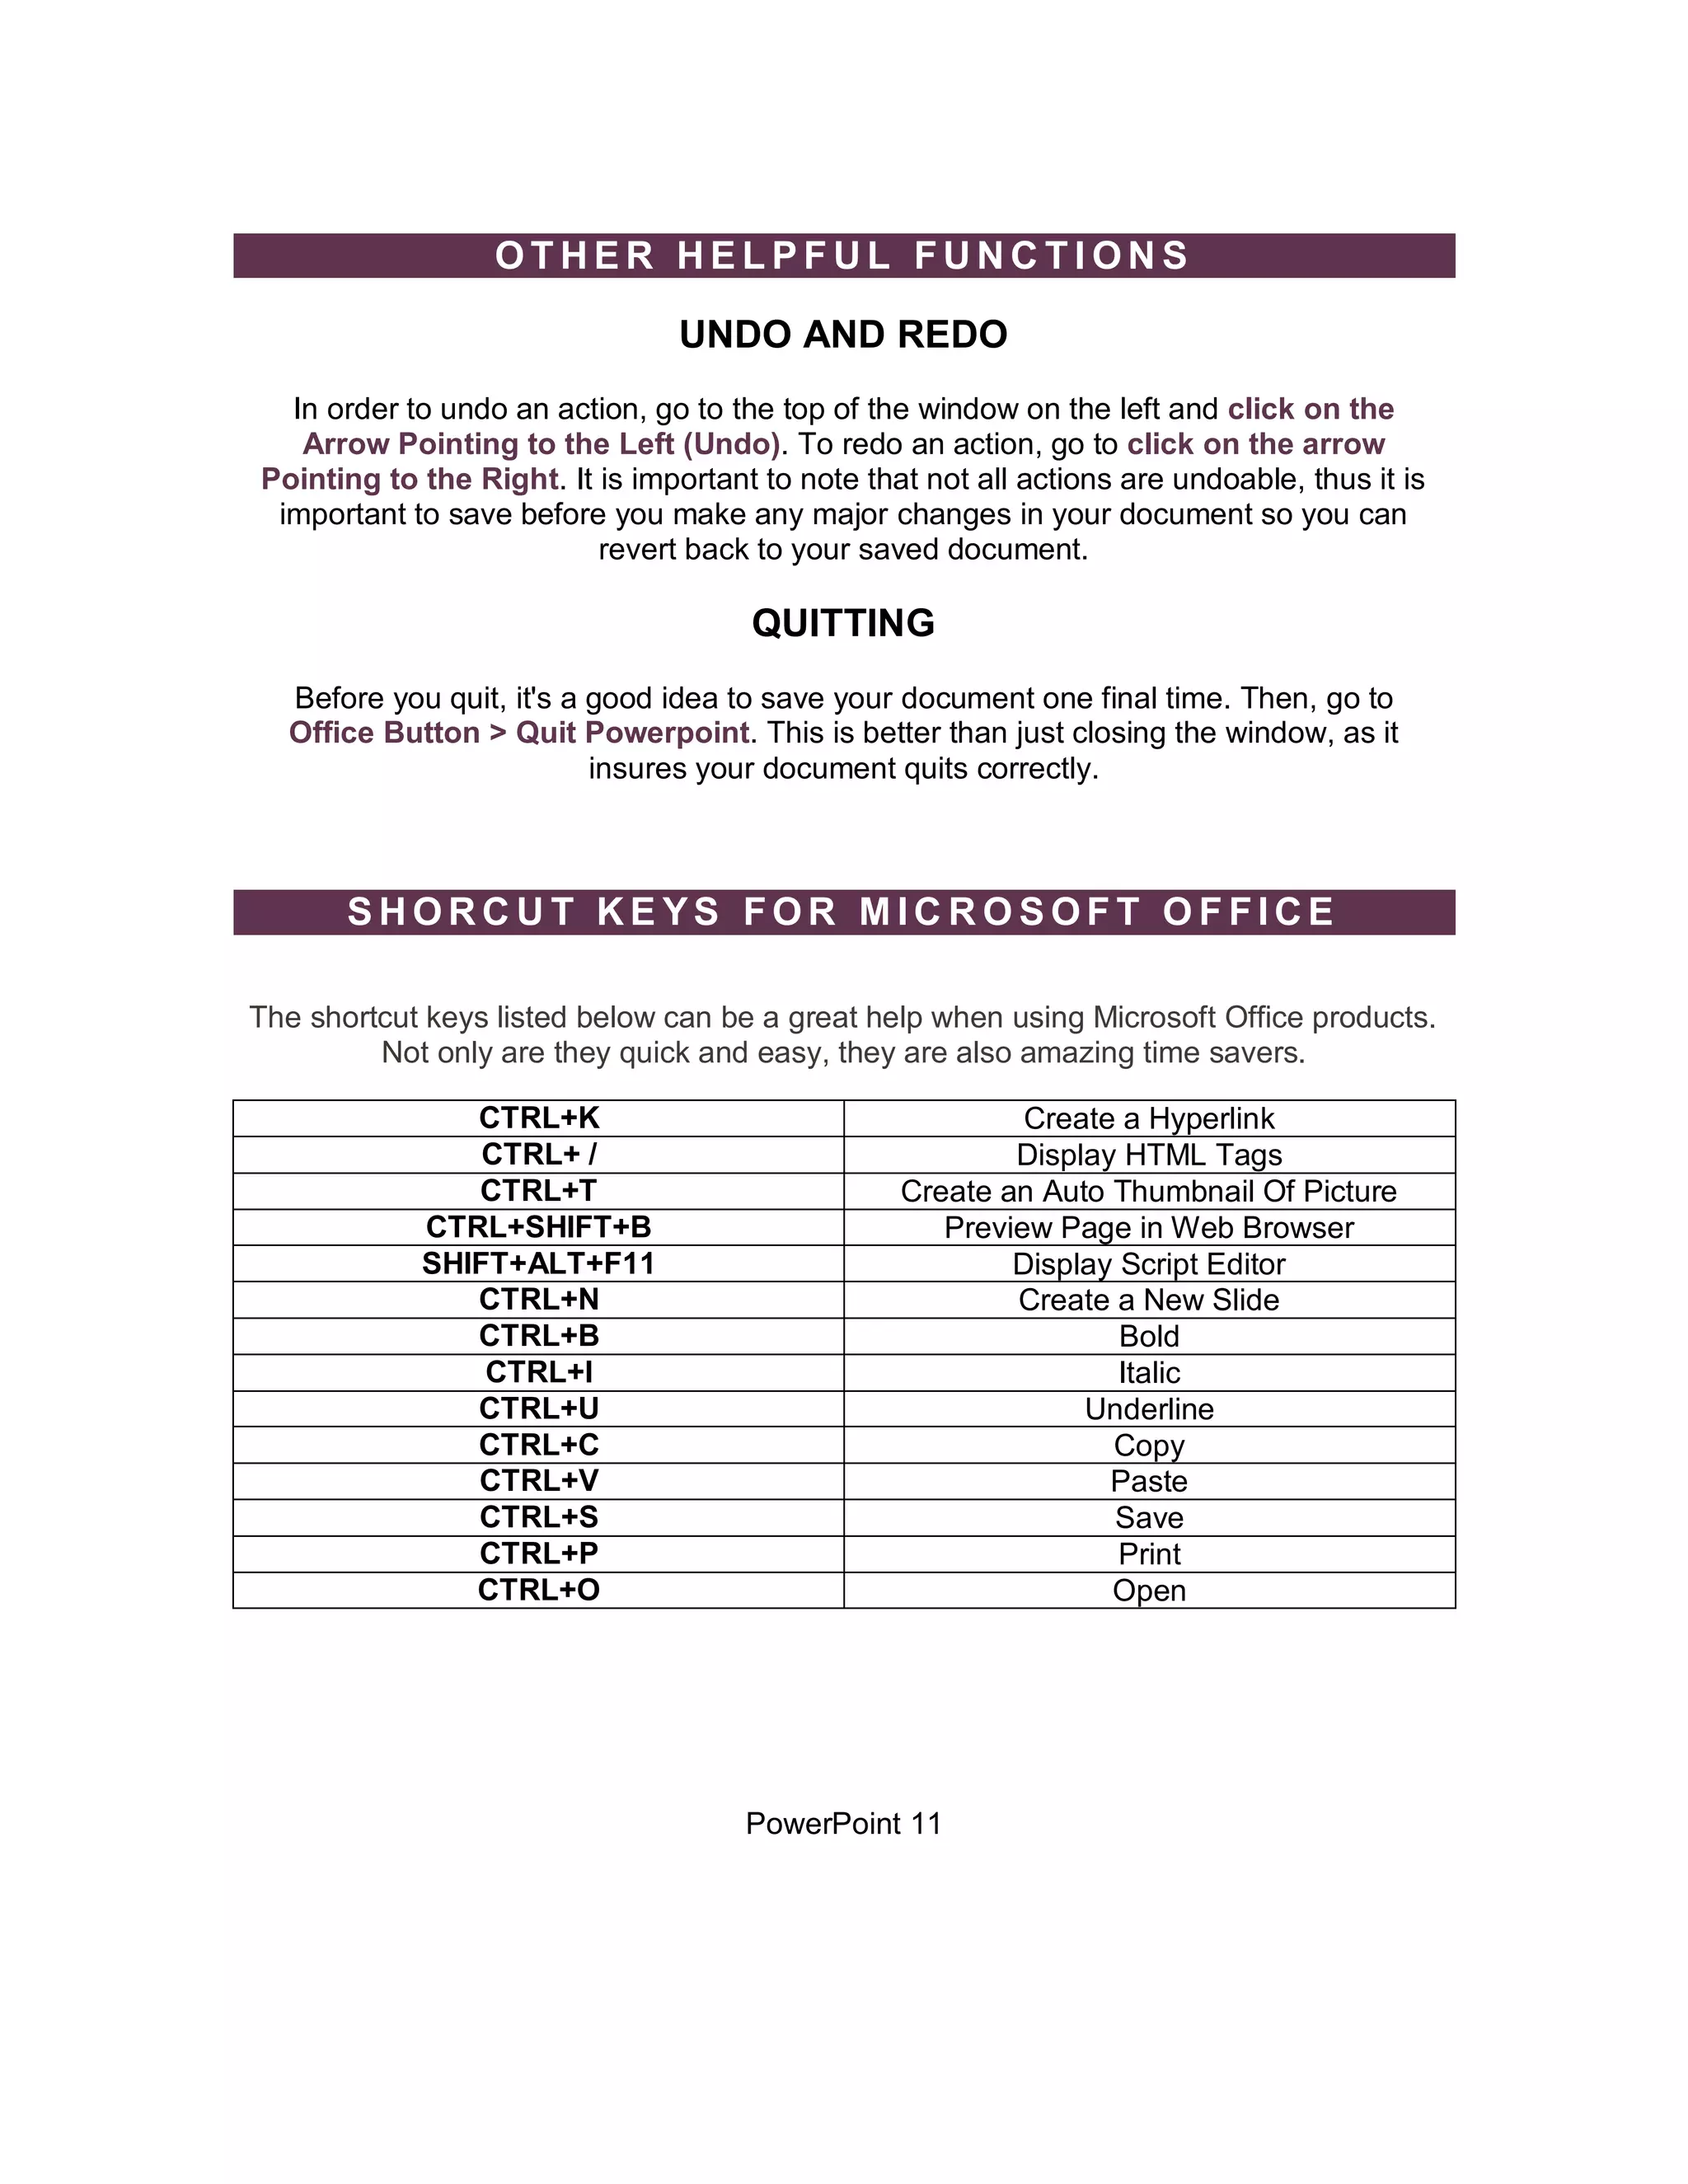
Features like Undo/Redo, quitting PowerPoint properly, and useful shortcut keys for efficiency.


![Duke%20 %20 assignmet%20#1%20tutorial%20&%20quiz.ppt%20(1a2)[1]](https://cdn.slidesharecdn.com/ss_thumbnails/duke20-20assignmet20120tutorial2020quiz-ppt201a21-100721124020-phpapp01-thumbnail.jpg?width=640&height=640&fit=bounds)


![Vibe Coding vs. Spec-Driven Development [Free Meetup]](https://cdn.slidesharecdn.com/ss_thumbnails/vibecodingvsspecdrivendevelopment-251209105622-43f455e7-thumbnail.jpg?width=640&height=640&fit=bounds)


