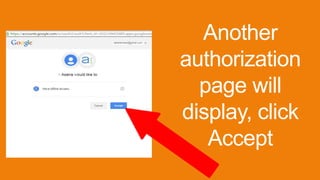
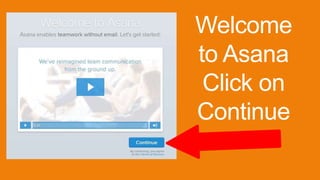
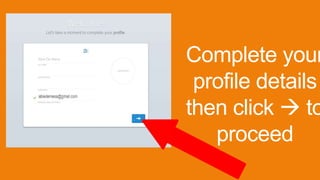
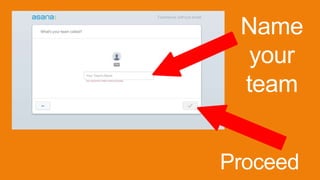
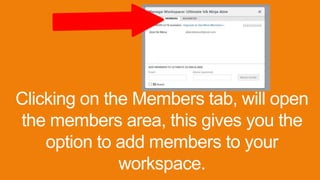
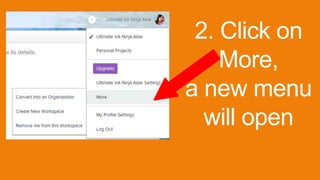
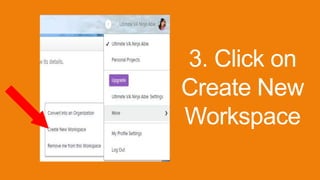
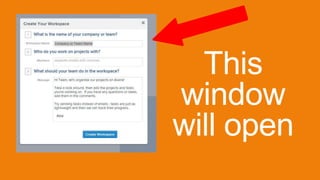
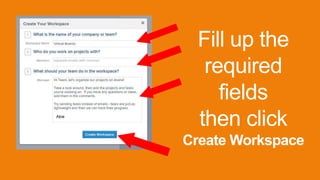
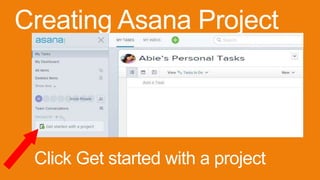
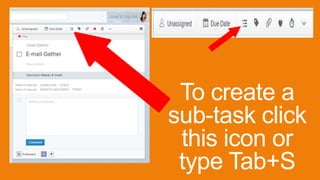
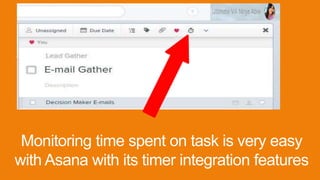
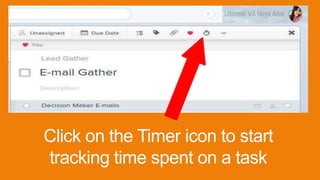
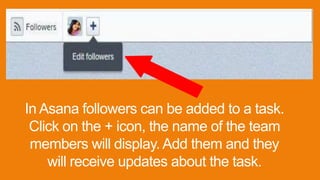
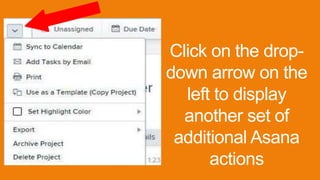
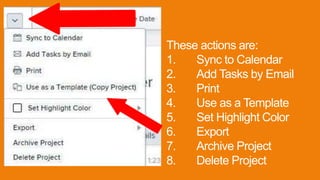
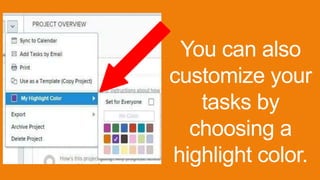
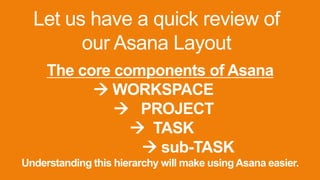
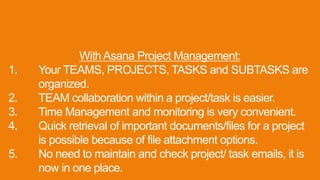
Visit my website for more online resource and tutorials
https://theultimatevaninja.wordpress.com/
A guide on the on the task management tool called Asana. This gives you the basics on how to get started, the initial lay out of the user interface of the app as well as other features and tips that might come in handy while using this project management tool.
Product Catalog Bandung Home Decor Design Furniture
Asana how-to-guide-vaninja
1.
2. I’m going to show you...
• What is Asana?
• Getting started with Asana
• Layout and functionality
• Features
• Terms
• Other helpful tips when using Asana
3. What is Asana?
It is an online application designed
to enable teamwork without email.
Asana was built
Or as I would like to say on my own words…
7. Upon clicking
“Sign Up Using Google”
You will be redirected to your
Google account log-in page,
Choose the Google account
you wish to use with Asana
19. When you click on “Deleted Items”
All your deleted tasks and conversations will
display
20. Click on
“My Tasks”
to display
your task
list
If you have tasks this
area will be populated
21. You also have your INBOX in Asana.
It contains updates and notifications about the items
you are following
22. Let us continue to explore the
other parts of Asana.
Remember a while ago, that we
gave a name to your team, your
team’s name is also your
“Workspace”
23. 1. Click on this icon to
display the dropdown
menu
2. Your
Workspace
name will
display and
the Workspace
Settings option
3. Click on
Workspace Settings
option and let us
explore this menu.
24. When you click on Settings this
pop-up window will display. This
gives you the option to rename
your workspace.
25. Clicking on the Members tab, will open
the members area, this gives you the
option to add members to your
workspace.
26. You can add up
to 15 members
with the
basic/free Asana
account
28. After entering the e-mail
address of your team
members, click Send
Invite. Your team
members will receive an
e-mail invite to join your
Asana Workspace.
29. The Advanced tab is
also located on the
workspace settings
menu.
The Advanced tab displays the list of App
integrations you can use with Asana.
30. To enable App Integration
Tick the box before the App name
and it will enable the App and
integrate it with Asana
31. Those are all the options
under the Workspace
Settings Menu.
Let us move into the other
menu options.
33. My Profile Settings
I t has 7 tabs
1. Profile
2. To Email
3. From Email
4. Account
5. Themes
6. Apps
7. Hacks
34. Profile tab
Edit your name,
add your profile photo,
tell something about yourself, you
can do it all here.
Here you can also set yourself as
away when you tick the vacation
indicator.
Click on Update Profile
to save the changes.
35. “To Email”
Tab
Set your communication preference here. Choose
the email where you want to receive reminders,
activity and dashboards messages. You can add and
remove e-mails here.
36. “From Email”
Tab
Set your e-mail sending preference here.
Choose the email you want to use as your
address when sending e-mails.
37. This is where you will find the
option to Deactivate your Asana
account
“Account”
Tab
39. “Apps”
Tab
This is where you
can see all the
Apps you have
authorized with
Asana, you can
activate apps
here too.
40. “Hacks”Tab
Here you will find the
“Hacks” that the
Asana development
team are working on
to provide more
features to Asana
users.
41. Let us pause for a recap.
What have we learned?
1. Setting up your Asana account
2. Creating your first workspace
3. Explored the workspace settings menu
4. Familiarized with the profile settings options.
Let us proceed to exploring Asana.
42. What if you want to create a new workspace?
1. Click on the
workspace name,
the dropdown
menu will display
76. One you have set-up
your Harvest account,
always click the Timer
icon each time you start
on a task for your time
to be recorded and
monitored on Harvest.
77. With the many features of
Asana Project Management
has never been easier.
Let us explore the rest of the
function keys found on Asana
user interface...
79. These actions are:
1. Delete Task
2. Delete Selected Subtask
3. Make a copy
4. Convert to a Project
5. Print
6. Merge Duplicate Tasks
7. Full Screen
81. Tags are used for filtered views
of tasks across projects.
Use the search bar and enter the tag name,
it will return a list of tasks bearing the same tag.
82. In Asana followers can be added to a task.
Click on the + icon, the name of the team
members will display. Add them and they
will receive updates about the task.
84. Click on the drop-
down arrow on the
left to display
another set of
additional Asana
actions
85. These actions are:
1. Sync to Calendar
2. Add Tasks by Email
3. Print
4. Use as a Template
5. Set Highlight Color
6. Export
7. Archive Project
8. Delete Project
86. Click on
Sync to Calendar.
This window will
open. You have the
option to sync your
Asana tasks with
your preferred
Calendar
87. Click on Add Tasks by Email.
This window will open. You can add a task by
sending an email to a pre-assigned e-mail
address with your Asana account
99. Let us have a quick review of
our Asana Layout
The core components of Asana
WORKSPACE
PROJECT
TASK
sub-TASK
Understanding this hierarchy will make using Asana easier.
100. With Asana Project Management:
1. Your TEAMS, PROJECTS, TASKS and SUBTASKS are
organized.
2. TEAM collaboration within a project/task is easier.
3. Time Management and monitoring is very convenient.
4. Quick retrieval of important documents/files for a project
is possible because of file attachment options.
5. No need to maintain and check project/ task emails, it is
now in one place.