Download as PDF, PPTX

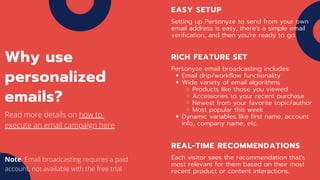
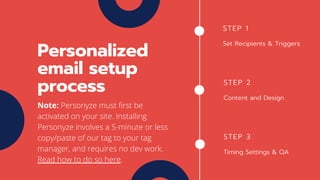
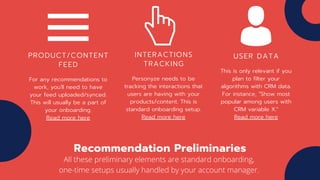
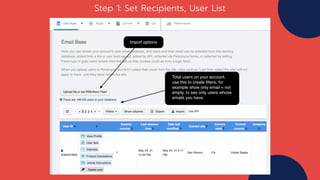
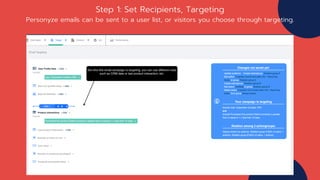
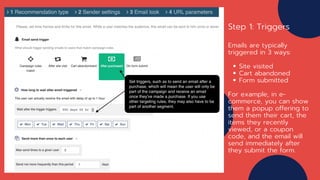
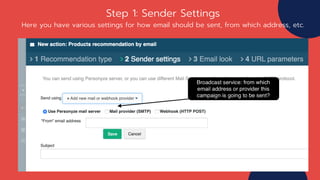
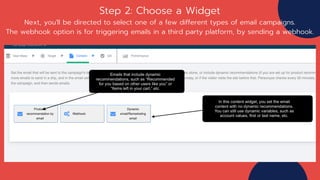
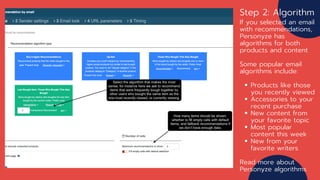
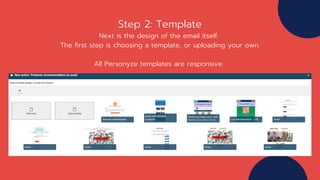
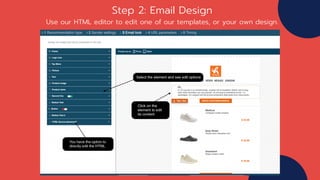
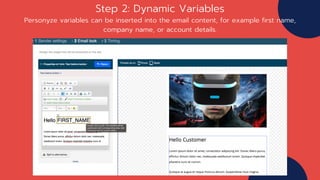
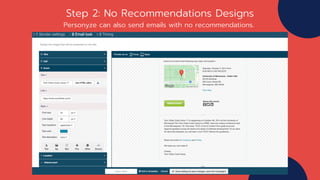
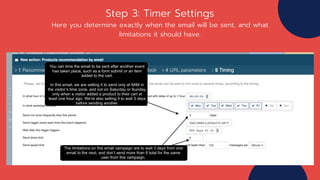
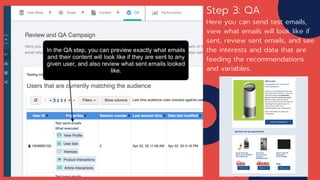
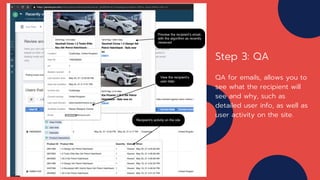
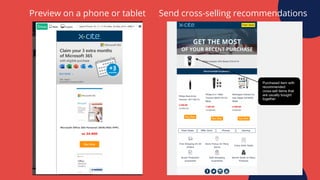
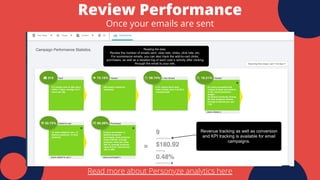
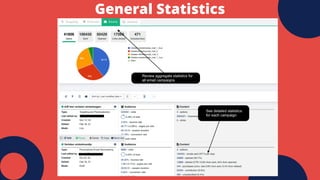


Personyze enables personalized email campaigns with easy setup and various features, including email algorithms and dynamic variables for tailored content. Users can set up recipients, triggers, and design templates, and must ensure onboarding requirements like tracking user interactions and uploading product feeds are met. The platform allows for real-time recommendations and offers comprehensive QA tools to preview and analyze email performance.


