Downloaded 392 times

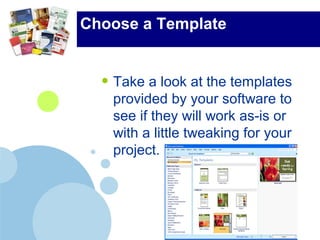

The document provides tips for desktop publishing including having a plan, choosing a template, setting up the document, placing and formatting text and graphics, tweaking graphic placement, applying design rules, proofreading a draft, and finally printing the project. Key steps are to have an initial sketch, select a template or start from scratch, import or type text and graphics, align and style text, move graphics for proper wrapping, and proof before final printing.