Downloaded 286 times

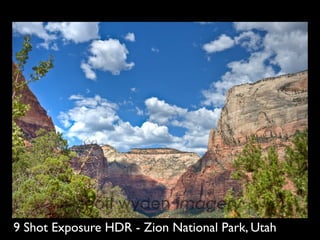
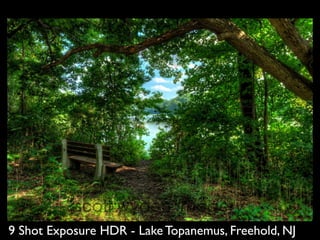
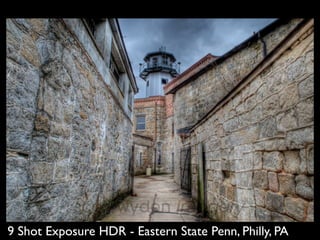
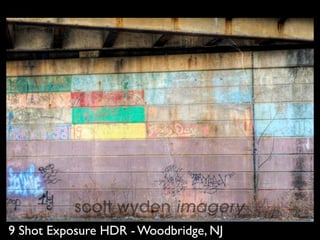

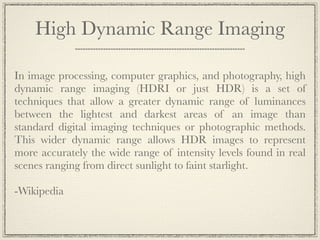
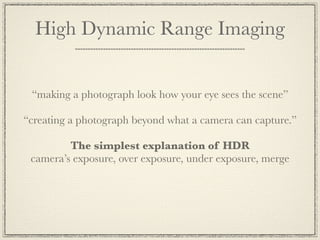
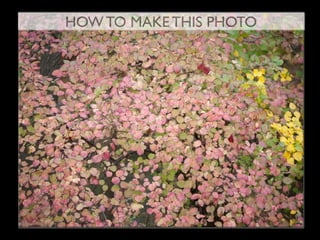
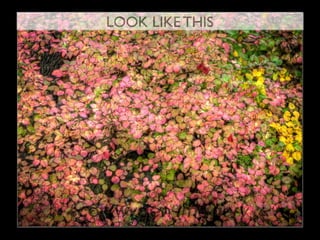

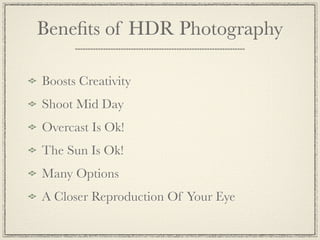
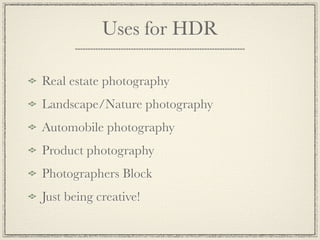

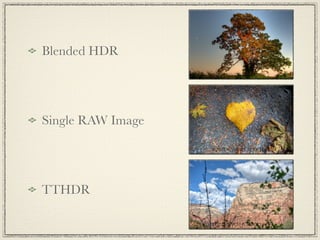
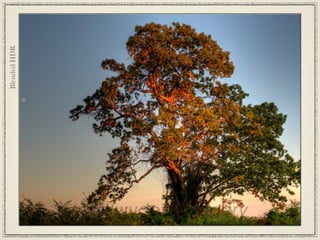
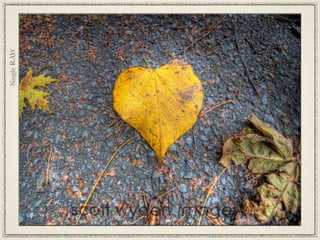
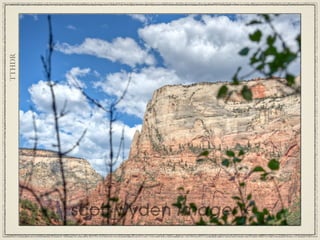
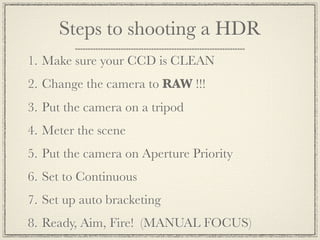
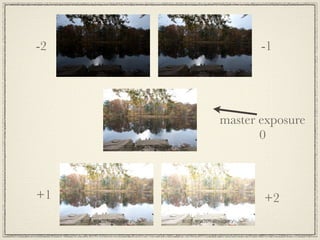
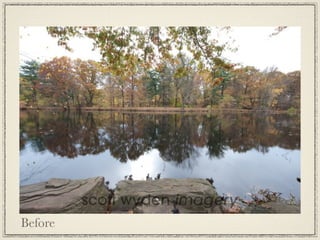
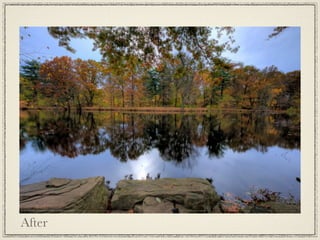


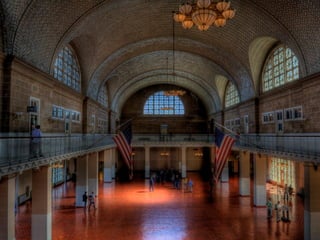


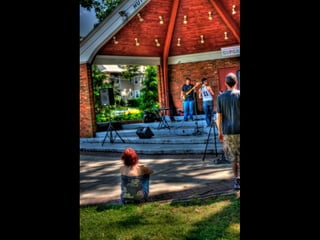
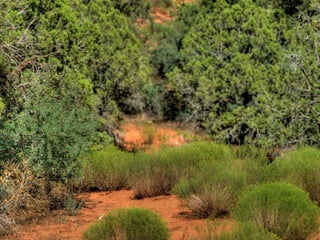
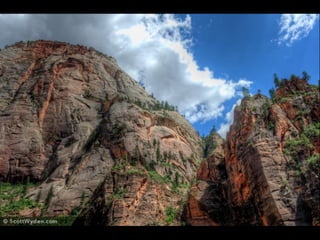
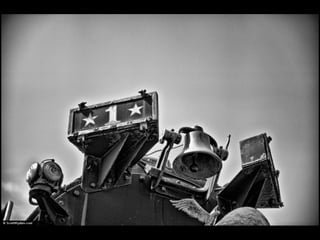
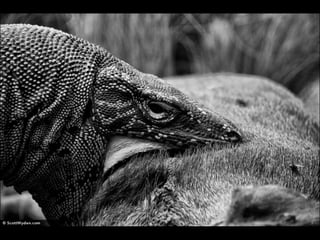
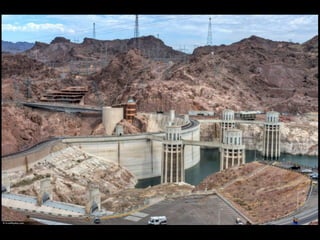
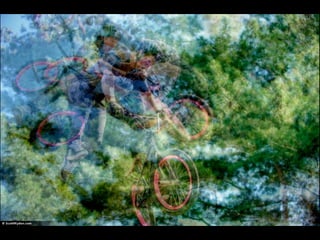


This document discusses high dynamic range (HDR) photography. It begins by defining HDR imaging and explaining that it allows for a greater dynamic range of brightness levels than standard photography. It then provides examples of 9 shot HDR photos and discusses the benefits of HDR, including boosting creativity and allowing shooting in various lighting conditions. It explains the basic process of taking HDR photos using bracketed exposures and merging them. It also discusses different HDR styles, needed equipment, and tips for shooting and processing HDR photos. It provides resources for learning more about HDR photography.


![[0107 박민근] 쉽게 배우는 hdr과 톤맵핑](https://cdn.slidesharecdn.com/ss_thumbnails/0107hdr-120109223948-phpapp01-thumbnail.jpg?width=640&height=640&fit=bounds)


![[Ndc12] 누구나 알기쉬운 hdr과 톤맵핑 박민근](https://cdn.slidesharecdn.com/ss_thumbnails/ndc12hdr-120426040134-phpapp02-thumbnail.jpg?width=640&height=640&fit=bounds)


