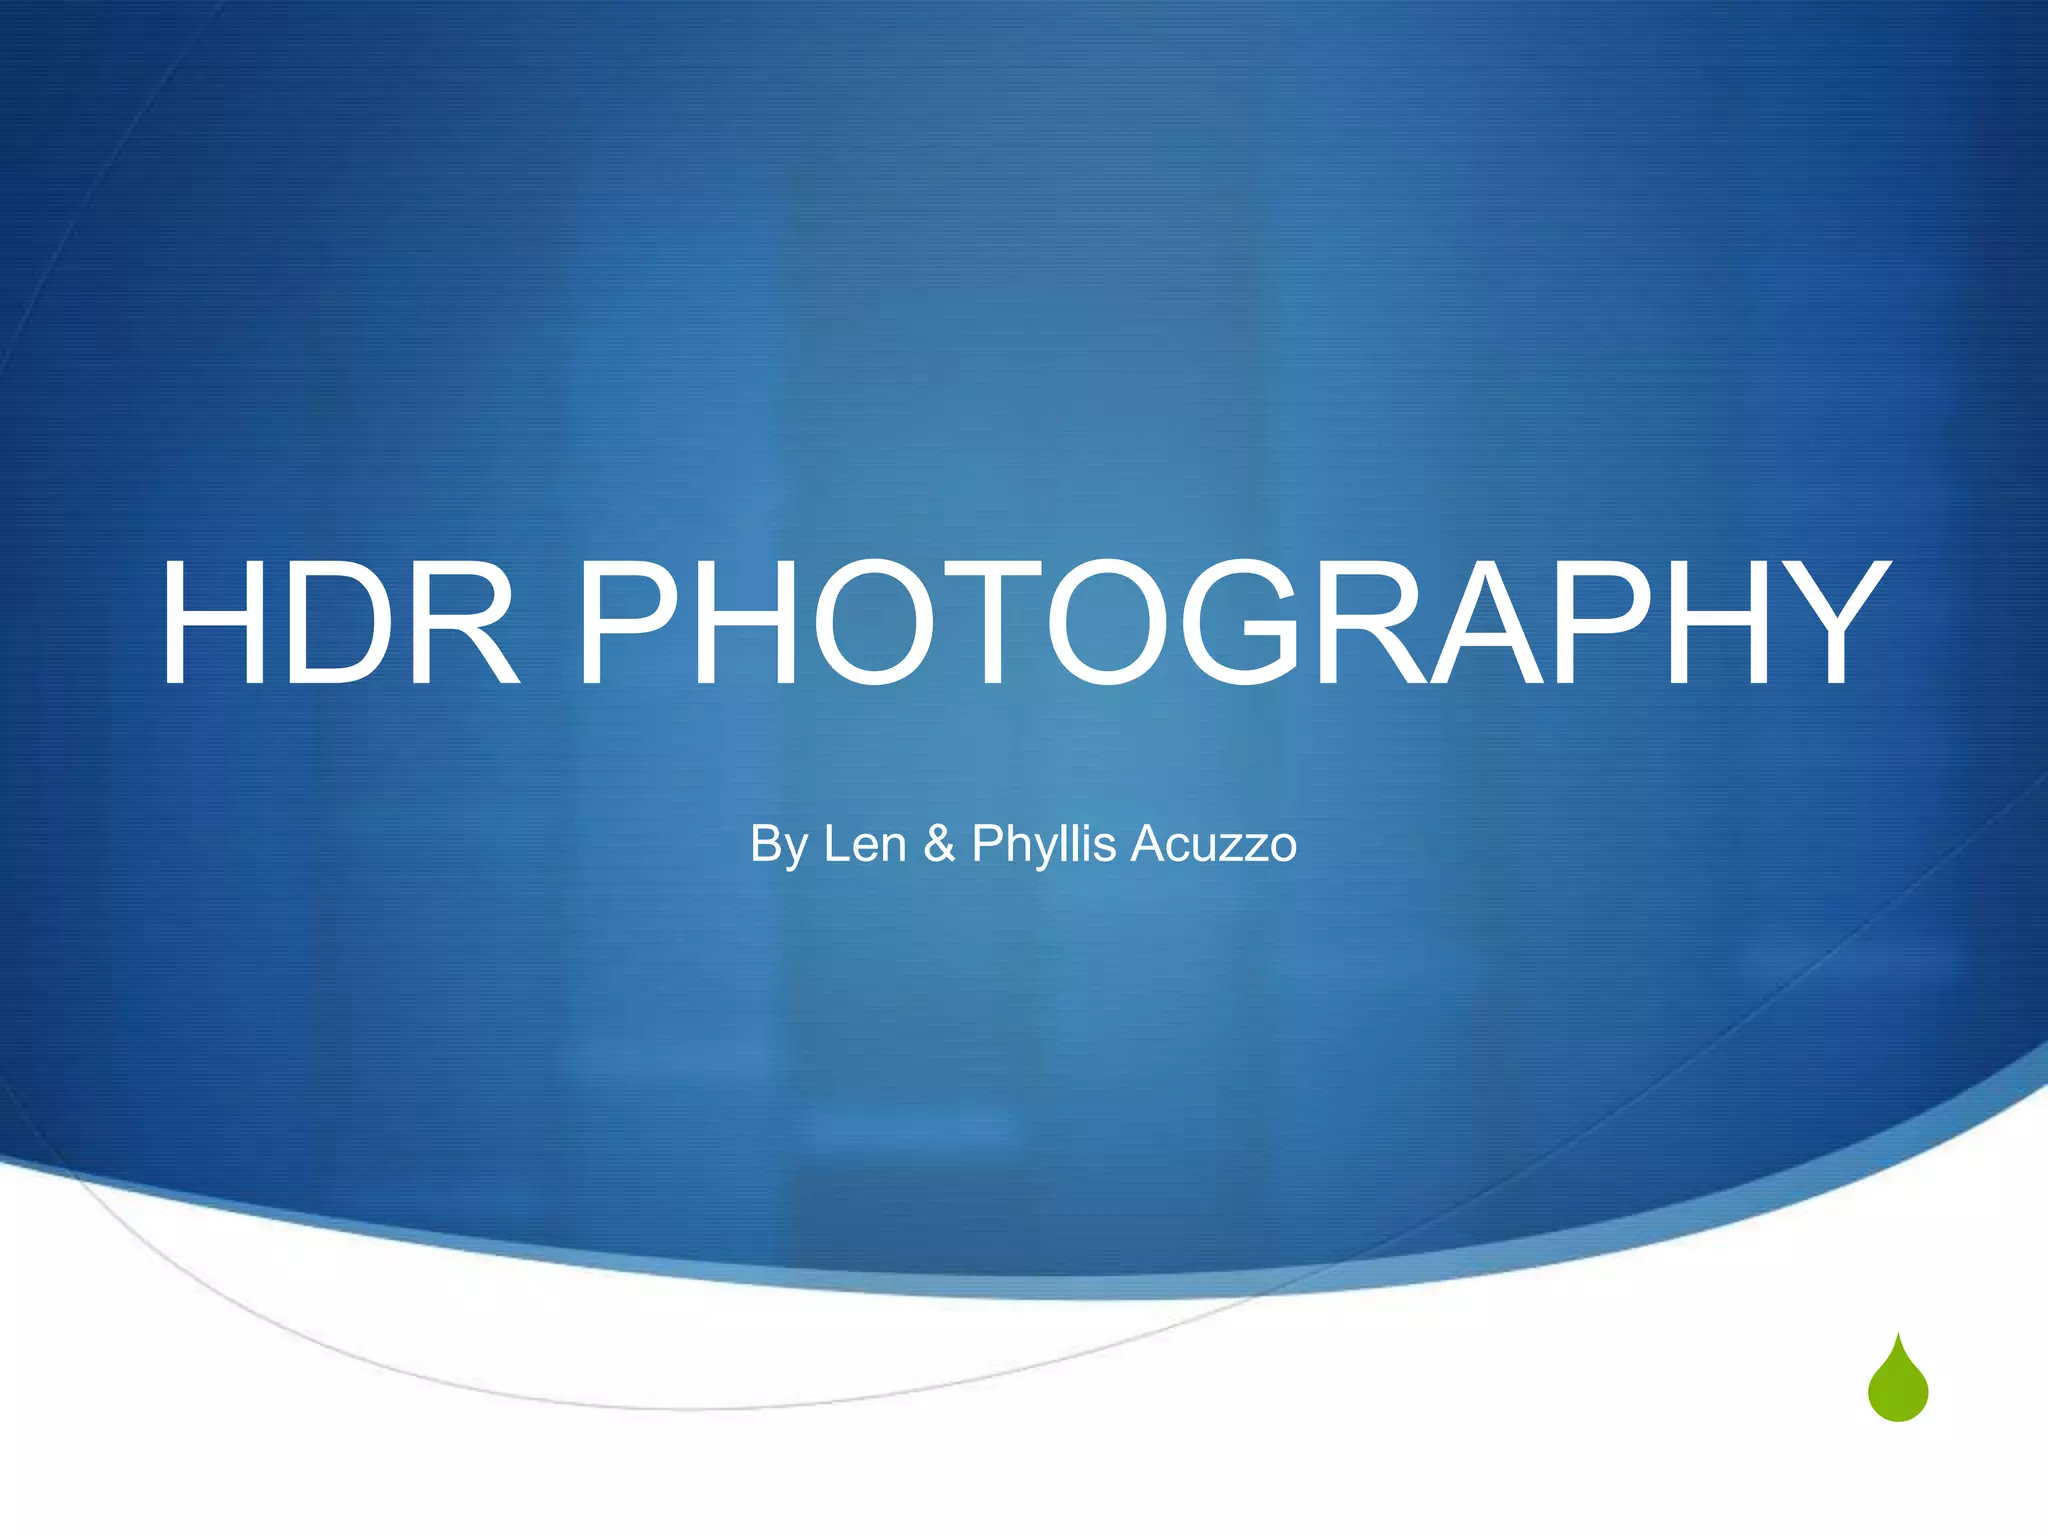
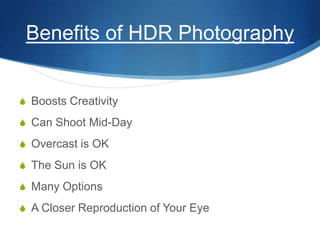
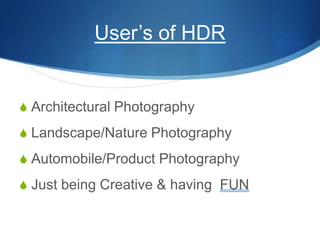
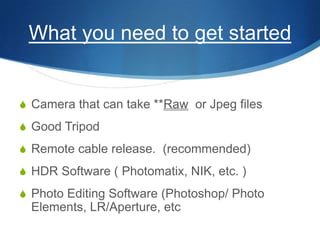
HDR PHOTOGRAPHYBy Len & Phyllis Acuzzo
What is  HDR photographyA complete range of tones from the brightest highlights to the deepest shadows .You are capturing bracketed frames of the same scene [ 3, 5 or more images ] and merge into a final composite photo.                                         
Benefits of HDR PhotographyBoosts CreativityCan Shoot Mid-DayOvercast is OKThe Sun is OKMany OptionsA Closer Reproduction of Your Eye
User’s of HDRArchitectural PhotographyLandscape/Nature PhotographyAutomobile/Product PhotographyJust being Creative & having  FUN
What you need to get startedCamera that can take **Raw  or Jpeg filesGood TripodRemote cable release.  (recommended)HDR Software ( Photomatix, NIK, etc. )Photo Editing Software (Photoshop/ Photo Elements, LR/Aperture, etc
Lets get startedCamera SettingsAperture priority  [ f/5.6 min., f/8 – f/13 good depth of field ]       Set  AEB= automatic exposure bracketing [expo 0, +/-  2 max ]       when shooting 3 images, [ DO A TEST SHOT 1st to establish setting].       Set continuous shooting mode       Set  ISO  100-200  [ to reduce digital noise]       Camera will automatically vary the shutter speed
Depress the shutter buttonVoilaWe now have our 3 , 5, or more images ready to bring into our software .  PHOTOMATIX                  LET’S   DO   A    DEMO!
HDR & HistogramsHave you ever wondered how many photos to take when capturing your images for HDR.  Some will tell you 3, some will say 5 and some people will even tell you 9.  The answer is that everyone is correct.  When bracketing for HDR you need to consider how large the dynamic range is, the larger the dynamic range the more photos you will need to take. The object of bracketing photos is to capture the entire dynamic range of a scene.  So the question is, how do you know what kind of dynamic range you're working with?  A great way to judge this is to make use of a histogram which is a tool that can be found on most modern D-SLR cameras.A histogram gathers information about the individual pixels of an images and maps them on to a chart based on the brightness of the each pixel.  The bright pixels are mapped to the right and the dark pixels are mapped on the left.  The taller portions of the histogram shows that their are more pixels in your photo at that particular brightness.When you photograph a scene with a large dynamic range you will find that some data is clipped on the left and the right of the histogram.  This is because the dynamic range exceeds the limits of your cameras sensor.  When data is clipped on the left or the right you will have unexposed shadows or blown highlights.  When this happens their will be no information saved to your camera for those pixels, so it is basically impossible to correct this post processing.Now when you are capturing your photos to be merged into your HDR you can use the histogram to ensure that you have captured the entire dynamic range.  When capturing your photos follow these simple rules:Never space out your exposures more than 2 stops.Have one photo that shows your shadows to be exposed on your histogram.Have one photo that shows your highlights in be exposed on your histogram.

Hdr.pptx final

  • 1.
    HDR PHOTOGRAPHYBy Len& Phyllis Acuzzo
  • 2.
    What is HDR photographyA complete range of tones from the brightest highlights to the deepest shadows .You are capturing bracketed frames of the same scene [ 3, 5 or more images ] and merge into a final composite photo.   
  • 3.
    Benefits of HDRPhotographyBoosts CreativityCan Shoot Mid-DayOvercast is OKThe Sun is OKMany OptionsA Closer Reproduction of Your Eye
  • 4.
    User’s of HDRArchitecturalPhotographyLandscape/Nature PhotographyAutomobile/Product PhotographyJust being Creative & having FUN
  • 5.
    What you needto get startedCamera that can take **Raw or Jpeg filesGood TripodRemote cable release. (recommended)HDR Software ( Photomatix, NIK, etc. )Photo Editing Software (Photoshop/ Photo Elements, LR/Aperture, etc
  • 6.
    Lets get startedCameraSettingsAperture priority [ f/5.6 min., f/8 – f/13 good depth of field ] Set AEB= automatic exposure bracketing [expo 0, +/- 2 max ] when shooting 3 images, [ DO A TEST SHOT 1st to establish setting]. Set continuous shooting mode Set ISO 100-200 [ to reduce digital noise] Camera will automatically vary the shutter speed
  • 7.
    Depress the shutterbuttonVoilaWe now have our 3 , 5, or more images ready to bring into our software . PHOTOMATIX LET’S DO A DEMO!
  • 8.
    HDR & HistogramsHaveyou ever wondered how many photos to take when capturing your images for HDR.  Some will tell you 3, some will say 5 and some people will even tell you 9.  The answer is that everyone is correct.  When bracketing for HDR you need to consider how large the dynamic range is, the larger the dynamic range the more photos you will need to take. The object of bracketing photos is to capture the entire dynamic range of a scene.  So the question is, how do you know what kind of dynamic range you're working with?  A great way to judge this is to make use of a histogram which is a tool that can be found on most modern D-SLR cameras.A histogram gathers information about the individual pixels of an images and maps them on to a chart based on the brightness of the each pixel.  The bright pixels are mapped to the right and the dark pixels are mapped on the left.  The taller portions of the histogram shows that their are more pixels in your photo at that particular brightness.When you photograph a scene with a large dynamic range you will find that some data is clipped on the left and the right of the histogram.  This is because the dynamic range exceeds the limits of your cameras sensor.  When data is clipped on the left or the right you will have unexposed shadows or blown highlights.  When this happens their will be no information saved to your camera for those pixels, so it is basically impossible to correct this post processing.Now when you are capturing your photos to be merged into your HDR you can use the histogram to ensure that you have captured the entire dynamic range.  When capturing your photos follow these simple rules:Never space out your exposures more than 2 stops.Have one photo that shows your shadows to be exposed on your histogram.Have one photo that shows your highlights in be exposed on your histogram.