Download to read offline
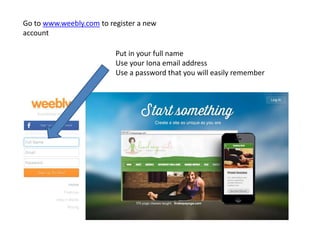


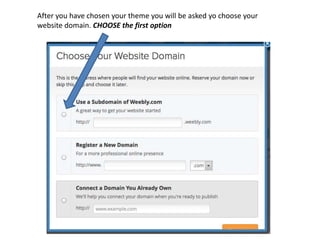
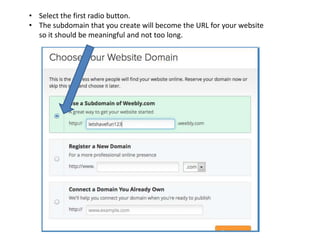

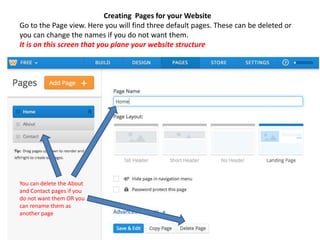
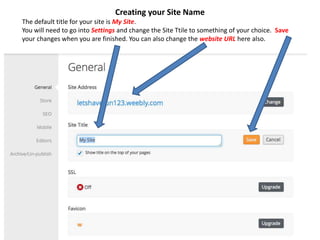
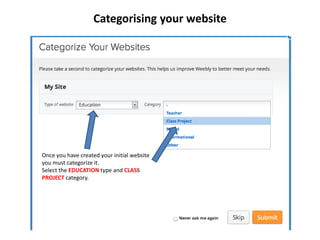
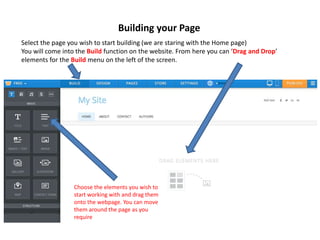
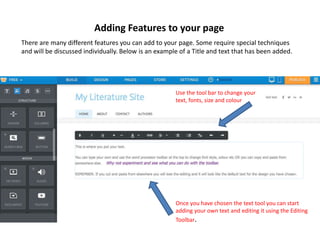
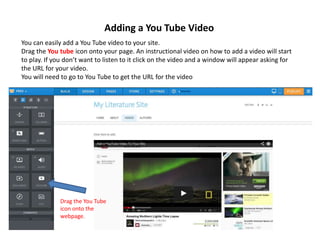
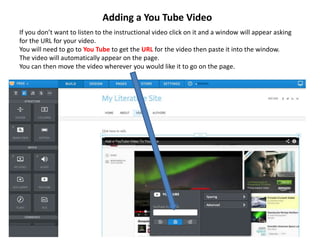

This document provides instructions for creating a website on Weebly.com. It outlines the following steps: 1. Register for a Weebly account using your full name and Iona email address. Choose a website type and theme. 2. Choose a domain name for your website URL and watch an optional introductory video. 3. Create pages for your website structure and add new pages using the "Add Page" tab. Name your pages. 4. Choose a page layout and build out your first page by dragging and dropping elements from the build menu. Add text using the editing toolbar. 5. Add features like YouTube videos by dragging the YouTube icon and pasting the video