The document is a comprehensive guide to dynamic instrumentation on Android using Frida, detailing methods such as embedded and injected instrumentation. It covers installation processes for both rooted and non-rooted devices, techniques for bypassing root detection and SSL pinning, and provides practical examples and stepwise scripts. Additionally, it includes references and acknowledgments for external resources utilized in the guide.


![ROOT DETECTION
public static boolean c() {
for (String file : new String[]{"/system/app/Superuser.apk",
"/system/xbin/daemonsu", "/system/etc/init.d/99SuperSUDaemon",
"/system/bin/.ext/.su", "/system/etc/.has_su_daemon",
"/system/etc/.installed_su_daemon",
"/dev/com.koushikdutta.superuser.daemon/"}) {
if (new File(file).exists()) {
return true;
}
}
return false;
}
12 Introduction to FRIDA in Android](https://image.slidesharecdn.com/fridabeginnerandroid-180916185729/75/FRIDA-101-Android-12-2048.jpg)
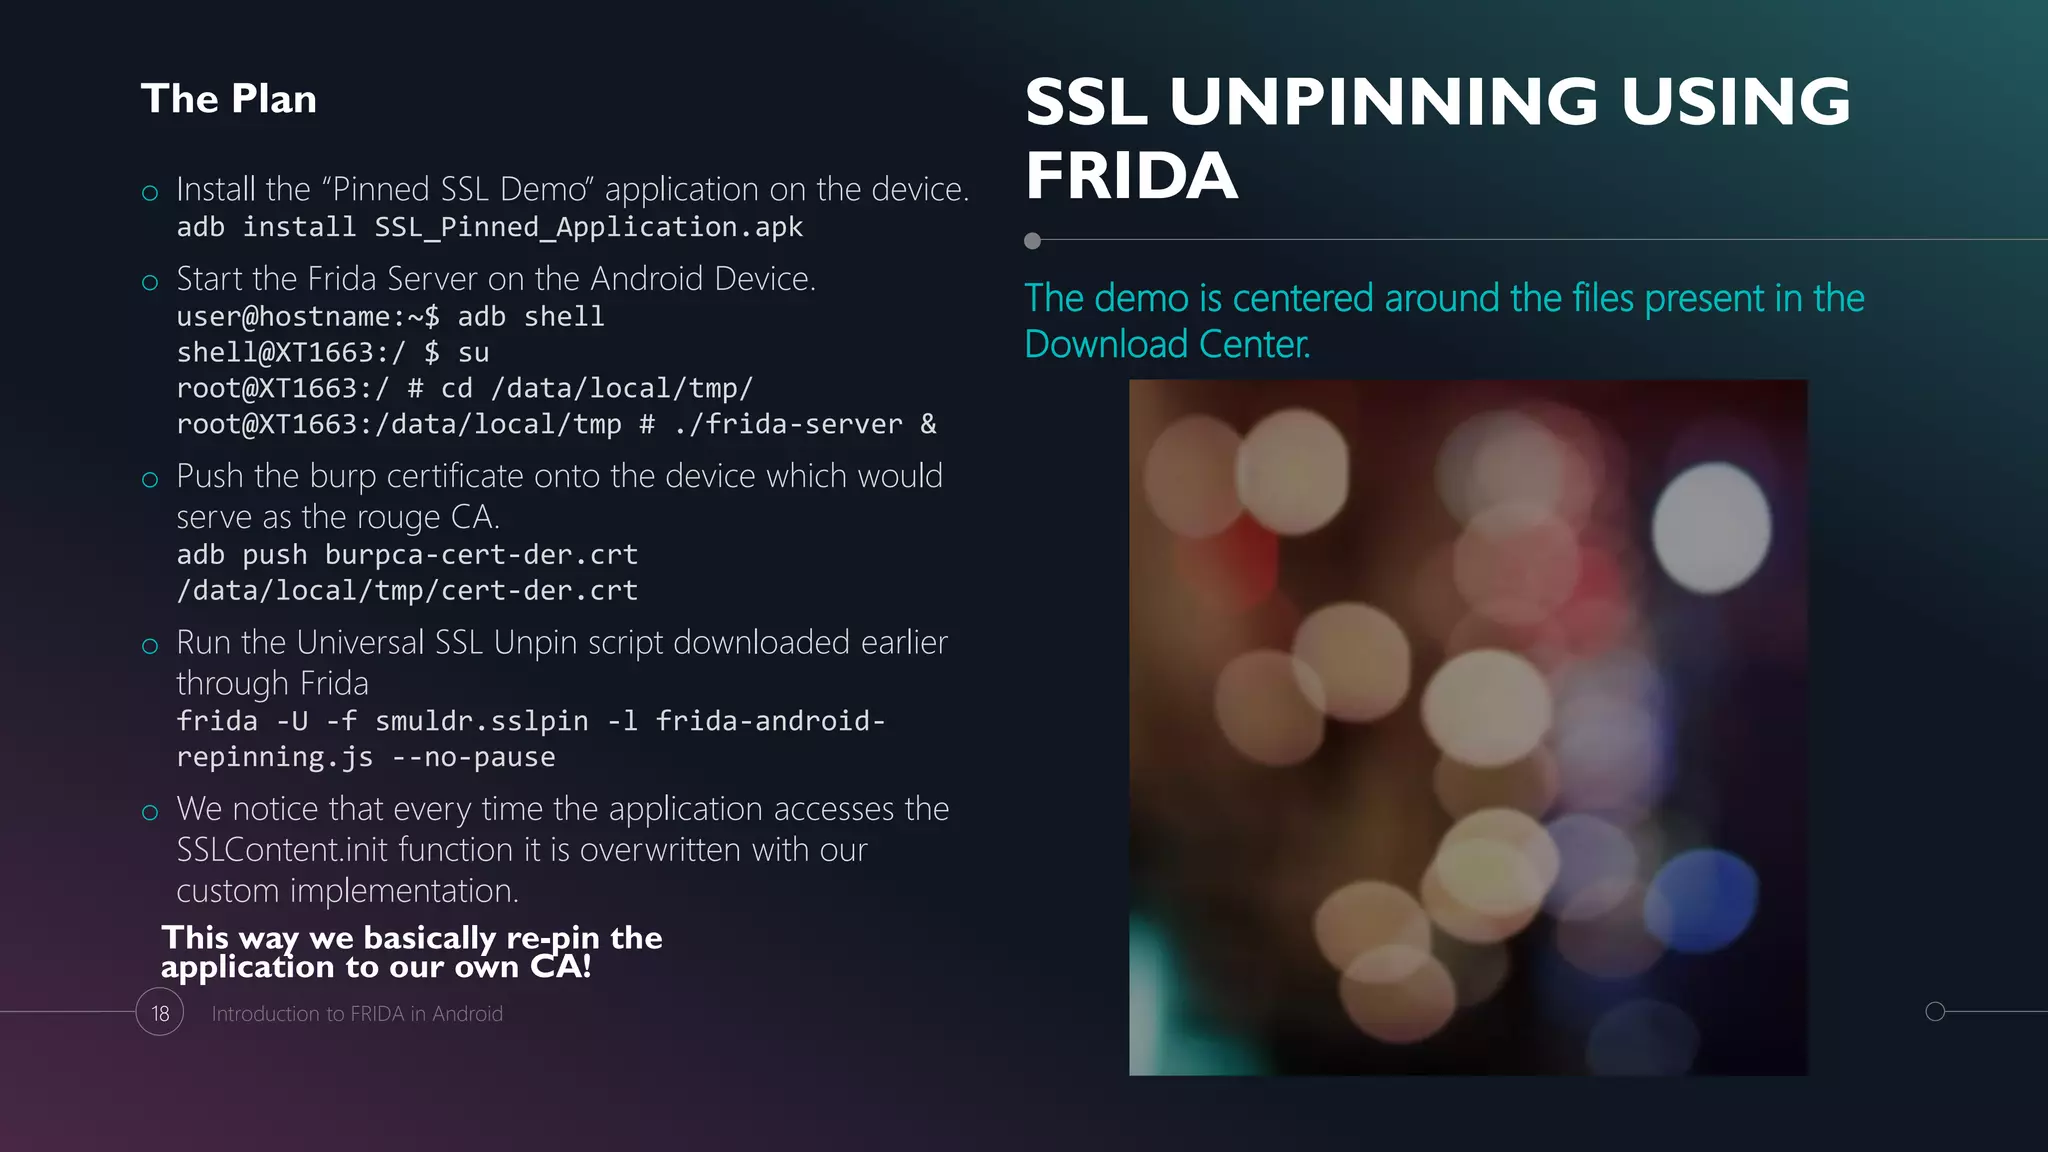
![ROOT DETECTION
(The Complete Plan)
Assumed to know the already existing methods to
decompile the application
Hint: Enjarify -> JADX / JD-GUI -> Text Editor
The Plan
o Decompile the OWASP Uncrackable application using a
combination of enjarify + jd-gui/jadx.
o Open the decompiled code using a text editor like sublime
text or notepad++ and trace the class responsible for root
detection from the main class.
o It is identified that the class responsible for root detection is
sg.vantagepoint.a.c
o It is also observed that class c has 3 functions that check for
root namely a(), b() and c().
o The return value for functions a(), b() and c() will be true for a
root device and false for a non-rooted device.
o Hence our objective would be to write the corresponding
frida script for hooking onto these functions and
manipulating their return value to false.
o Spawn the Uncrackable application using the below
command:
frida -U -f sg.vantagepoint.uncrackable1 -l uncrackable_root_detection.js
o Once the frida CLI starts up and the script has finished
executing input %resume into the frida prompt. This will
spawn the application with our modified methods.
Uncrackable_root_Detection.js
setImmediate(function() {
console.log("[*] Starting Script")
Java.perform(function() {
rootClass = Java.use("sg.vantagepoint.a.c")
rootClass.a.implementation = function() {
console.log("[*] Inside Method 1")
return false}
rootClass.b.implementation = function() {
console.log("[*] Inside Method 2")
return false}
rootClass.c.implementation = function() {
console.log("[*] Inside Method 3")
return false}
})
console.log("[*] Root Method Modified")
})
14 Introduction to FRIDA in Android](https://image.slidesharecdn.com/fridabeginnerandroid-180916185729/75/FRIDA-101-Android-14-2048.jpg)


![Coded Agents – with UiPath SDK + LangGraph [Virtual Hands-on Workshop]](https://cdn.slidesharecdn.com/ss_thumbnails/codedagentsdeck-251215155422-5497c599-thumbnail.jpg?width=640&height=640&fit=bounds)


