Laura used various media technologies throughout the research, planning, construction, and evaluation stages of her music video project.
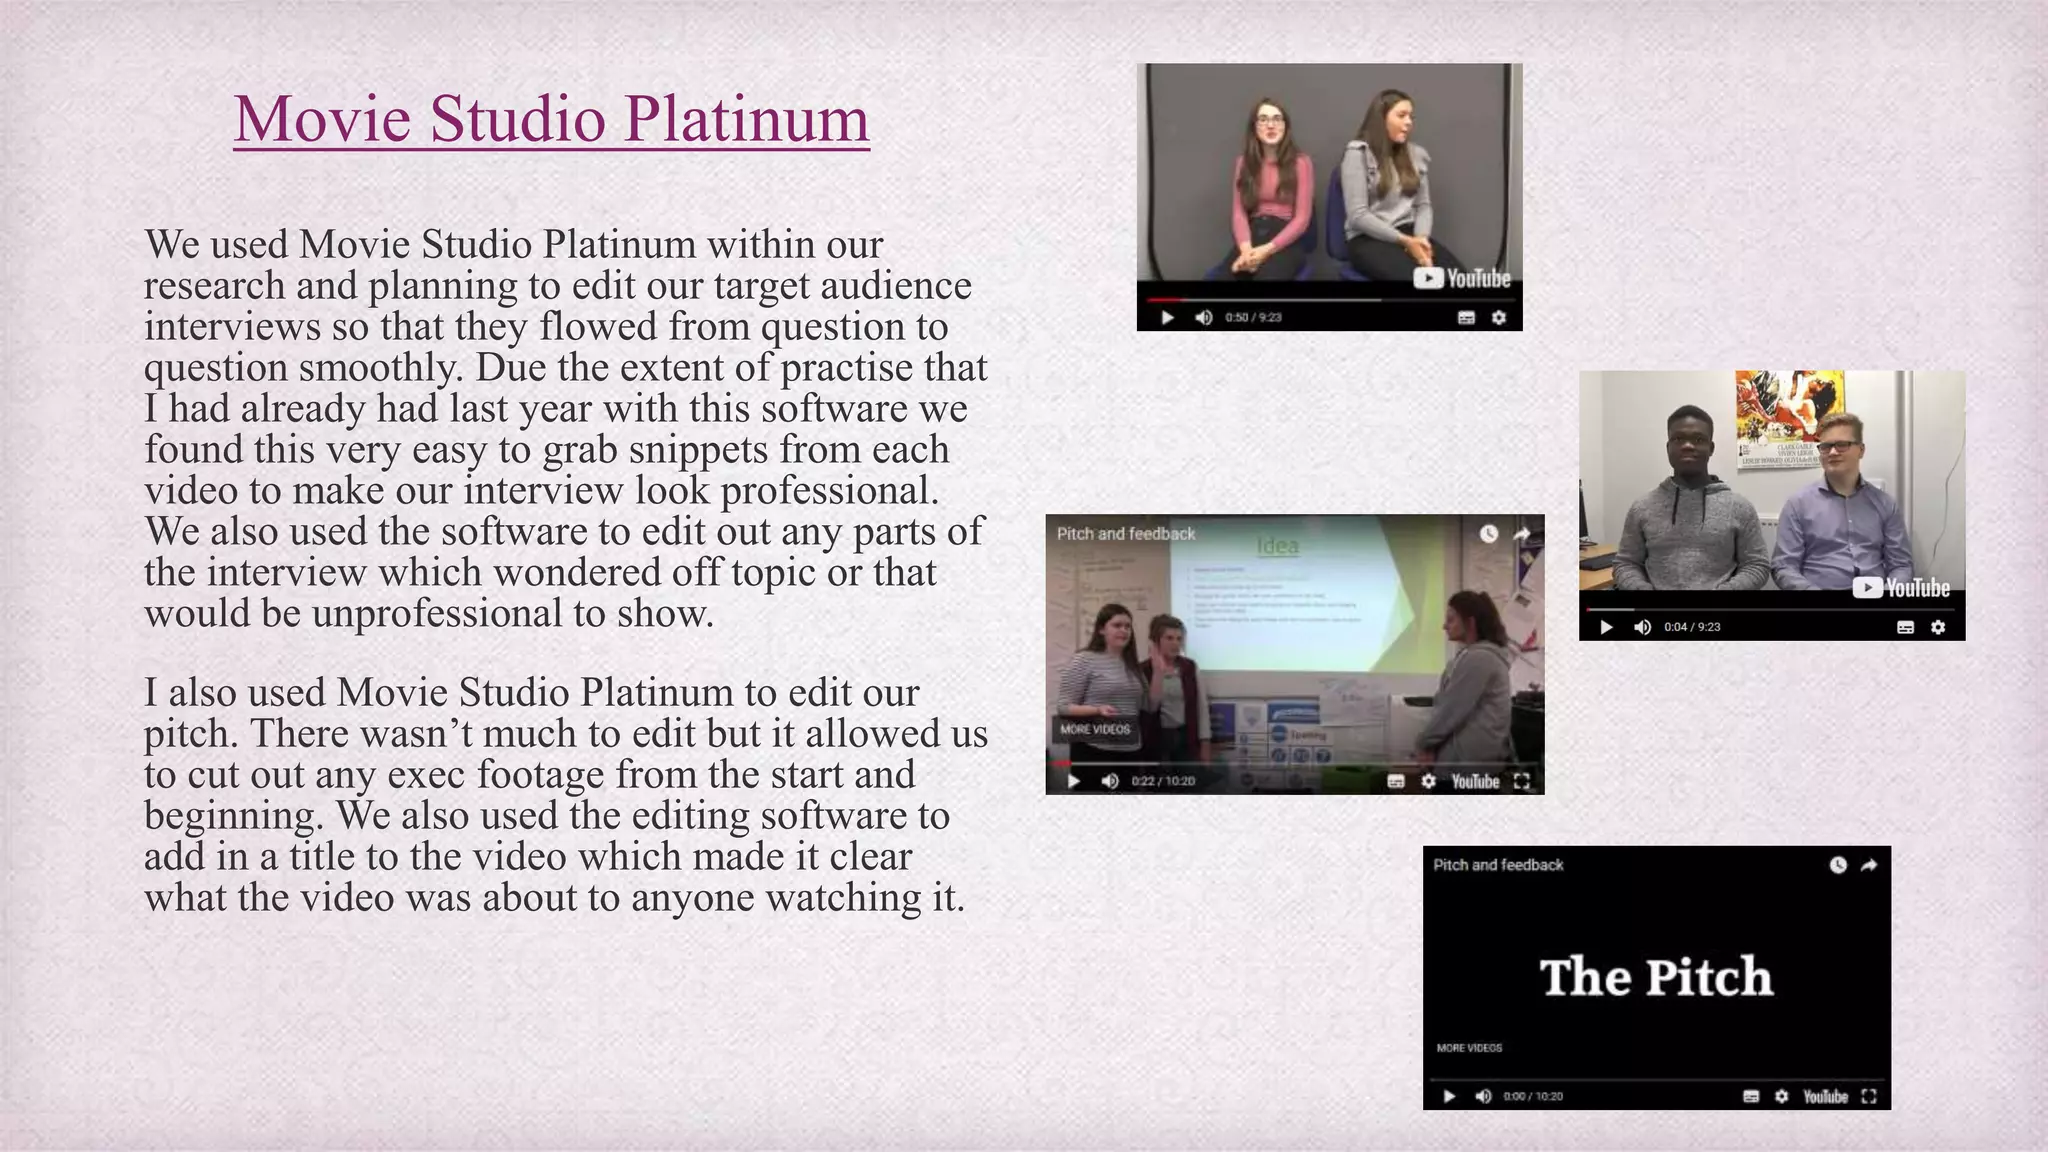
For research, she used the internet (YouTube, Spotify) to analyze trends in the acoustic pop genre and gather demographic data on the target artist and audience. She filmed interviews with Canon XA10 camera and edited them with Movie Studio Platinum.
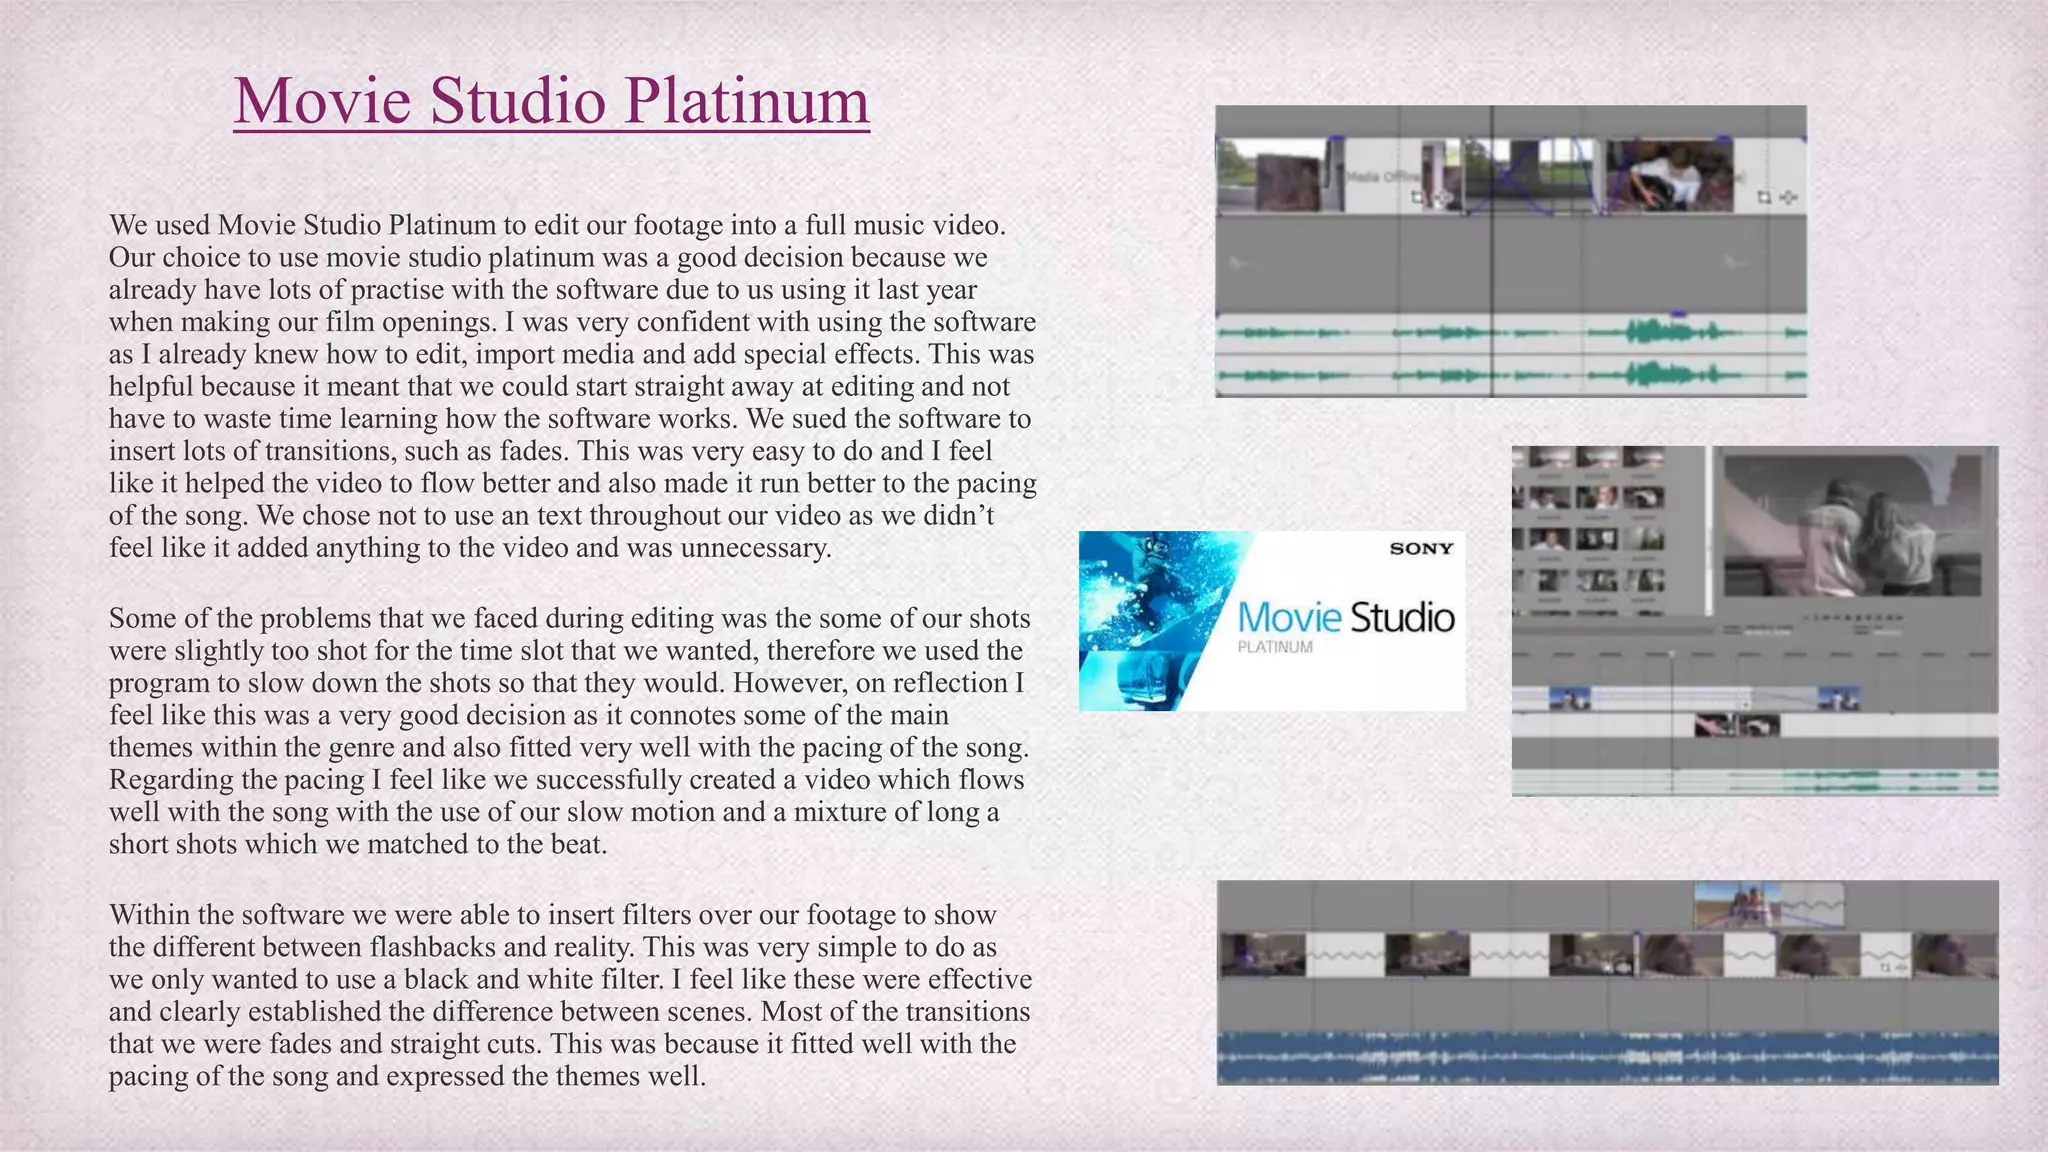
For construction of the video, Laura used the Canon XA10 camera with tripod and some handheld shots. She downloaded the song from YouTube and edited the video together with transitions, filters, and slow motion effects in Movie Studio Platinum.
For ancillary tasks like the album cover and poster, Laura took photos on her phone and