
![Creating, Import, and Format Text To add text to a Dreamweaver page Type in Dreamweaver Copy/paste [Ctrl][C] and [Ctrl][V] (Windows) [Command] [C] and [Command] [V] (Macintosh) Import Word Document](https://image.slidesharecdn.com/dreamweaverch02-1233100182348073-2/85/Developing-a-Web-Page-15-320.jpg)
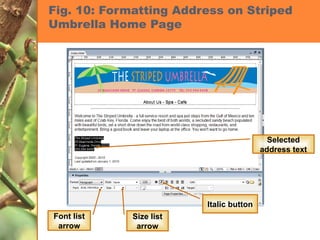

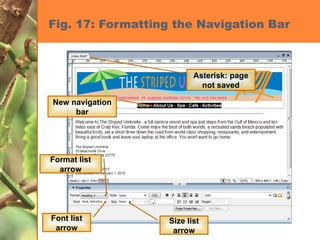
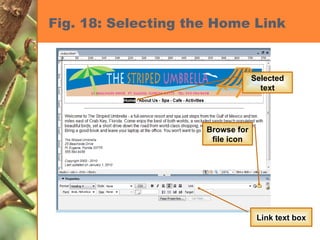
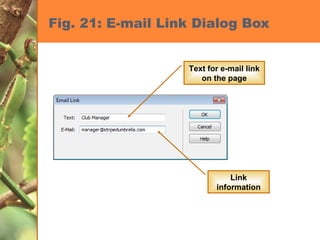
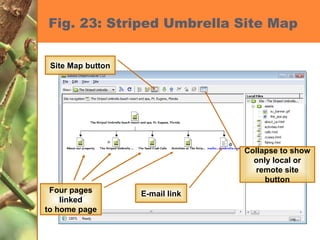
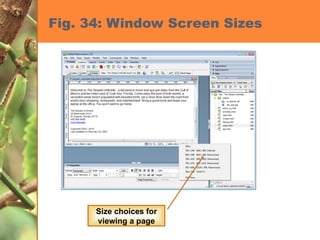

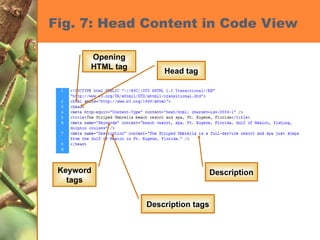
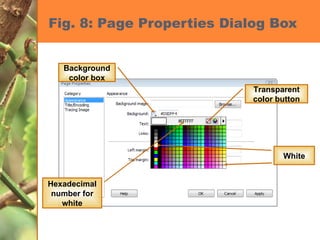
This chapter discusses developing a basic web page by creating head content and setting page properties, adding and formatting text, inserting links, using the History panel to edit code, and modifying and testing web pages. It covers inserting titles, keywords and descriptions in the head section, setting background and text colors, importing and formatting text, adding hyperlinks and email links, using the History panel functions, previewing pages in browsers, and testing pages across platforms and screen sizes.