Download to read offline

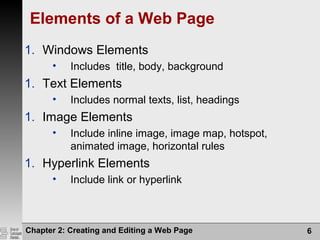
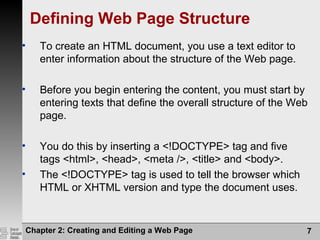
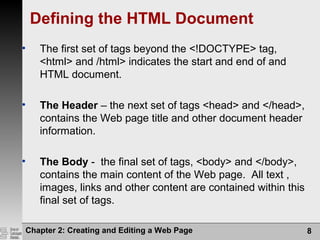
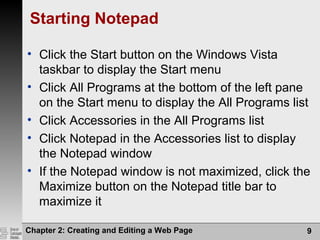

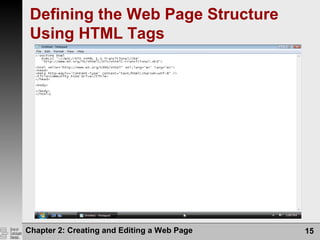
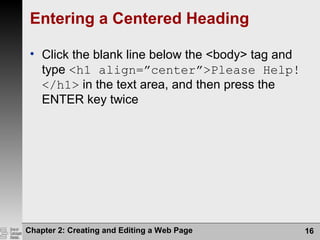
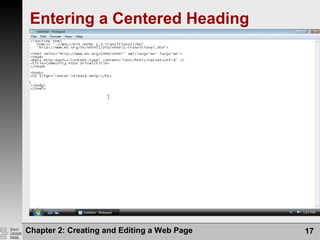
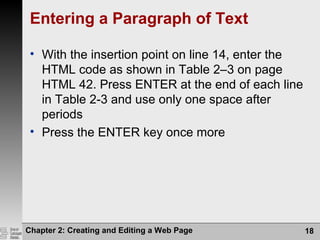


This chapter discusses how to create and edit a basic web page using HTML tags in Notepad. It covers starting Notepad, defining the structure of a web page with tags, entering text and formatting elements, adding images, and saving and viewing the page in a browser. The chapter objectives are to learn the basic skills needed to structure a web page and become familiar with common HTML tags.