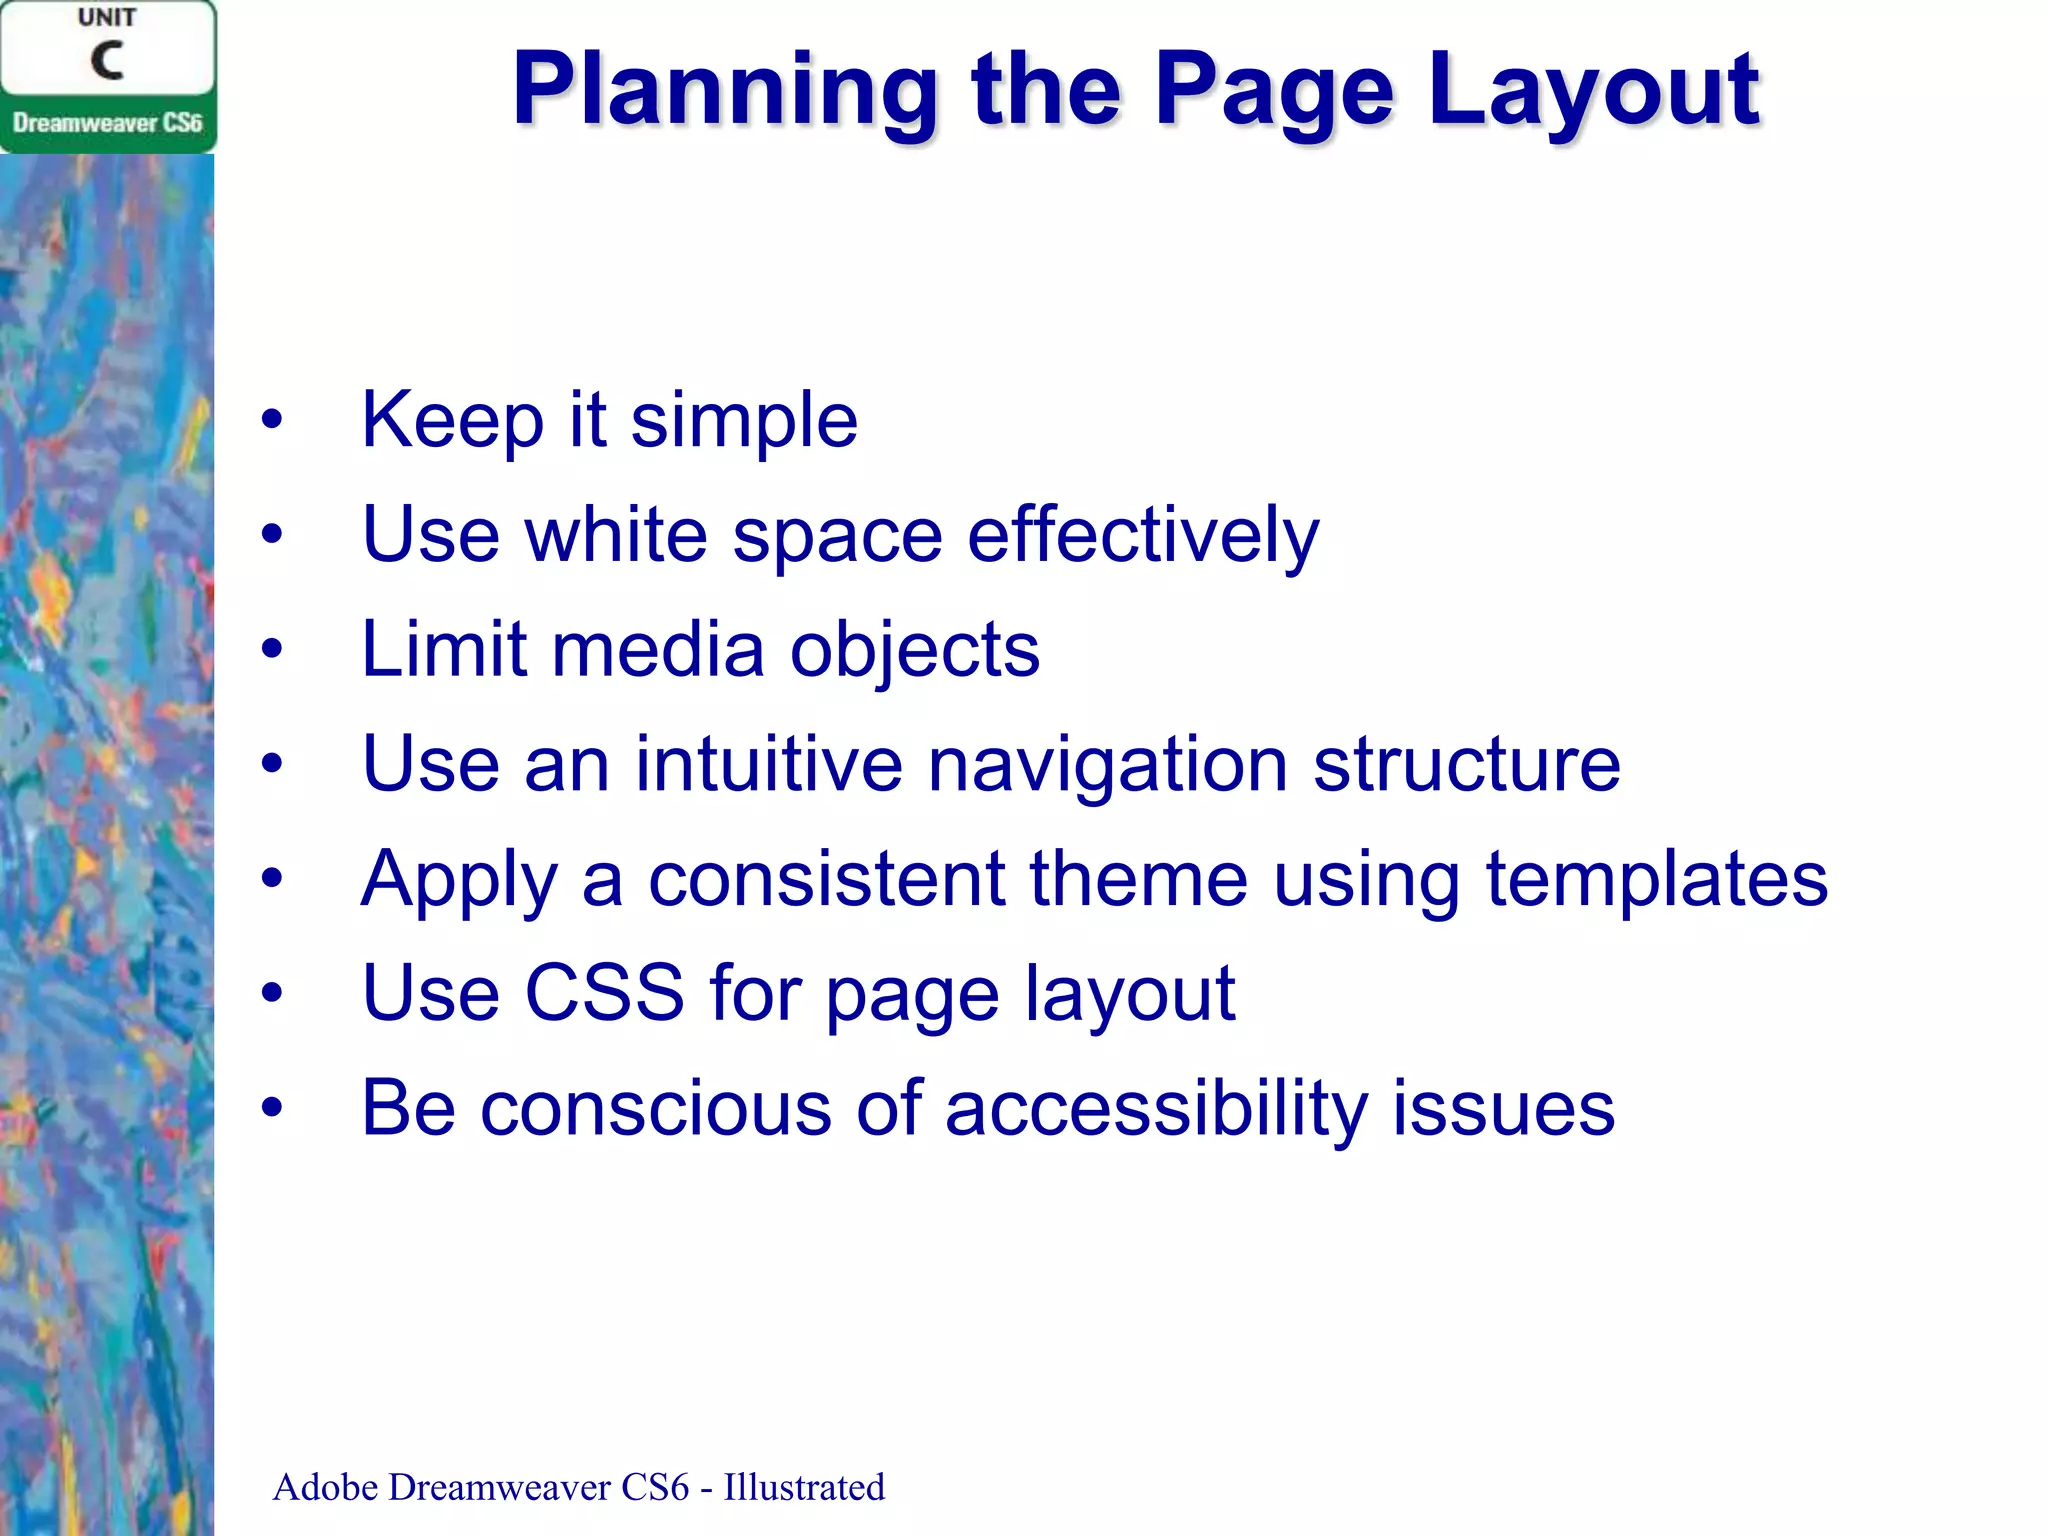
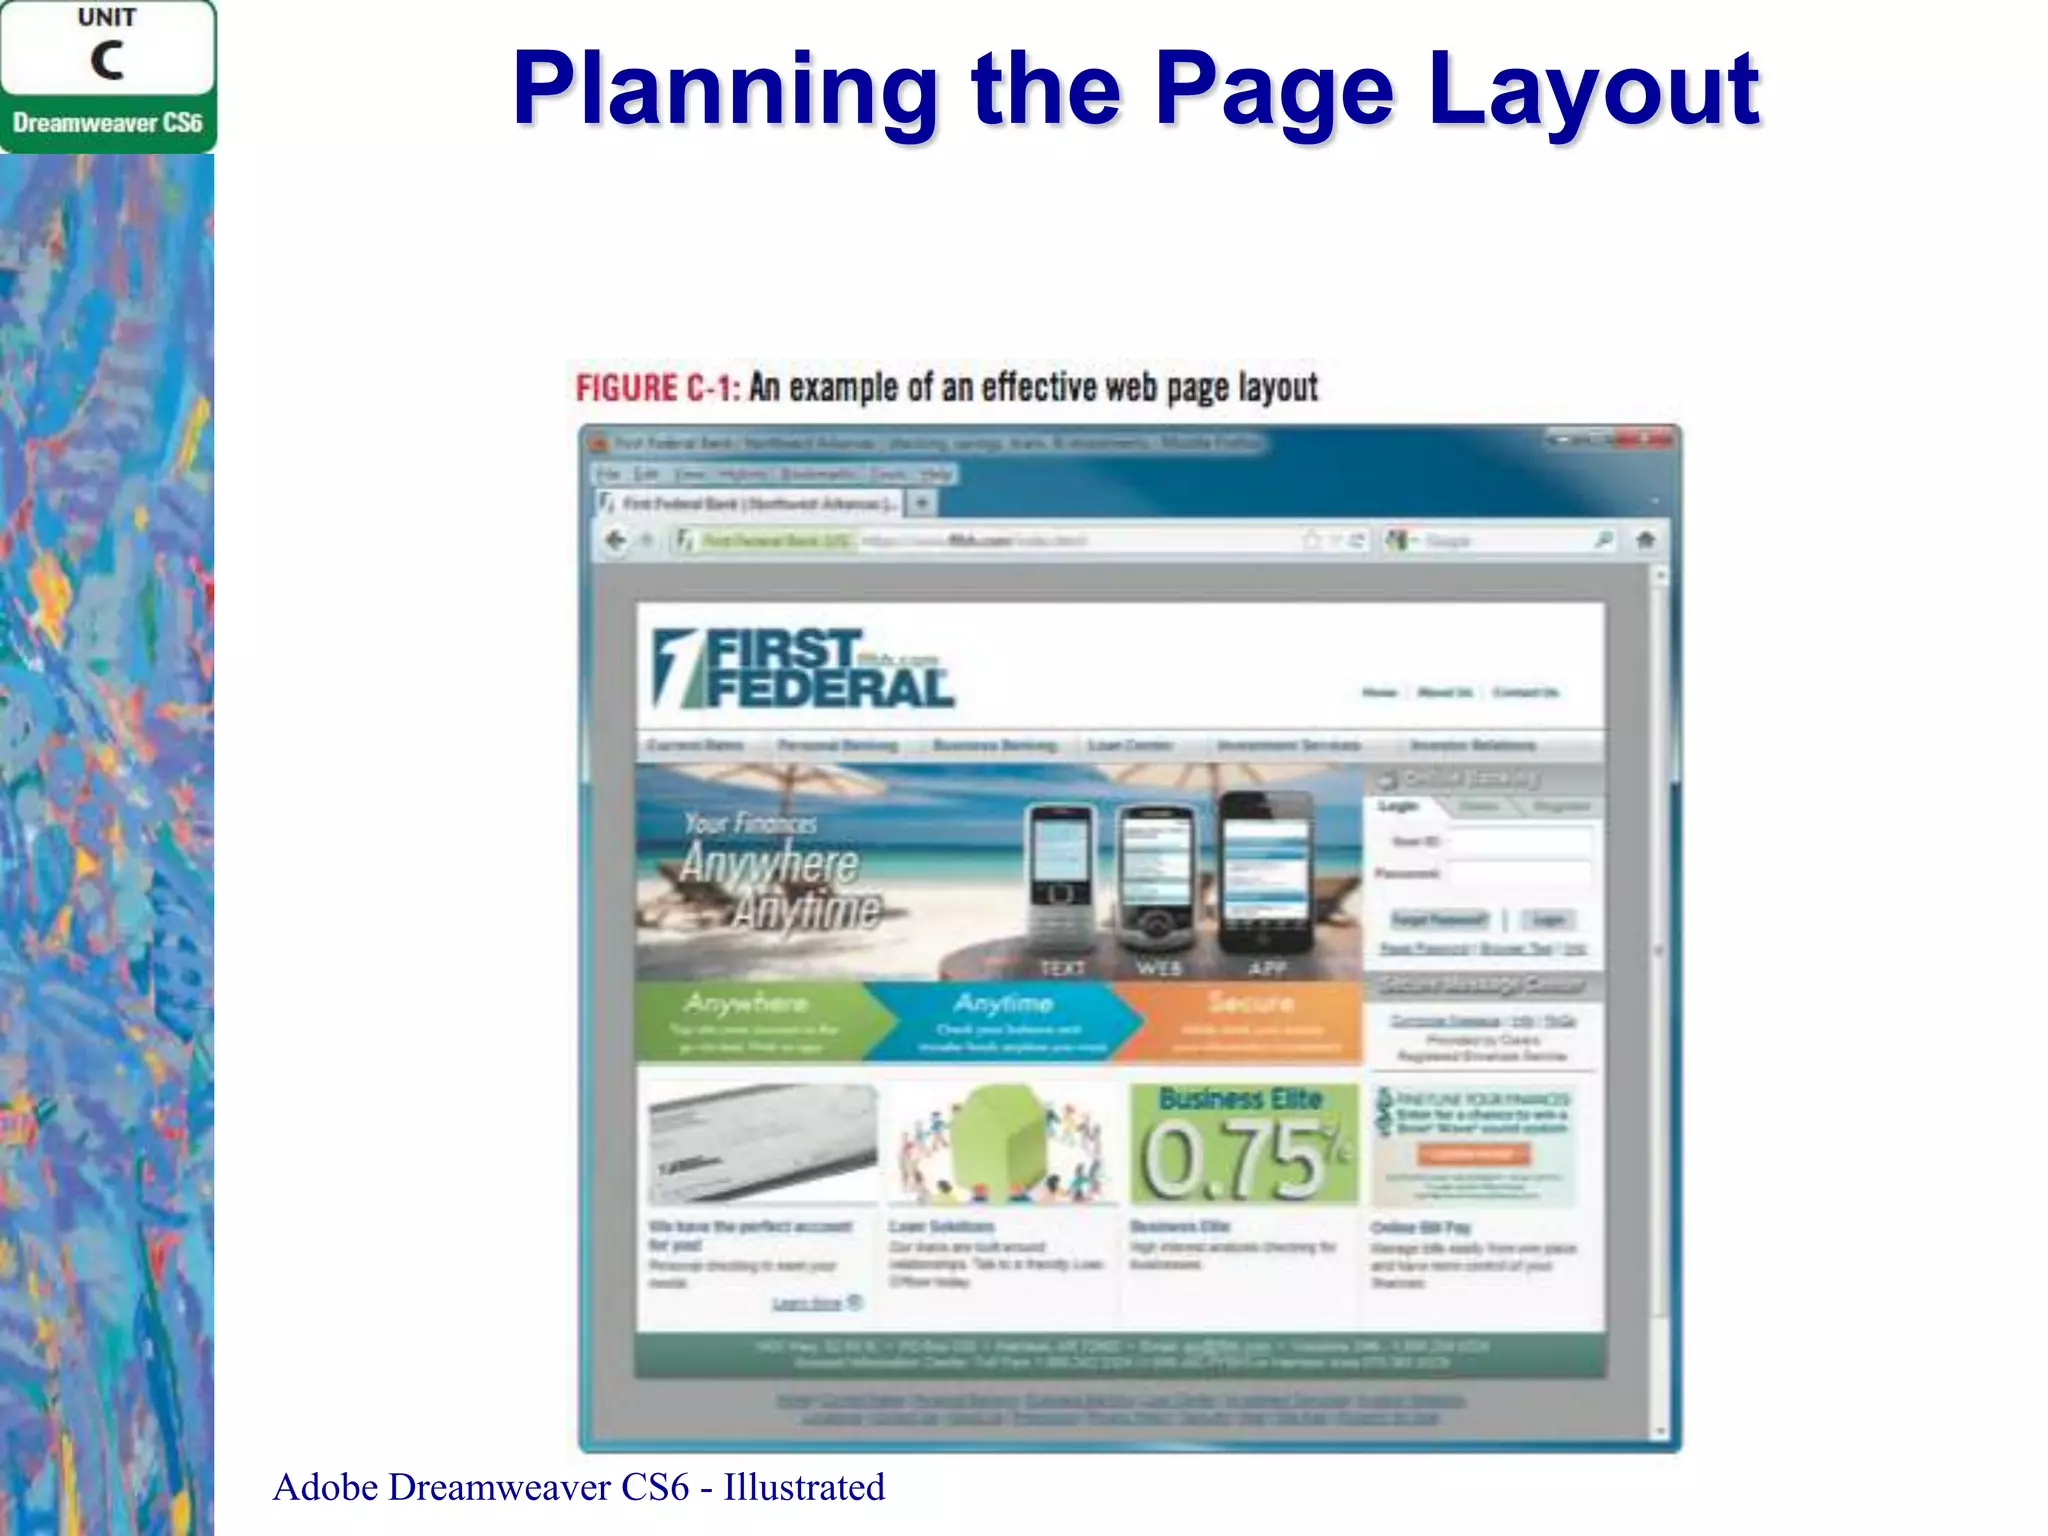
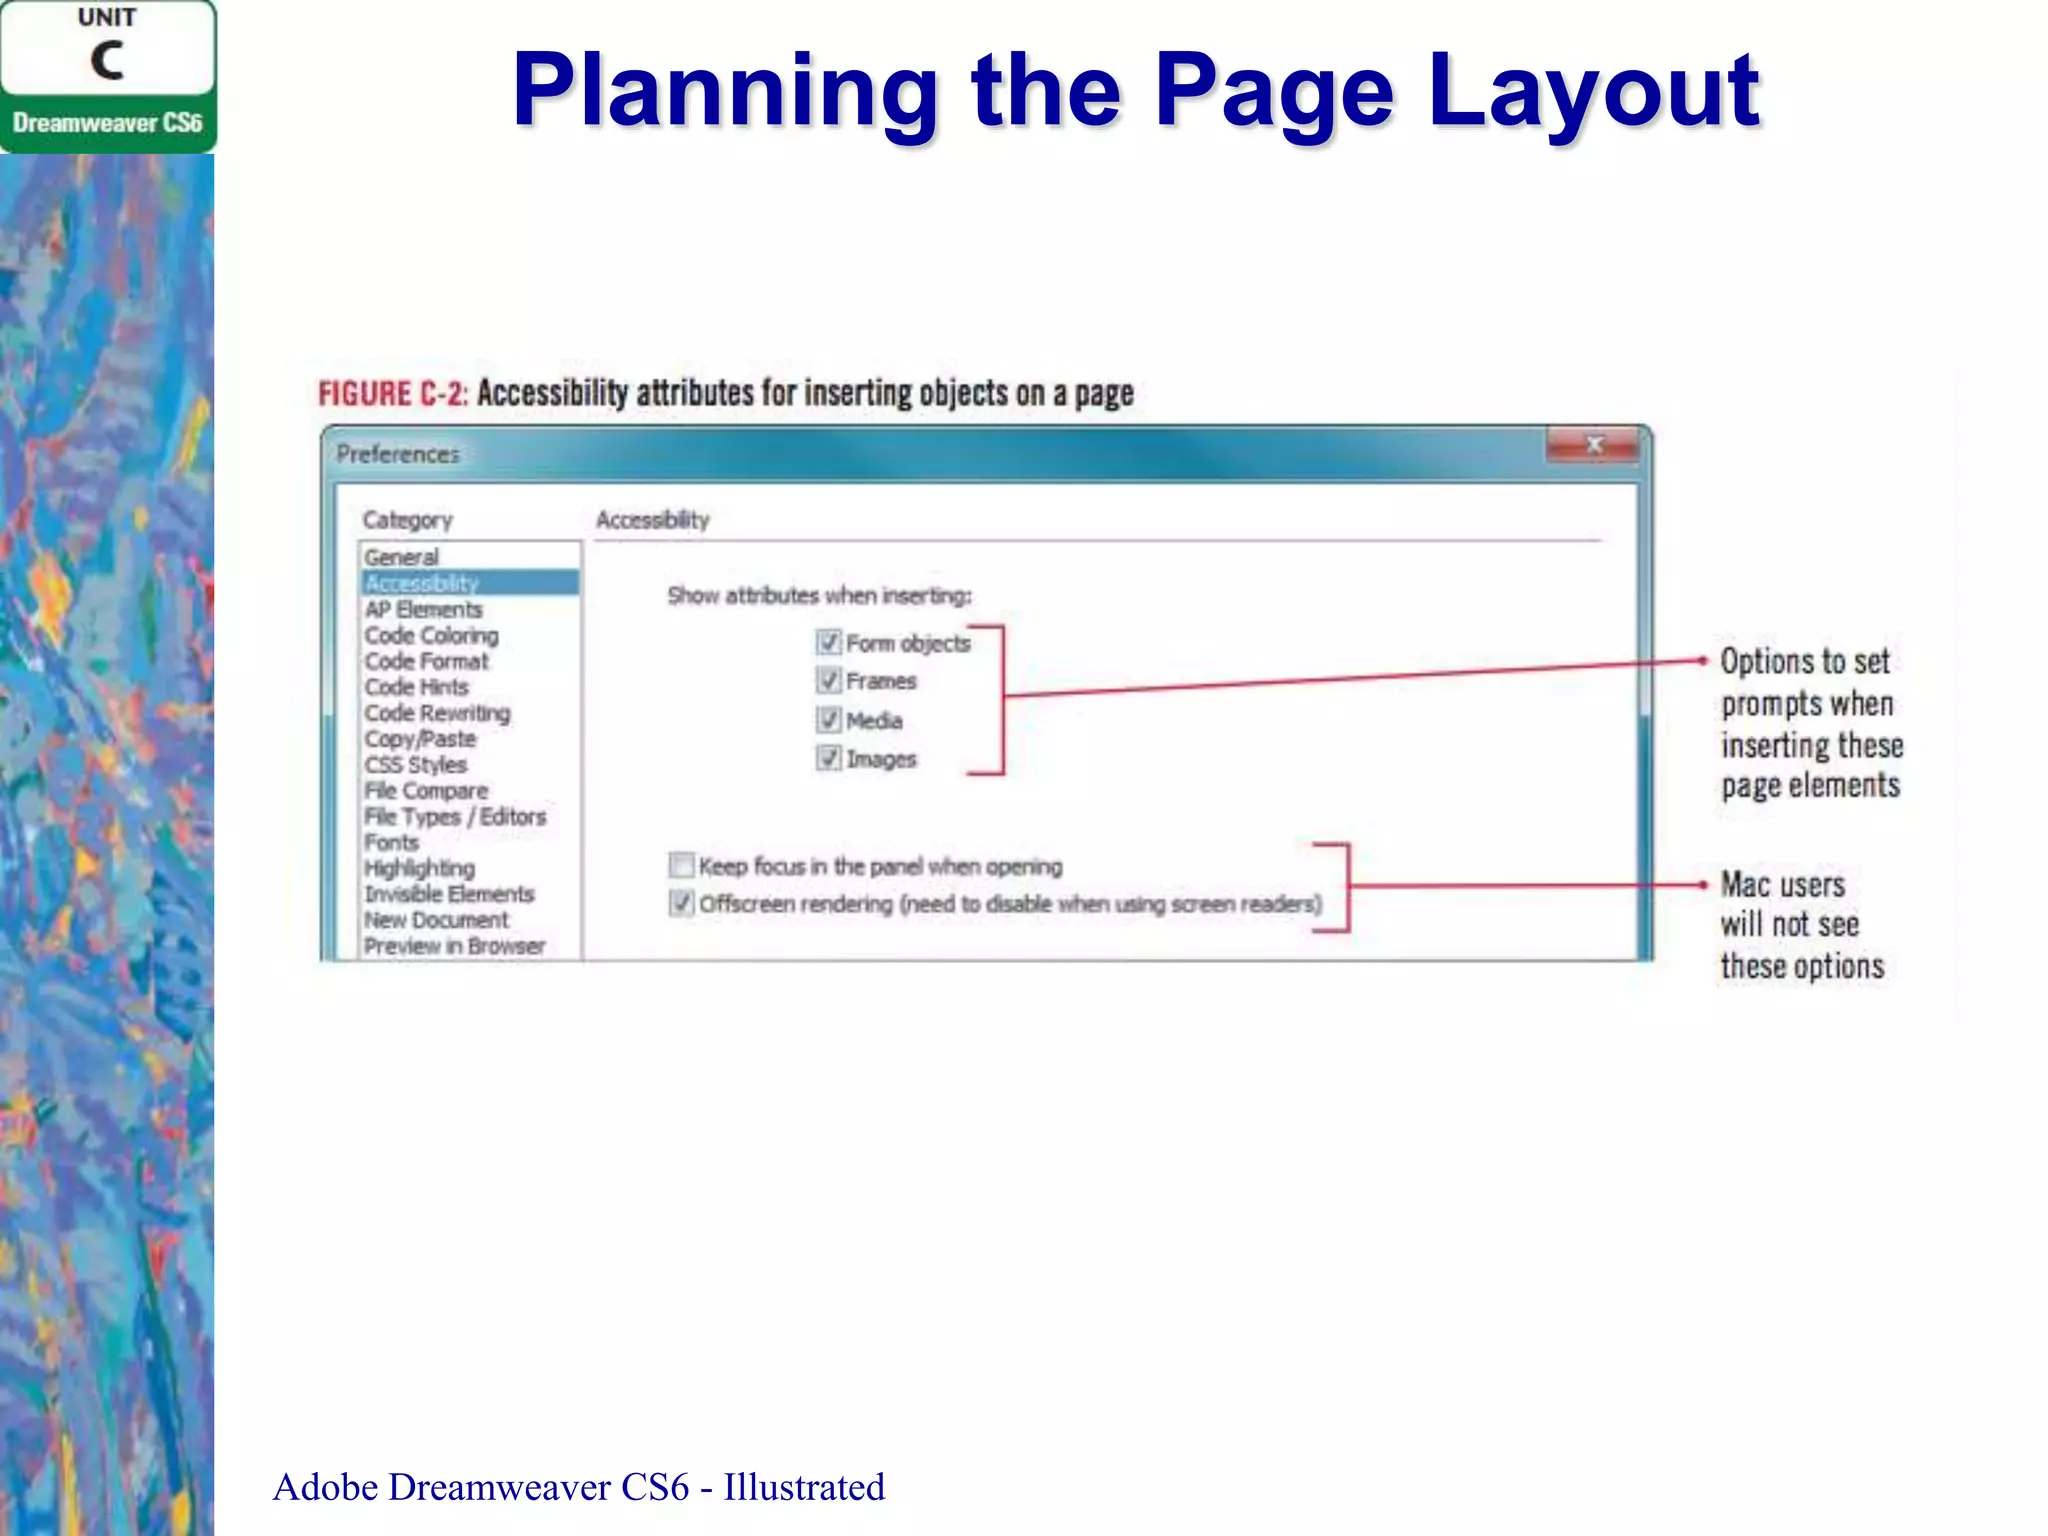
The document discusses steps for developing a web page in Dreamweaver, including planning page layout, adding head content, setting properties, formatting text, adding links, using the History panel, viewing HTML code, and testing pages. It provides detailed instructions for tasks like creating page structure, inserting dates, and previewing pages in a browser.

![Creating the Head Content
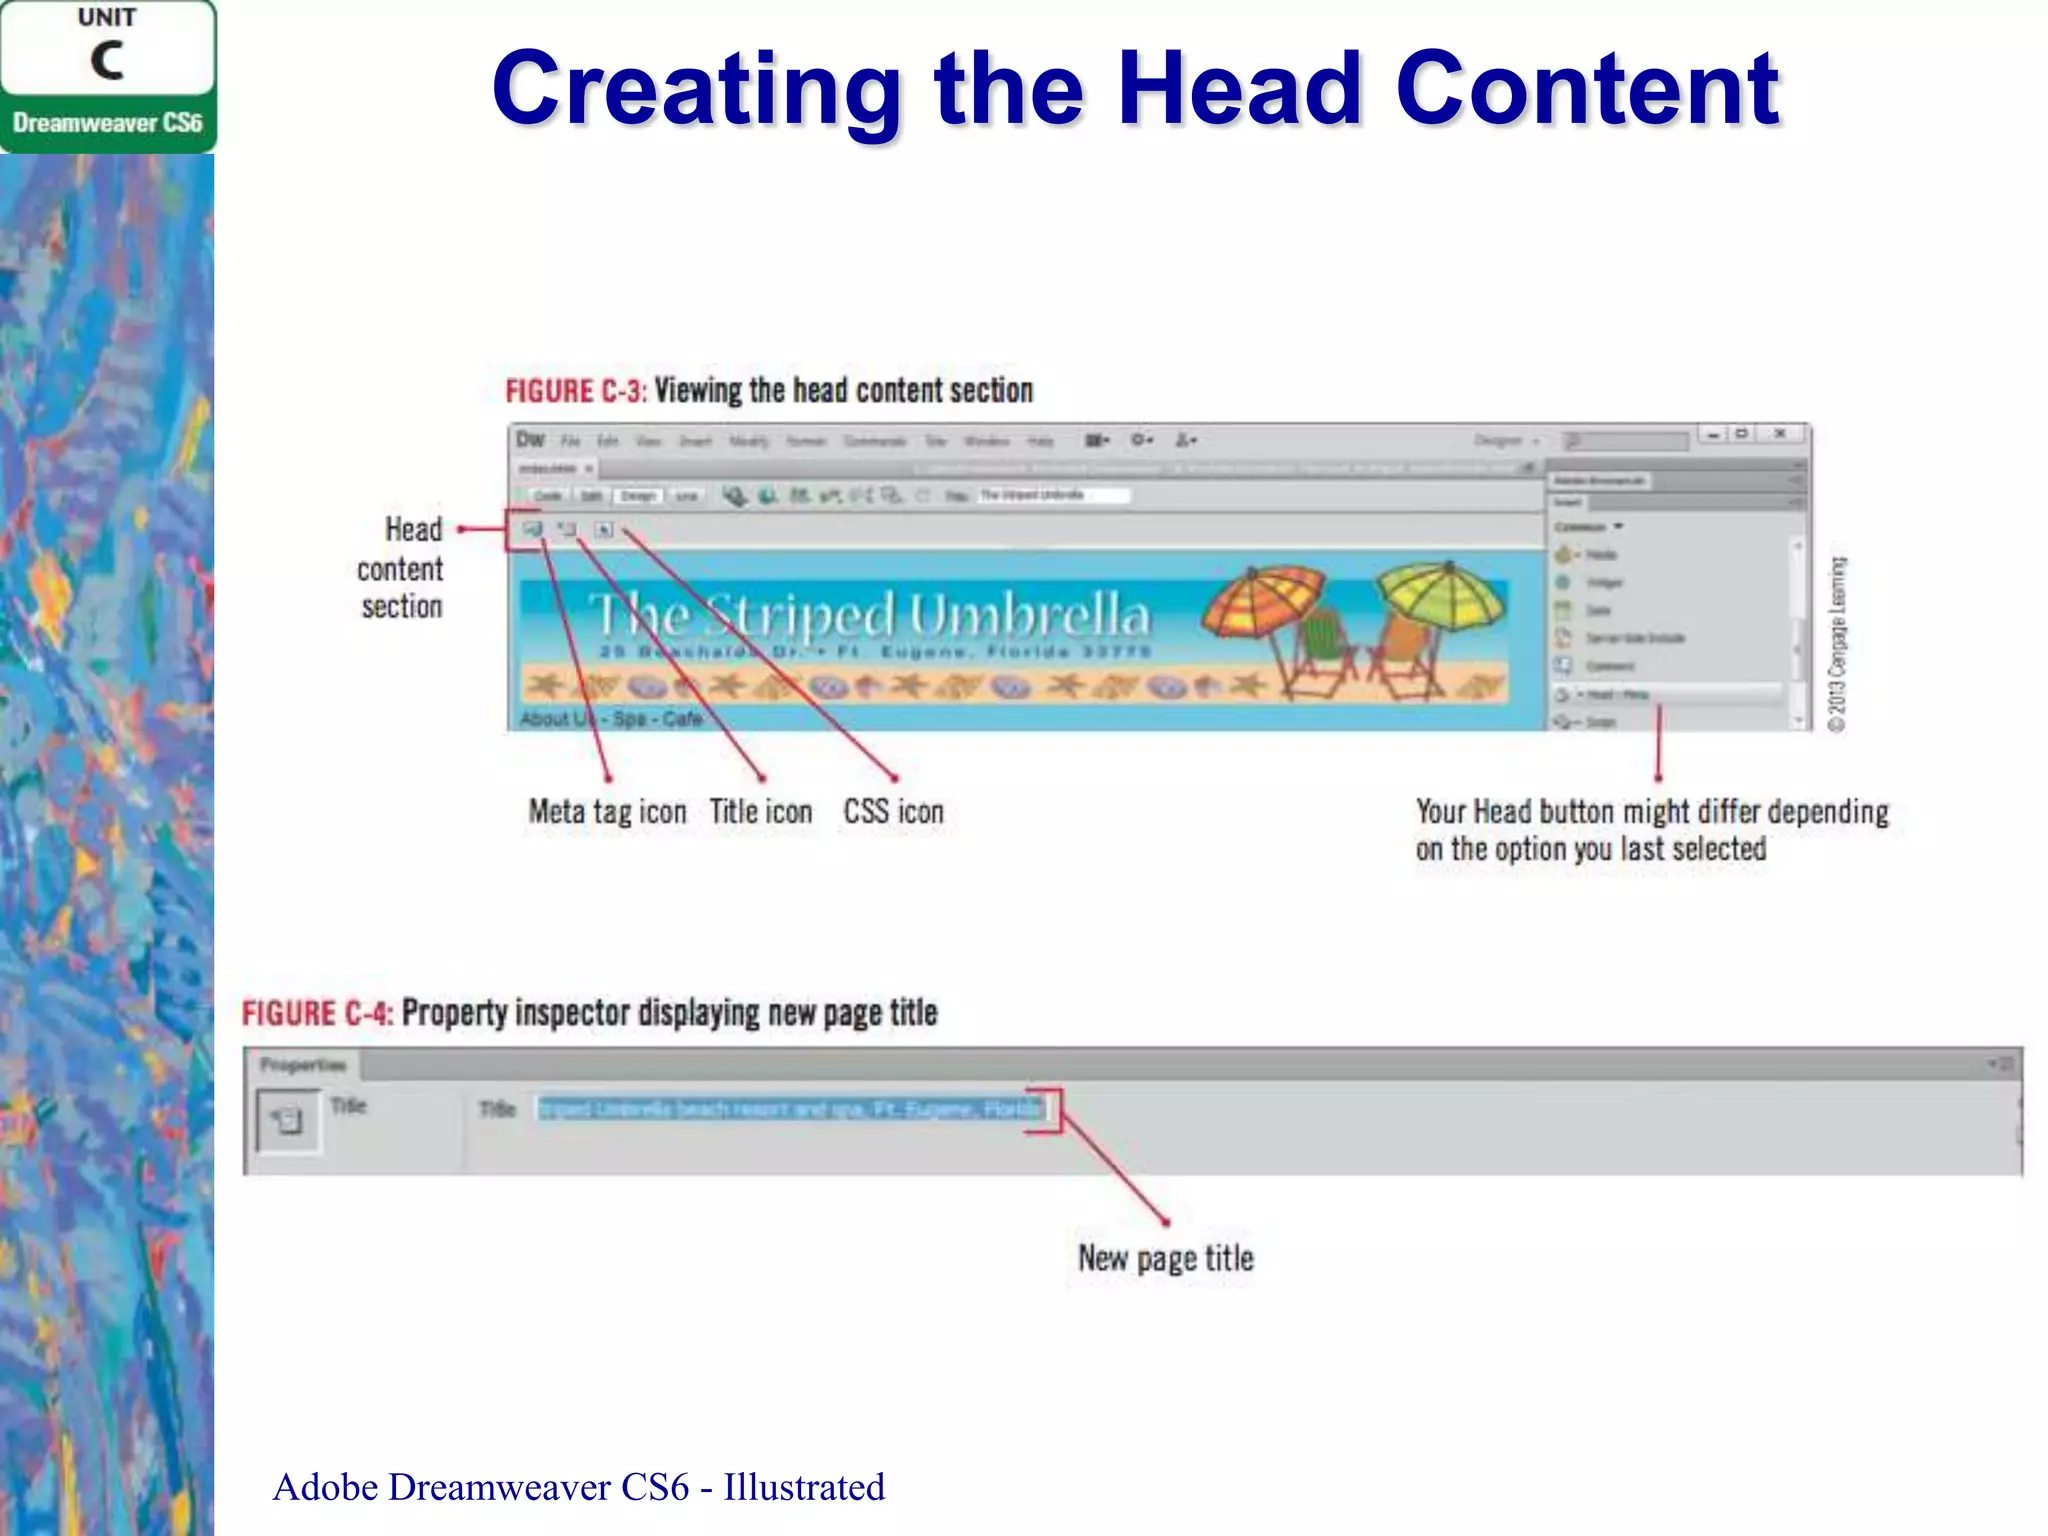
1. Start Dreamweaver, click the Site list arrow on the Files
panel
– Then click The Striped Umbrella if not already
selected
2. Double-click index.html; make sure the Document
window is maximized
– Click View on the Menu bar
– Click Head Content if necessary
3. Click the Title loon
– Please the insertion point after The Striped Umbrella in
the Title text box in the Property Inspector
– Press [spacebar], type beach resort and spa, Ft.
Eugene, Florida, then press [Enter] (Win) or [return]
(Mac)
Adobe Dreamweaver CS6 - Illustrated](https://image.slidesharecdn.com/unitcadobedreamweavercs6-140120151839-phpapp01/75/Unit-c-adobe-dreamweaver-cs6-7-2048.jpg)

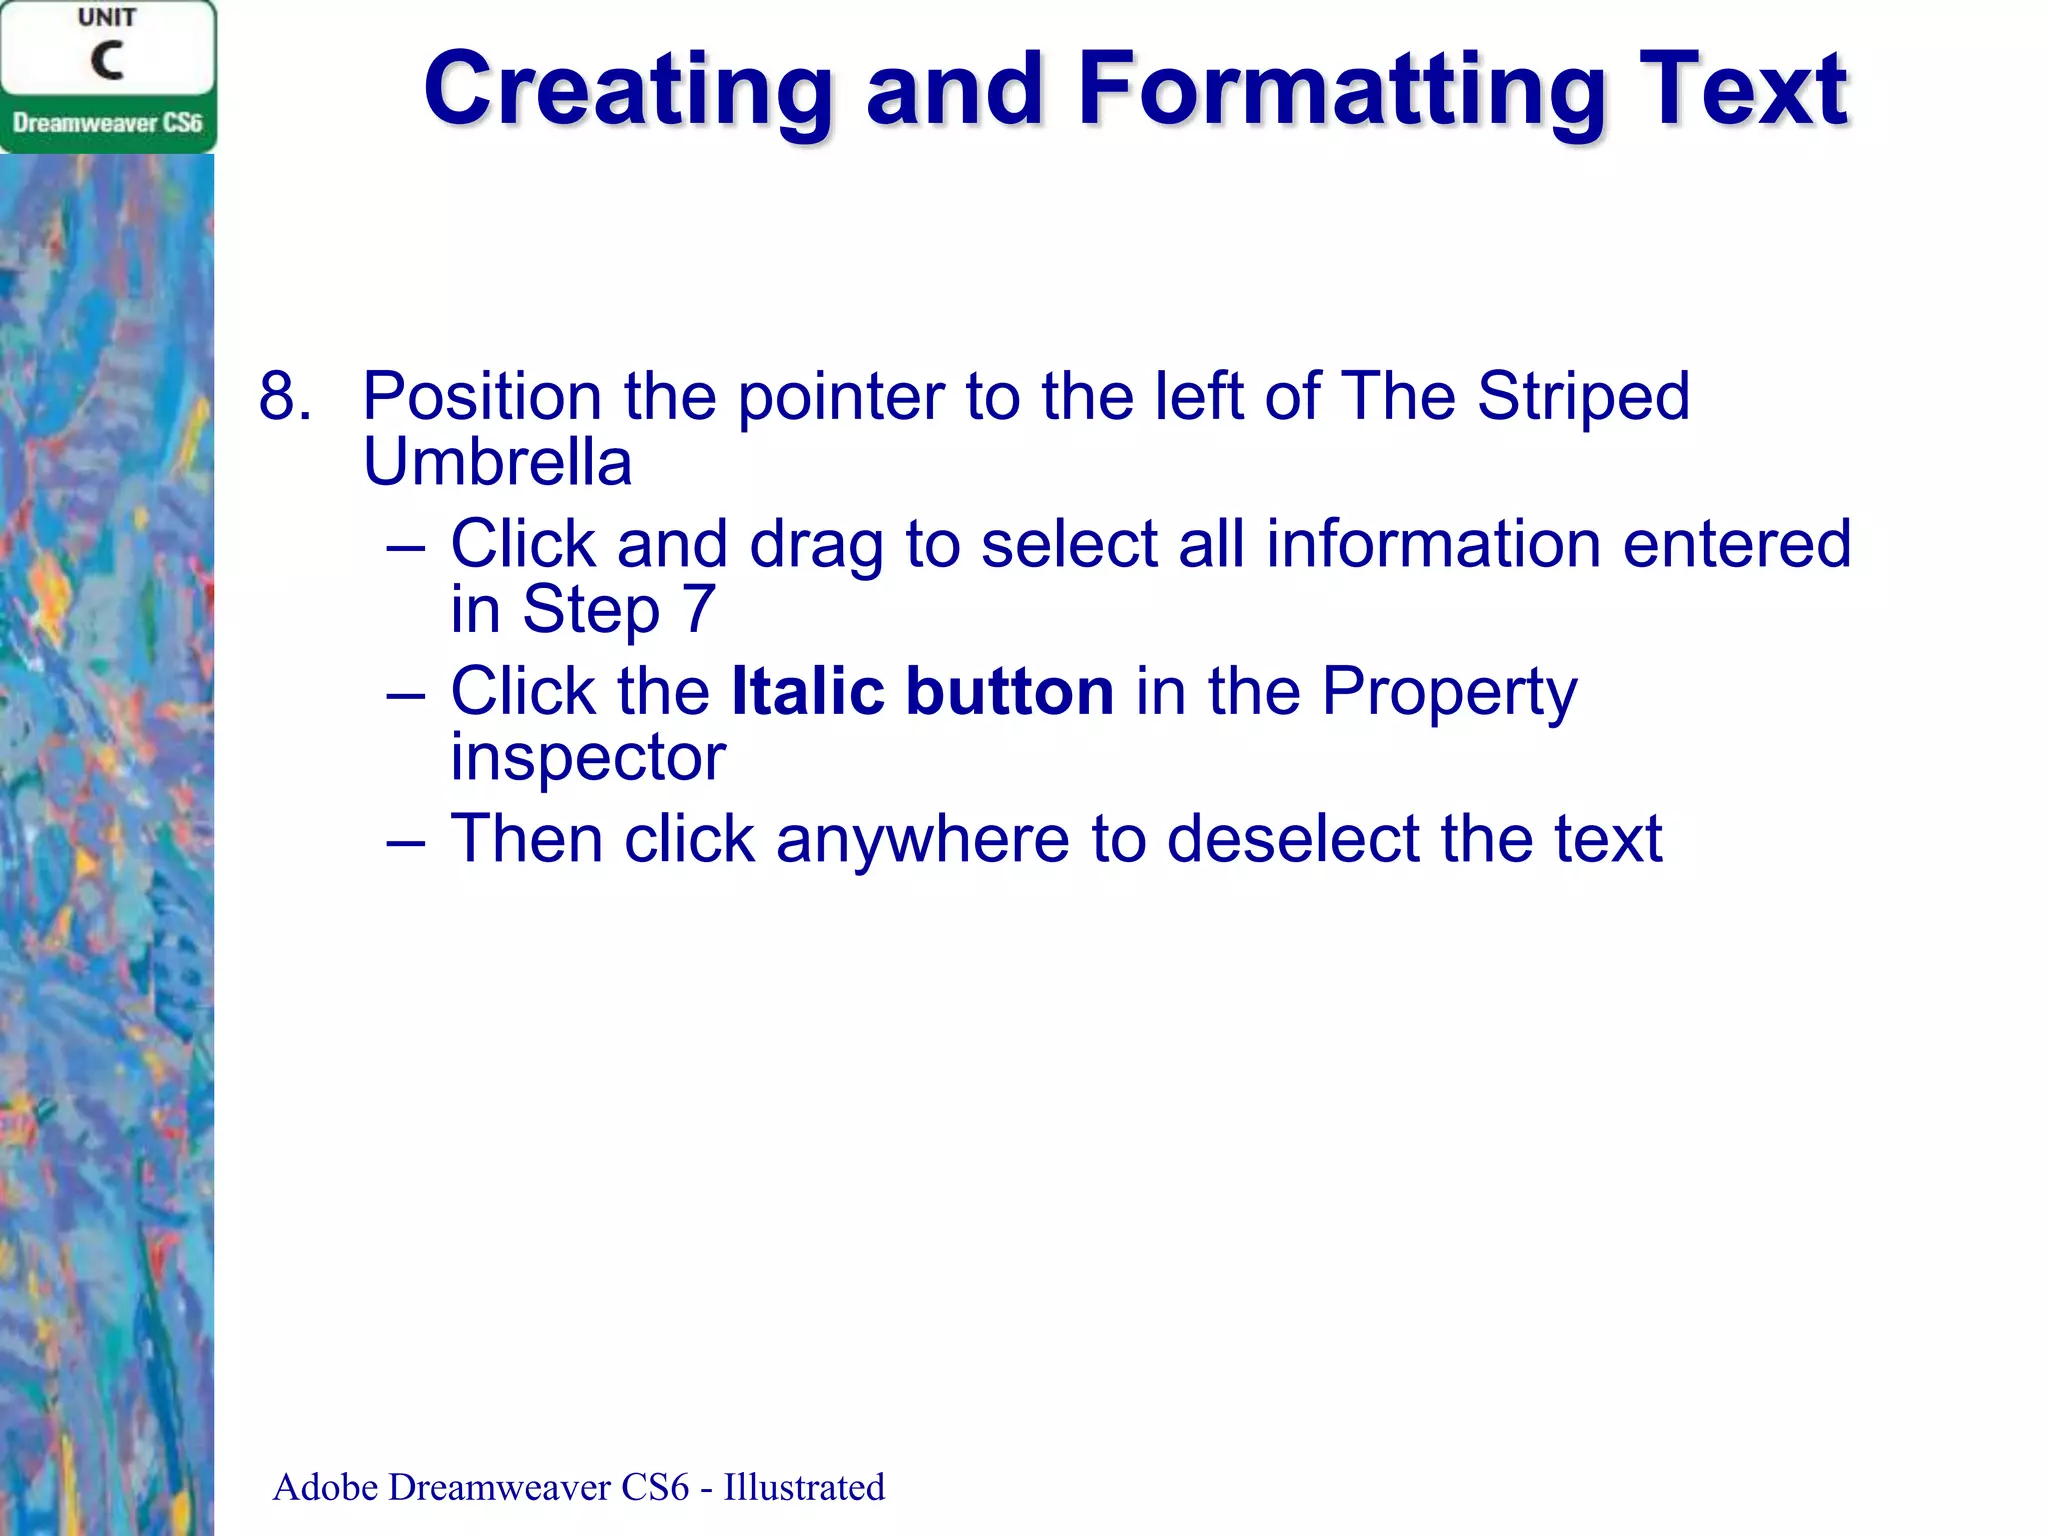
![Creating and Formatting Text
1. Position the insertion point to the left of A in About
Us, then drag to select About Us – Spa – Café
2. Type Home - About Us - Spa - Cafe - Activities,
with spaces in between
3. Position the insertion point at the beginning of the
first paragraph, type Welcome to our beach! then,
press [Enter] (Win) or [return] (Mac)
4. Click anywhere in the “Welcome!” text you just
entered, click the HTML button on the Property
inspector to open the HTML Property inspector if
necessary, click the Format list arrow in the HTML
Property inspector, then click Heading 1
Adobe Dreamweaver CS6 - Illustrated](https://image.slidesharecdn.com/unitcadobedreamweavercs6-140120151839-phpapp01/75/Unit-c-adobe-dreamweaver-cs6-17-2048.jpg)
![Creating and Formatting Text
5. Position the insertion point after the period
following “…want to go home”, press [Enter]
(Win) or [return] (Mac), then type The Striped
Umbrella
6. Press and hold [Shift], press [Enter] (Win) or
[return] (Mac) to create a line break
7. Enter the following information, placing a line
break at the end of each line:
25 Beachside Drive
Ft. Eugene, Florida 33775
(555) 594-9458
Adobe Dreamweaver CS6 - Illustrated](https://image.slidesharecdn.com/unitcadobedreamweavercs6-140120151839-phpapp01/75/Unit-c-adobe-dreamweaver-cs6-18-2048.jpg)
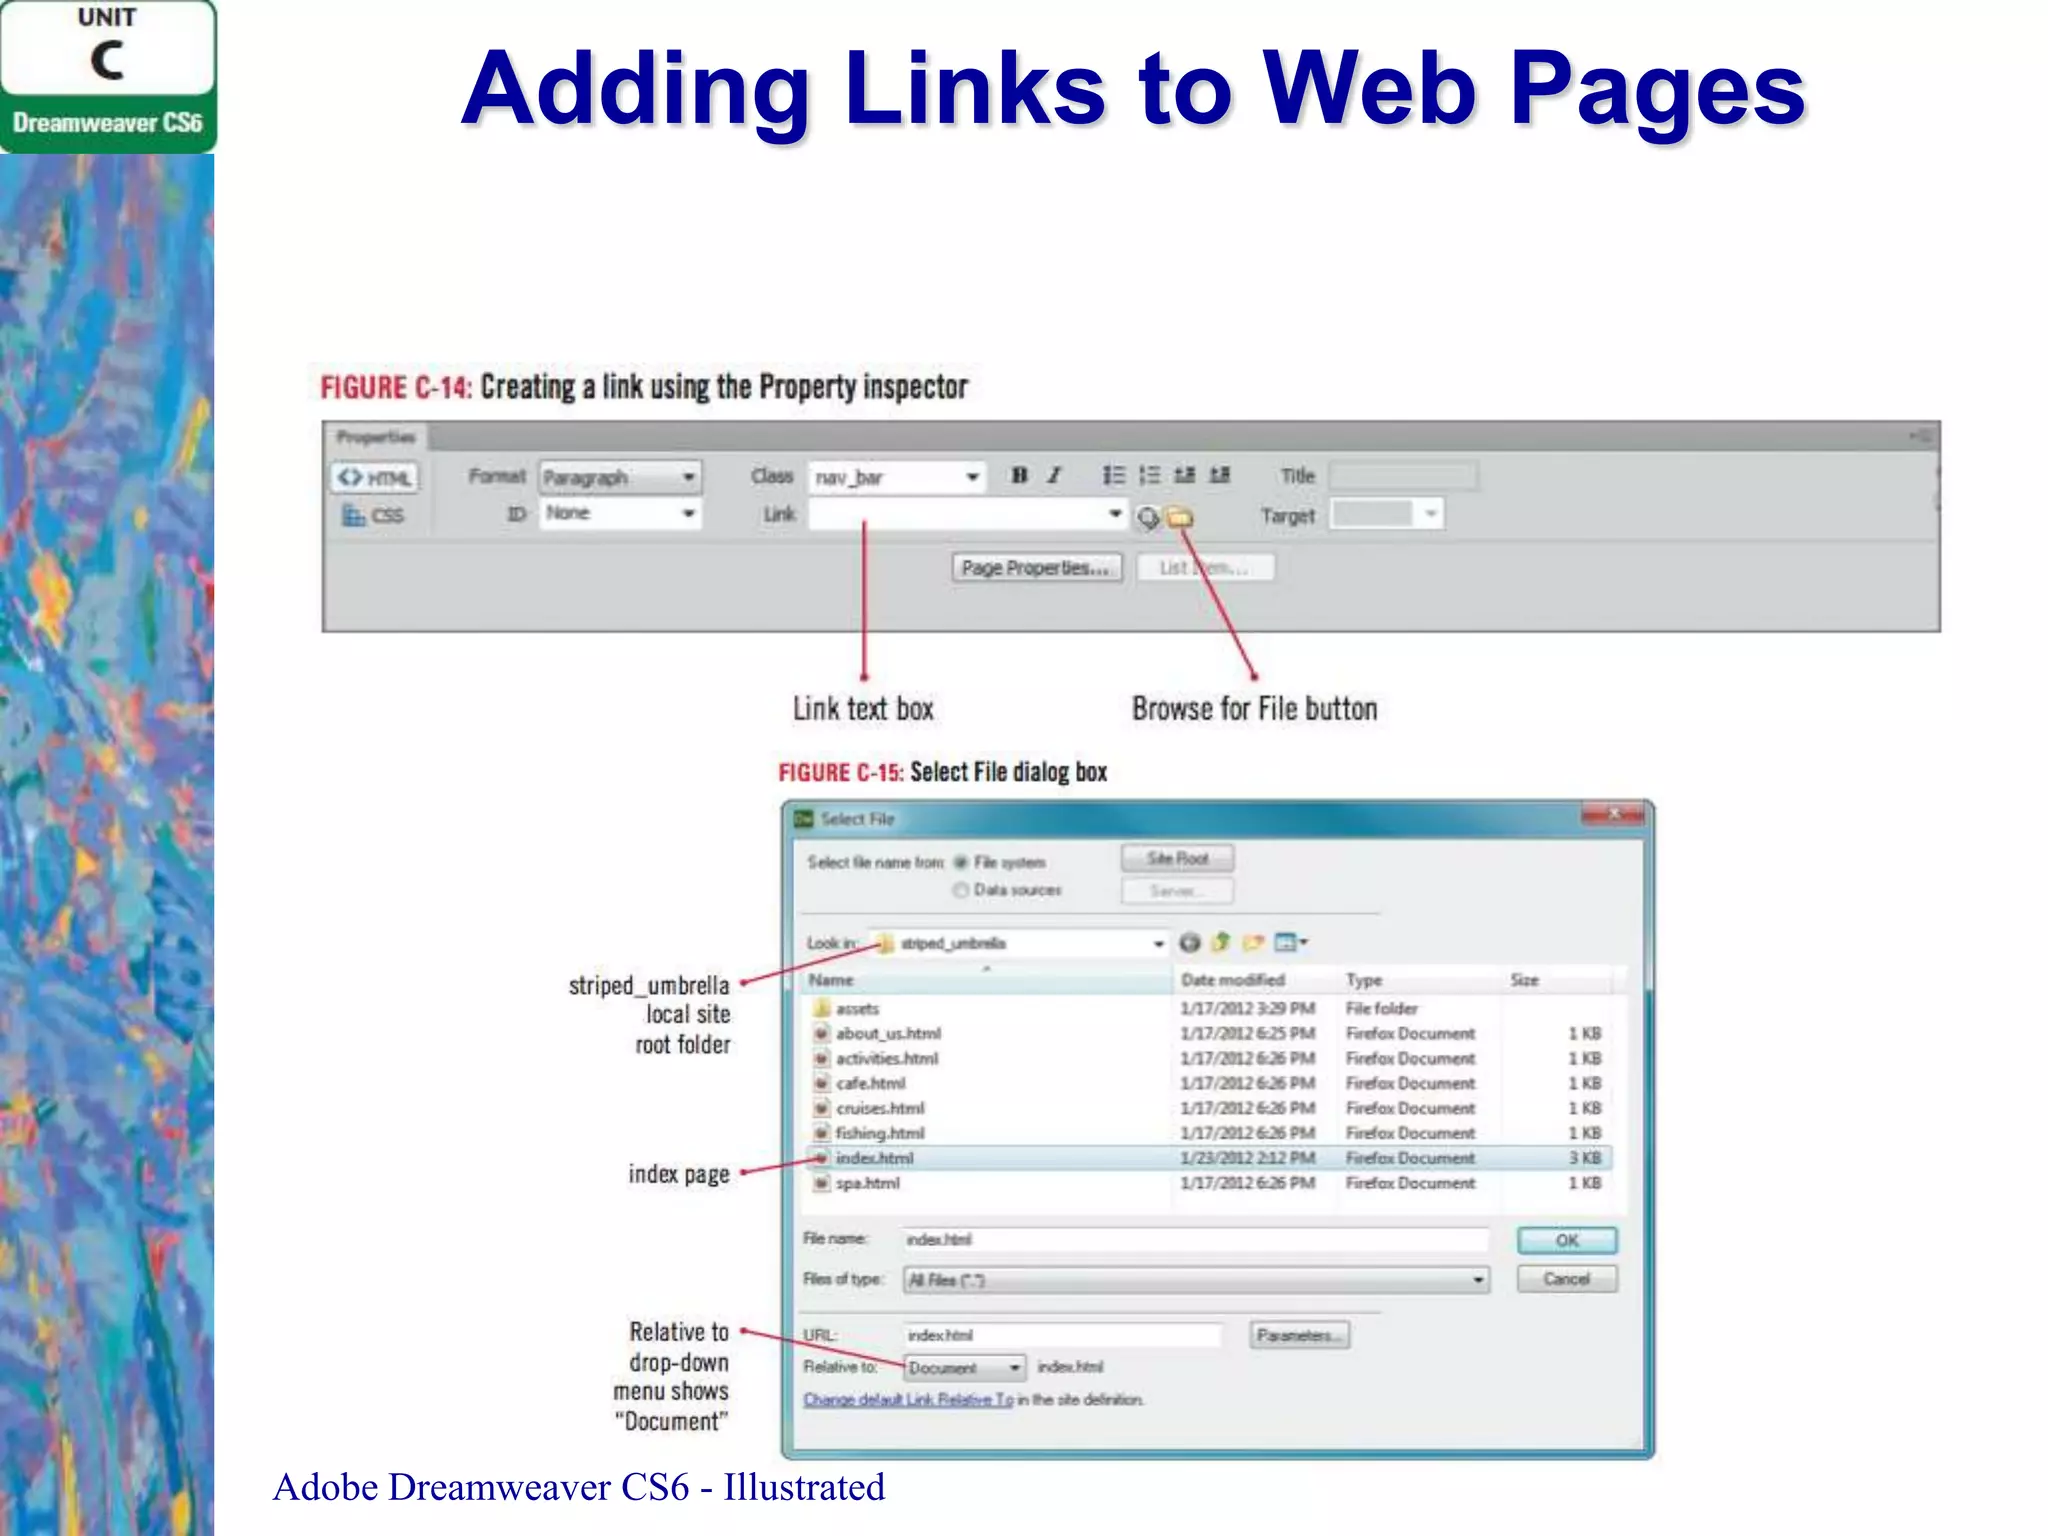
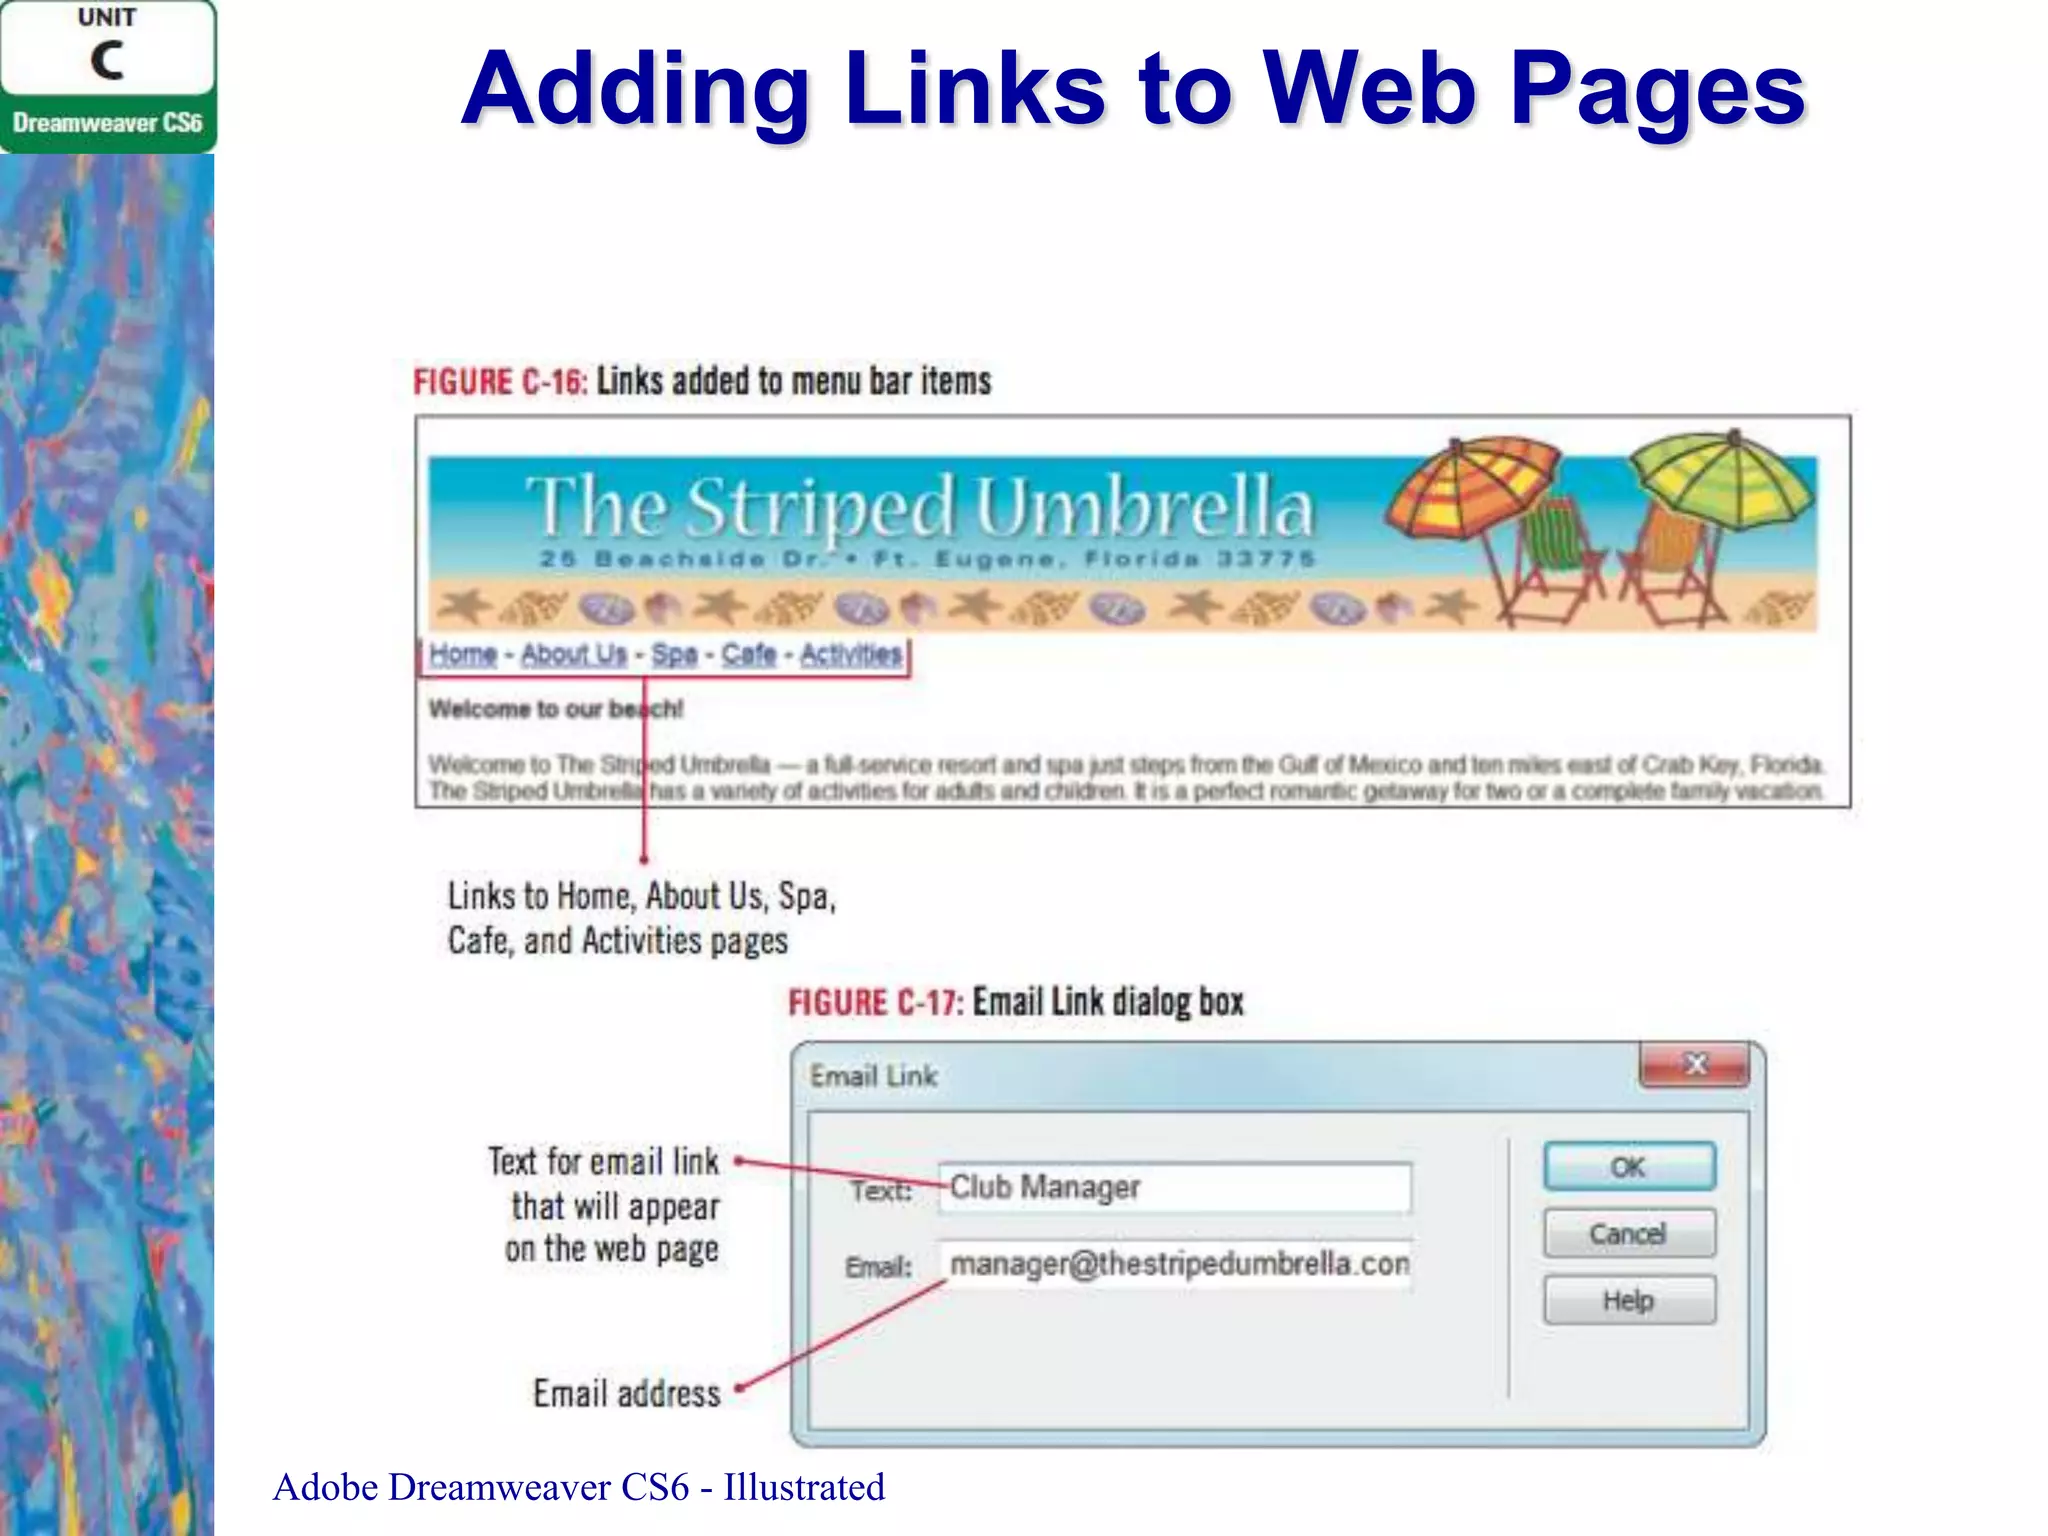
![Adding Links to Web Pages
6. Position the insertion point immediately after the last
digit in the telephone number, press and hold [Shift],
then press [Enter] (Win) or [return] (Mac)
7. Click the Insert panel list arrow, click Common if
necessary, then click Email Link
8. Type Club Manager in the text box, press [Tab],
then type manager@thestripedumbrella.com in the
E-Mail text box, click OK
9. If link is not italicized, position the pointer left of Club
Manager, click/drag to select text, click the Italic
button, then click anywhere to deselect the text
Adobe Dreamweaver CS6 - Illustrated](https://image.slidesharecdn.com/unitcadobedreamweavercs6-140120151839-phpapp01/75/Unit-c-adobe-dreamweaver-cs6-22-2048.jpg)
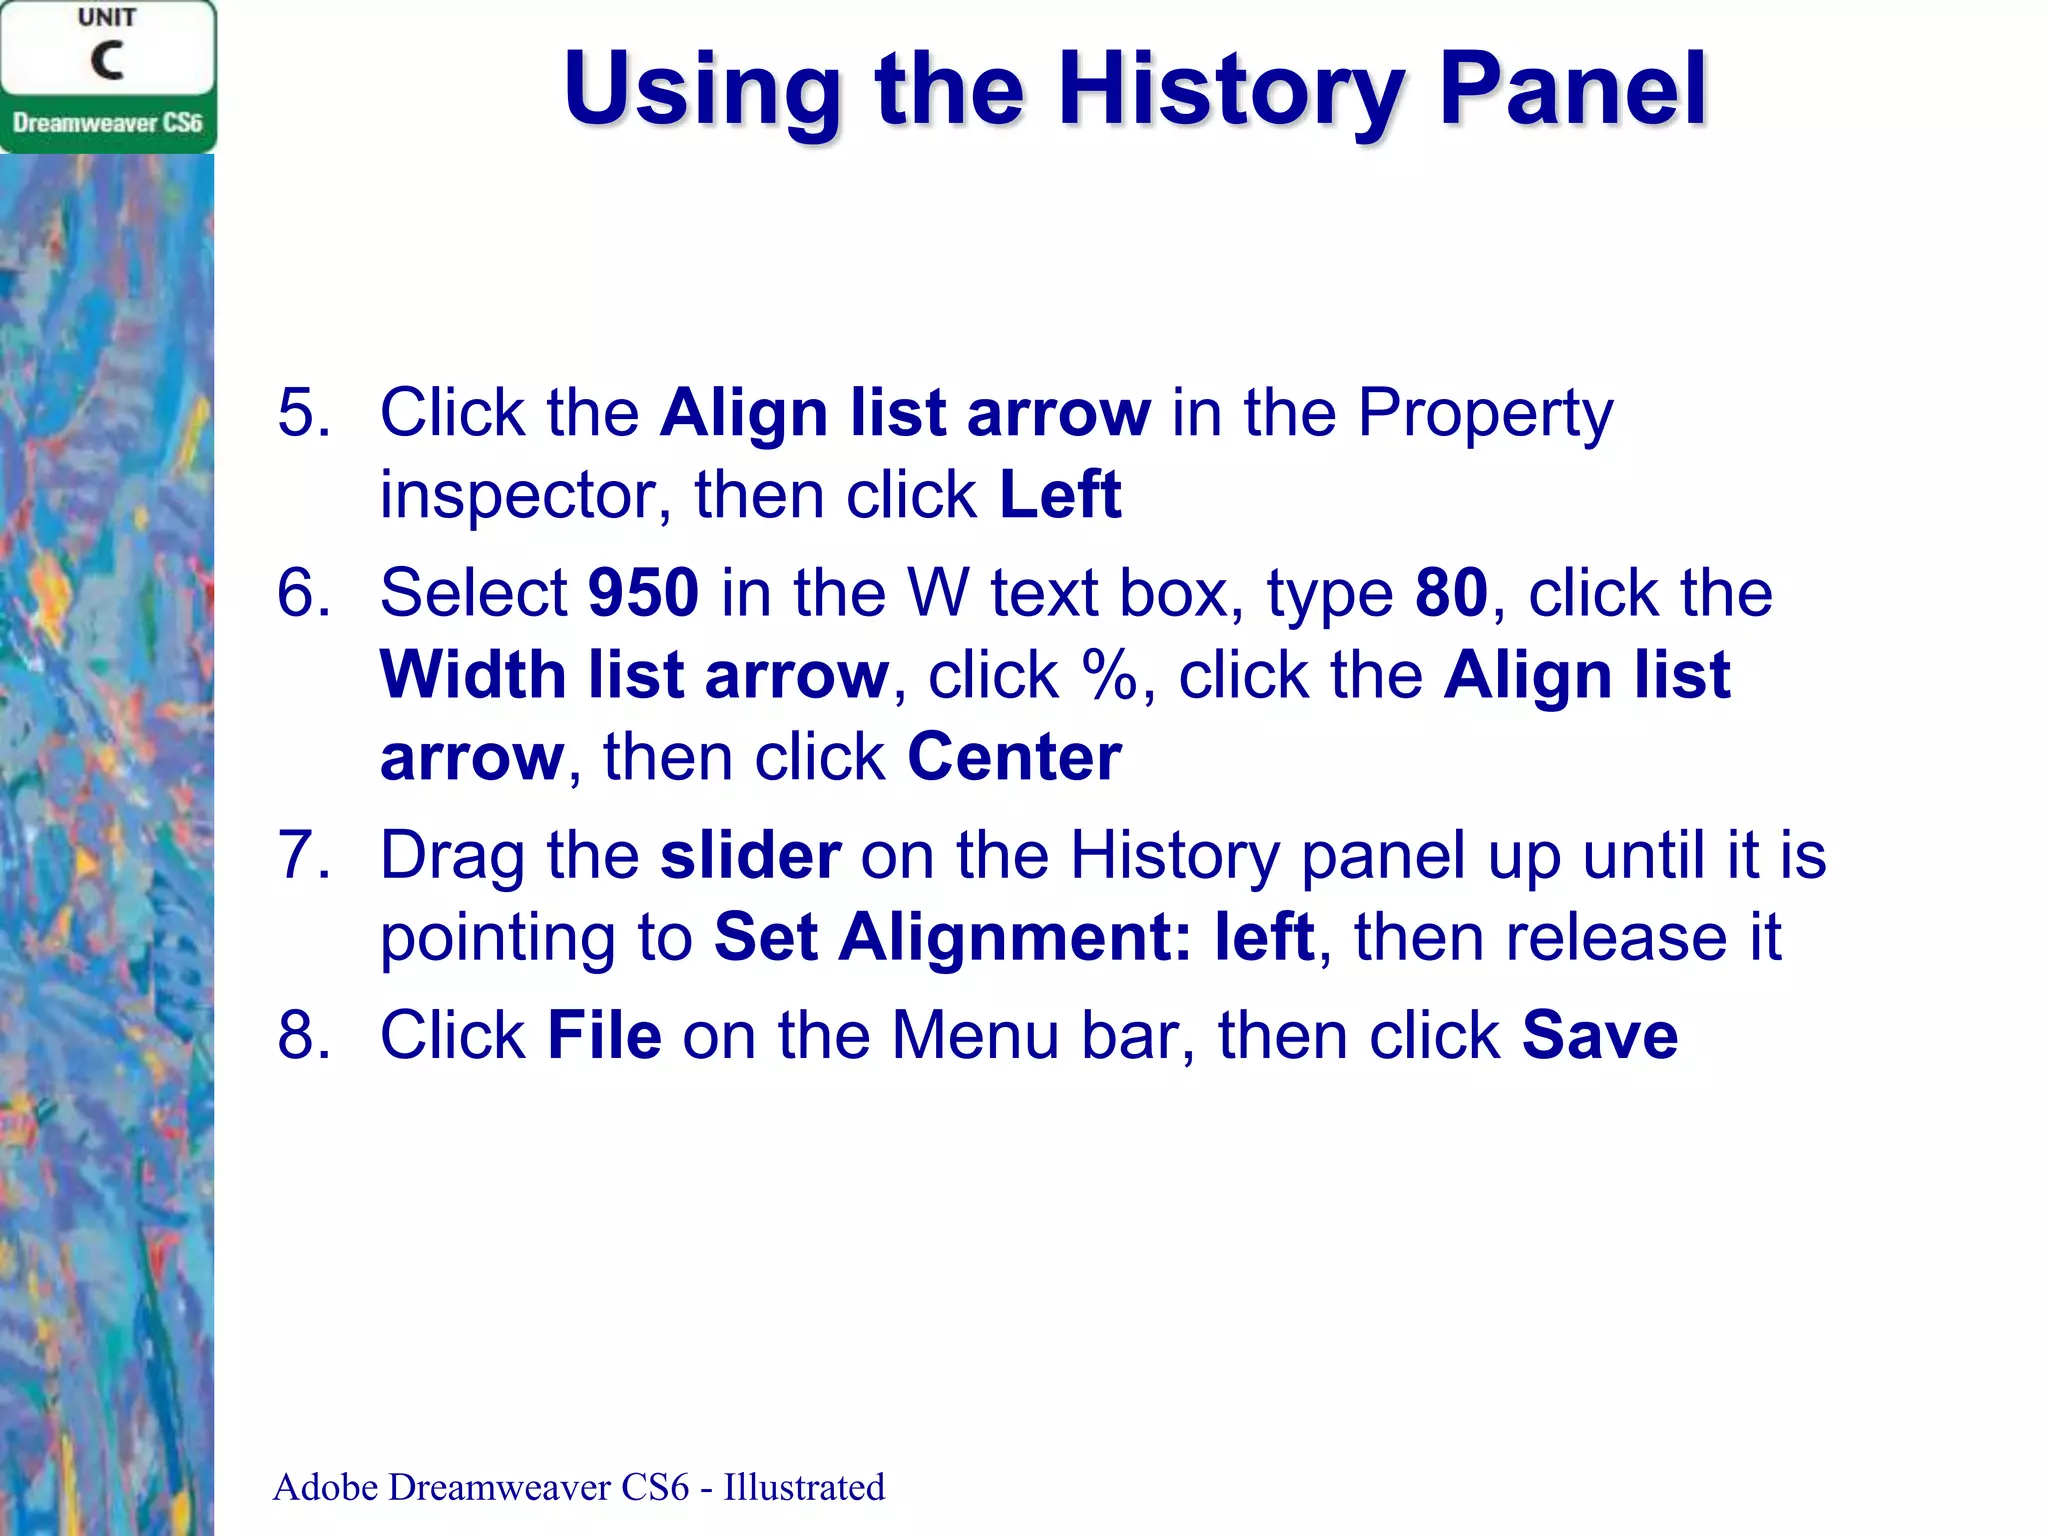
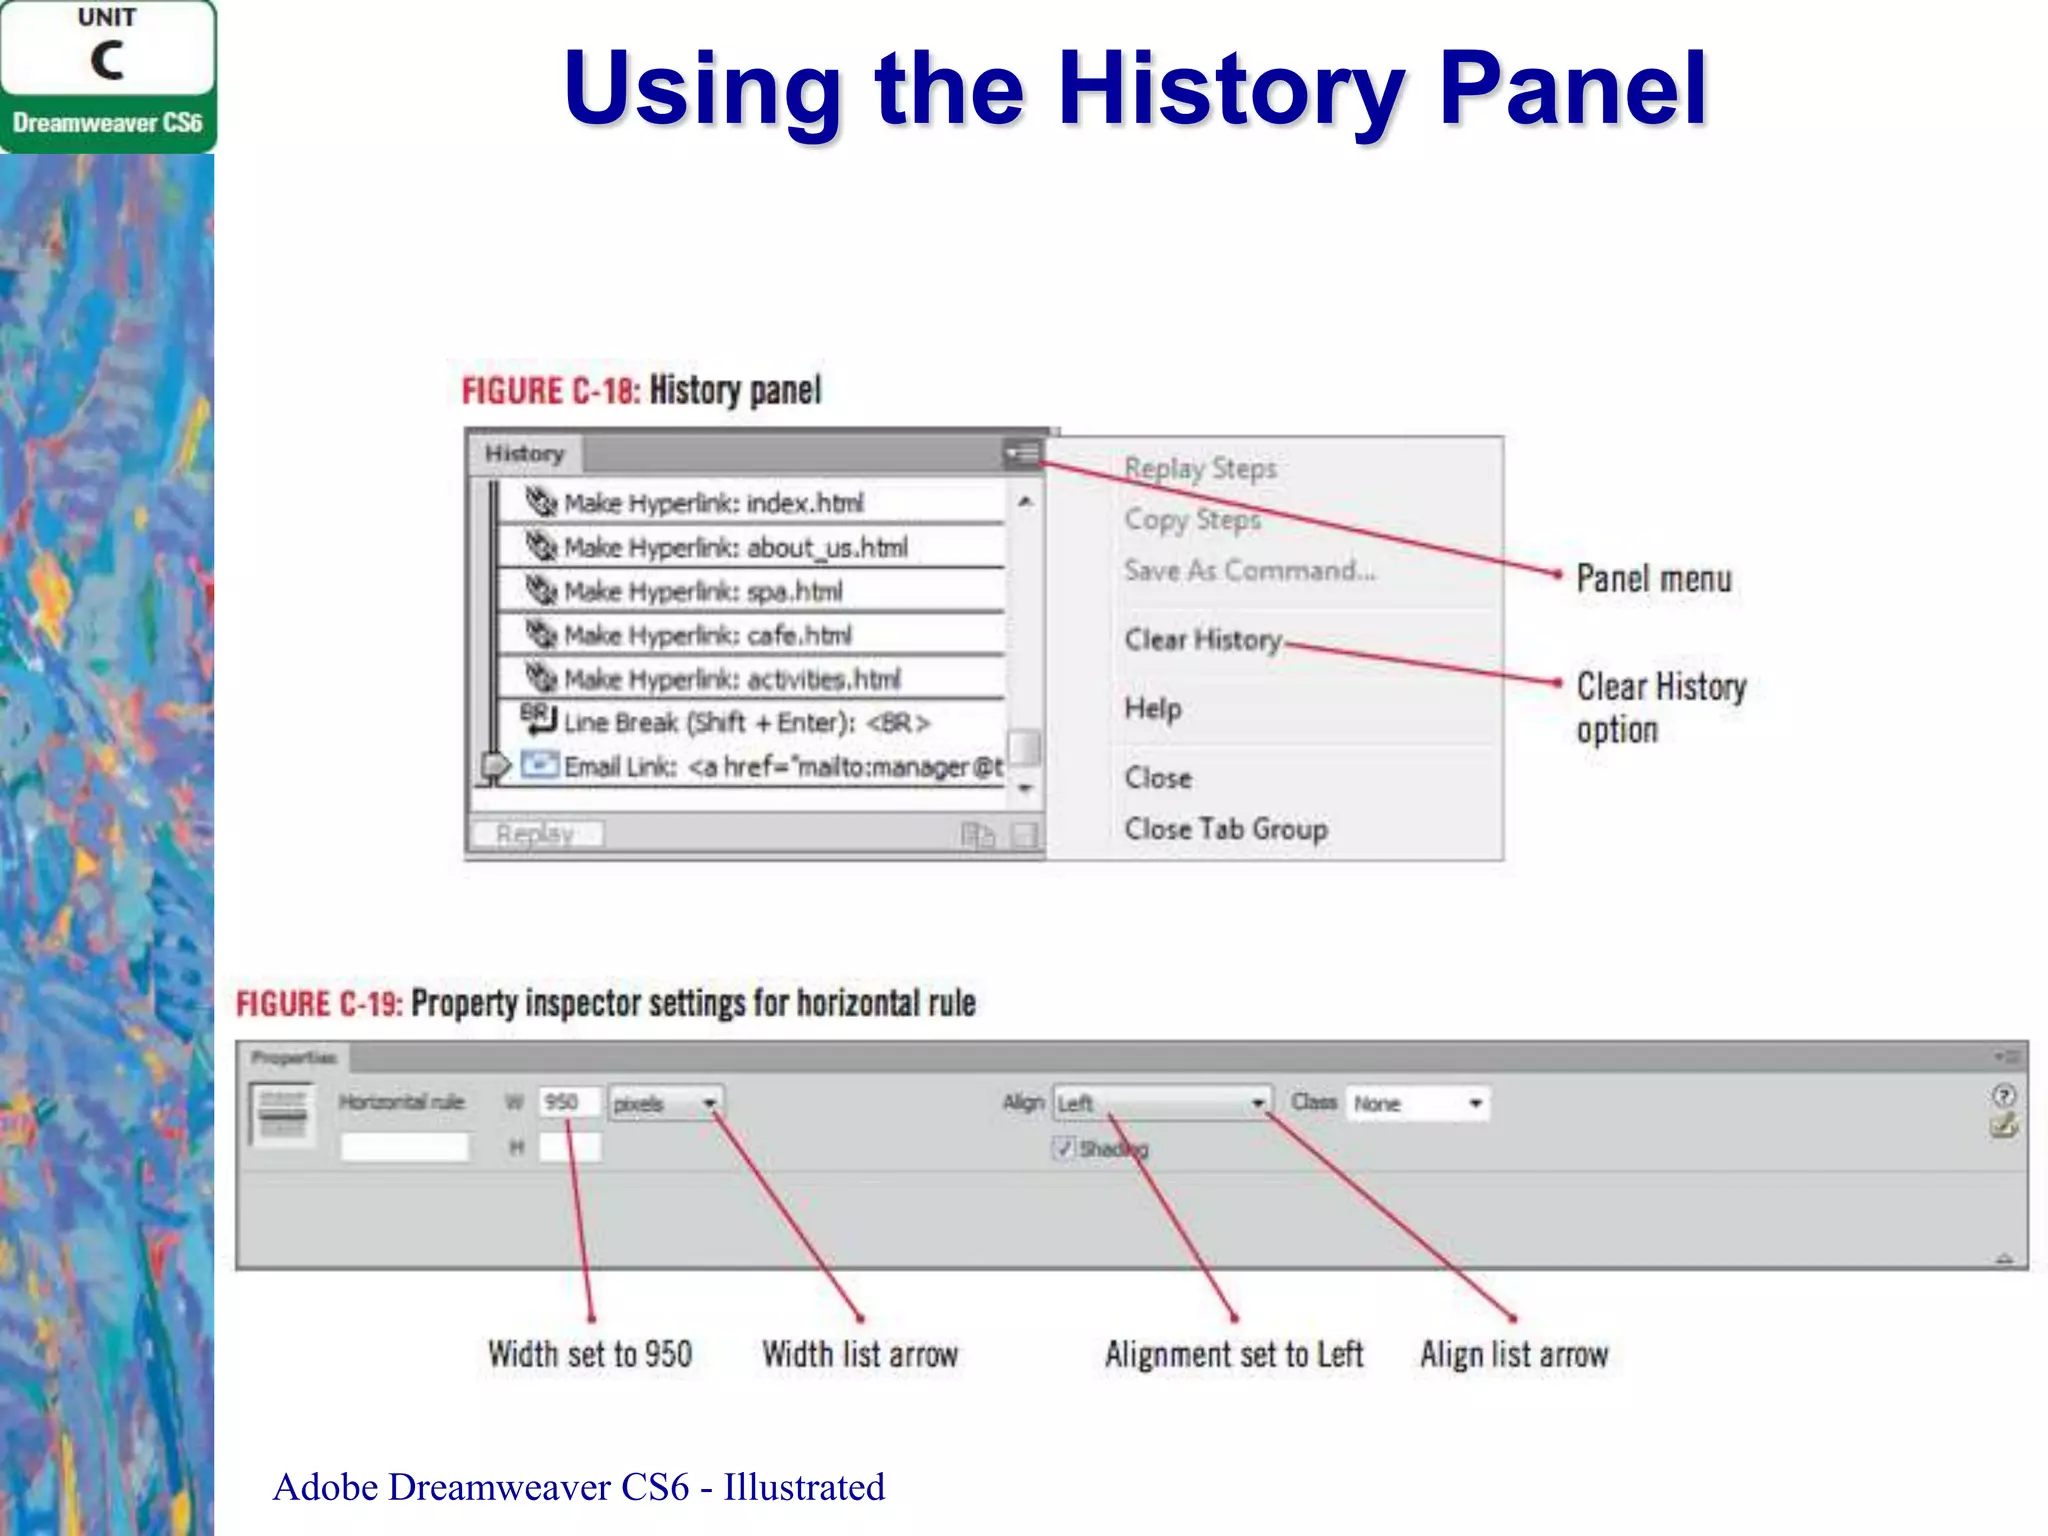
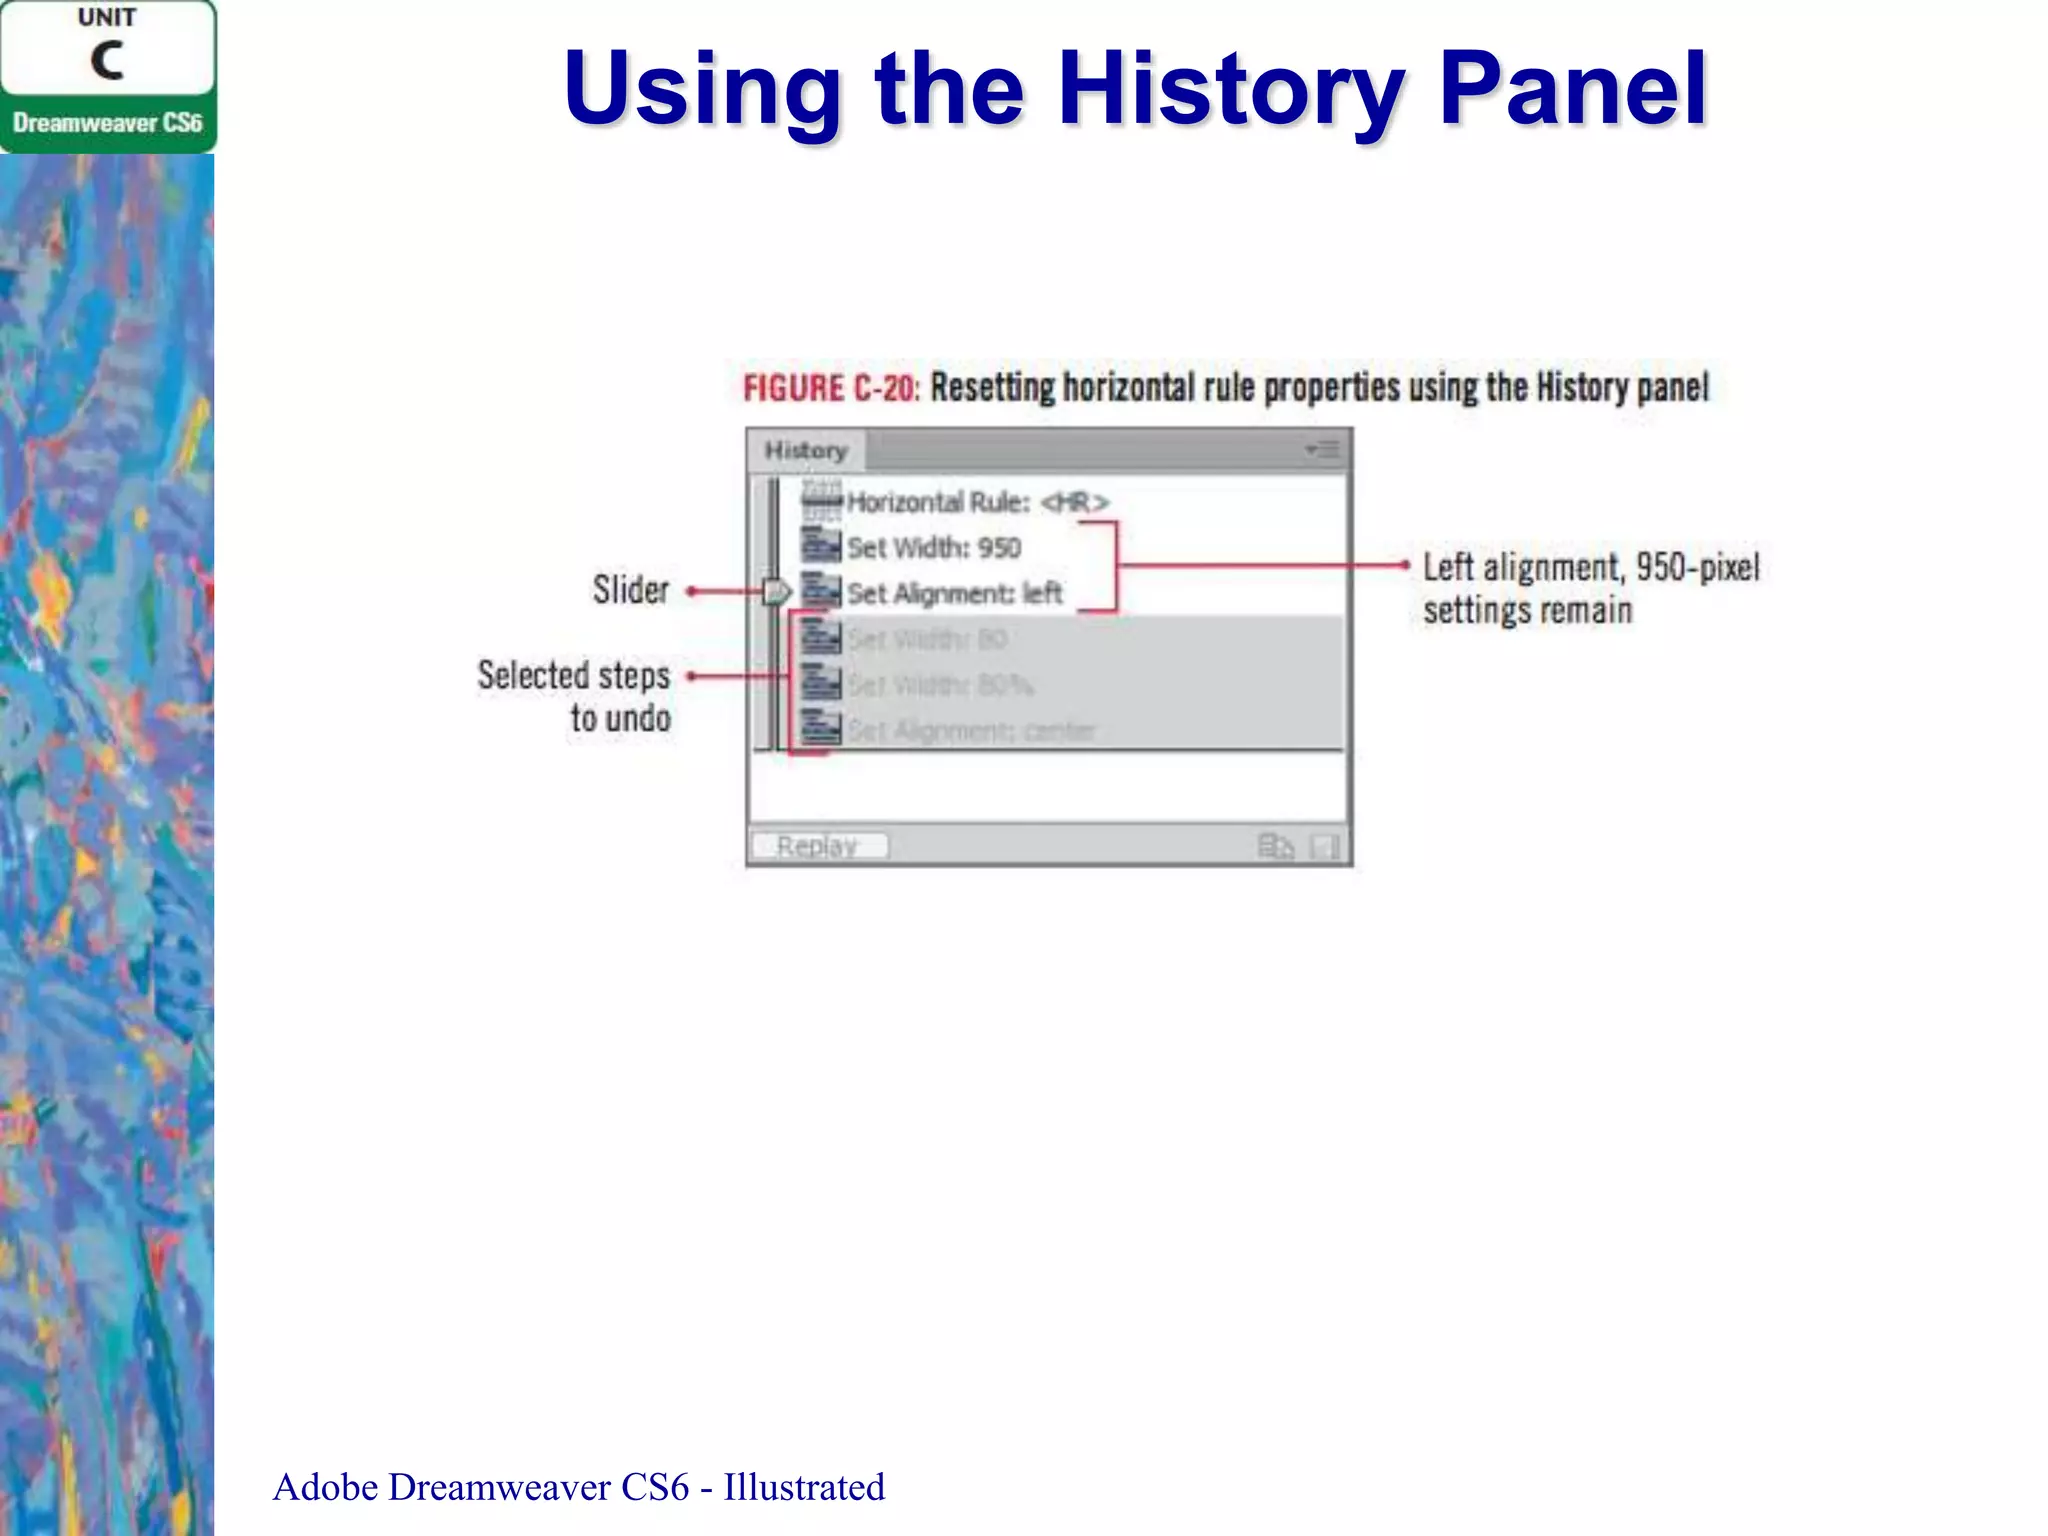
![Using the History Panel
1. Click Window on the Menu bar, then click History
2. Click the Panel menu on the History panel title bar,
click Clear History, then click Yes in the Dreamweaver
warning box
3. Position the insertion point to the left of the words
Welcome to our beach! in the line of text
– Click Insert on the Menu bar, point to HTML, then
click Horizontal Rule
4. If “pixels” is not displayed in the width pop-up menu,
click the width list arrow in the Property inspector,
click pixels, type 950 in the W text box, then press
[Enter] (Win) or [return] (Mac)
Adobe Dreamweaver CS6 - Illustrated](https://image.slidesharecdn.com/unitcadobedreamweavercs6-140120151839-phpapp01/75/Unit-c-adobe-dreamweaver-cs6-25-2048.jpg)
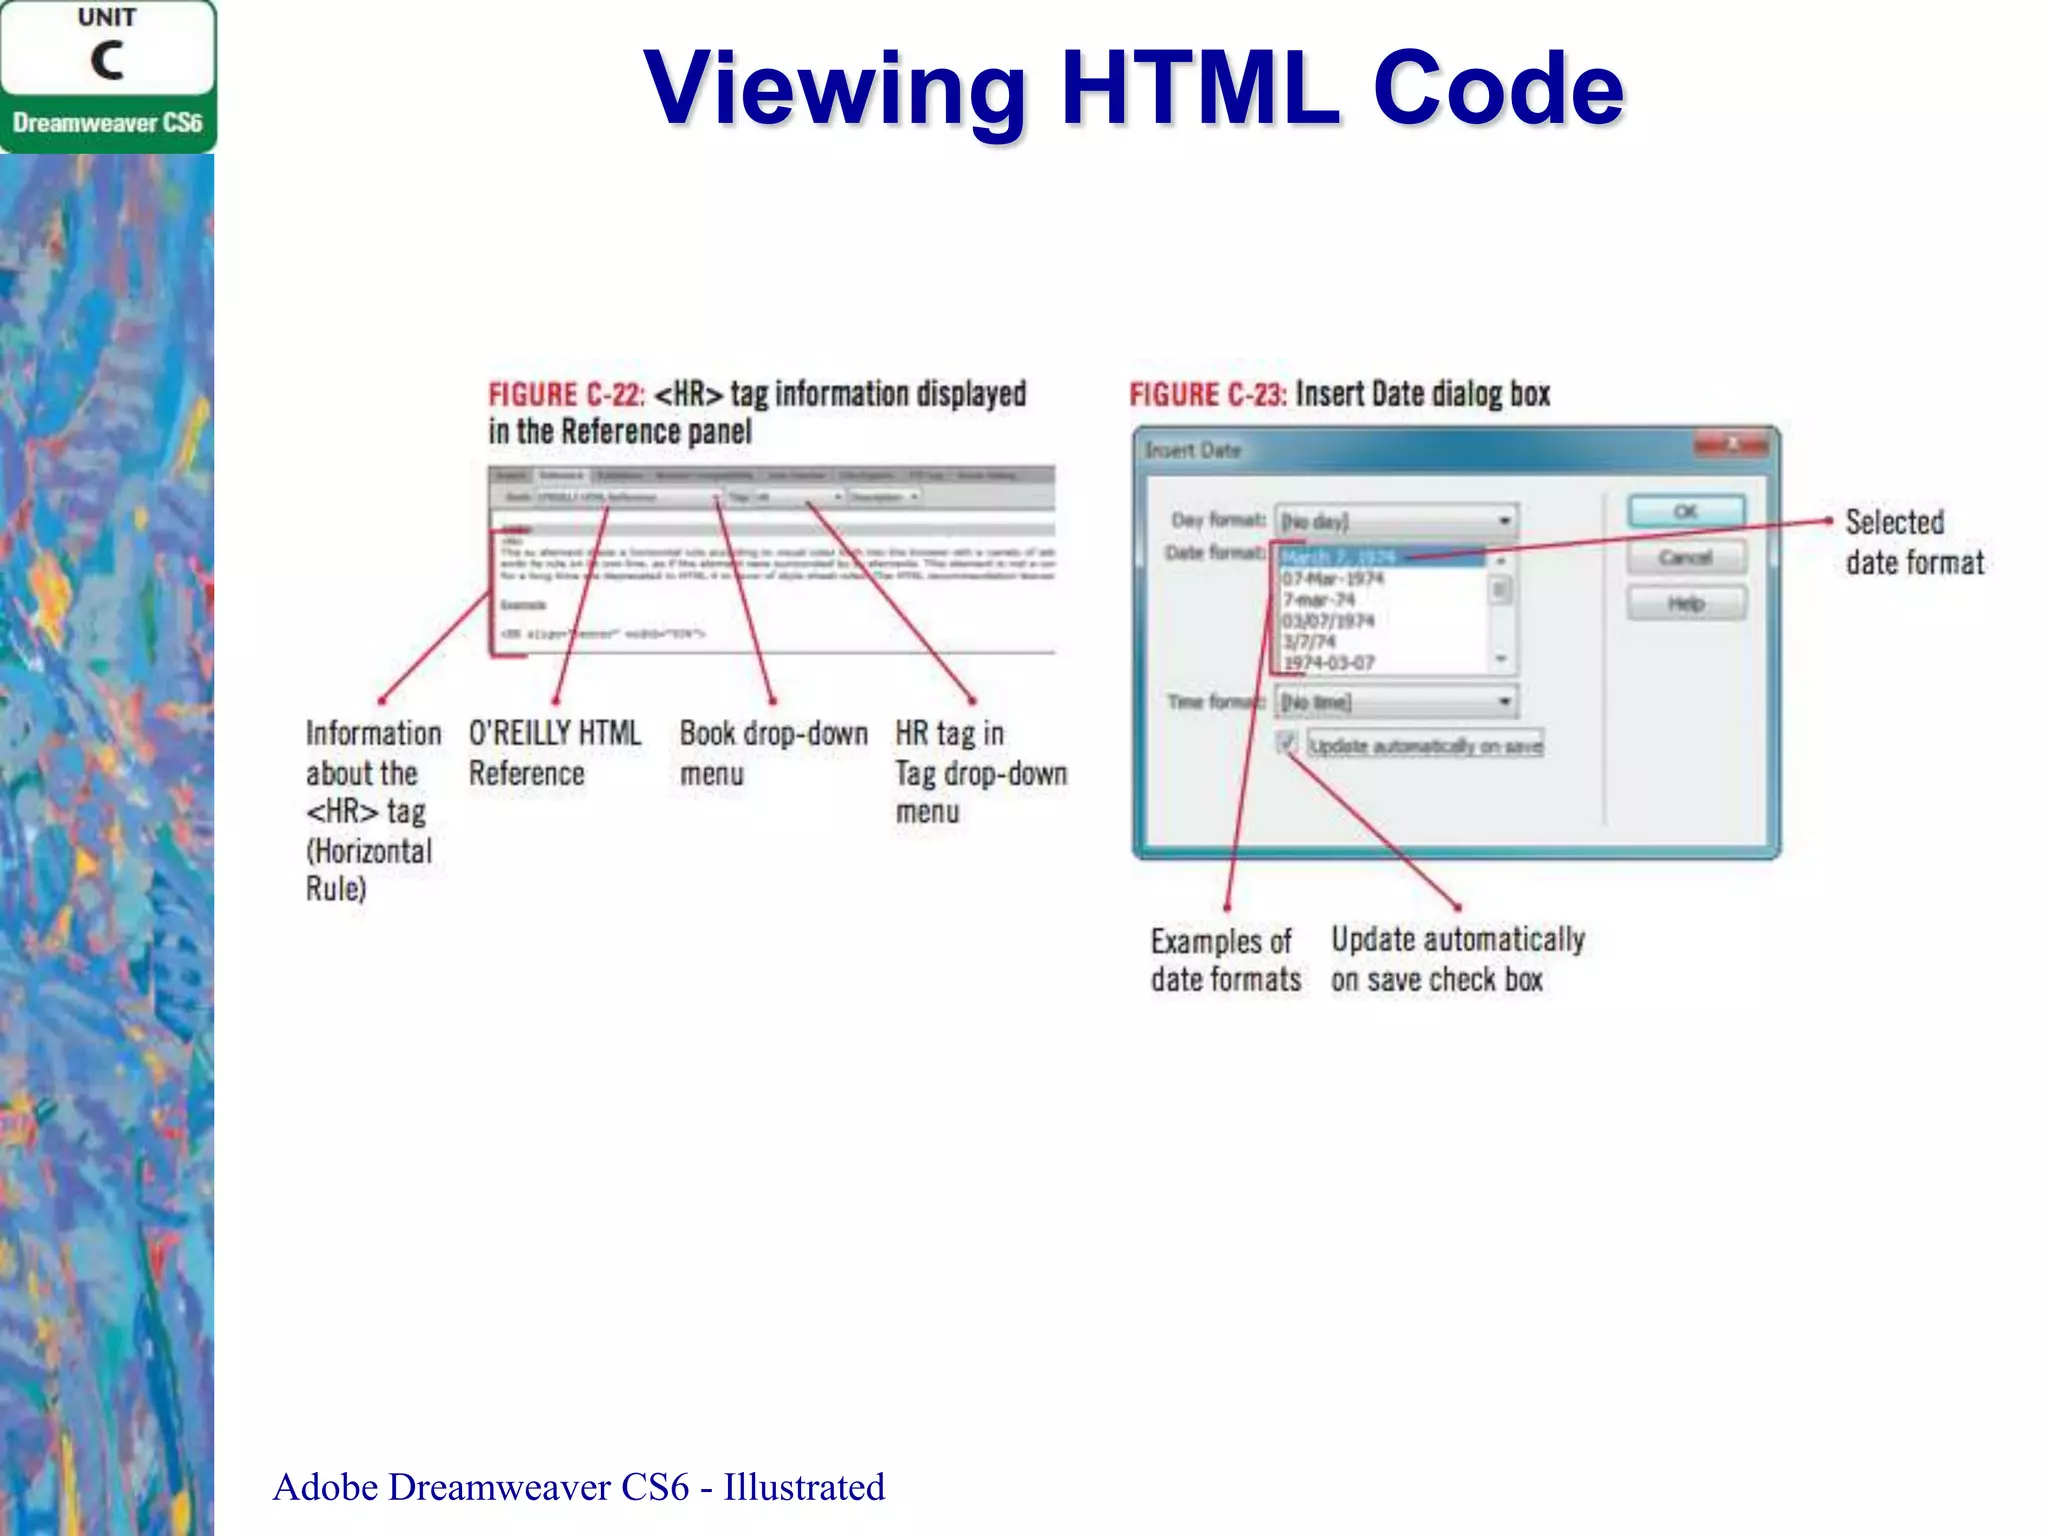
![Viewing HTML Code
6. Click the Panel menu on the Results panel title bar,
then click Close Tab Group
7. Scroll down if necessary in the Document window,
select January 1, 2015, then press [Delete]
8. Scroll down the Common category on the Insert panel
until the Date object button appears
– Click Date, click March 7, 1974, in the Date format
options list
– Click the Update automatically on save check
box if necessary to select it, then click OK
9. Click the Show Design view button on the Document
toolbar
Adobe Dreamweaver CS6 - Illustrated](https://image.slidesharecdn.com/unitcadobedreamweavercs6-140120151839-phpapp01/75/Unit-c-adobe-dreamweaver-cs6-32-2048.jpg)
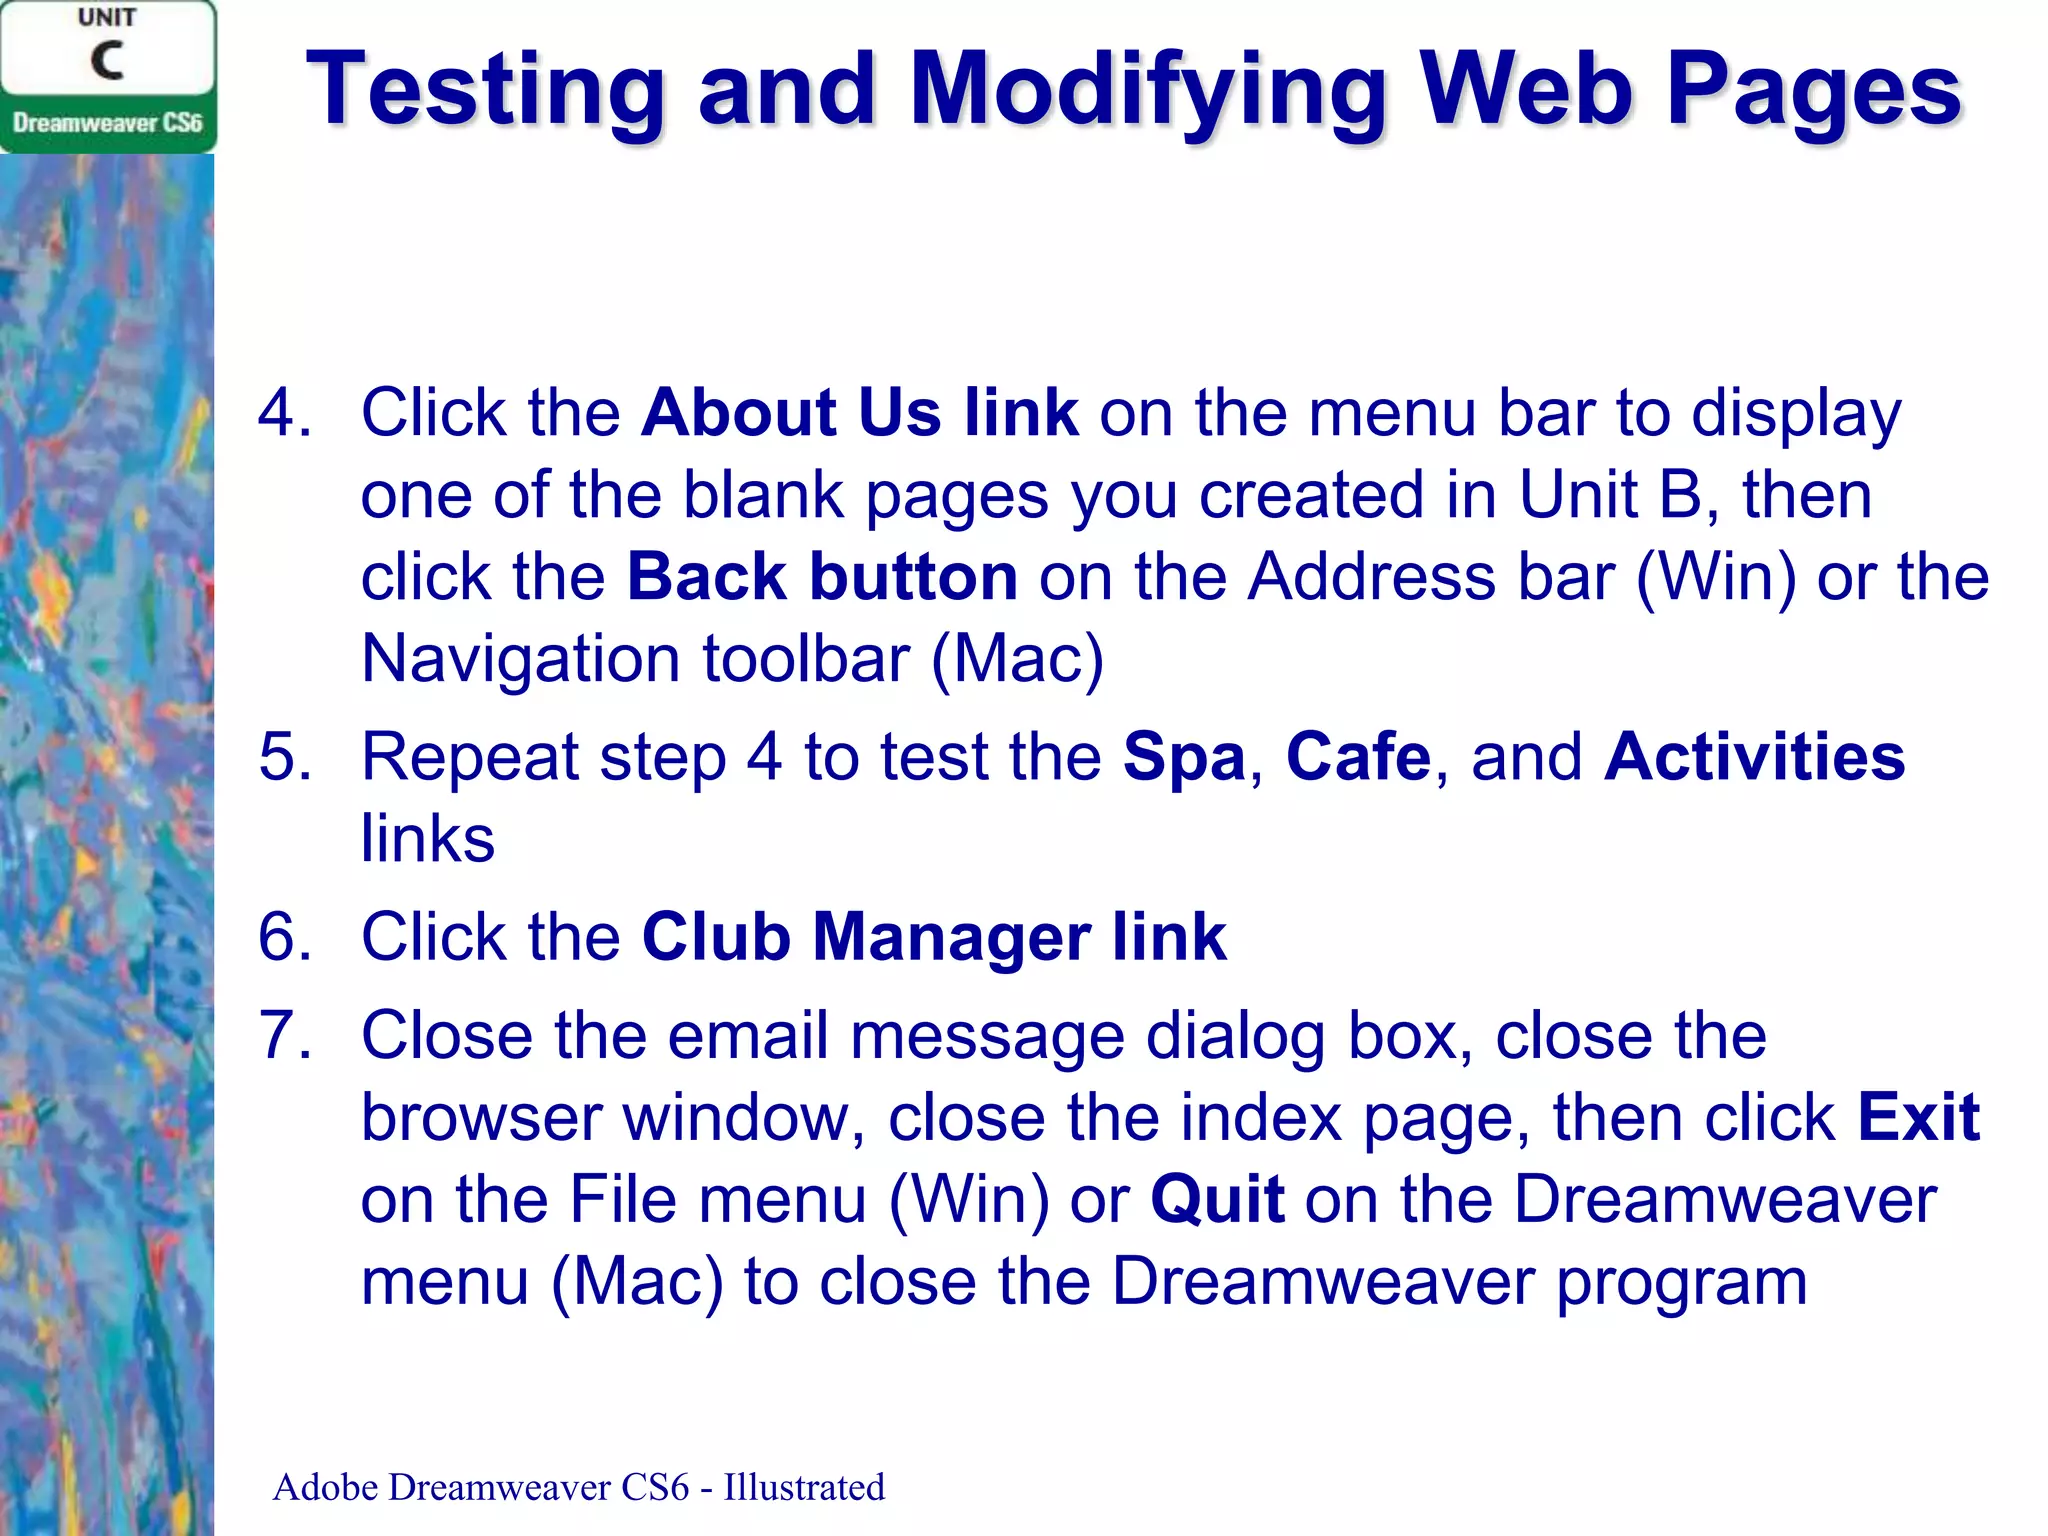
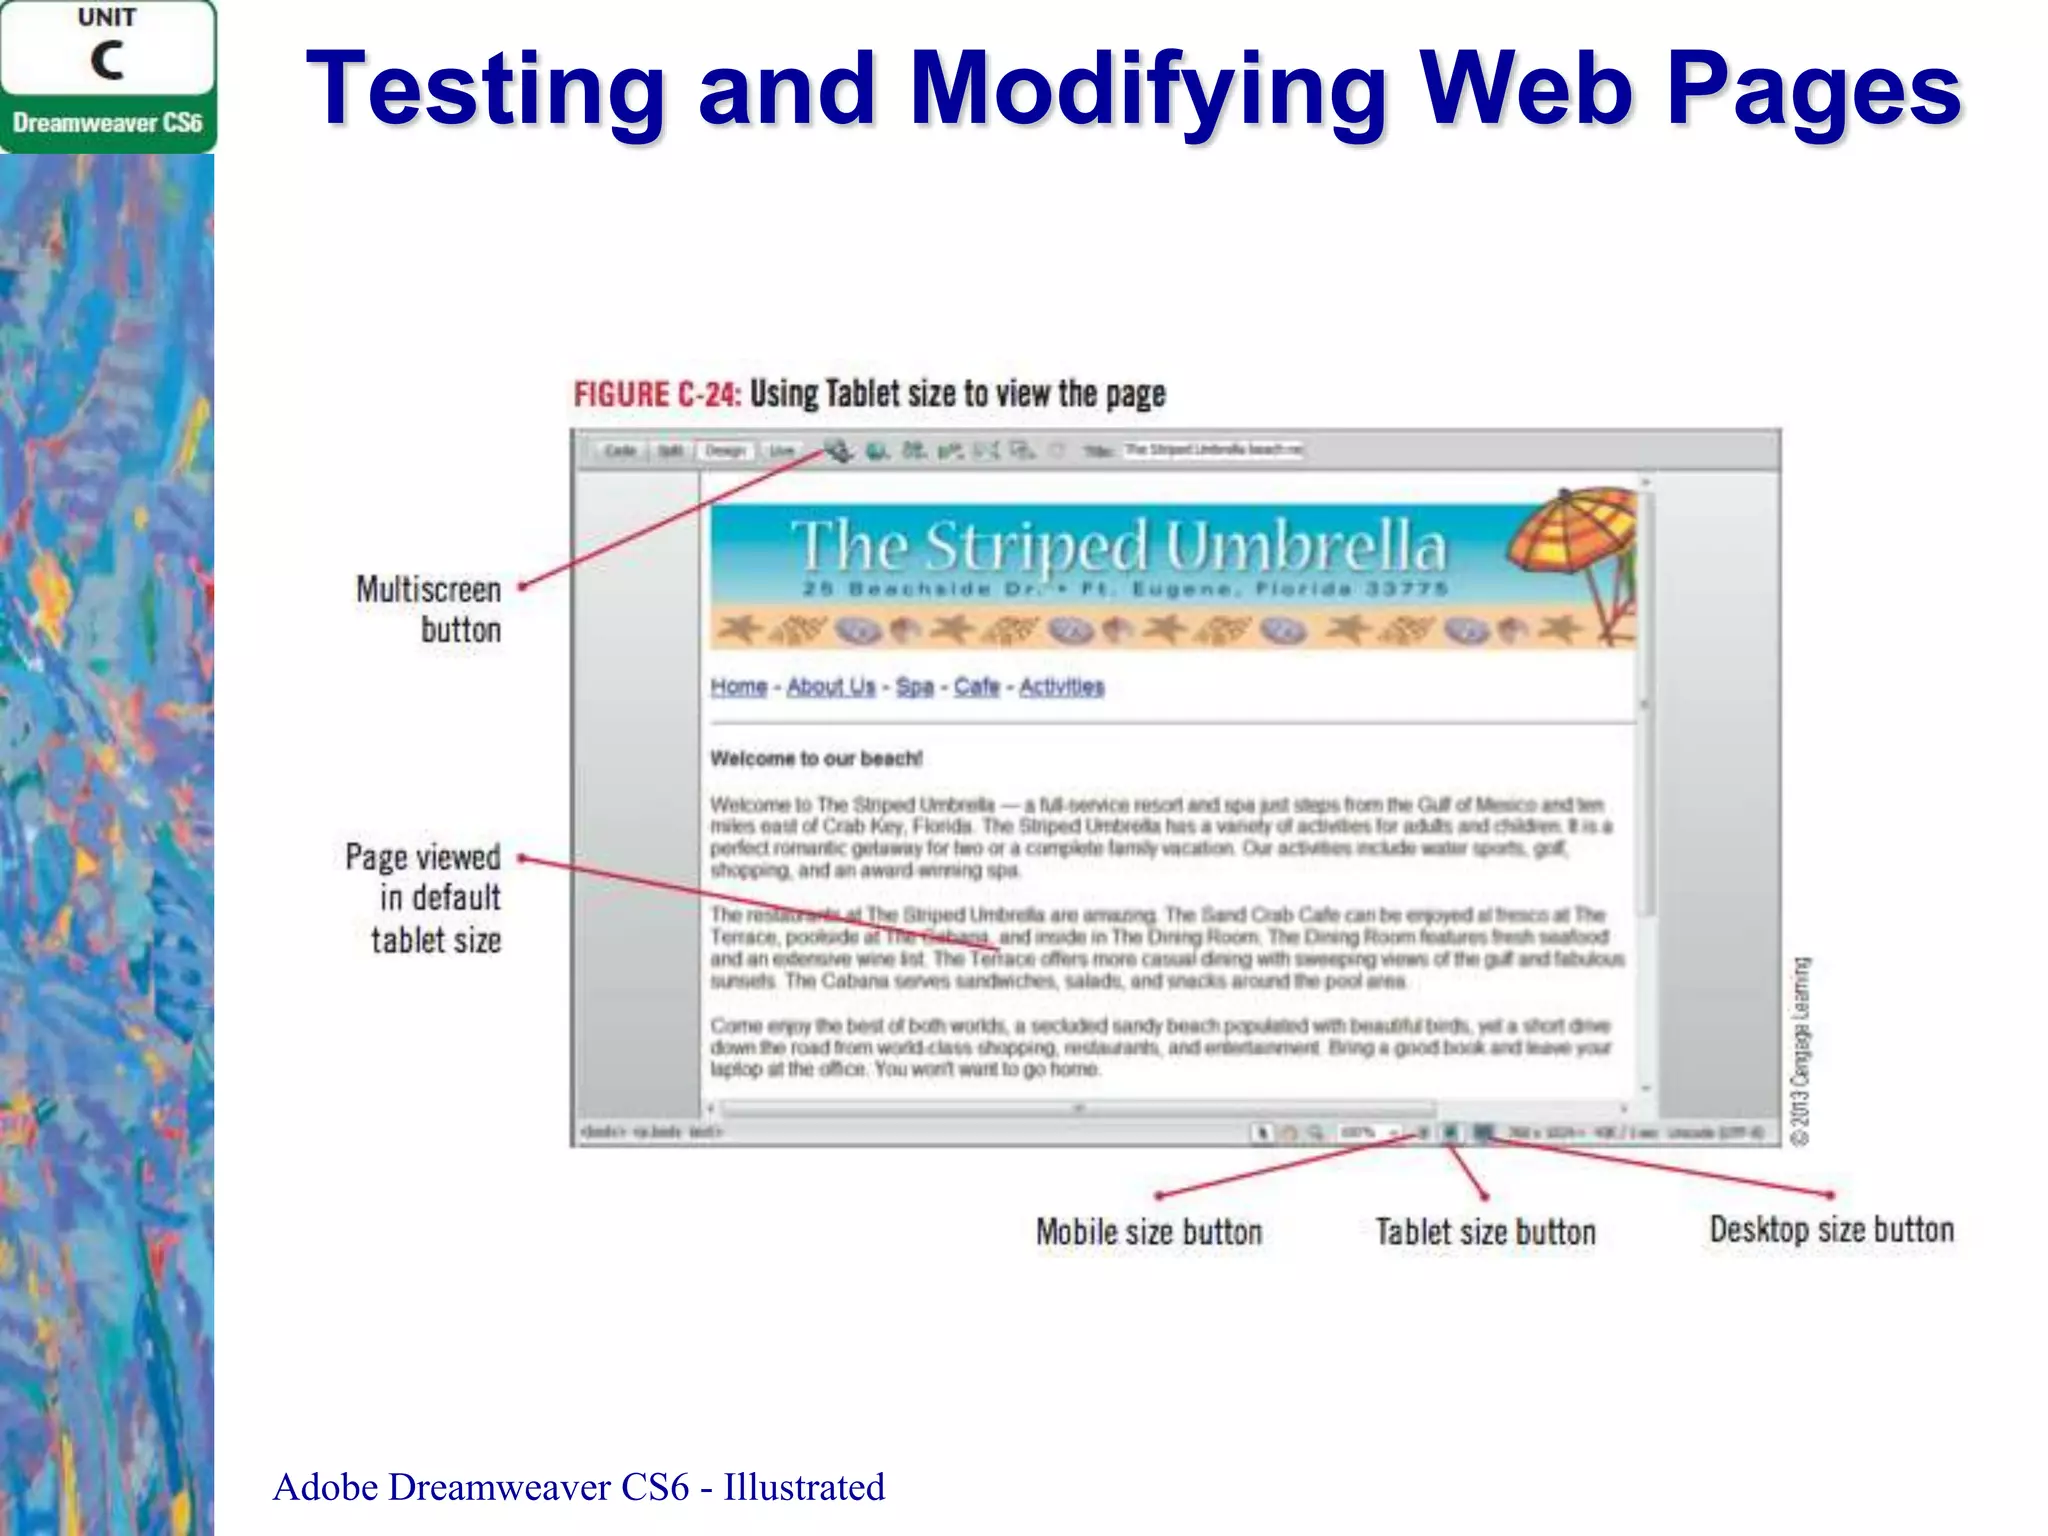
![Testing and Modifying Web Pages
1. Click the Tablet size button on the Status bar to see
how the page would appear on a tablet using the
default tablet settings
2. Click the Desktop size button, scroll down if
necessary and highlight the period after the “...go
home” text, then type !
3. Click File on the Menu bar, click Save, click on the
Document toolbar, then click Preview in [your default
browser]
Adobe Dreamweaver CS6 - Illustrated](https://image.slidesharecdn.com/unitcadobedreamweavercs6-140120151839-phpapp01/75/Unit-c-adobe-dreamweaver-cs6-35-2048.jpg)