Download as PDF, PPTX


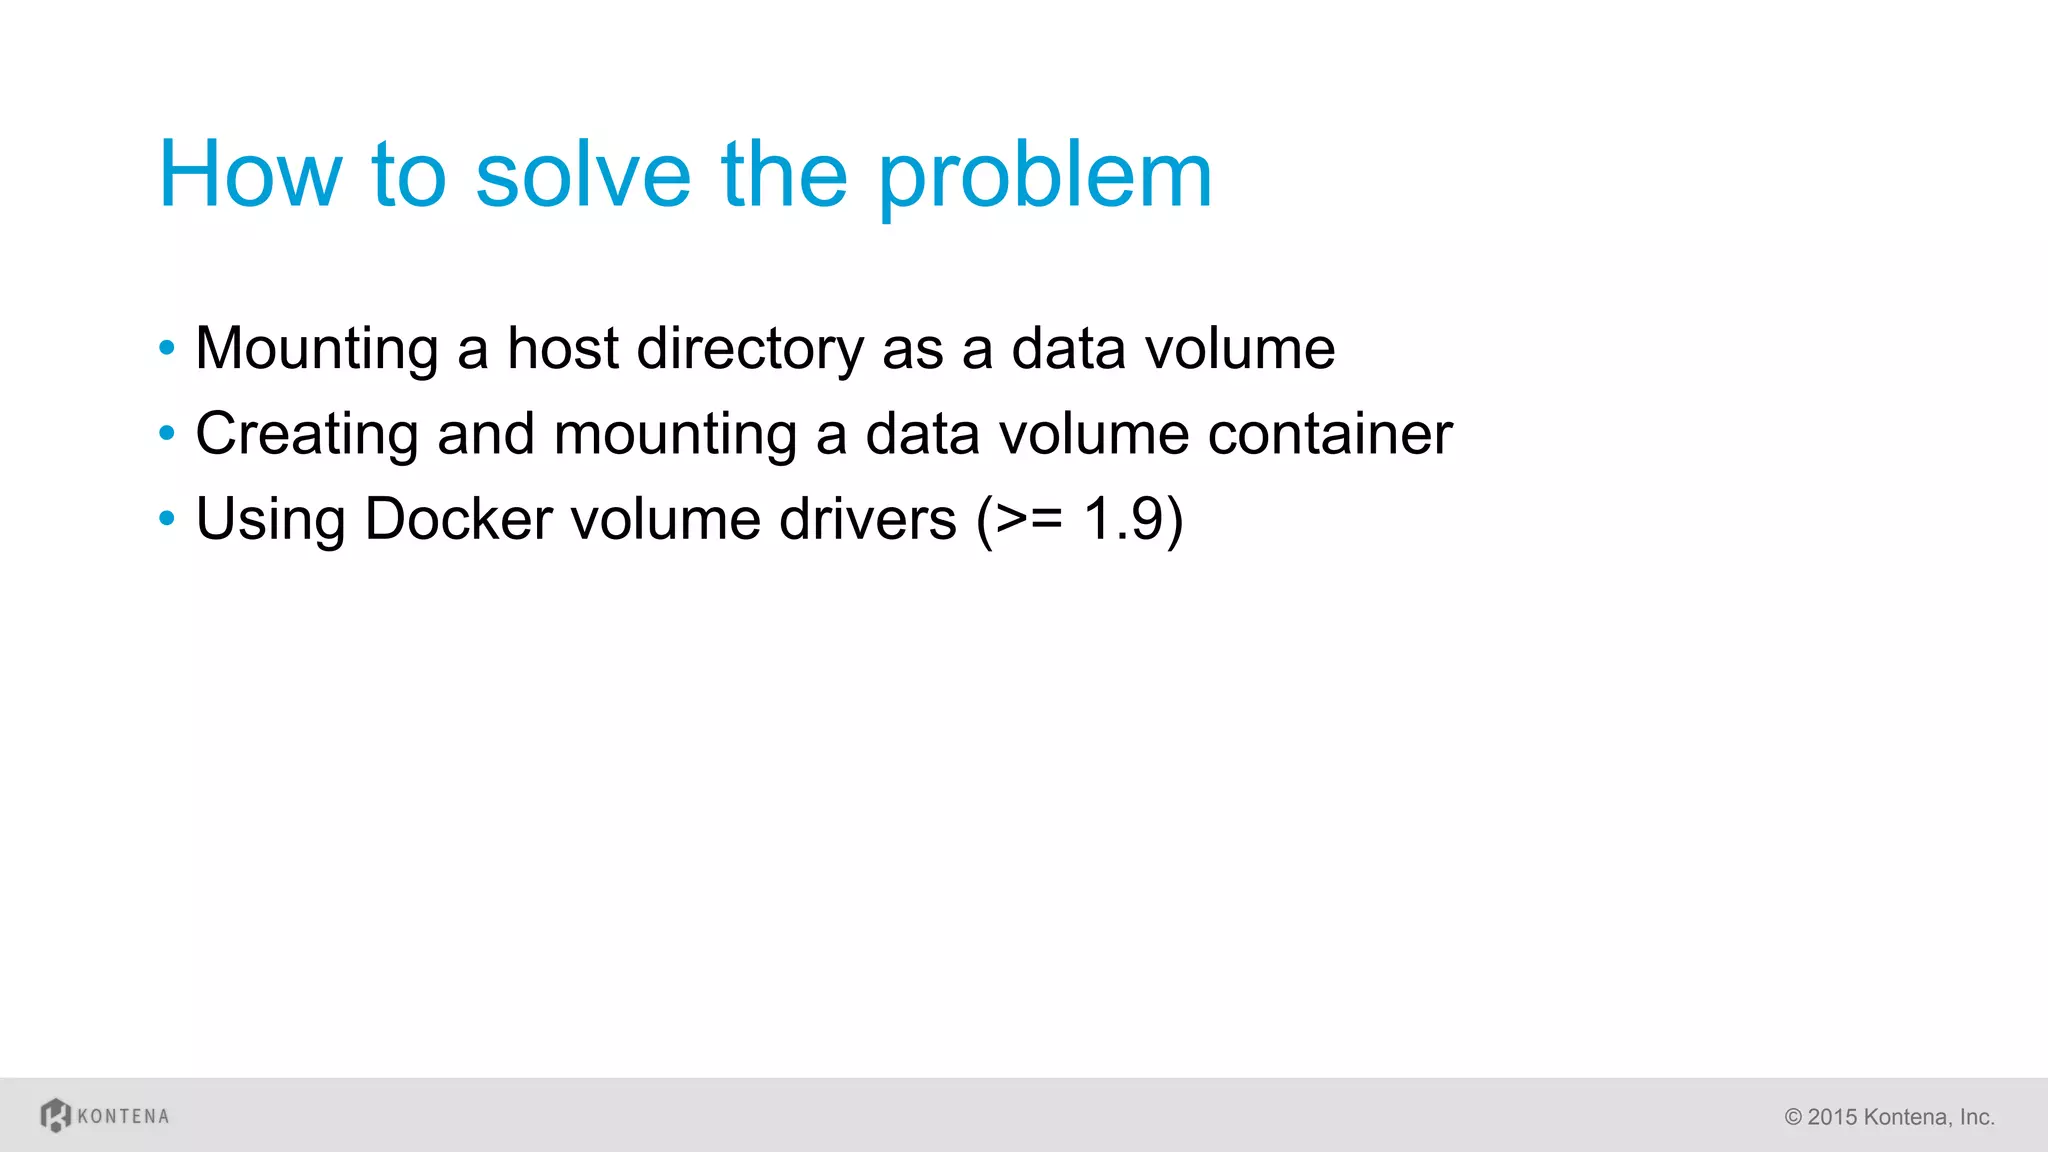
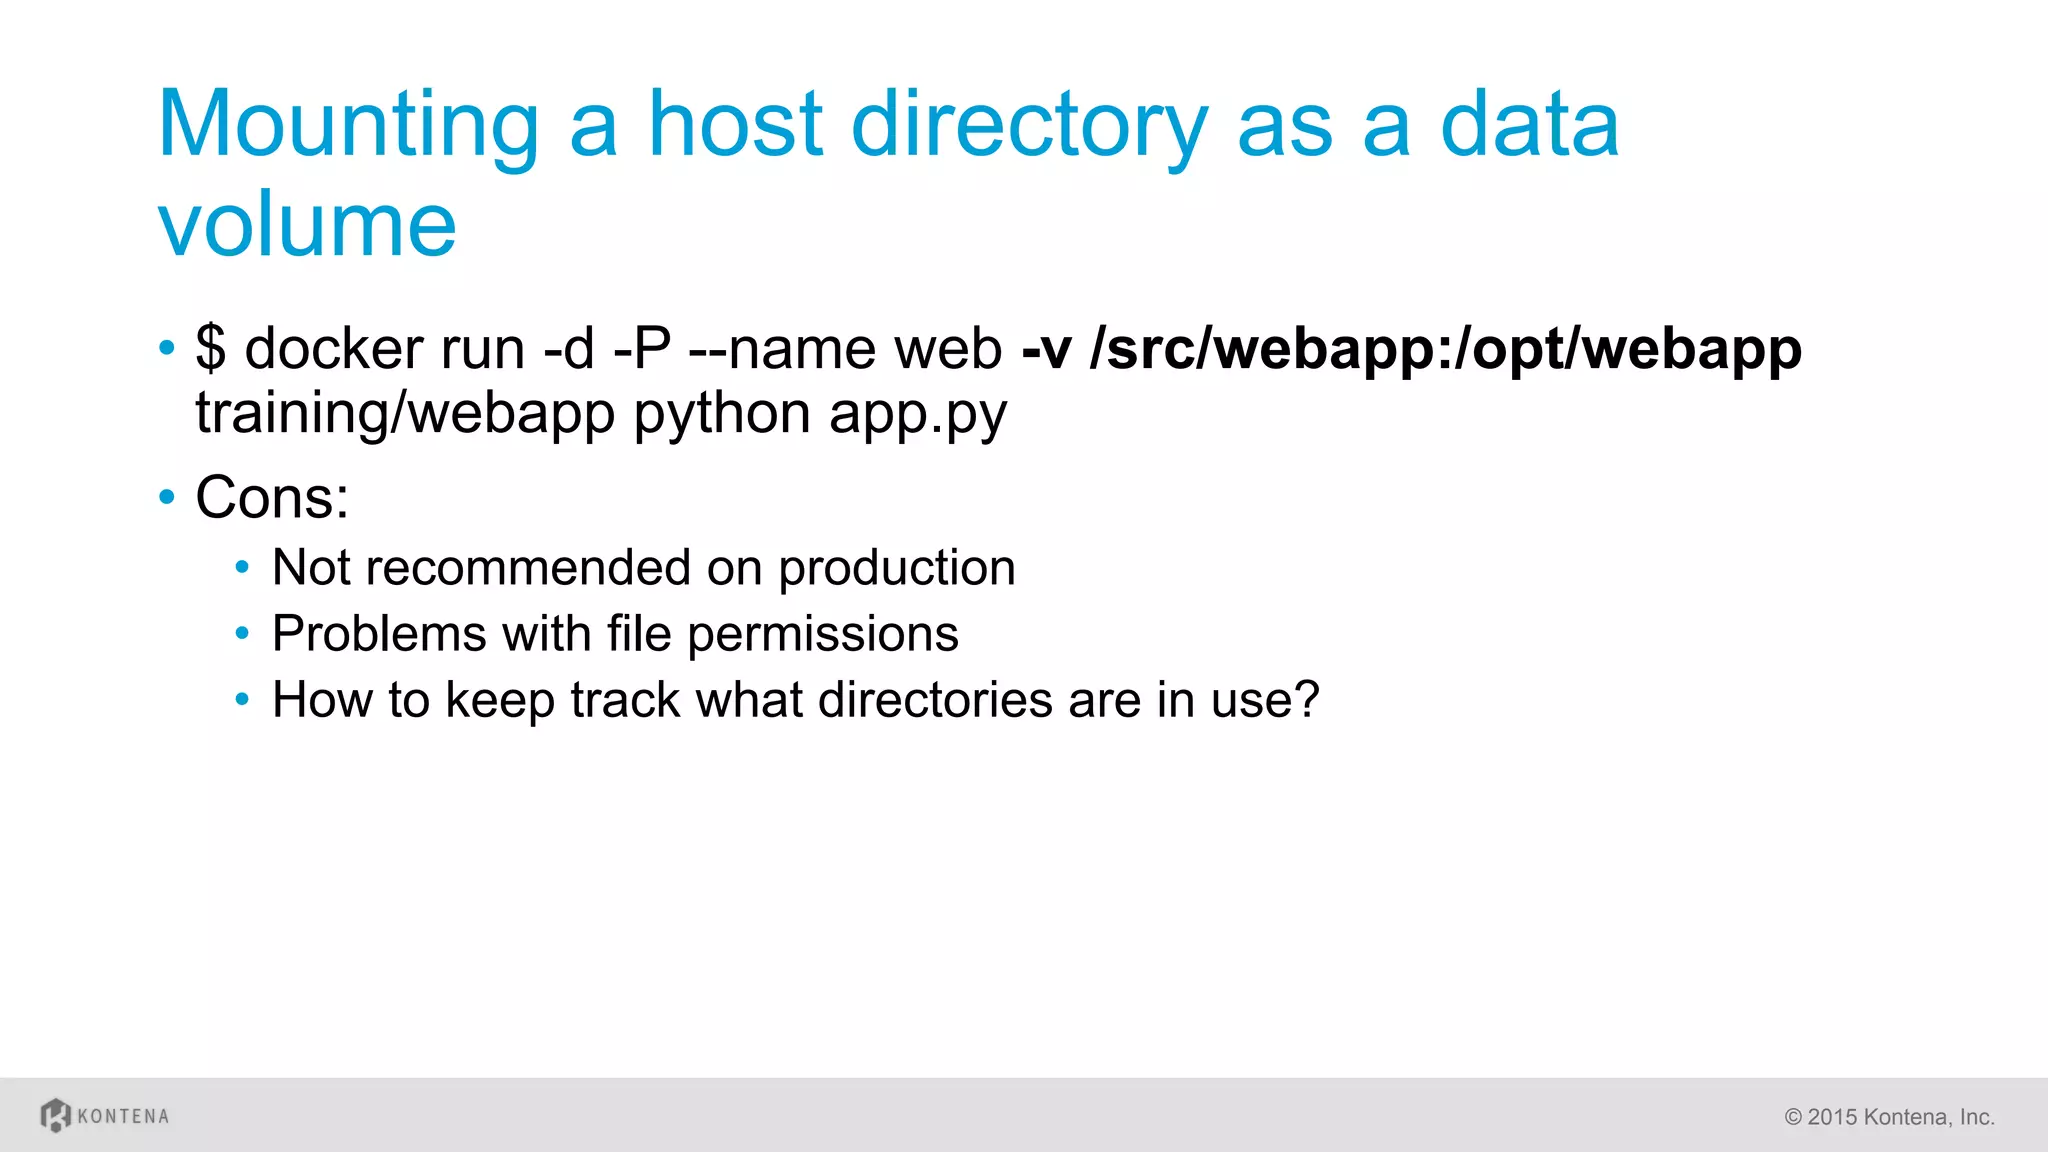
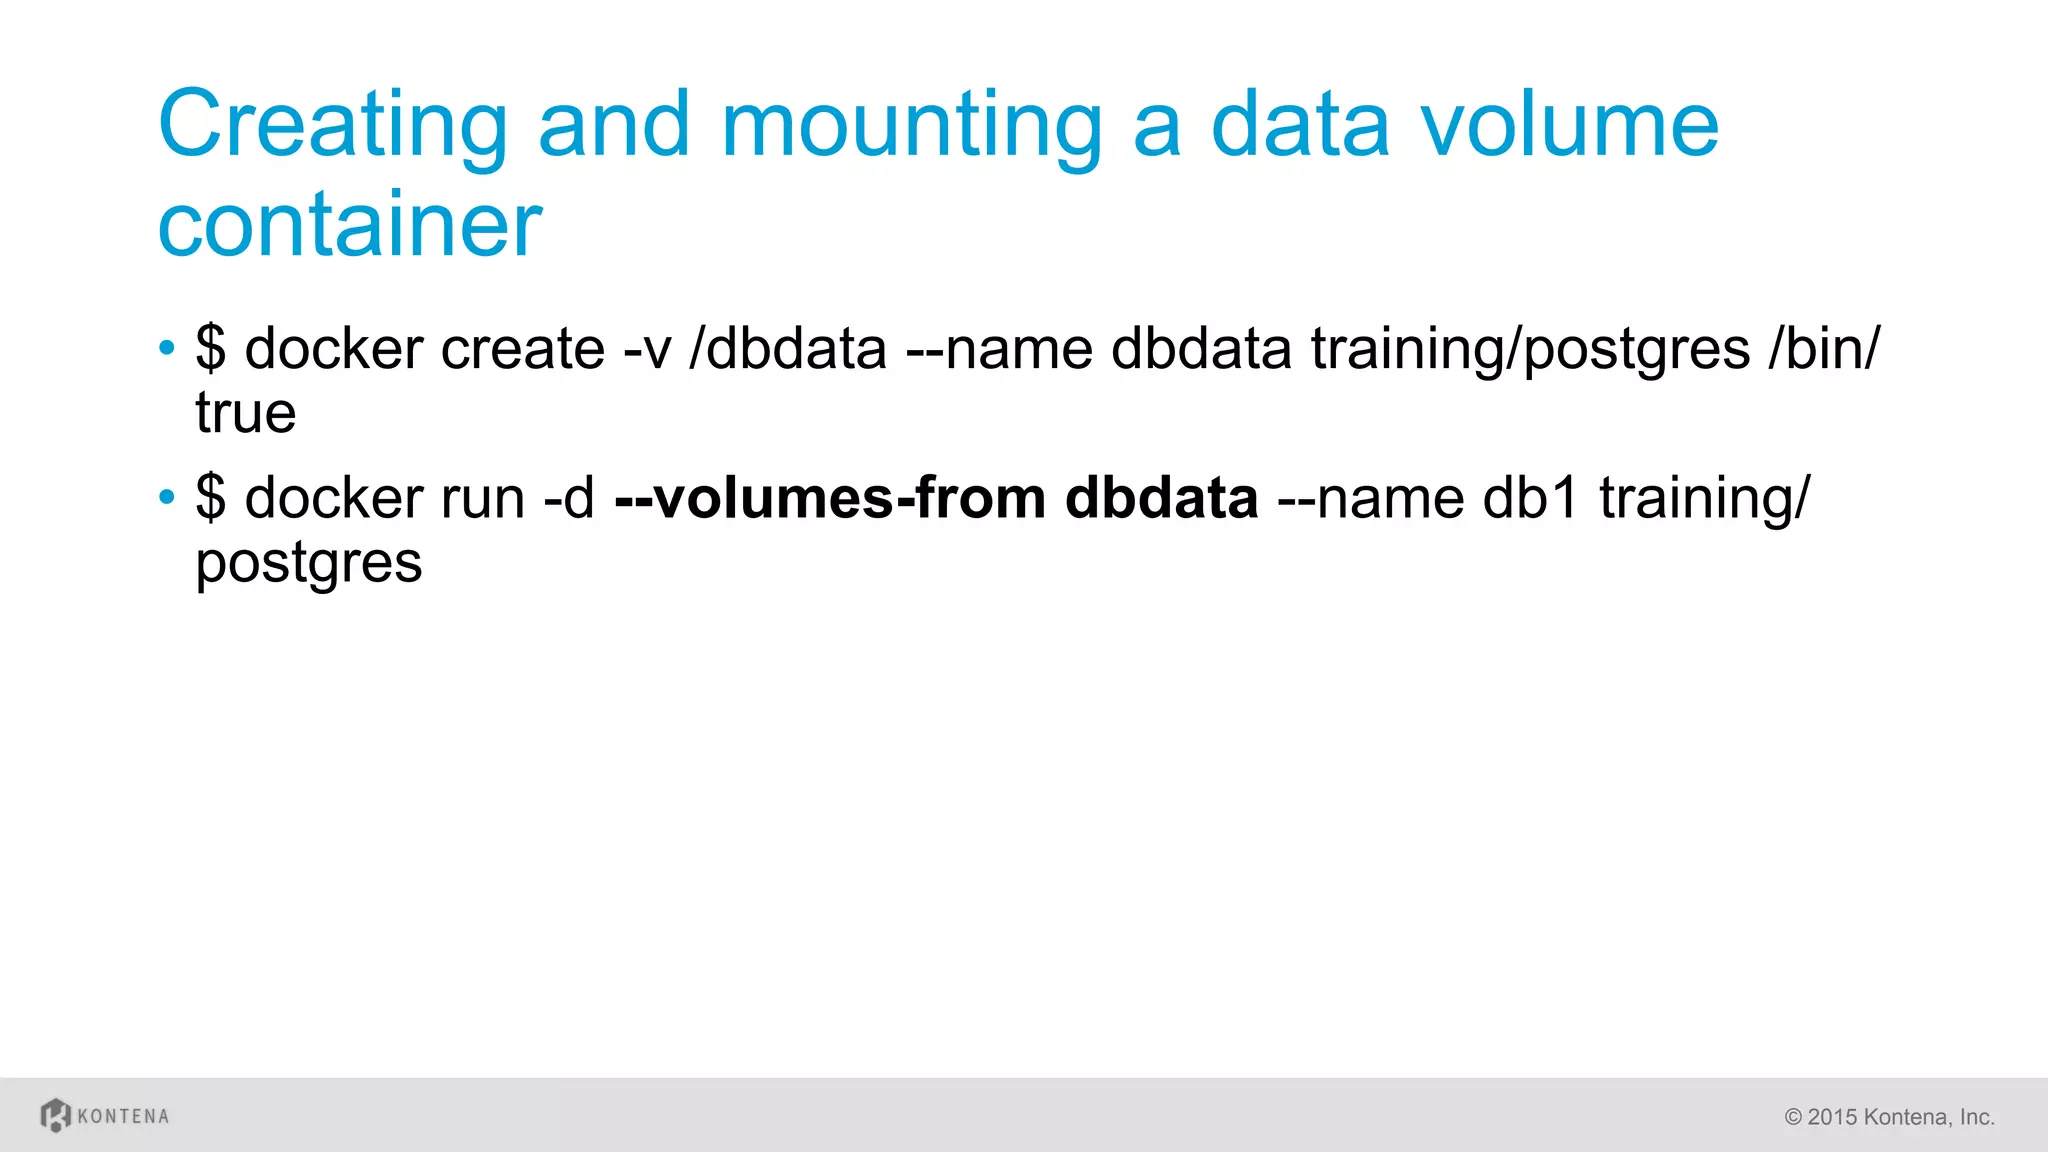

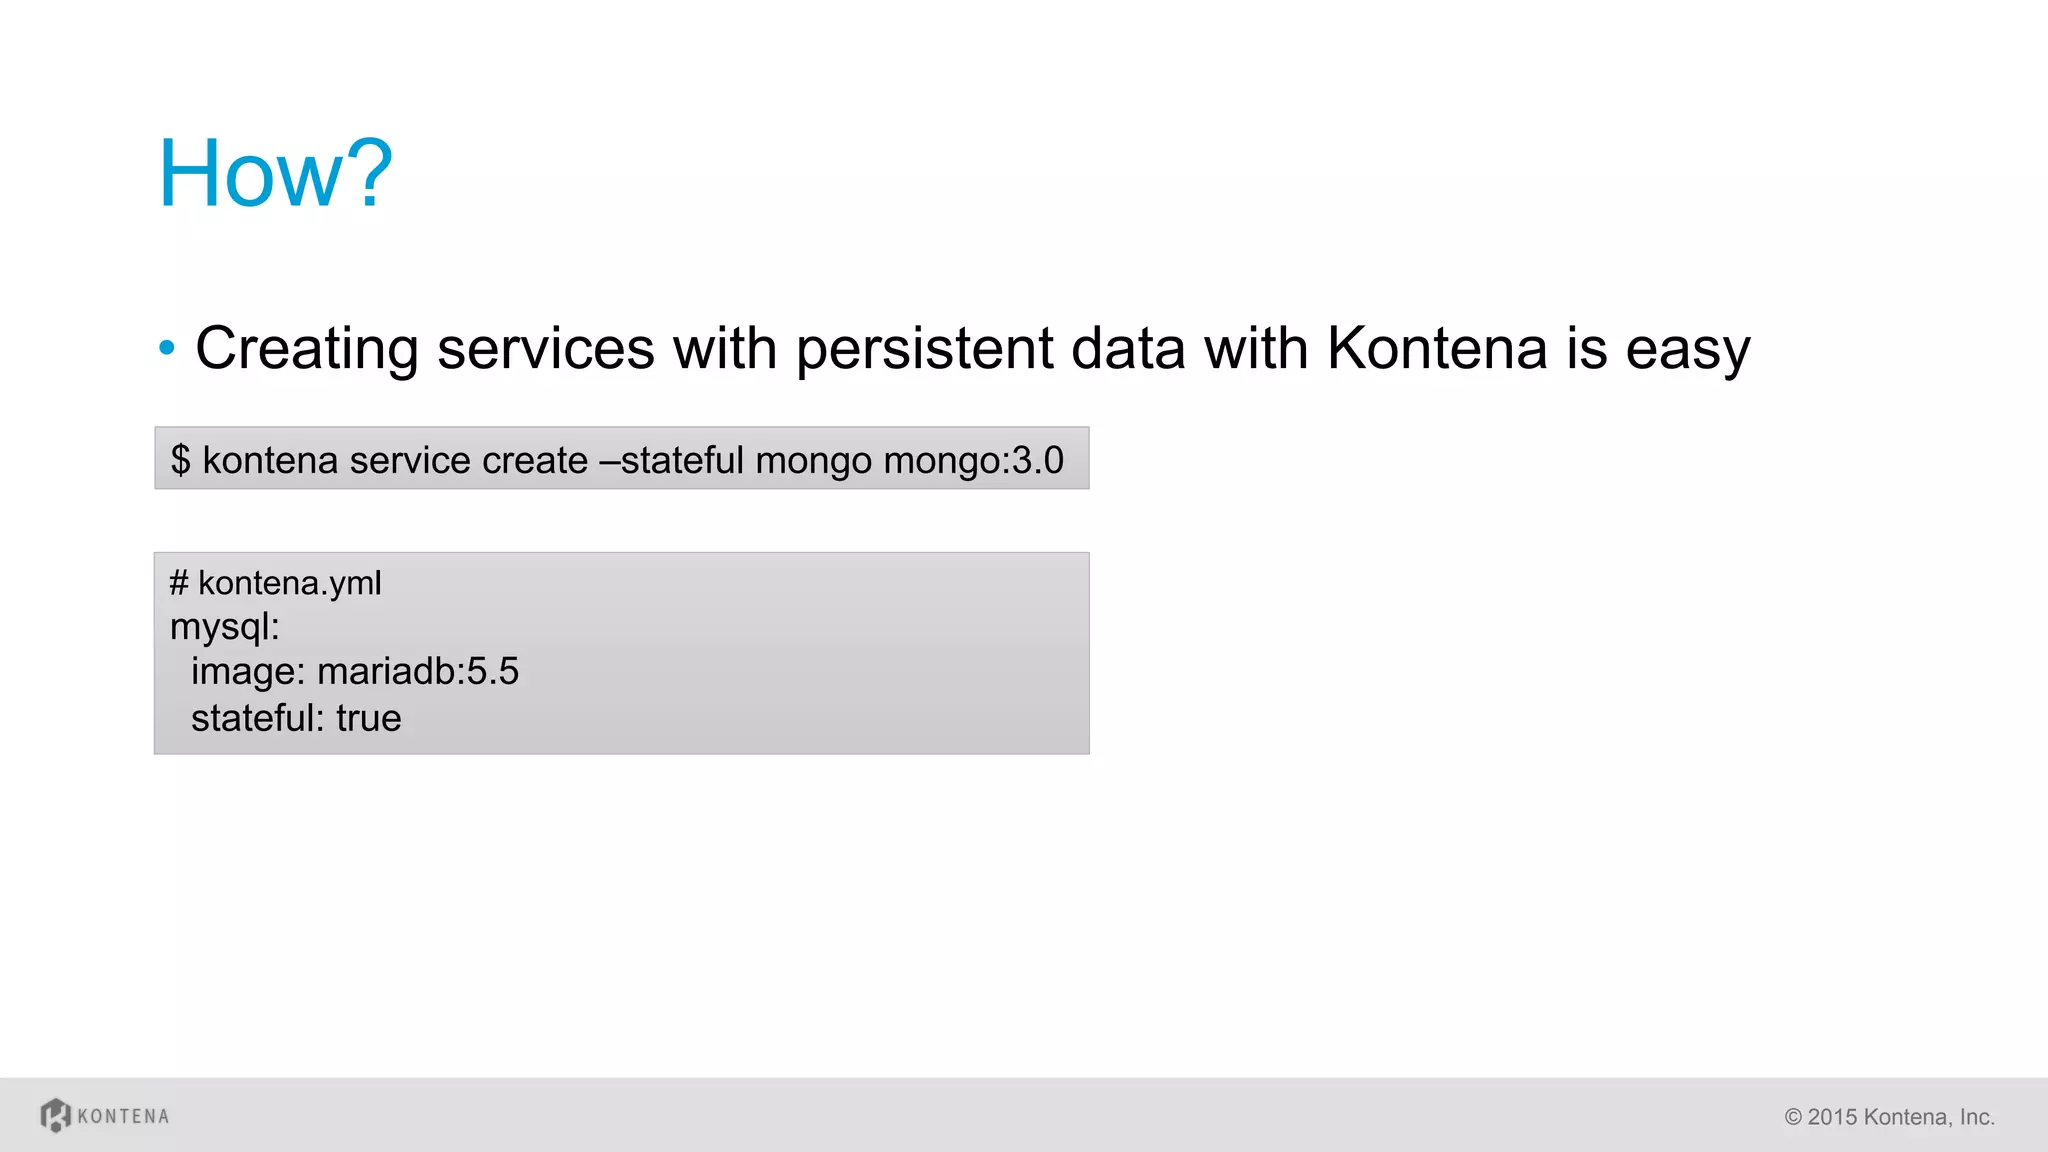
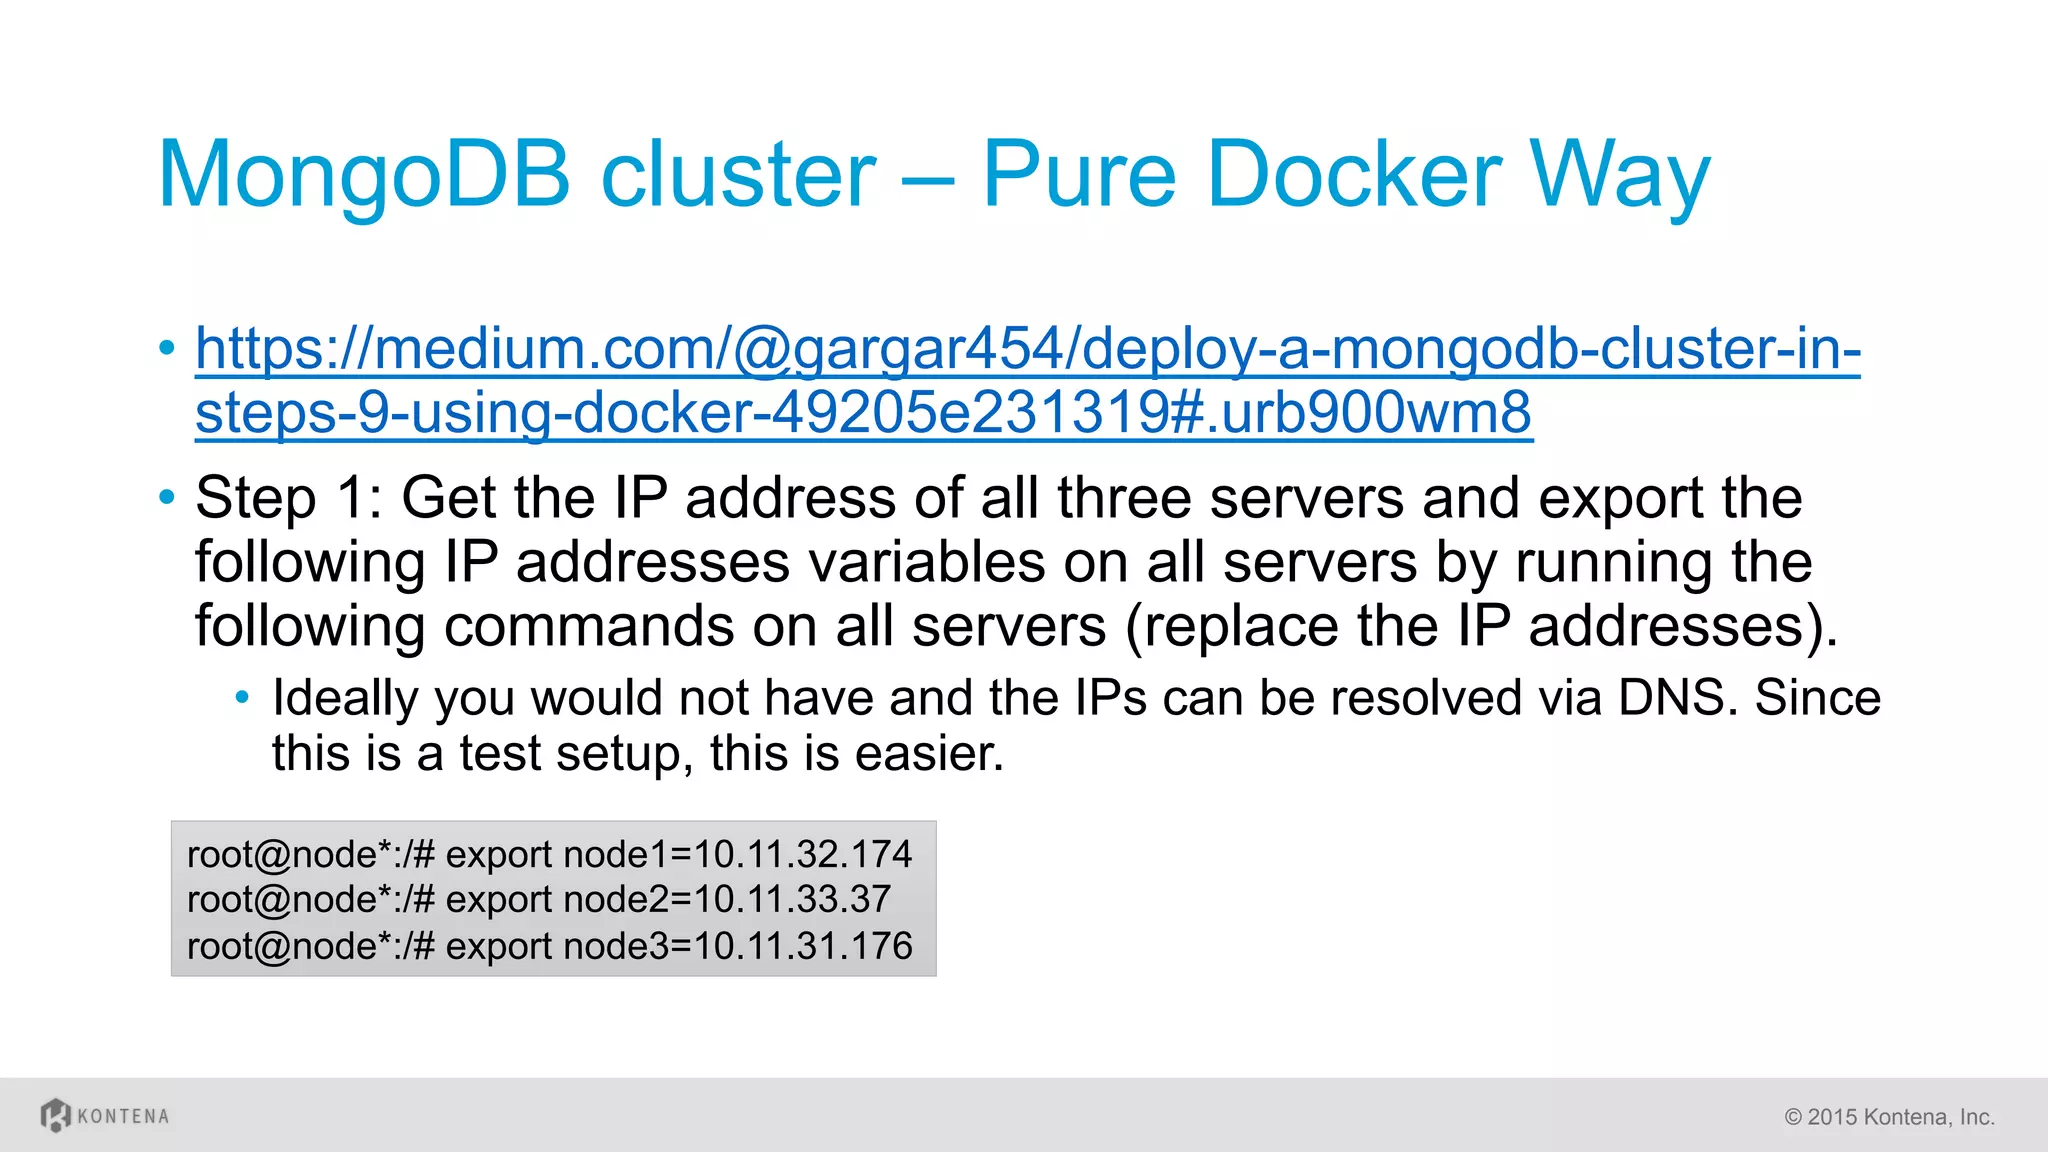


This document discusses running stateful applications in Docker containers. It describes three common approaches: mounting host directories, creating dedicated data volumes, and using Docker volume drivers. It then explains how the Kontena platform automates and simplifies managing stateful services with Docker by automatically creating data volumes and handling data persistence when services are rescheduled. Finally, it provides examples of running MongoDB and MariaDB clusters with stateful persistence using Kontena.


![Number_Guessing_Game_Dsbsbssbzboc[1].pptx](https://cdn.slidesharecdn.com/ss_thumbnails/numberguessinggamedoc1-251206215042-a076fc05-thumbnail.jpg?width=640&height=640&fit=bounds)


