This document discusses the process and considerations for making custom trays and final impressions for complete dentures. It covers:
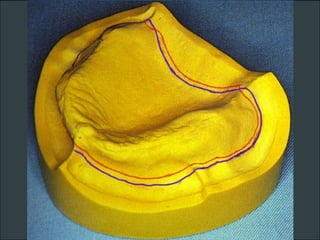
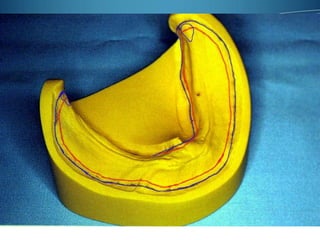
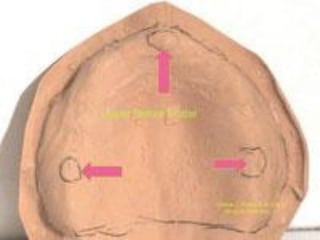
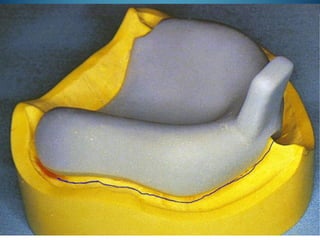
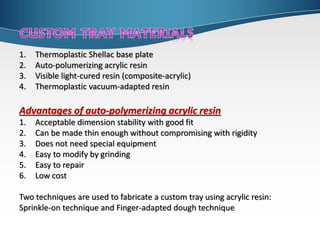
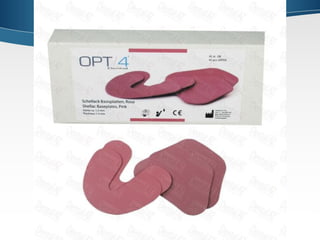
1. Custom tray fabrication including outlining the study cast, providing relief, determining tray extensions and handle placement. Auto-polymerizing acrylic resin and the sprinkle-on or finger-adapted dough techniques are recommended.
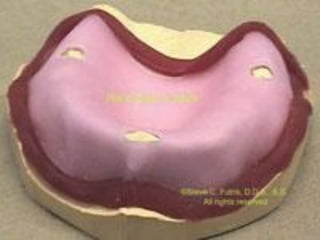
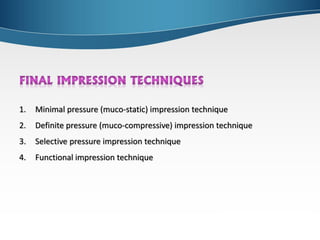
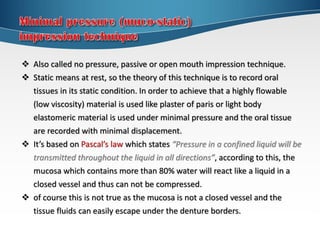
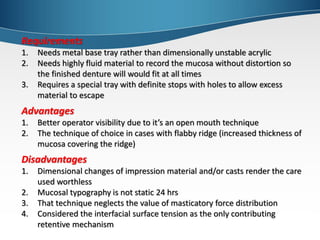
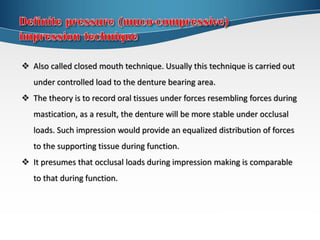
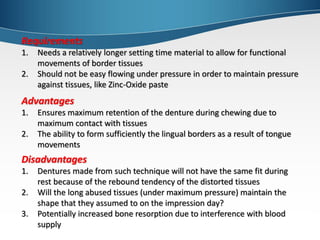
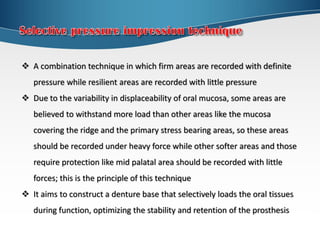
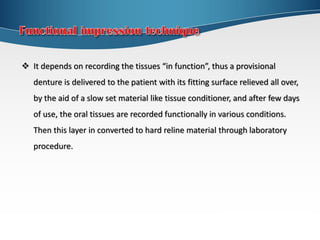
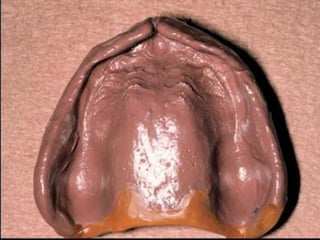
2. Final impression techniques including minimal pressure, definite pressure, selective pressure, and functional impressions. Factors like material properties, advantages and disadvantages of each technique are examined.
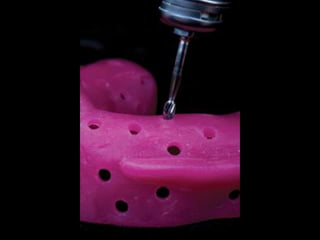
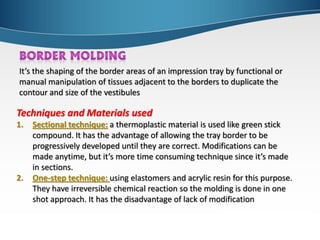
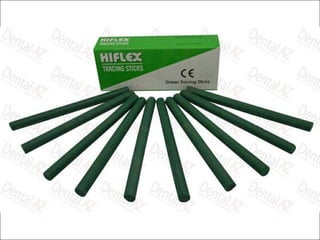
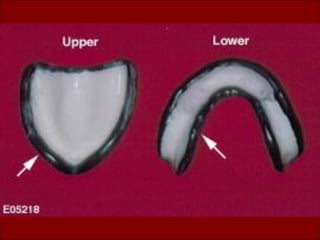
3. Border molding involves shaping the tray borders through functional or manual manipulation to duplicate vestibule contours. Sectional and one-step techniques using materials like green stick compound or elastomers


![ONFH[AVN HIP] -TRIPLE REGIME -A NOVAL SURGICAL CONCEPT .pptx](https://cdn.slidesharecdn.com/ss_thumbnails/onfhavnhip2026koaconcalicutdrgokuldevdrmashraf-260210064517-213ec005-thumbnail.jpg?width=640&height=640&fit=bounds)


![PERI-PROSTHETIC FRACTURE NAIL-PLATE CONSTRUCT [NPC].pptx](https://cdn.slidesharecdn.com/ss_thumbnails/drarunkumardrmohamedashrafperiprostheticfrasturenail-plateconstructnpc-260209164459-7e9d15a1-thumbnail.jpg?width=640&height=640&fit=bounds)


