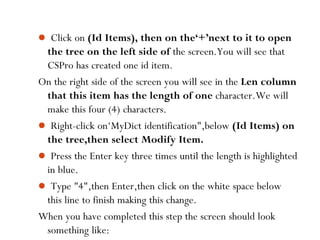
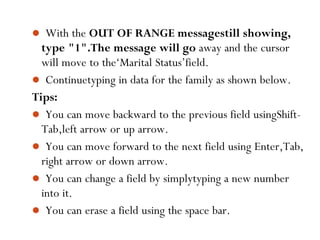
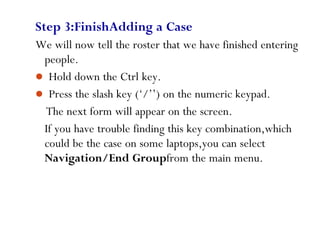
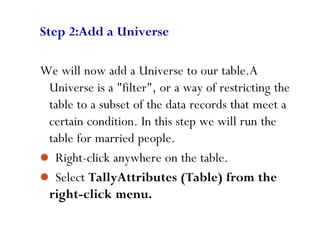
The document provides training materials for using CSPro software to process census and survey data. It includes:
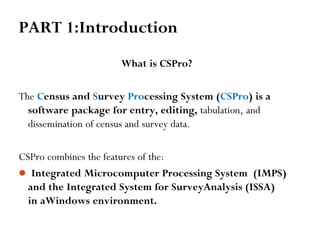
1) An introduction to CSPro, describing it as a software package used for data entry, editing, tabulation, and dissemination of census and survey data.
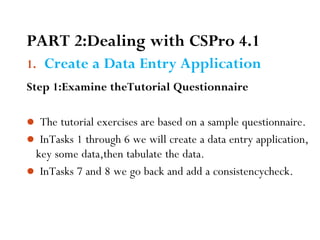
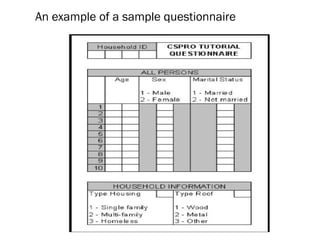
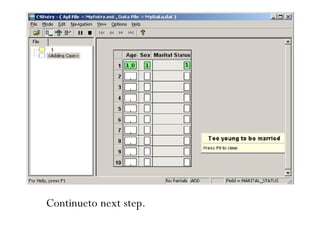
2) Instructions on creating a basic CSPro data entry application using a sample questionnaire, including building a data dictionary and forms.
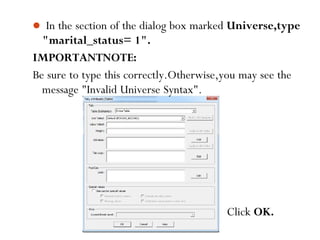
3) An overview of key CSPro concepts like its data structure, data entry features, logic language, and modules for editing and tabulation.