Downloaded 1,032 times


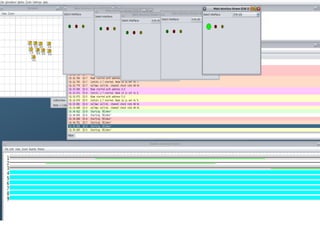


![Border
router set-up
Having able to connect to sensors is very significant
step in IOT
This example features a simple webserver running
on top of the IPv6 Contiki stack on Sky motes to
provide sensor values, and with a RPL border router
to bridge the sensor network to Internet.
Server is located in :
[Contiki home]examplesipv6rpl-border-router
Simulation in Cooja is in
examplesipv6sky-websense](https://image.slidesharecdn.com/contikseminar1-140818182506-phpapp01/85/Contiki-Operating-system-tutorial-47-320.jpg)
![Steps
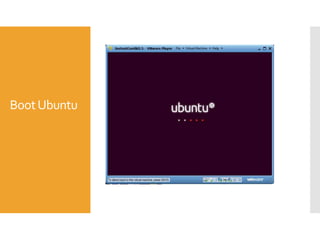
1. Start COOJA and load the simulation "example-
sky-websense.csc"
makeTARGET=cooja example-sky-websense.csc
2. Connect to the COOJA simulation using tunslip6:
make connect-router-cooja
3.You should now be able to browse to the nodes
using your web browser:
Router: http://[aaaa::0212:7401:0001:0101]/
Node 2: http://[aaaa::0212:7402:0002:0202]/](https://image.slidesharecdn.com/contikseminar1-140818182506-phpapp01/85/Contiki-Operating-system-tutorial-48-320.jpg)


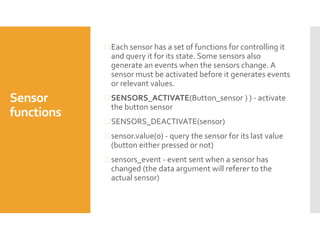
Contiki is an open-source operating system designed for low-power microcontrollers, facilitating the development of IoT applications with efficient wireless communication. The document outlines installation steps for Contiki using the Cooja simulator, various applications, and specific features of the Tmote Sky platform. It also describes the programming and operation of processes and sensors within the Contiki environment.