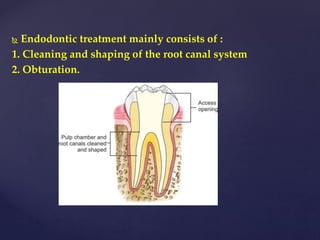
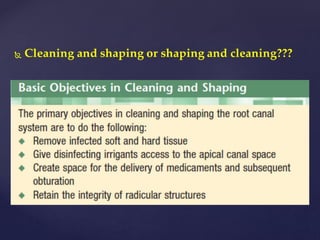
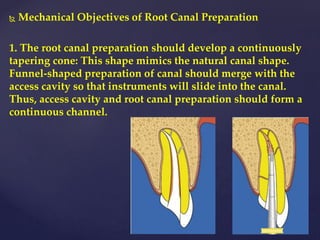
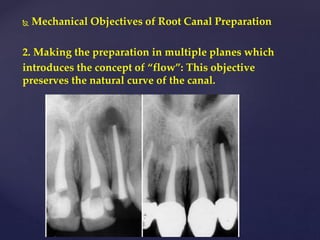
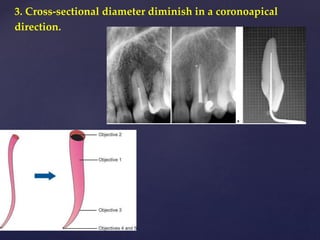
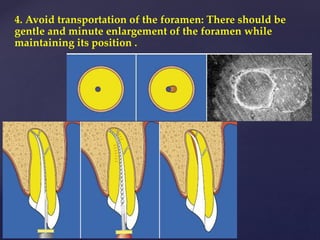
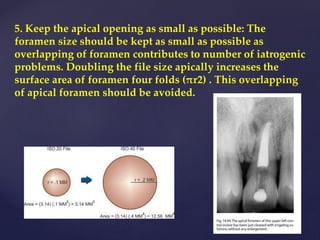
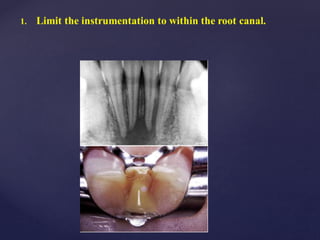
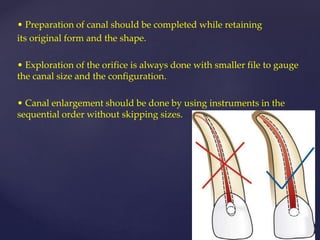
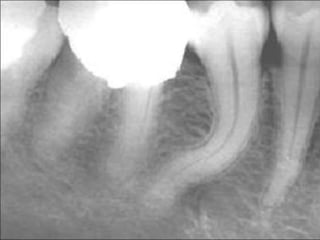
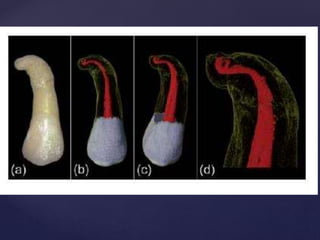
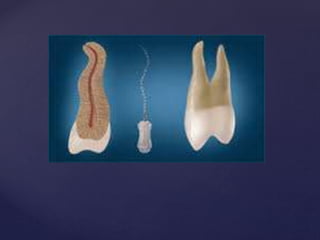
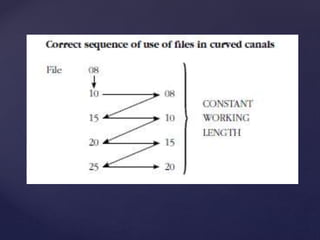
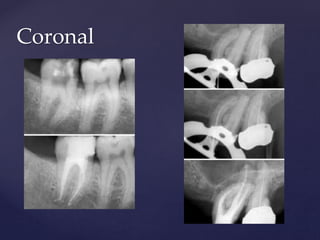
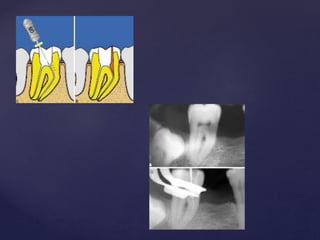
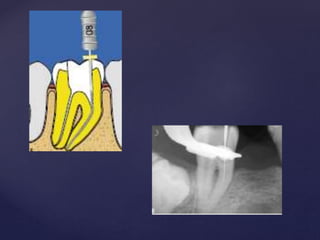
1. Root canal preparation involves cleaning, shaping, and obturating the root canal system. The goals of shaping are to create a continuously tapering cone shape that follows the natural canal, while avoiding transportation of the foramen and keeping the apical opening small.
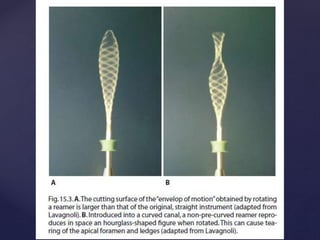
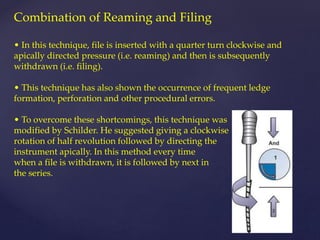
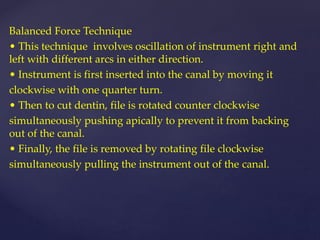
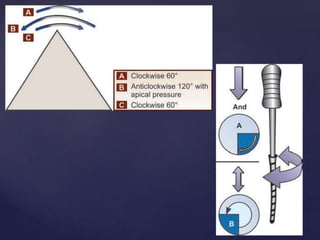
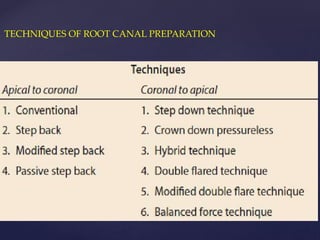
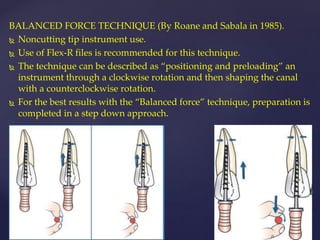
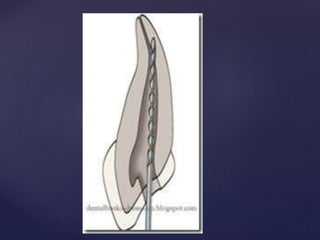
2. There are various techniques for instrumentation including reaming, filing, balanced force, and watch winding. The balanced force technique involves oscillating the instrument with different arcs in each direction to efficiently cut dentin while preventing ledging.
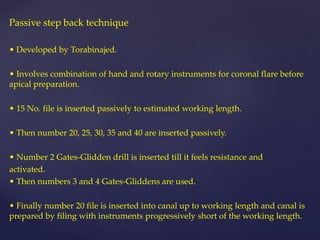
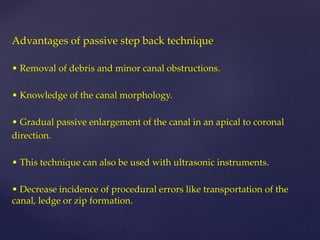
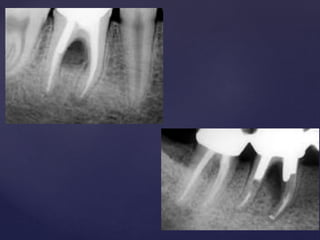
3. Standardized preparation, step-back, and passive step-back techniques are described. The passive step-back technique uses hand and rotary instruments to gradually flare and then shape the canal from apical to