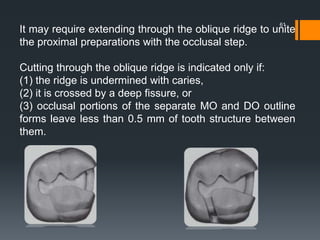
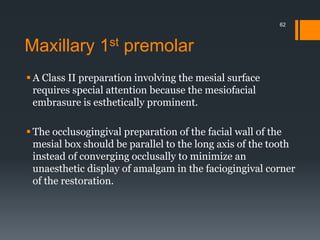
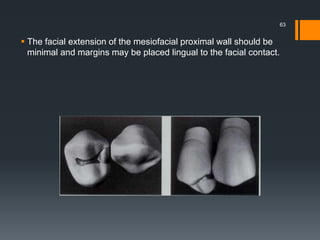
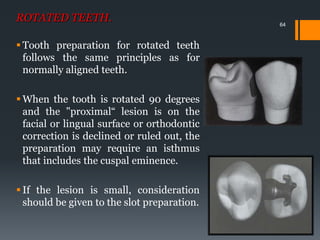
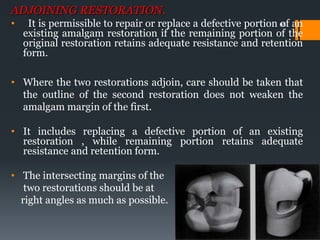
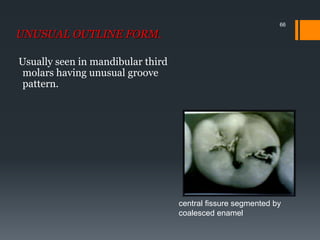
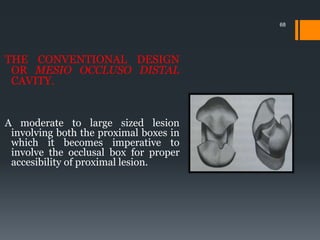
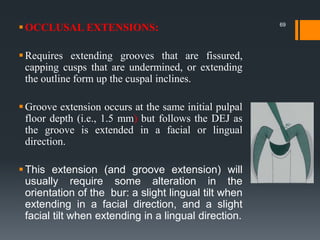
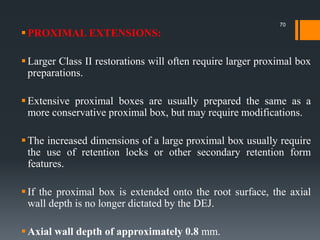
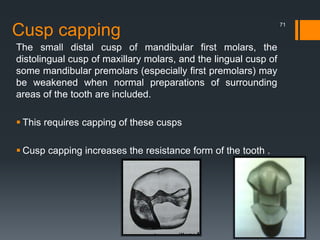
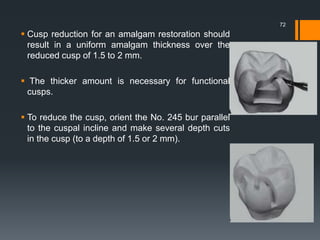
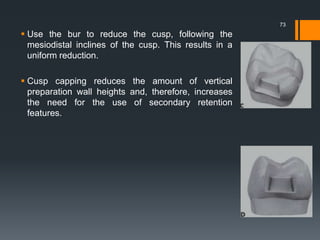
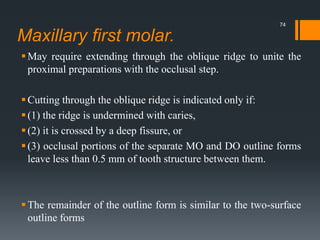
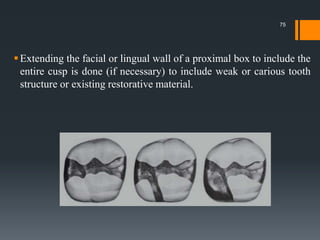
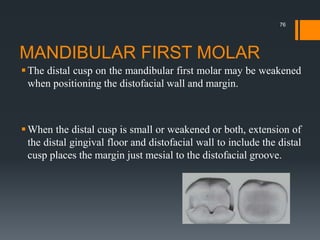
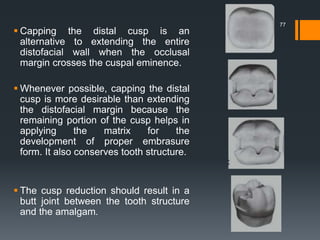
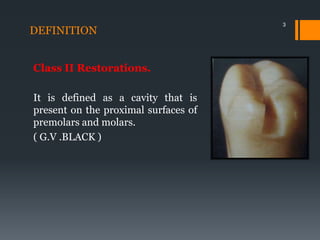
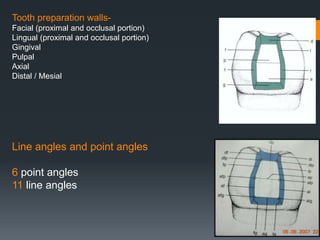
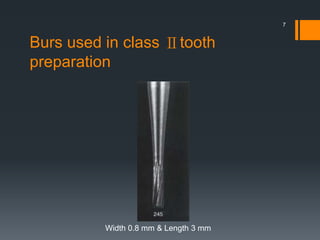
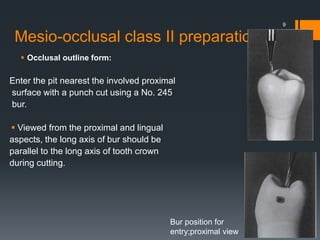
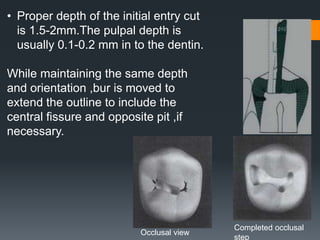
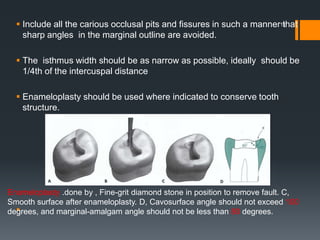
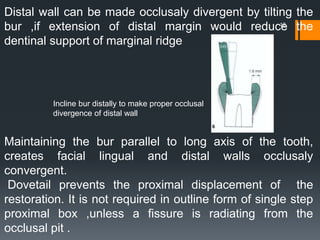
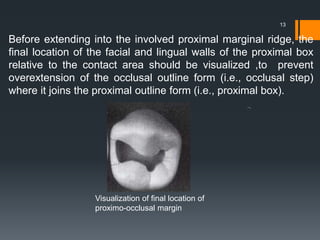
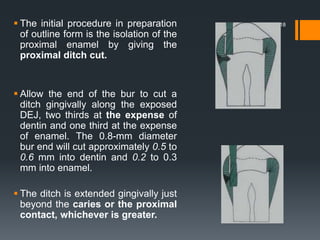
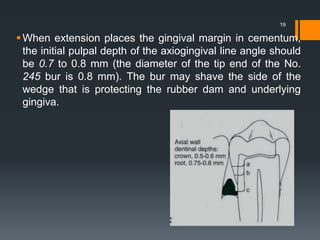
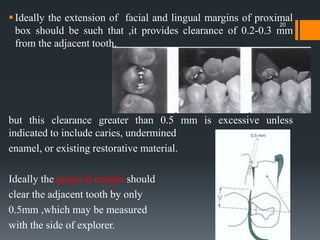
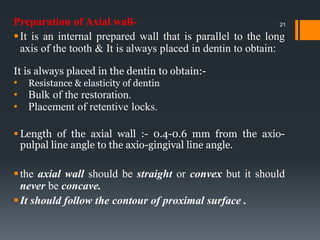
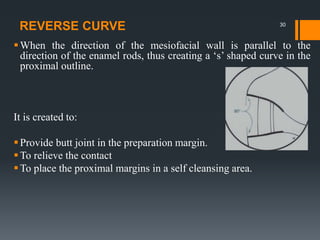
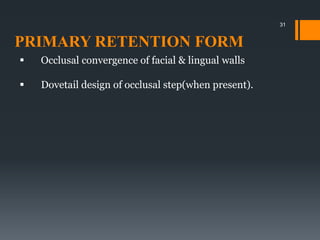
This document discusses tooth preparation for class II amalgam restorations. It defines a class II restoration as being on the proximal surfaces of premolars and molars. It describes the initial tooth preparation which includes outlining the cavity form and removing undermined enamel. Secondary features are then discussed like axial walls, gingival seats, proximal boxes, and line/point angles. Modifications like reverse curves and dovetails are covered. Finally, it discusses secondary retention forms such as locks, grooves, slots, and pins to improve bonding of the amalgam restoration. Pulp protection with liners or bases is also an important part of the preparation.


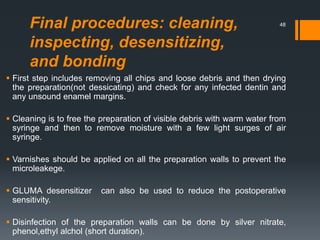
![PROCEDURE FOR FINISHING
EXTERNAL WALLS:
1. There should be no unsupported enamel and marginal irregularities
present.
2. There should be a butt joint relation between the tooth & amalgam
3. Cavosurface bevel [20°] at the gingival margin can be given by G.M.T ,
to remove the unsupported enamel rods.
46](https://image.slidesharecdn.com/classiiamalgam-150528180240-lva1-app6891/85/Class-ii-amalgam-46-320.jpg)

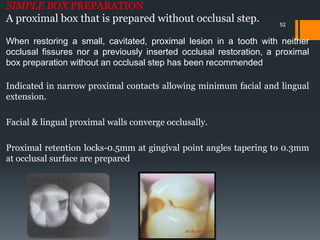
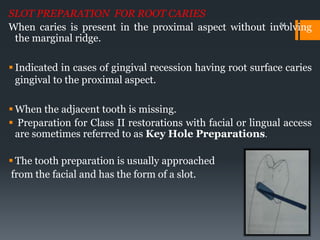
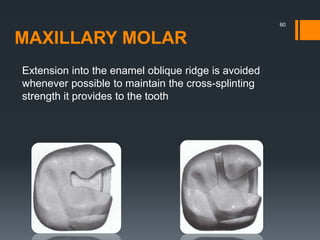
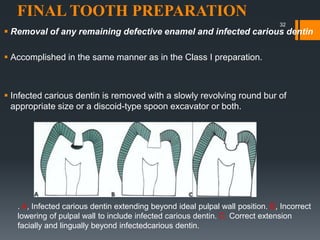
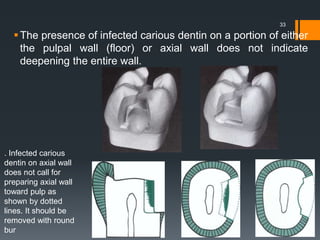
![ Outline form extension to sound tooth structure is at a
limited depth axially (i.e., 0.75 to 1 mm at the gingival aspect
[if no enamel is present], increasing to 1 to 1.25 mm at the
occlusal wall [if margin in enamel]
The remaining infected carious dentin (if any) will be
removed during final tooth preparation.
55](https://image.slidesharecdn.com/classiiamalgam-150528180240-lva1-app6891/85/Class-ii-amalgam-55-320.jpg)