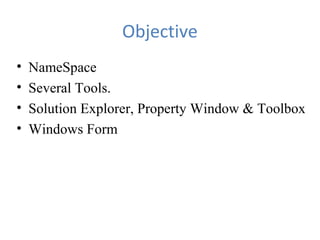
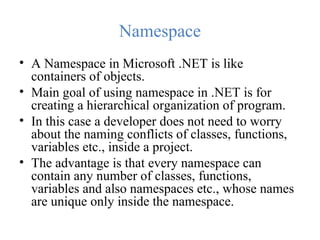
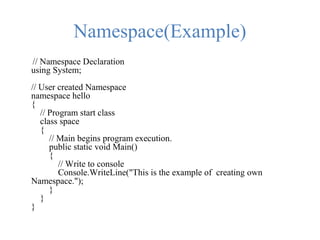
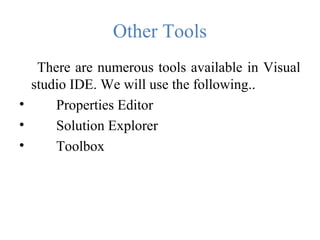
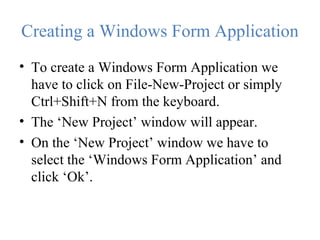
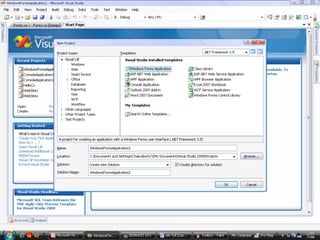
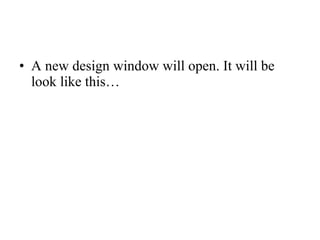
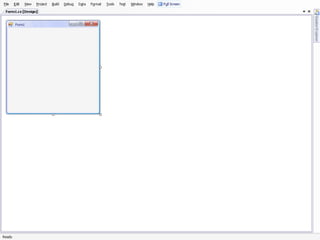
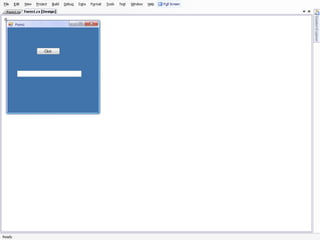
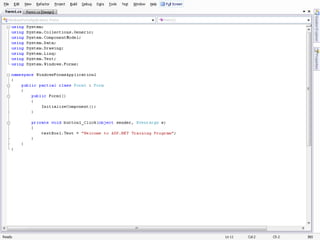
Basic Programming Overview
Session 4
Objective
• NameSpace
• Several Tools.
• Solution Explorer, Property Window & Toolbox
• Windows Form
Namespace
• A Namespace in Microsoft .NET is like
containers of objects.
• Main goal of using namespace in .NET is for
creating a hierarchical organization of program.
• In this case a developer does not need to worry
about the naming conflicts of classes, functions,
variables etc., inside a project.
• The advantage is that every namespace can
contain any number of classes, functions,
variables and also namespaces etc., whose names
are unique only inside the namespace.
Namespace(Example)
// Namespace Declaration
using System;
// User created Namespace
namespace hello
{
// Program start class
class space
{
// Main begins program execution.
public static void Main()
{
// Write to console
Console.WriteLine("This is the example of creating own
Namespace.");
}
}
}
Other Tools
There are numerous tools available in Visual
studio IDE. We will use the following..
• Properties Editor
• Solution Explorer
• Toolbox
Properties Editor
• The Properties Editor tool is used to edit
properties in a GUI pane inside Visual Studio.
• It lists all available properties (both read-only
and those which can be set) for all objects
including forms, web pages and other items.
Solution Explorer
• In Visual Studio , a solution is a set of code
files and other resources that are used to build
an application. The files in a solution are
arranged hierarchically, which might or might
not reflect the organization in the file system.
• The Solution Explorer is used to manage and
browse the files in a solution.
Toolbox
• Visual Studio provides a Toolbox which can
be used to add numerous controls to a
Windows Form or a Web Form.
• On the Design pane we can add those controls
by selecting and dragging the desired control.
Creating a Windows Form Application
• To create a Windows Form Application we
have to click on File-New-Project or simply
Ctrl+Shift+N from the keyboard.
• The ‘New Project’ window will appear.
• On the ‘New Project’ window we have to
select the ‘Windows Form Application’ and
click ‘Ok’.
• A new design window will open. It will be
look like this…
• On the design window we can add any
Controls from the toolbox.
• Here I have taken the Button and the TextBox
Control.
• After that we have to write code for the
Windows Form application.
Debugging the Windows Form
Application
Summery
• Several Tools.
• Namespace.
• Hands on knowledge on Visual Studio IDE.
• Creating Windows Form Application.

ASP.NET Session 4

  • 1.
  • 2.
    Objective • NameSpace • SeveralTools. • Solution Explorer, Property Window & Toolbox • Windows Form
  • 3.
    Namespace • A Namespacein Microsoft .NET is like containers of objects. • Main goal of using namespace in .NET is for creating a hierarchical organization of program. • In this case a developer does not need to worry about the naming conflicts of classes, functions, variables etc., inside a project. • The advantage is that every namespace can contain any number of classes, functions, variables and also namespaces etc., whose names are unique only inside the namespace.
  • 4.
    Namespace(Example) // Namespace Declaration usingSystem; // User created Namespace namespace hello { // Program start class class space { // Main begins program execution. public static void Main() { // Write to console Console.WriteLine("This is the example of creating own Namespace."); } } }
  • 5.
    Other Tools There arenumerous tools available in Visual studio IDE. We will use the following.. • Properties Editor • Solution Explorer • Toolbox
  • 6.
    Properties Editor • TheProperties Editor tool is used to edit properties in a GUI pane inside Visual Studio. • It lists all available properties (both read-only and those which can be set) for all objects including forms, web pages and other items.
  • 8.
    Solution Explorer • InVisual Studio , a solution is a set of code files and other resources that are used to build an application. The files in a solution are arranged hierarchically, which might or might not reflect the organization in the file system. • The Solution Explorer is used to manage and browse the files in a solution.
  • 10.
    Toolbox • Visual Studioprovides a Toolbox which can be used to add numerous controls to a Windows Form or a Web Form. • On the Design pane we can add those controls by selecting and dragging the desired control.
  • 12.
    Creating a WindowsForm Application • To create a Windows Form Application we have to click on File-New-Project or simply Ctrl+Shift+N from the keyboard. • The ‘New Project’ window will appear. • On the ‘New Project’ window we have to select the ‘Windows Form Application’ and click ‘Ok’.
  • 14.
    • A newdesign window will open. It will be look like this…
  • 16.
    • On thedesign window we can add any Controls from the toolbox. • Here I have taken the Button and the TextBox Control.
  • 18.
    • After thatwe have to write code for the Windows Form application.
  • 20.
    Debugging the WindowsForm Application
  • 21.
    Summery • Several Tools. •Namespace. • Hands on knowledge on Visual Studio IDE. • Creating Windows Form Application.