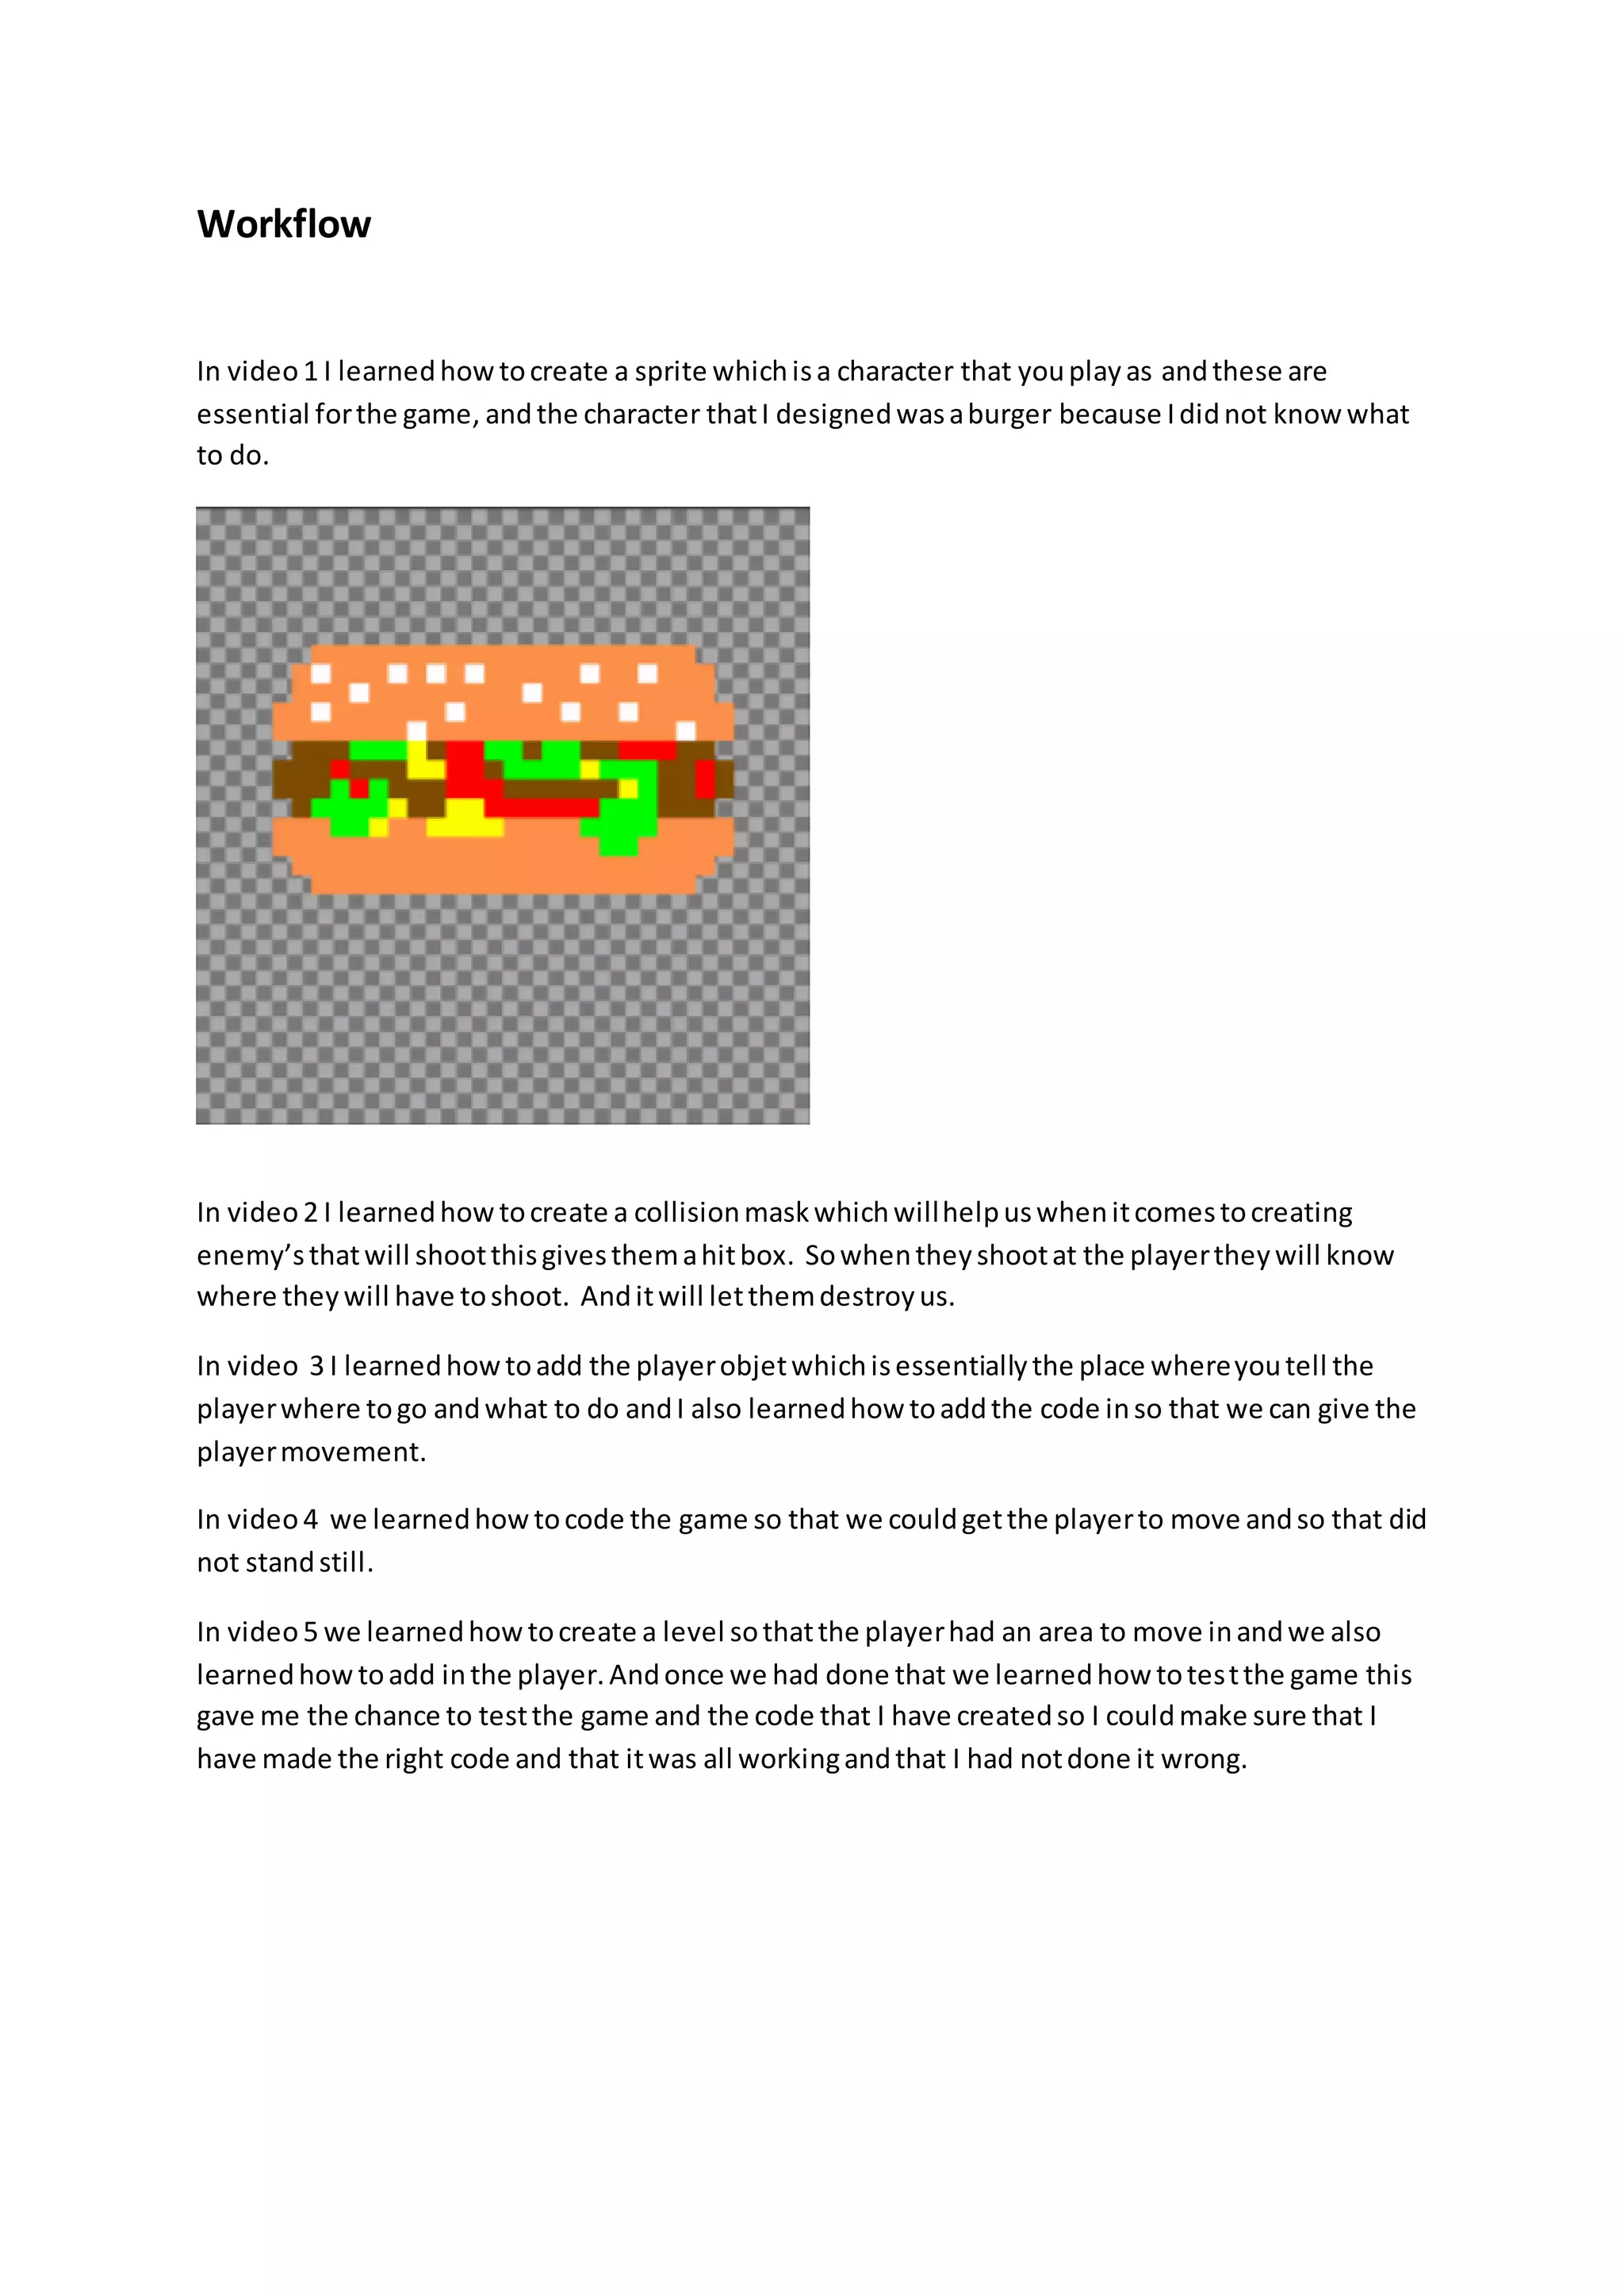
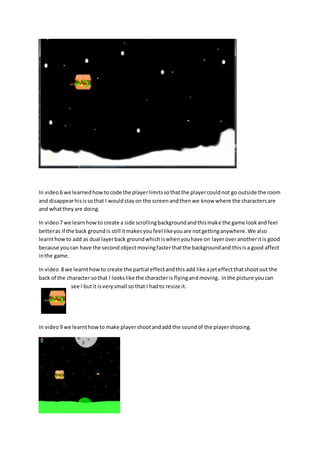
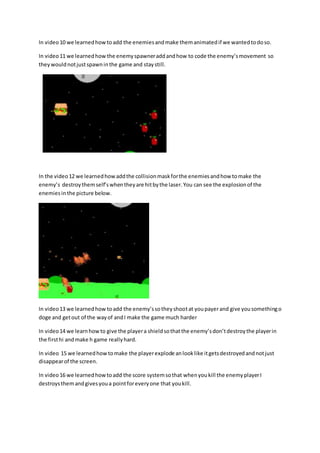
Workflow 
In video 1 I learned how to create a sprite which is a character that you play as and these are 
essential for the game, and the character that I designed was a burger because I did not know what 
to do. 
In video 2 I learned how to create a collision mask which will help us when it comes to creating 
enemy’s that will shoot this gives them a hit box. So when they shoot at the player they will know 
where they will have to shoot. And it will let them destroy us. 
In video 3 I learned how to add the player objet which is essentially the place where you tell the 
player where to go and what to do and I also learned how to add the code in so that we can give the 
player movement. 
In video 4 we learned how to code the game so that we could get the player to move and so that did 
not stand still. 
In video 5 we learned how to create a level so that the player had an area to move in and we also 
learned how to add in the player. And once we had done that we learned how to tes t the game this 
gave me the chance to test the game and the code that I have created so I could make sure that I 
have made the right code and that it was all working and that I had not done it wrong.
In video 6 we learned how to code the player limits so that the player could not go outside the room 
and disappear his is so that I would stay on the screen and then we know where the characters are 
and what they are doing. 
In video 7 we learn how to create a side scrolling background and this make the game look and feel 
better as if the back ground is still it makes you feel like you are not getting anywhere. We also 
learnt how to add as dual layer back ground which is when you have on layer over another it is good 
because you can have the second object moving faster that the background and this is a good affect 
in the game. 
In video 8 we learnt how to create the partial effect and this add like a jet effect that shoot out the 
back of the character so that I looks like the character is flying and moving. In the picture you can 
see I but it is very small so that I had to resize it. 
In video 9 we learnt how to make player shoot and add the sound of the player shooing.
In video 10 we learned how to add the enemies and make them animated if we wanted to do so. 
In video 11 we learned how the enemy spawner add and how to code the enemy’s movement so 
they would not just spawn in the game and stay still. 
In the video 12 we learned how add the collision mask for the enemies and how to make the 
enemy’s destroy them self’s when they are hit by the laser. You can see the explosion of the 
enemies in the picture below. 
In video 13 we learned how to add the enemy’s so they shoot at you payer and give you something o 
doge and get out of the way of and I make the game much harder 
In video 14 we learn how to give the player a shield so that the enemy’s don’t destroy the player in 
the first hi and make h game really hard. 
In video 15 we learned how to make the player explode an look like it gets destroyed and not just 
disappear of the screen. 
In video 16 we learned how to add the score system so that when you kill the enemy player I 
destroys them and gives you a point for every one that you kill.
Workflow

Workflow

  • 1.
    Workflow In video1 I learned how to create a sprite which is a character that you play as and these are essential for the game, and the character that I designed was a burger because I did not know what to do. In video 2 I learned how to create a collision mask which will help us when it comes to creating enemy’s that will shoot this gives them a hit box. So when they shoot at the player they will know where they will have to shoot. And it will let them destroy us. In video 3 I learned how to add the player objet which is essentially the place where you tell the player where to go and what to do and I also learned how to add the code in so that we can give the player movement. In video 4 we learned how to code the game so that we could get the player to move and so that did not stand still. In video 5 we learned how to create a level so that the player had an area to move in and we also learned how to add in the player. And once we had done that we learned how to tes t the game this gave me the chance to test the game and the code that I have created so I could make sure that I have made the right code and that it was all working and that I had not done it wrong.
  • 2.
    In video 6we learned how to code the player limits so that the player could not go outside the room and disappear his is so that I would stay on the screen and then we know where the characters are and what they are doing. In video 7 we learn how to create a side scrolling background and this make the game look and feel better as if the back ground is still it makes you feel like you are not getting anywhere. We also learnt how to add as dual layer back ground which is when you have on layer over another it is good because you can have the second object moving faster that the background and this is a good affect in the game. In video 8 we learnt how to create the partial effect and this add like a jet effect that shoot out the back of the character so that I looks like the character is flying and moving. In the picture you can see I but it is very small so that I had to resize it. In video 9 we learnt how to make player shoot and add the sound of the player shooing.
  • 3.
    In video 10we learned how to add the enemies and make them animated if we wanted to do so. In video 11 we learned how the enemy spawner add and how to code the enemy’s movement so they would not just spawn in the game and stay still. In the video 12 we learned how add the collision mask for the enemies and how to make the enemy’s destroy them self’s when they are hit by the laser. You can see the explosion of the enemies in the picture below. In video 13 we learned how to add the enemy’s so they shoot at you payer and give you something o doge and get out of the way of and I make the game much harder In video 14 we learn how to give the player a shield so that the enemy’s don’t destroy the player in the first hi and make h game really hard. In video 15 we learned how to make the player explode an look like it gets destroyed and not just disappear of the screen. In video 16 we learned how to add the score system so that when you kill the enemy player I destroys them and gives you a point for every one that you kill.