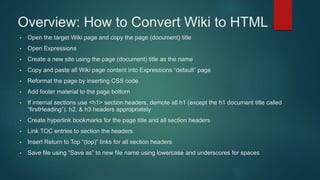
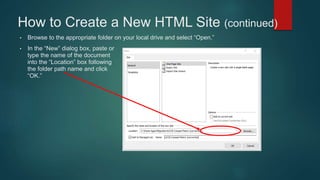
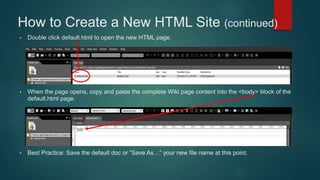
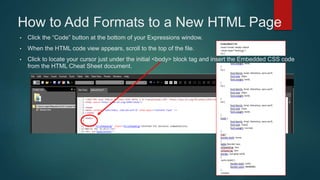
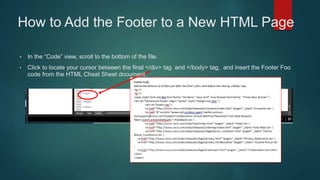
This document provides instructions for converting a Wiki page to HTML using Microsoft Expressions. The steps include:
1. Opening the Wiki page and Expressions and copying the Wiki content into a new HTML page.
2. Reformatting the HTML page by adding CSS styles and footer code.
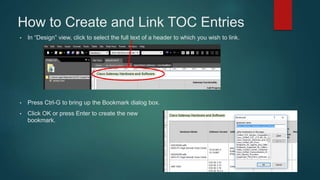
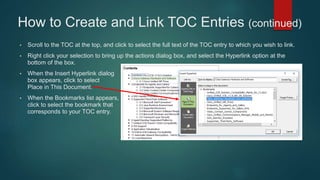
3. Demoting header levels, creating bookmarks for headers and the title, and linking the table of contents.
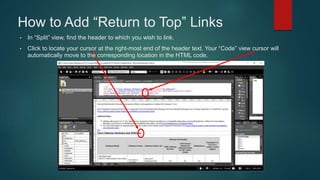
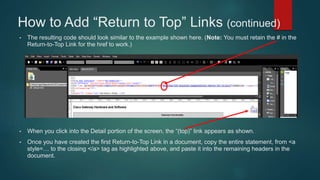
4. Inserting "return to top" links below section headers.