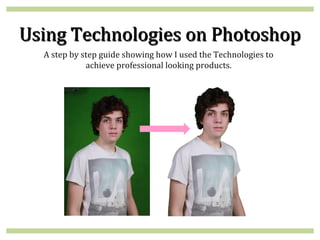
The document provides a 7-step guide for using Photoshop technologies to edit a photo for professional purposes:
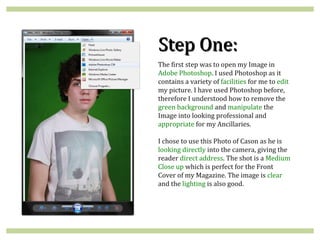
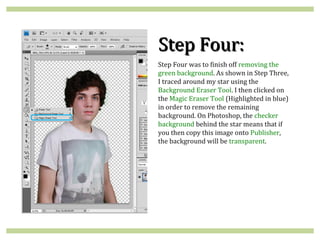
1) The first step was to open the image in Photoshop and remove the green background using tools like the Background Eraser.
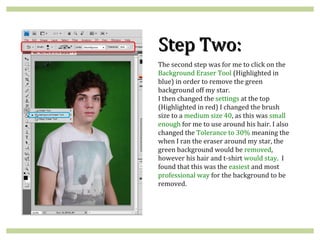
2) Step Two involved using the Background Eraser tool to remove the green background around the subject.
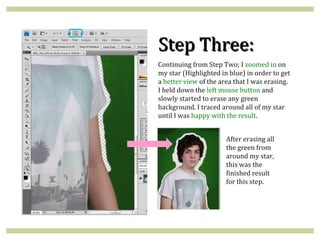
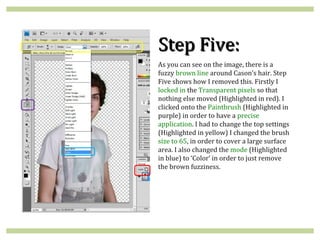
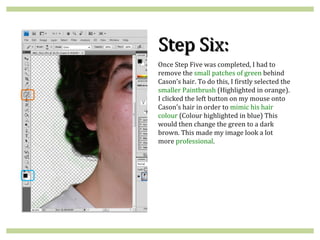
3) Steps Three through Six describe using various painting and eraser tools to refine the background removal and touch up details like removing a brown line around the subject's hair.
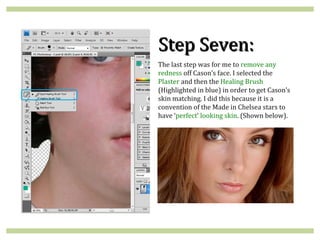
4) The last step used the Healing Brush tool to remove any redness from the subject's face.