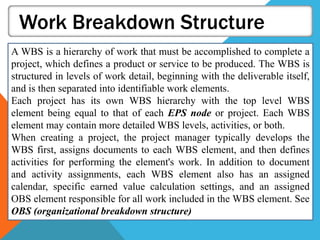
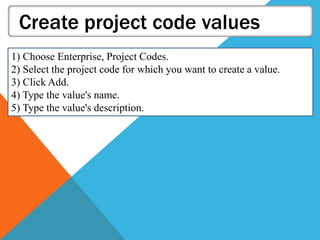
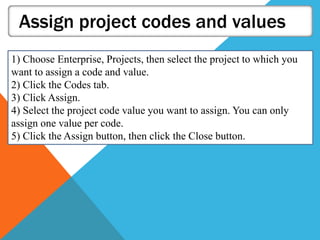
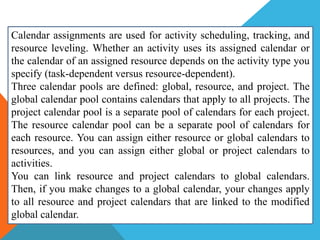
Downloaded 112 times


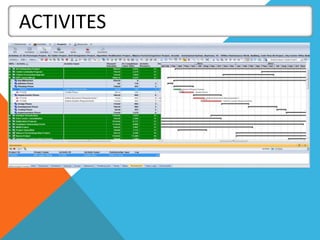
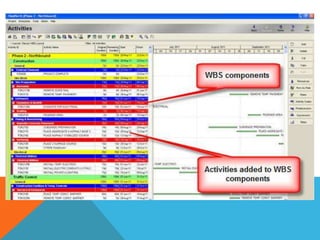
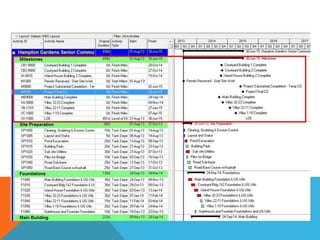

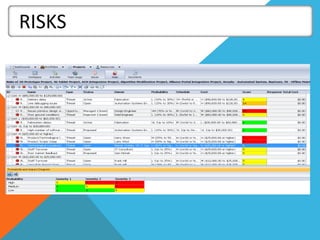
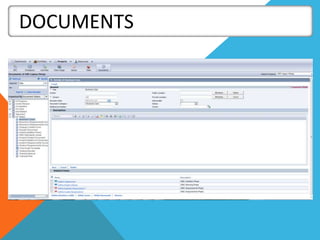


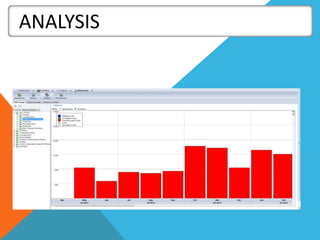
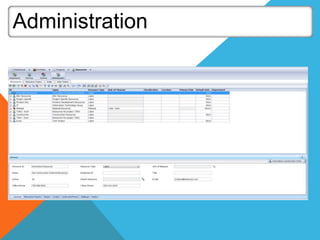

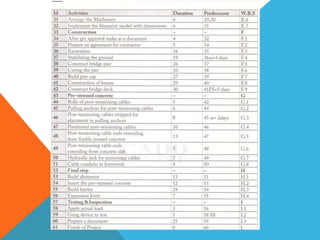
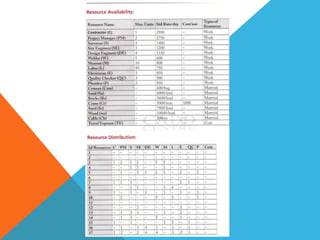
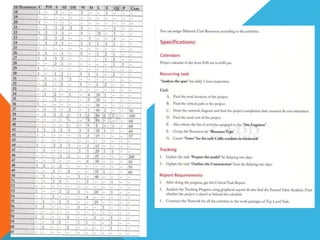
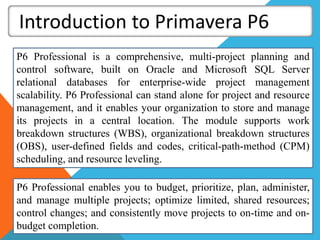


Primavera is project management software that performs calculations to help project managers visualize activities, durations, dependencies, and generate critical paths, project durations, and estimated costs. It prepares useful Gantt charts and reports to help project managers execute projects and track completion percentages. Primavera is commonly used by civil, mechanical, and electrical engineers, and is often required for projects in the construction industry. It provides a single integrated solution for project management challenges like collaboration, real-time updates, analytics, and resource management.


