Downloaded 2,225 times


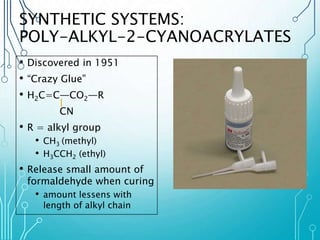
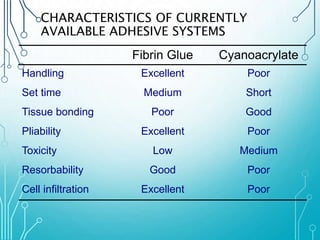
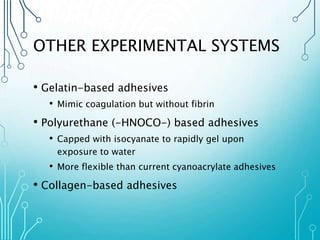
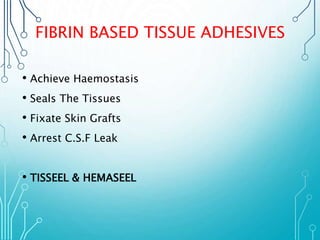
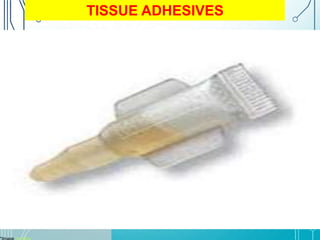
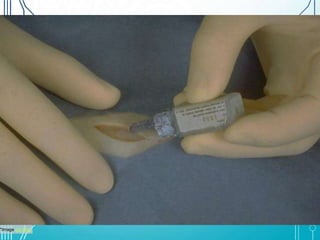
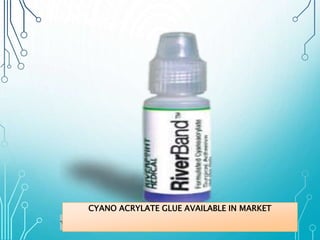
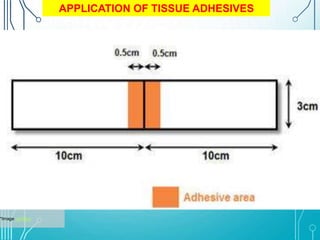
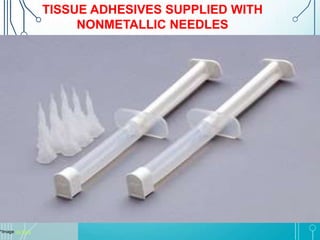

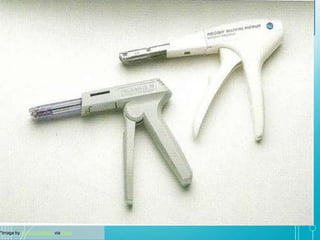

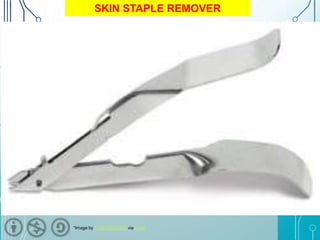


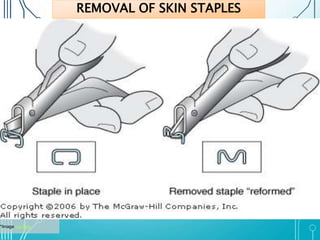
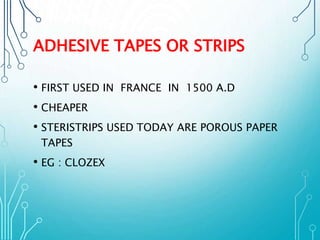
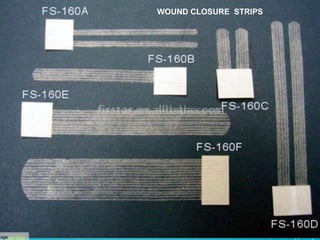
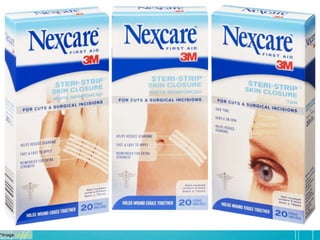
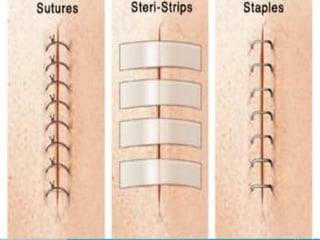
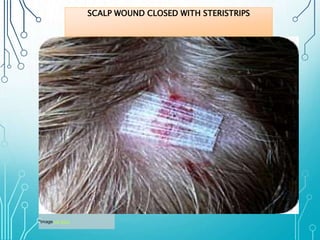


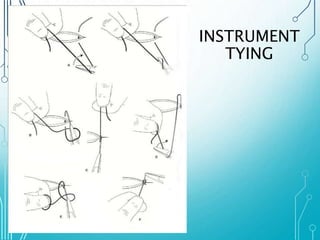

This document discusses surgical sutures, detailing their history, types, and principles of usage. It highlights qualities of ideal suture material, techniques for suturing and removal, and specifics on various absorbable and non-absorbable sutures. Additionally, it addresses alternative wound closure methods such as tissue adhesives, skin staples, and tapes.