Downloaded 132 times


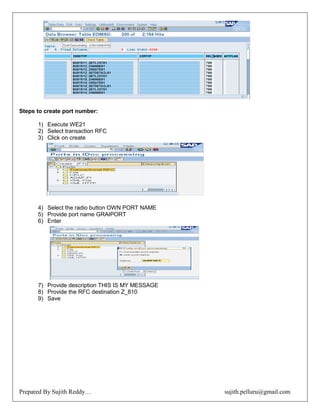


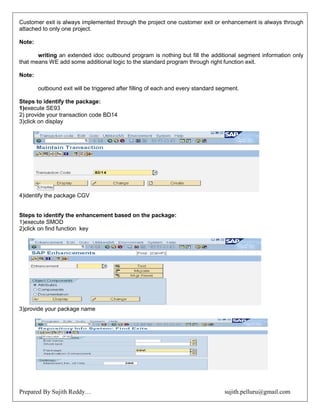


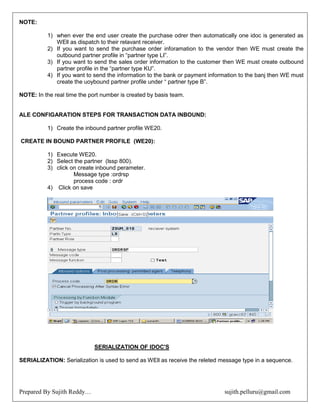


1) Cross-application integration in SAP systems allows exchange of data between different systems using ALE (Application Link Enabling) and IDOCs (Intermediate Documents). 2) IDOCs are used to carry data between systems and have control, data, and status records. 3) Setting up communication between systems involves defining logical systems, assigning clients, and maintaining RFC destinations.


![Bapi jco[1]](https://cdn.slidesharecdn.com/ss_thumbnails/bapijco1-121003053450-phpapp02-thumbnail.jpg?width=640&height=640&fit=bounds)


