Downloaded 881 times


This document describes various physical examination tests for the lower leg, ankle, and foot. It provides procedures and implications for tests that assess the neutral position of the talus, leg and foot alignment, tibial torsion, ligamentous instability, and other conditions. Key tests include those for the anterior drawer test of the ankle, tibial torsion in sitting and supine positions, leg-heel alignment, and Feiss line to assess for flat foot. The document contains detailed steps for examiners to accurately perform various physical exams of the lower extremity.
Introduction to various special tests for assessing lower leg, ankle, and foot conditions.
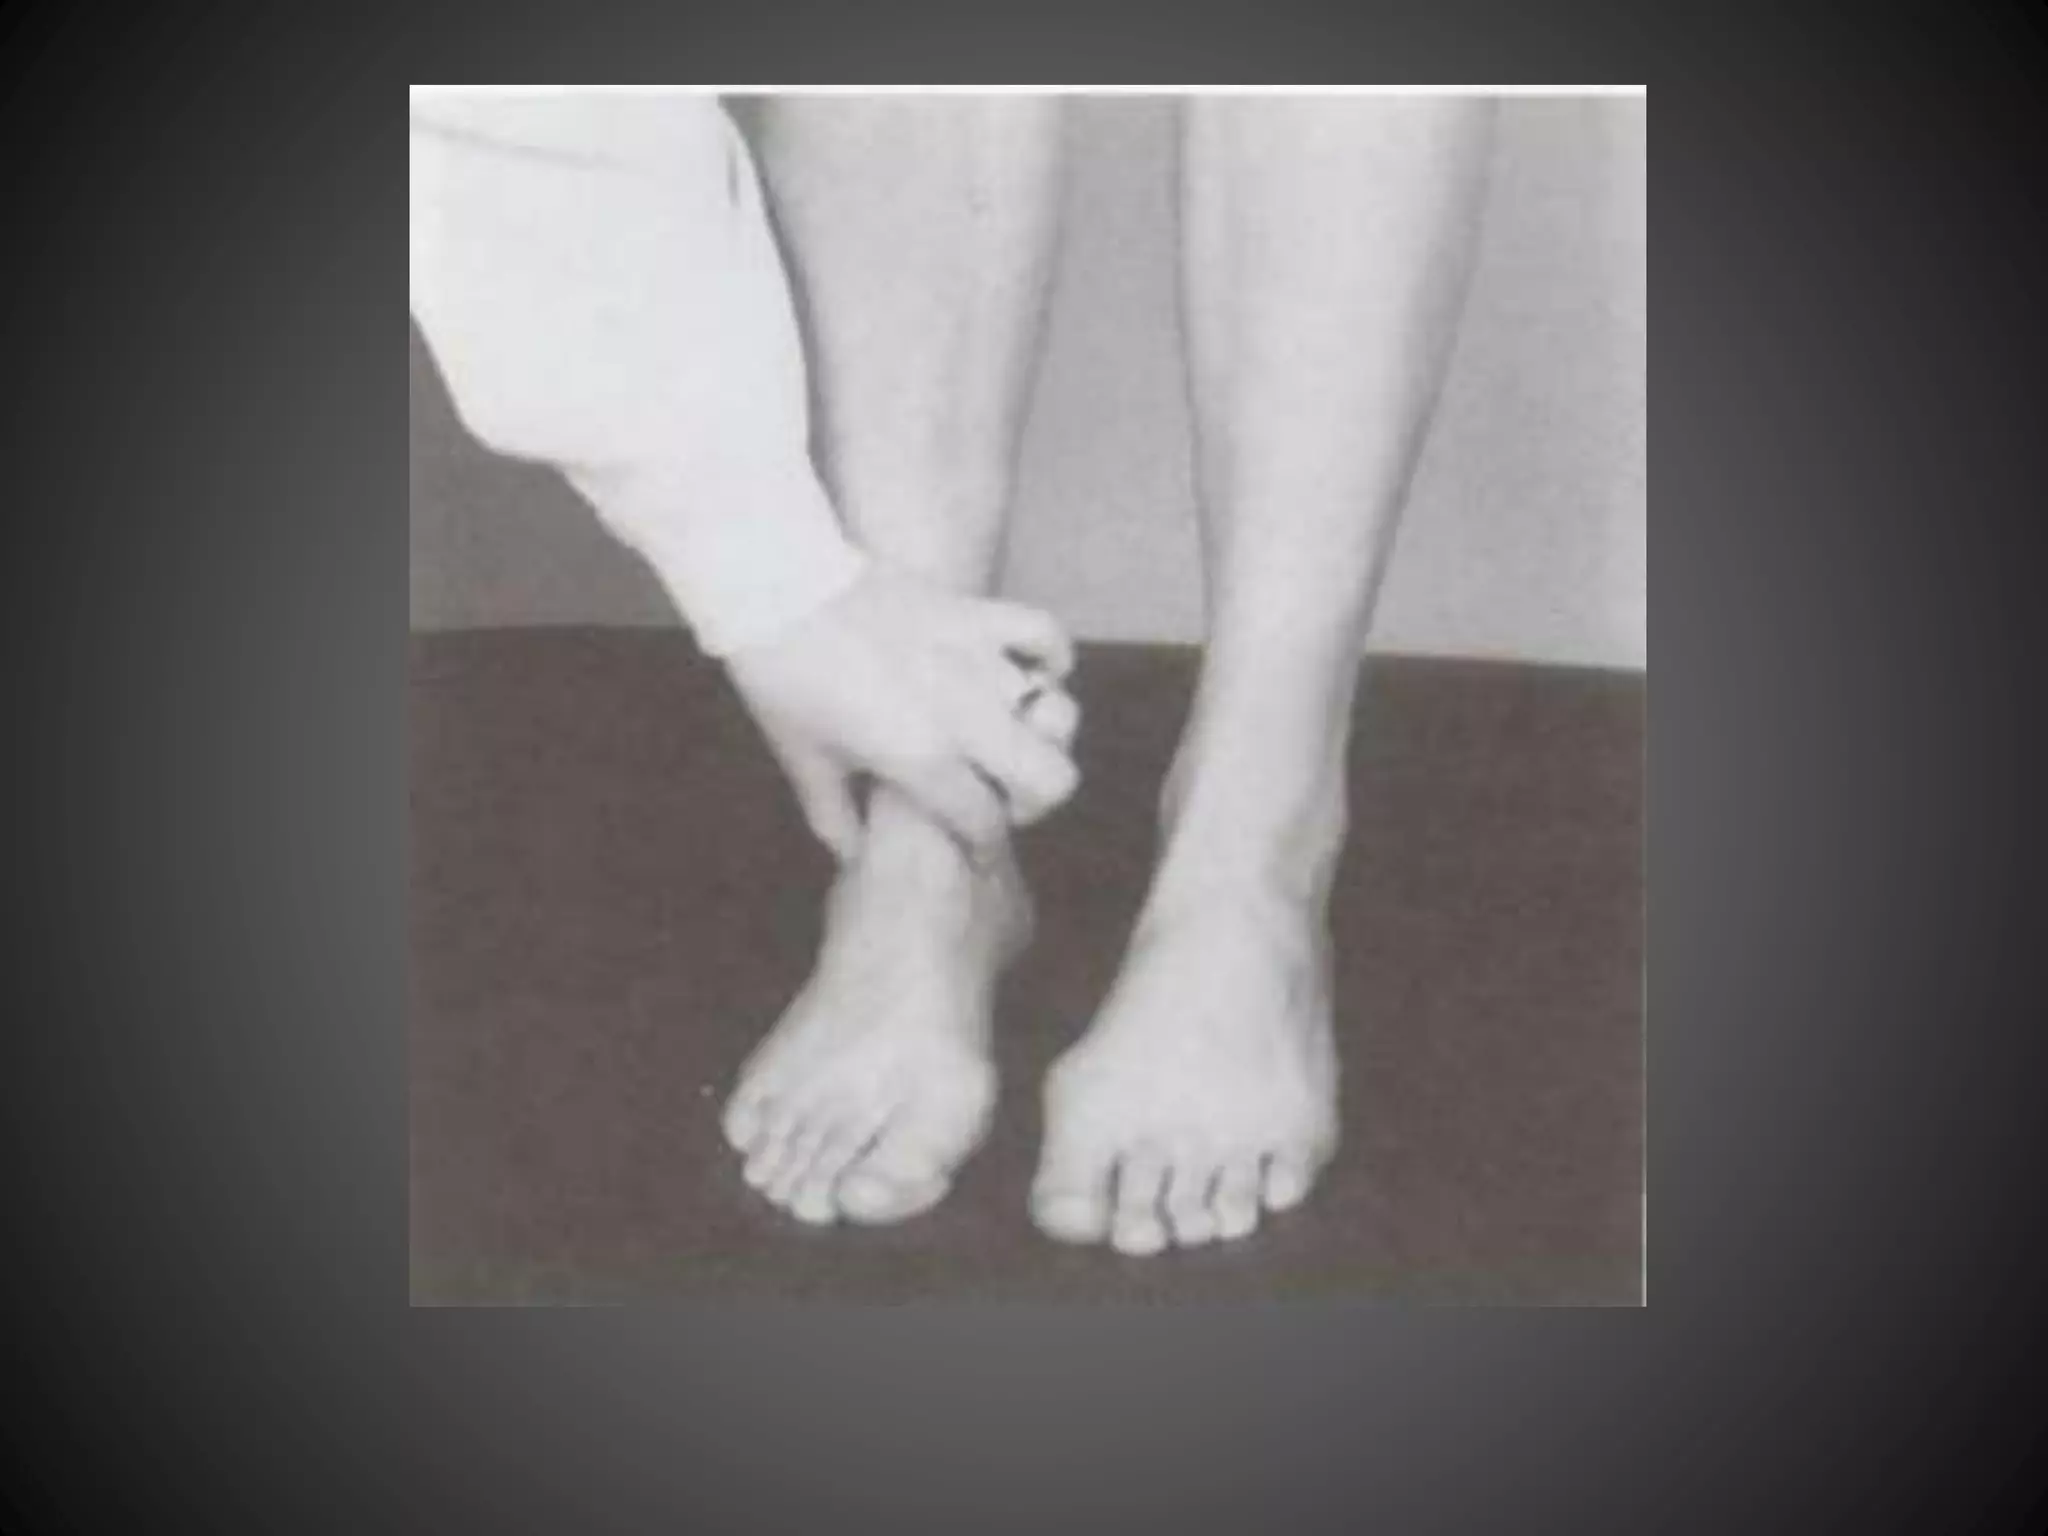
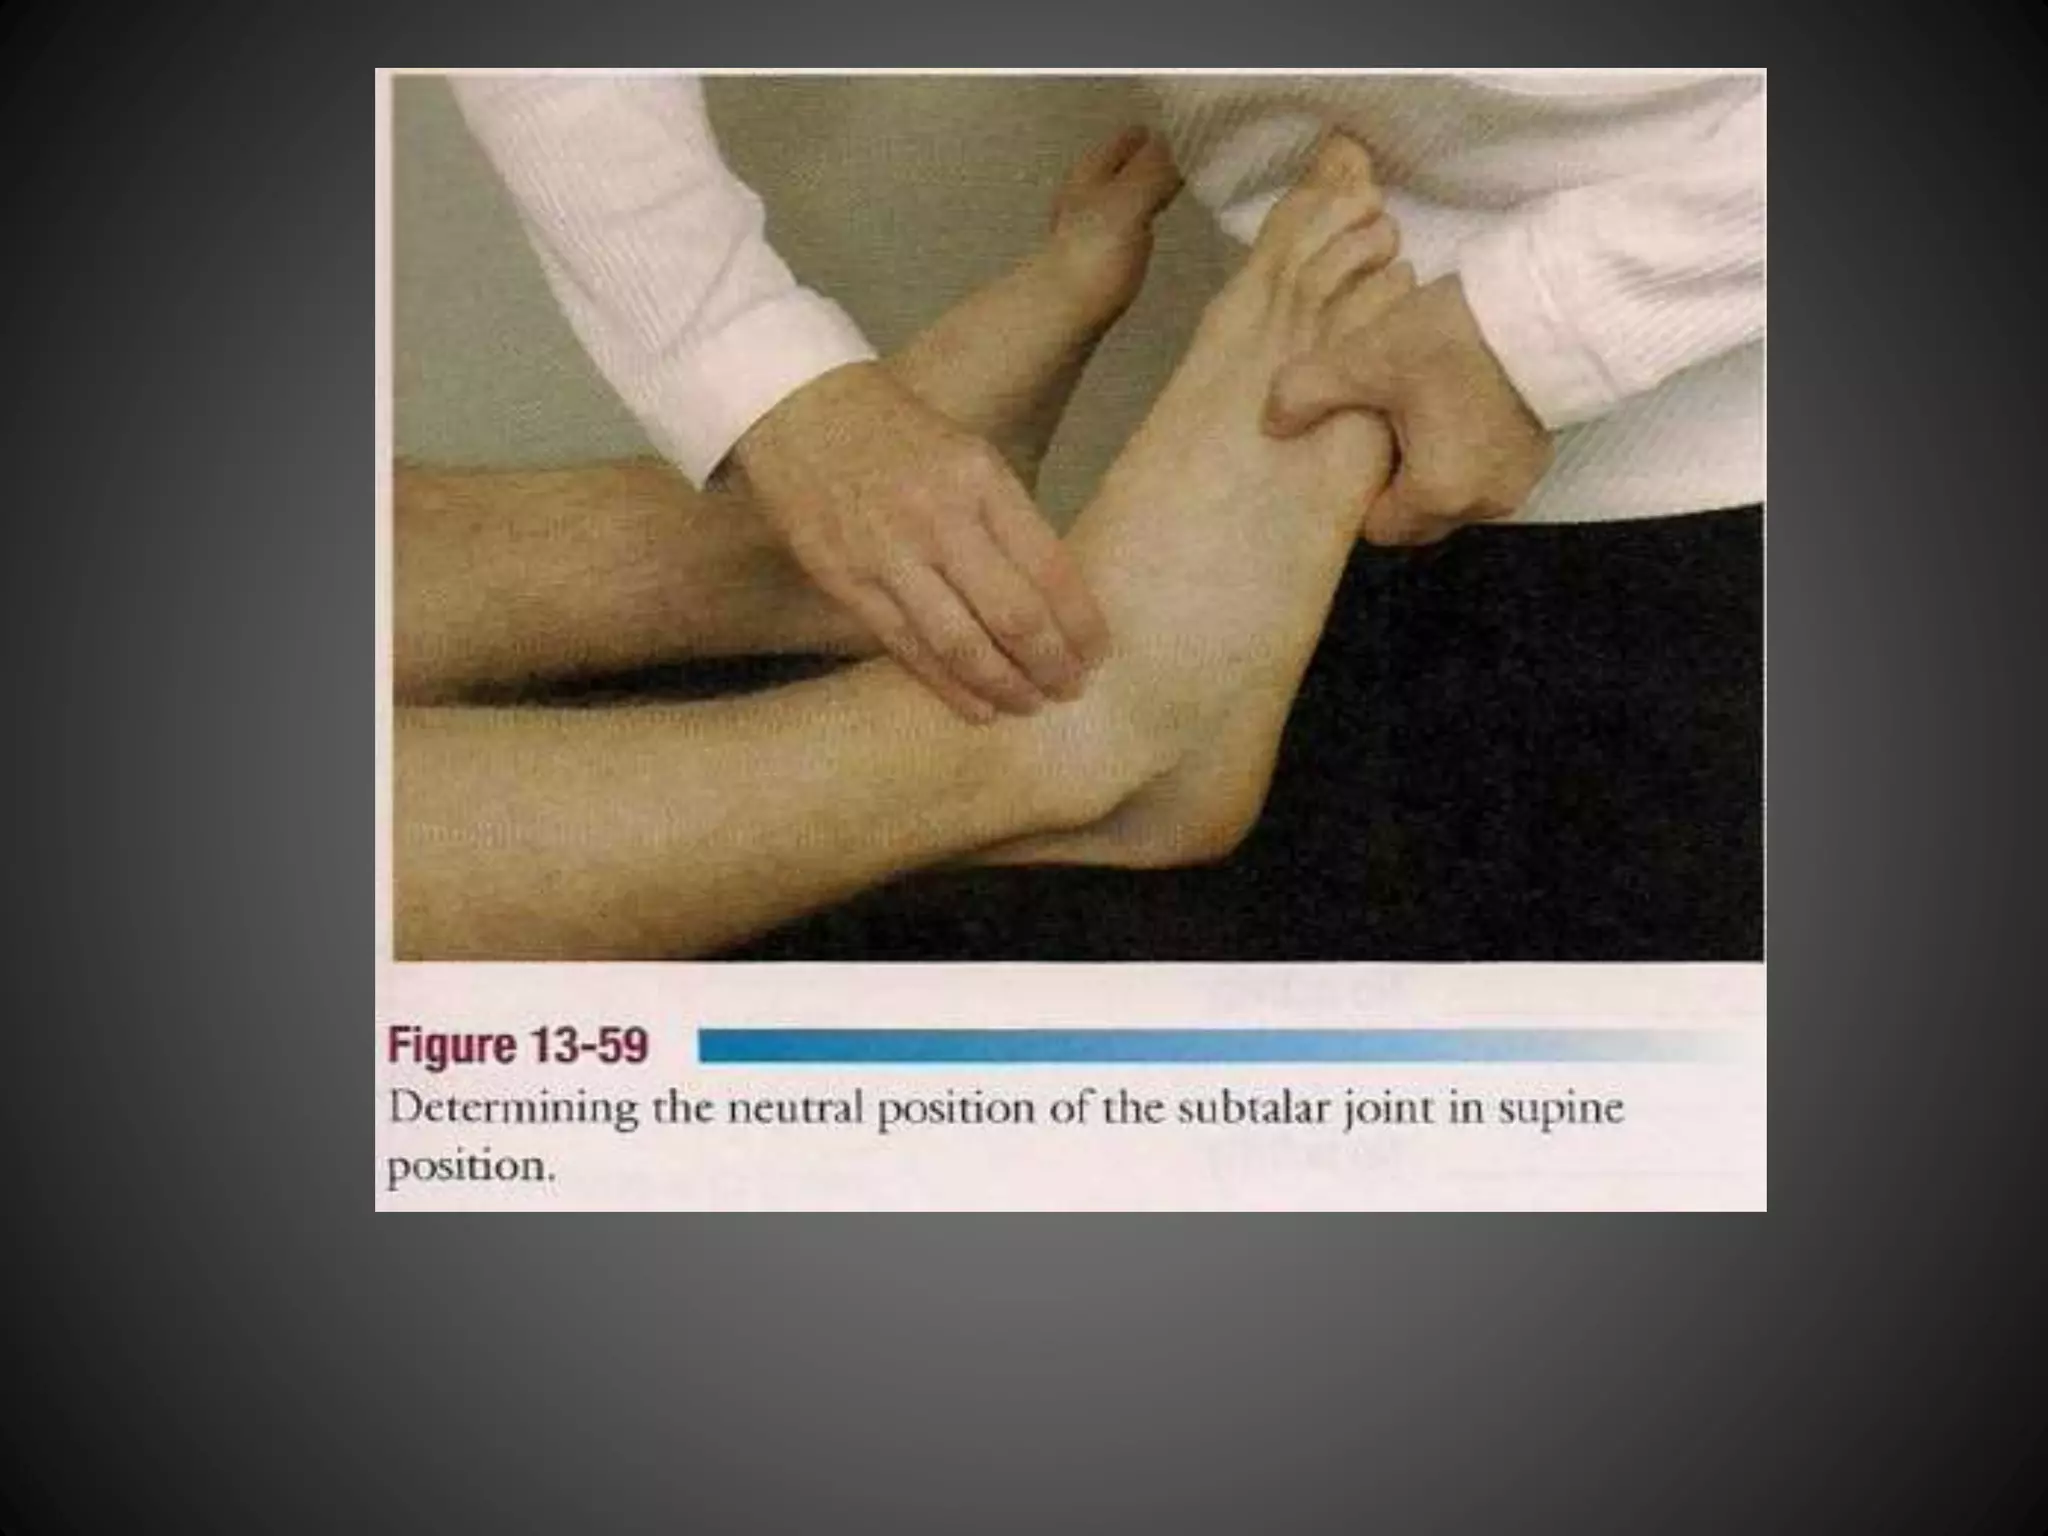
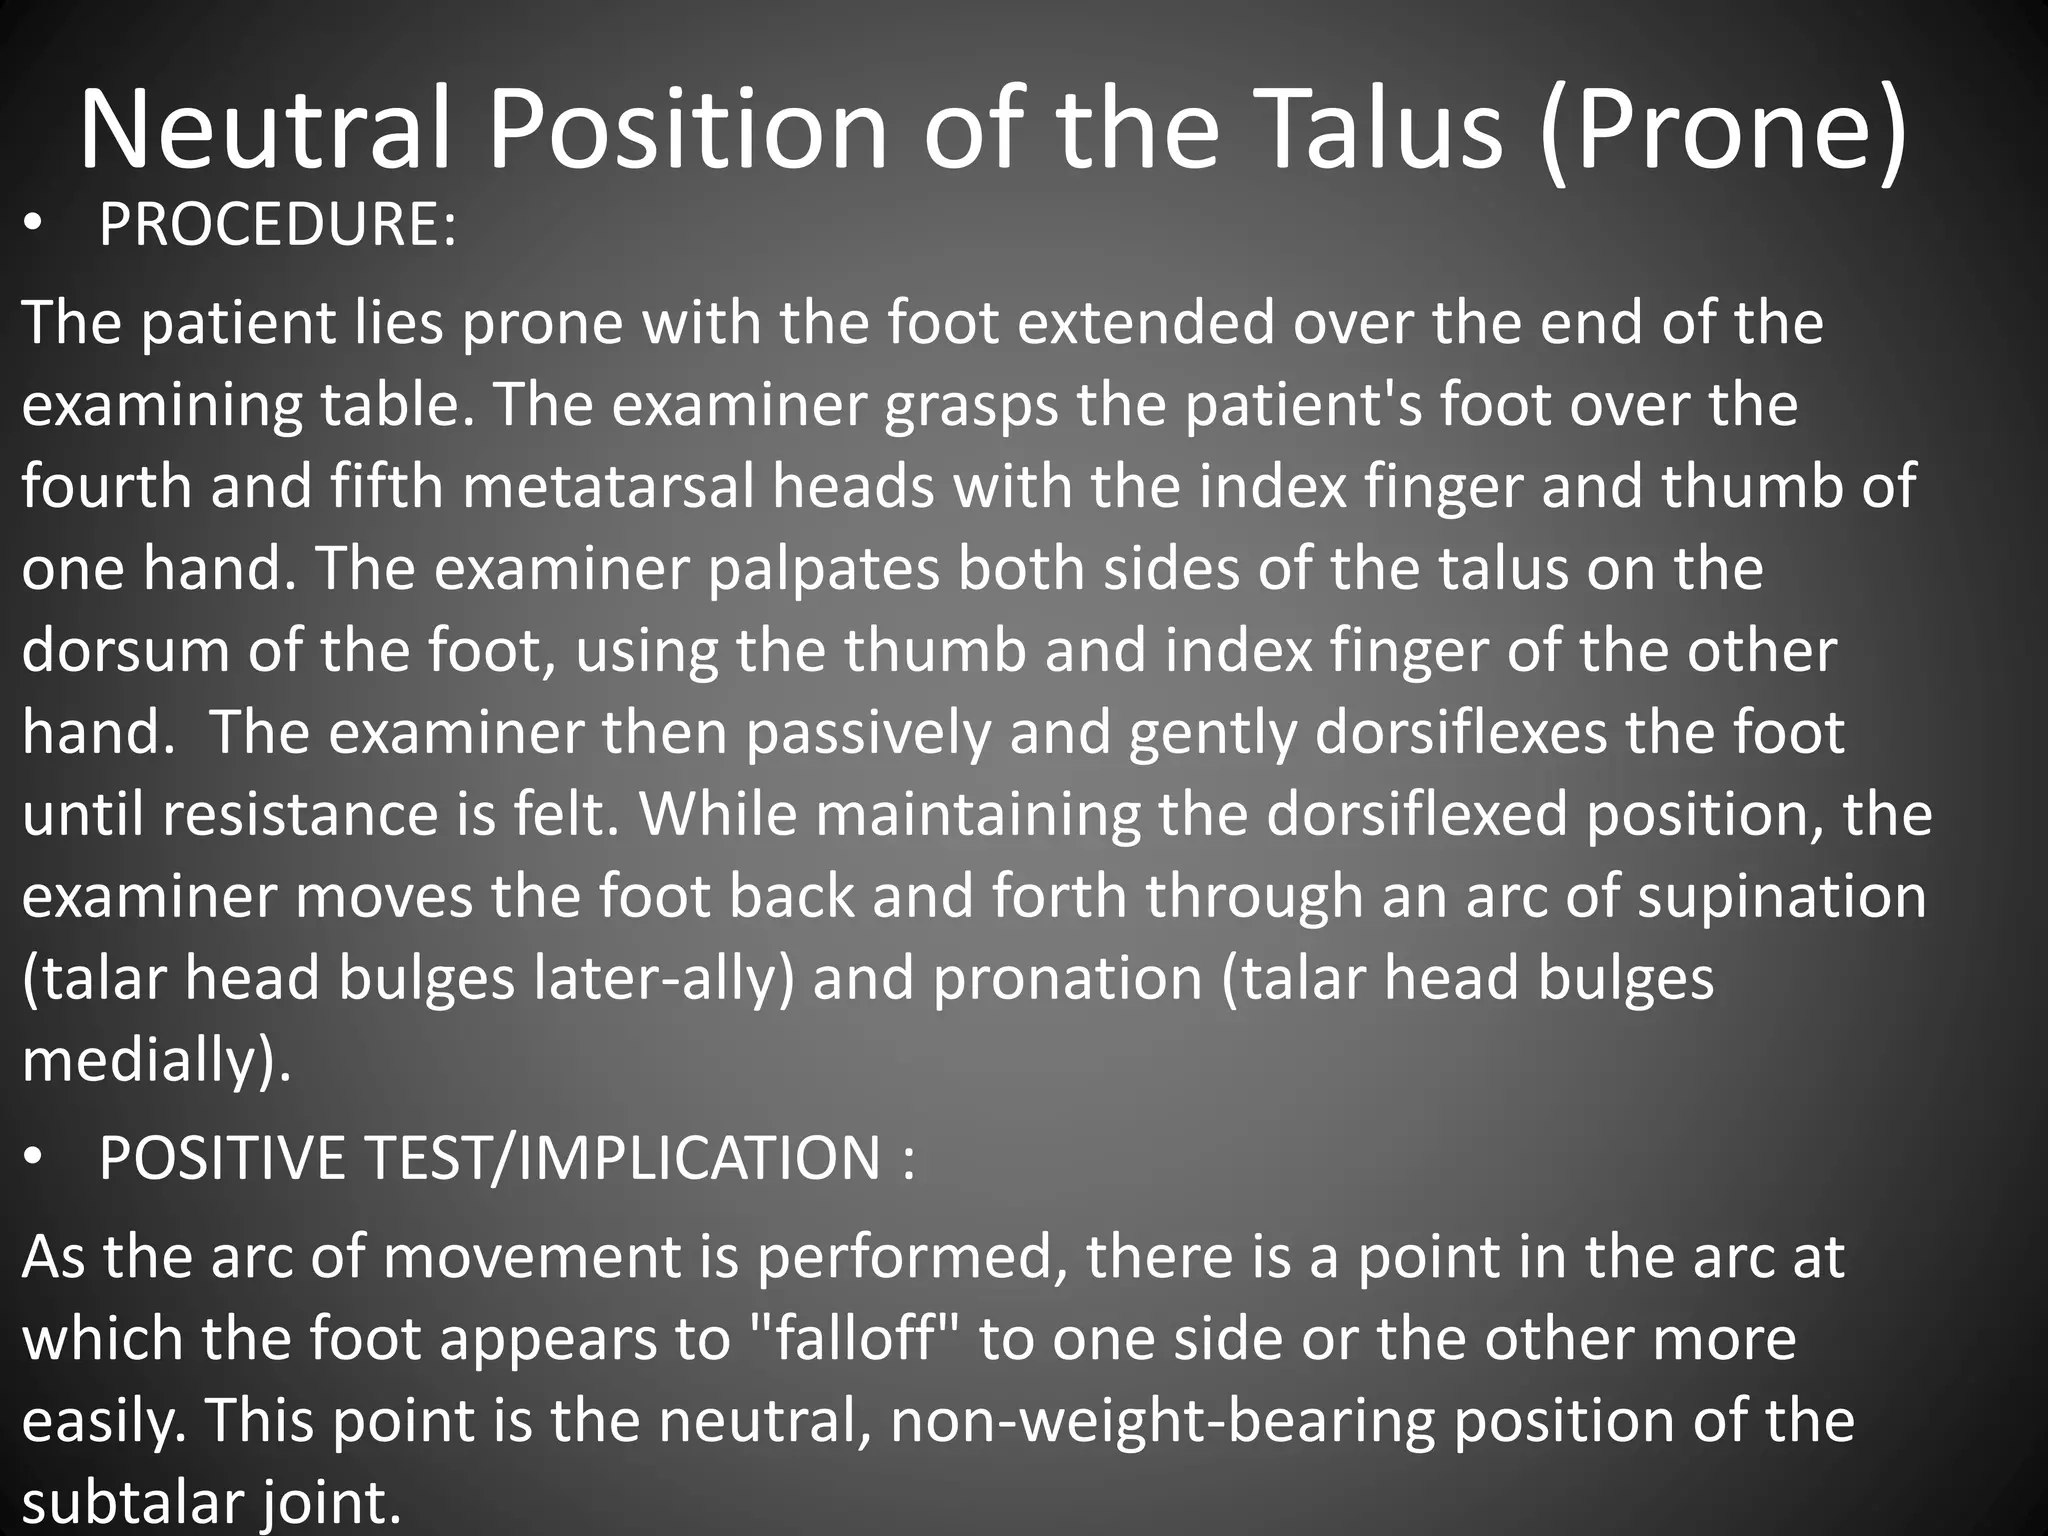
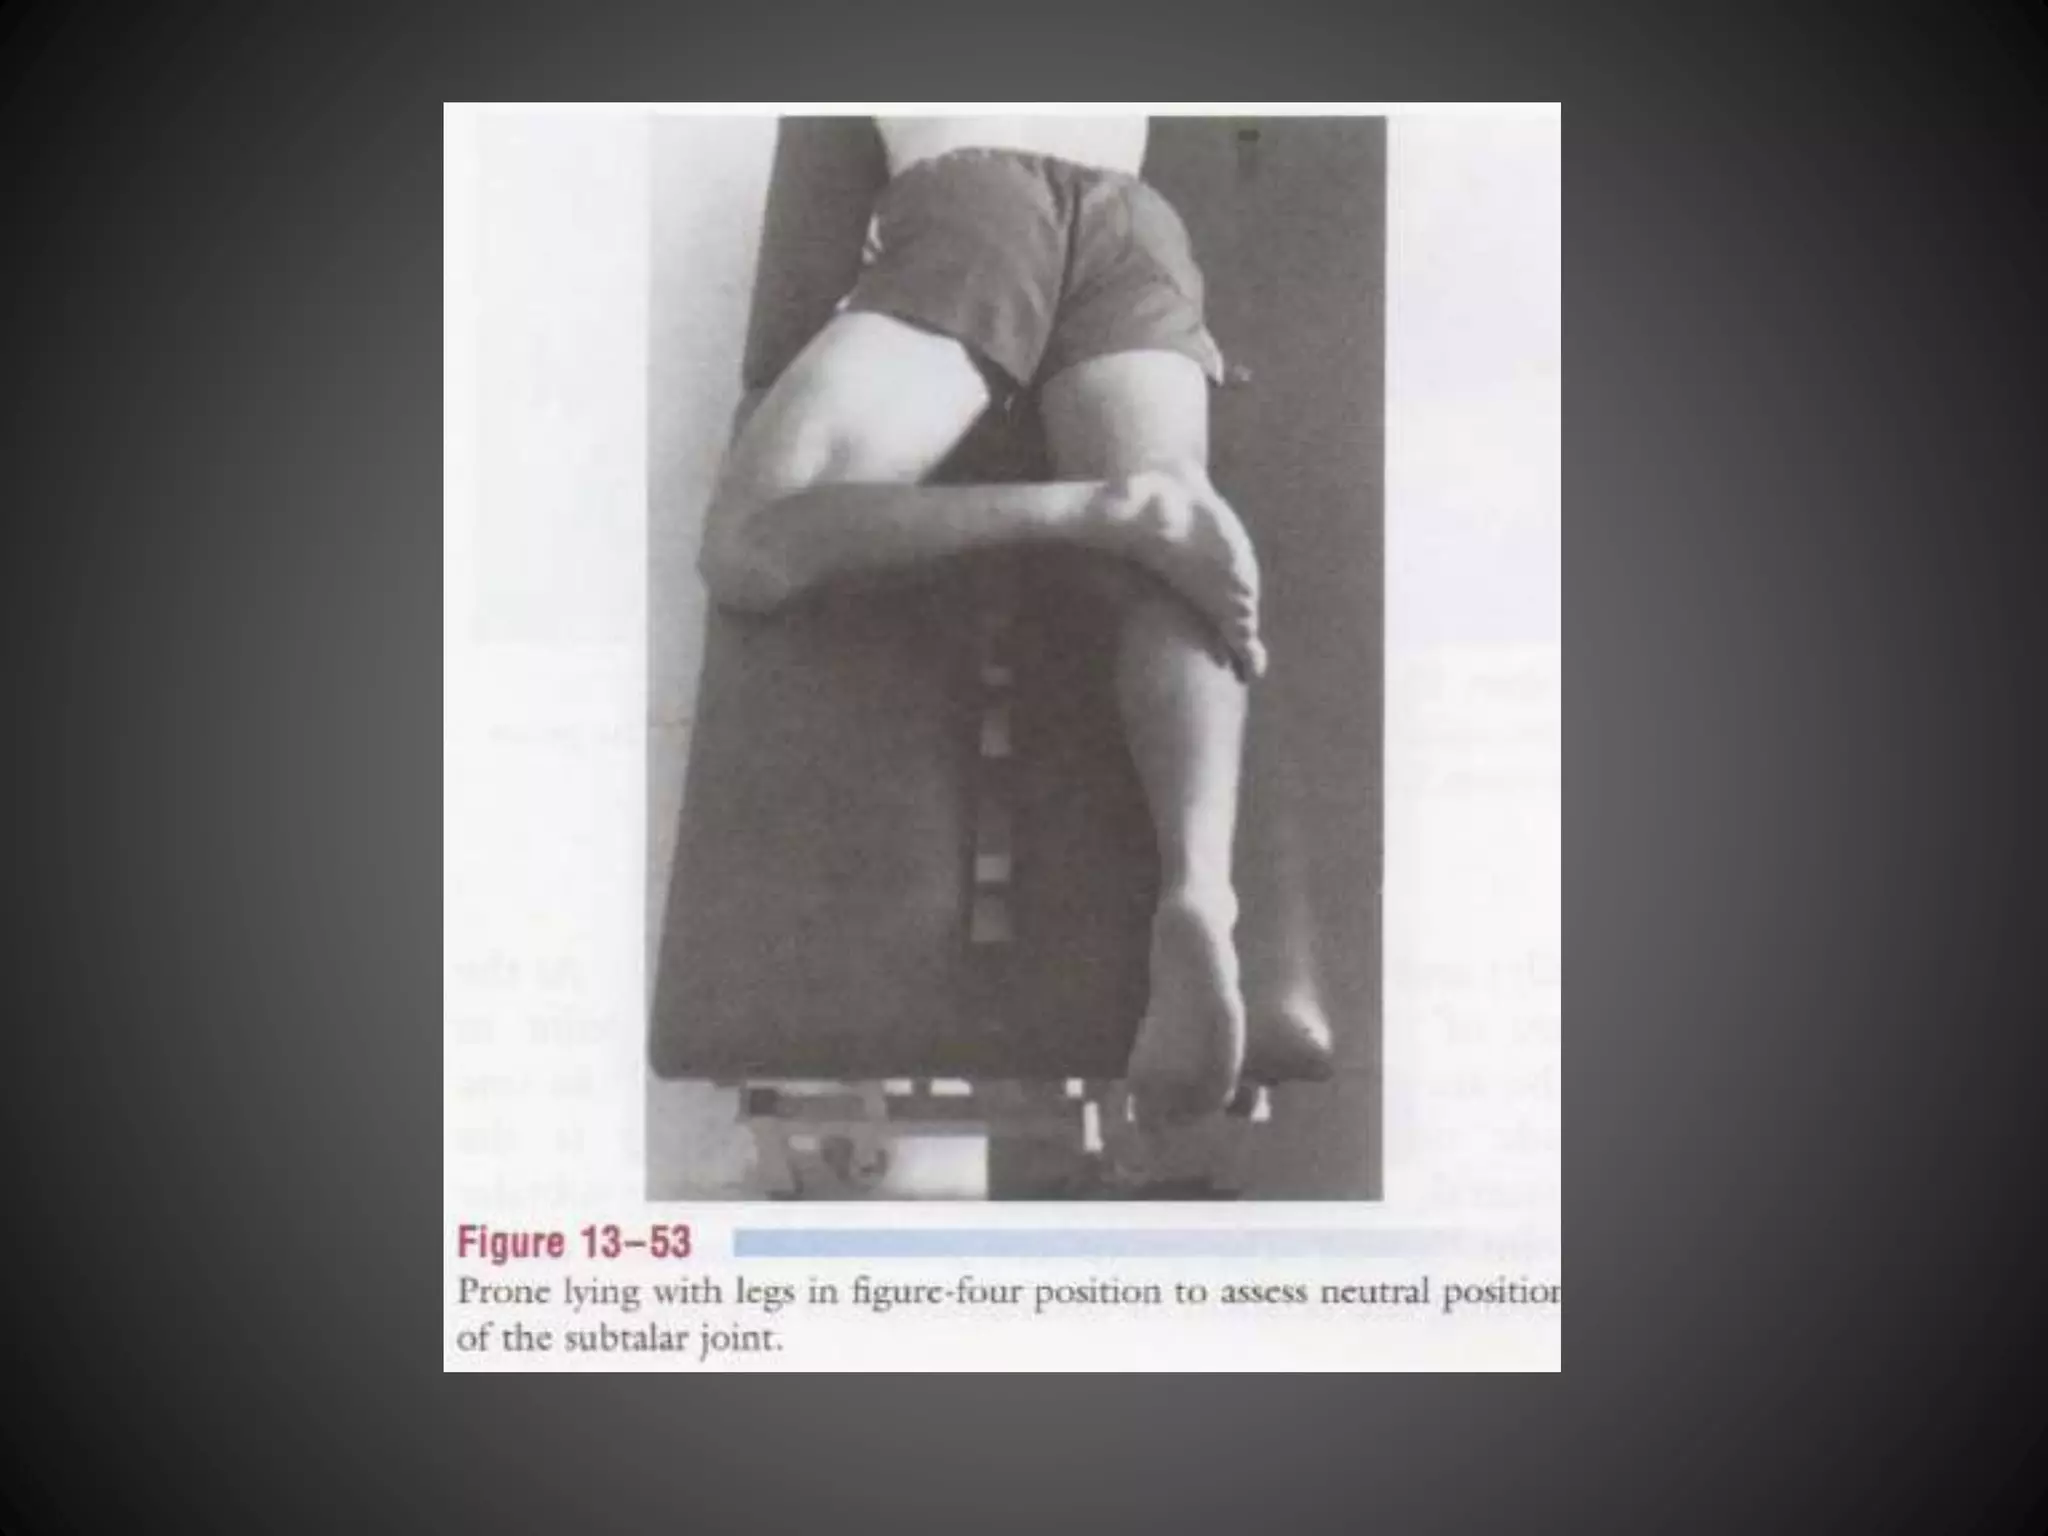
Procedure to assess the neutral position of the talus in weight-bearing, supine, and prone positions.
Procedure to assess the neutral position of the talus in weight-bearing, supine, and prone positions.
Procedure to assess the neutral position of the talus in weight-bearing, supine, and prone positions.
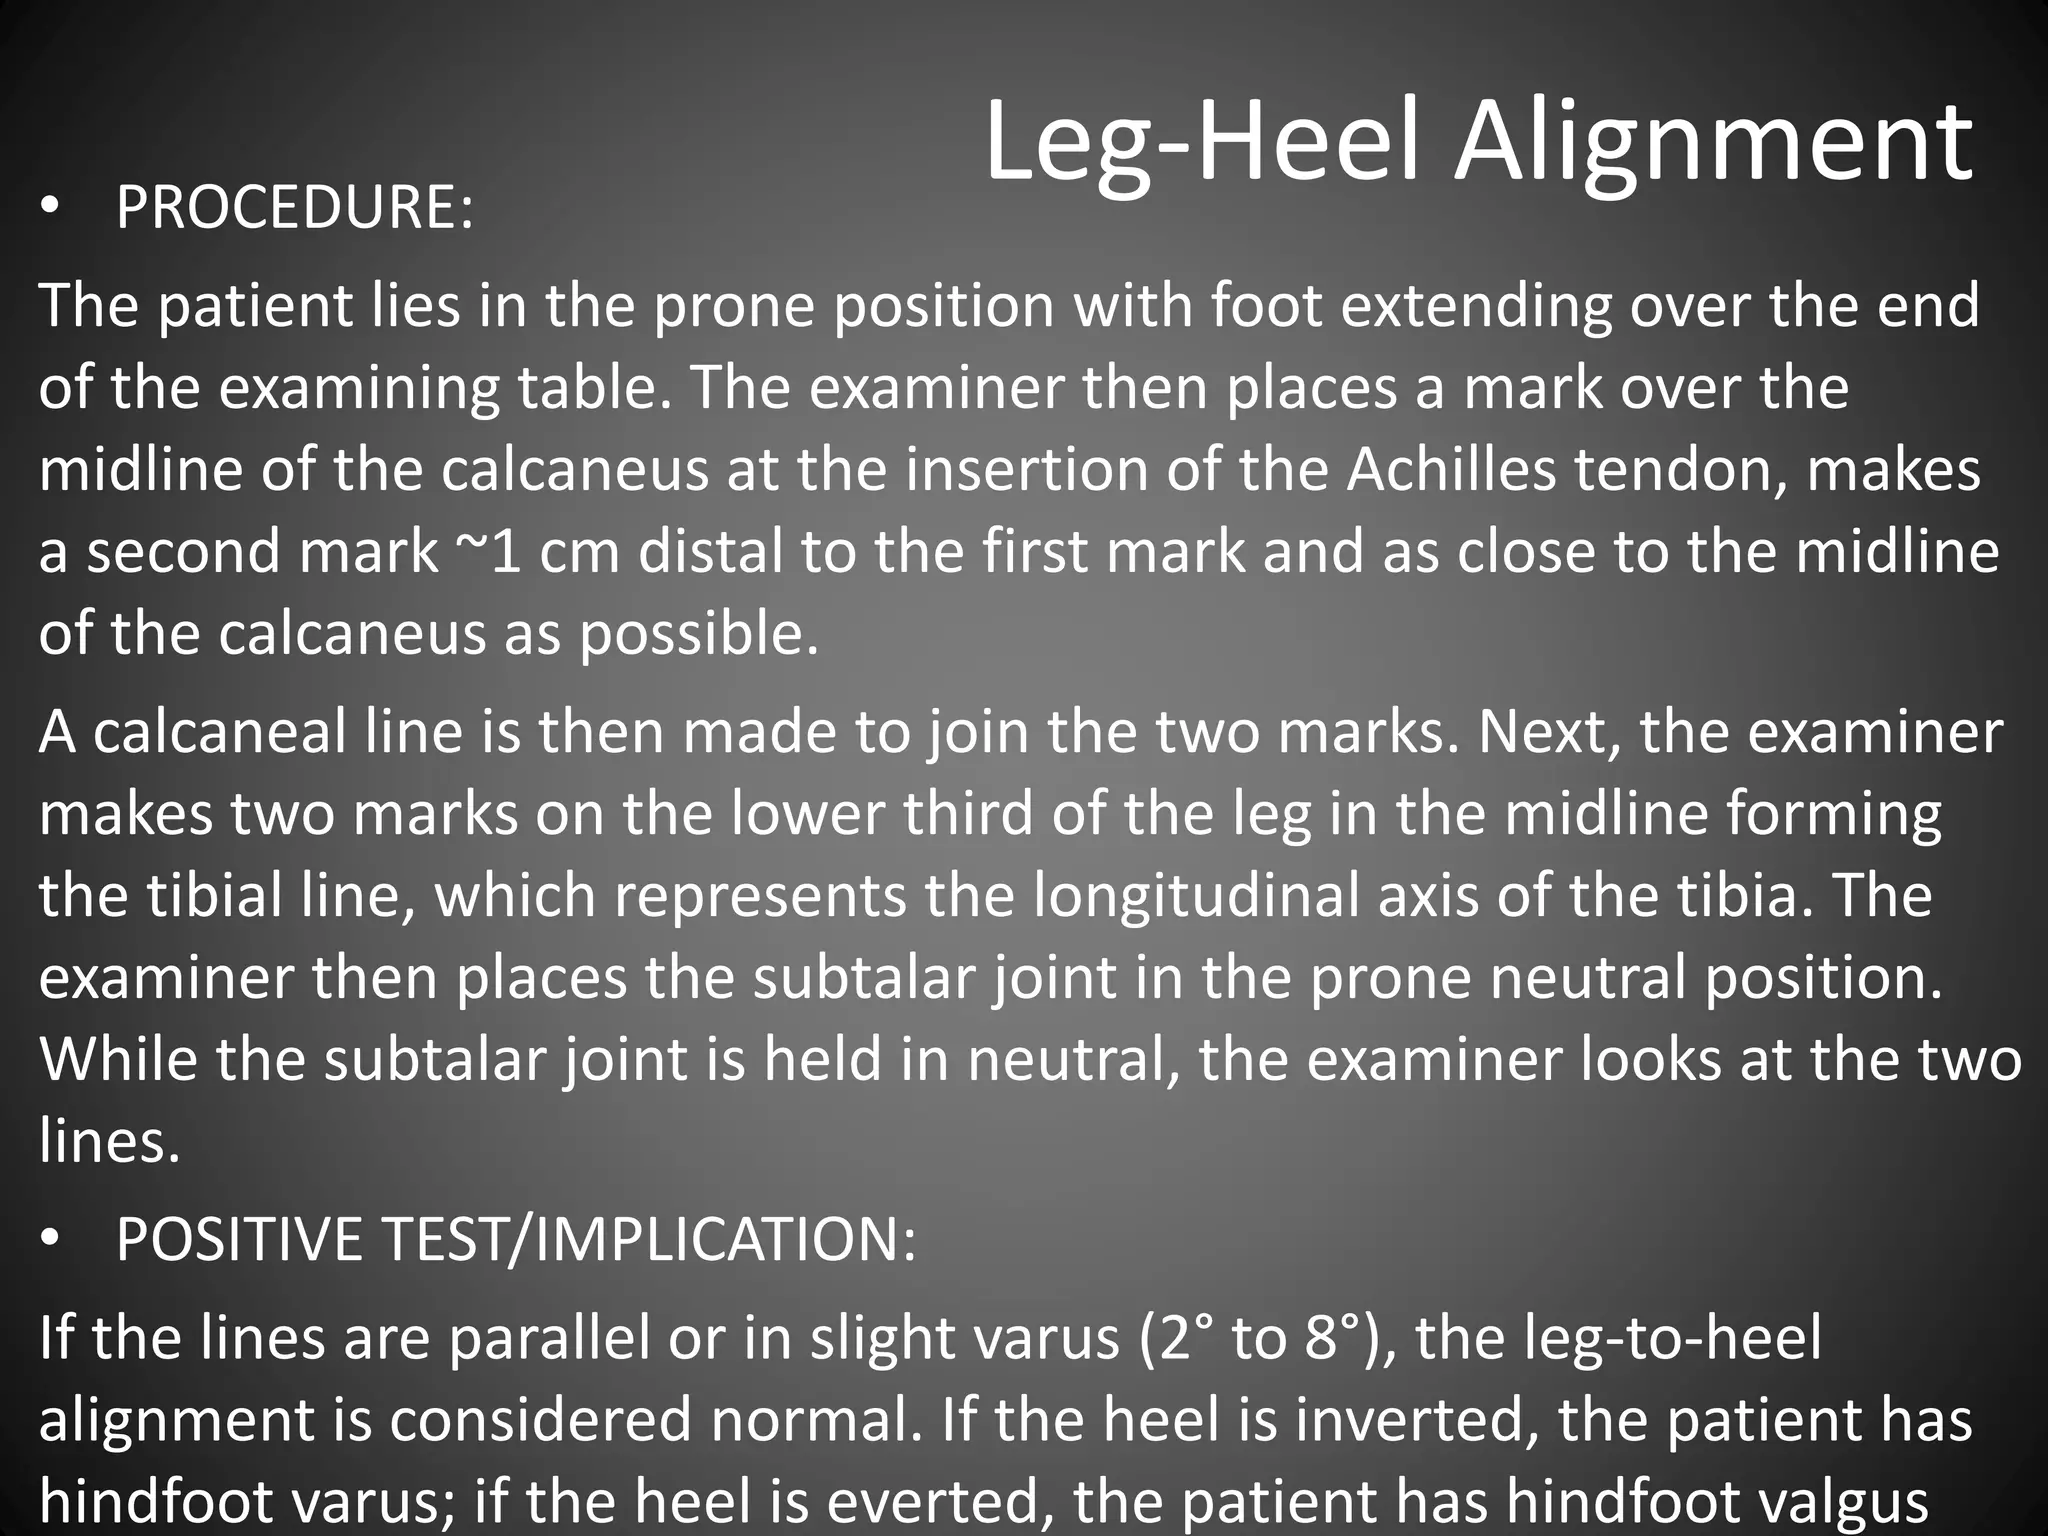
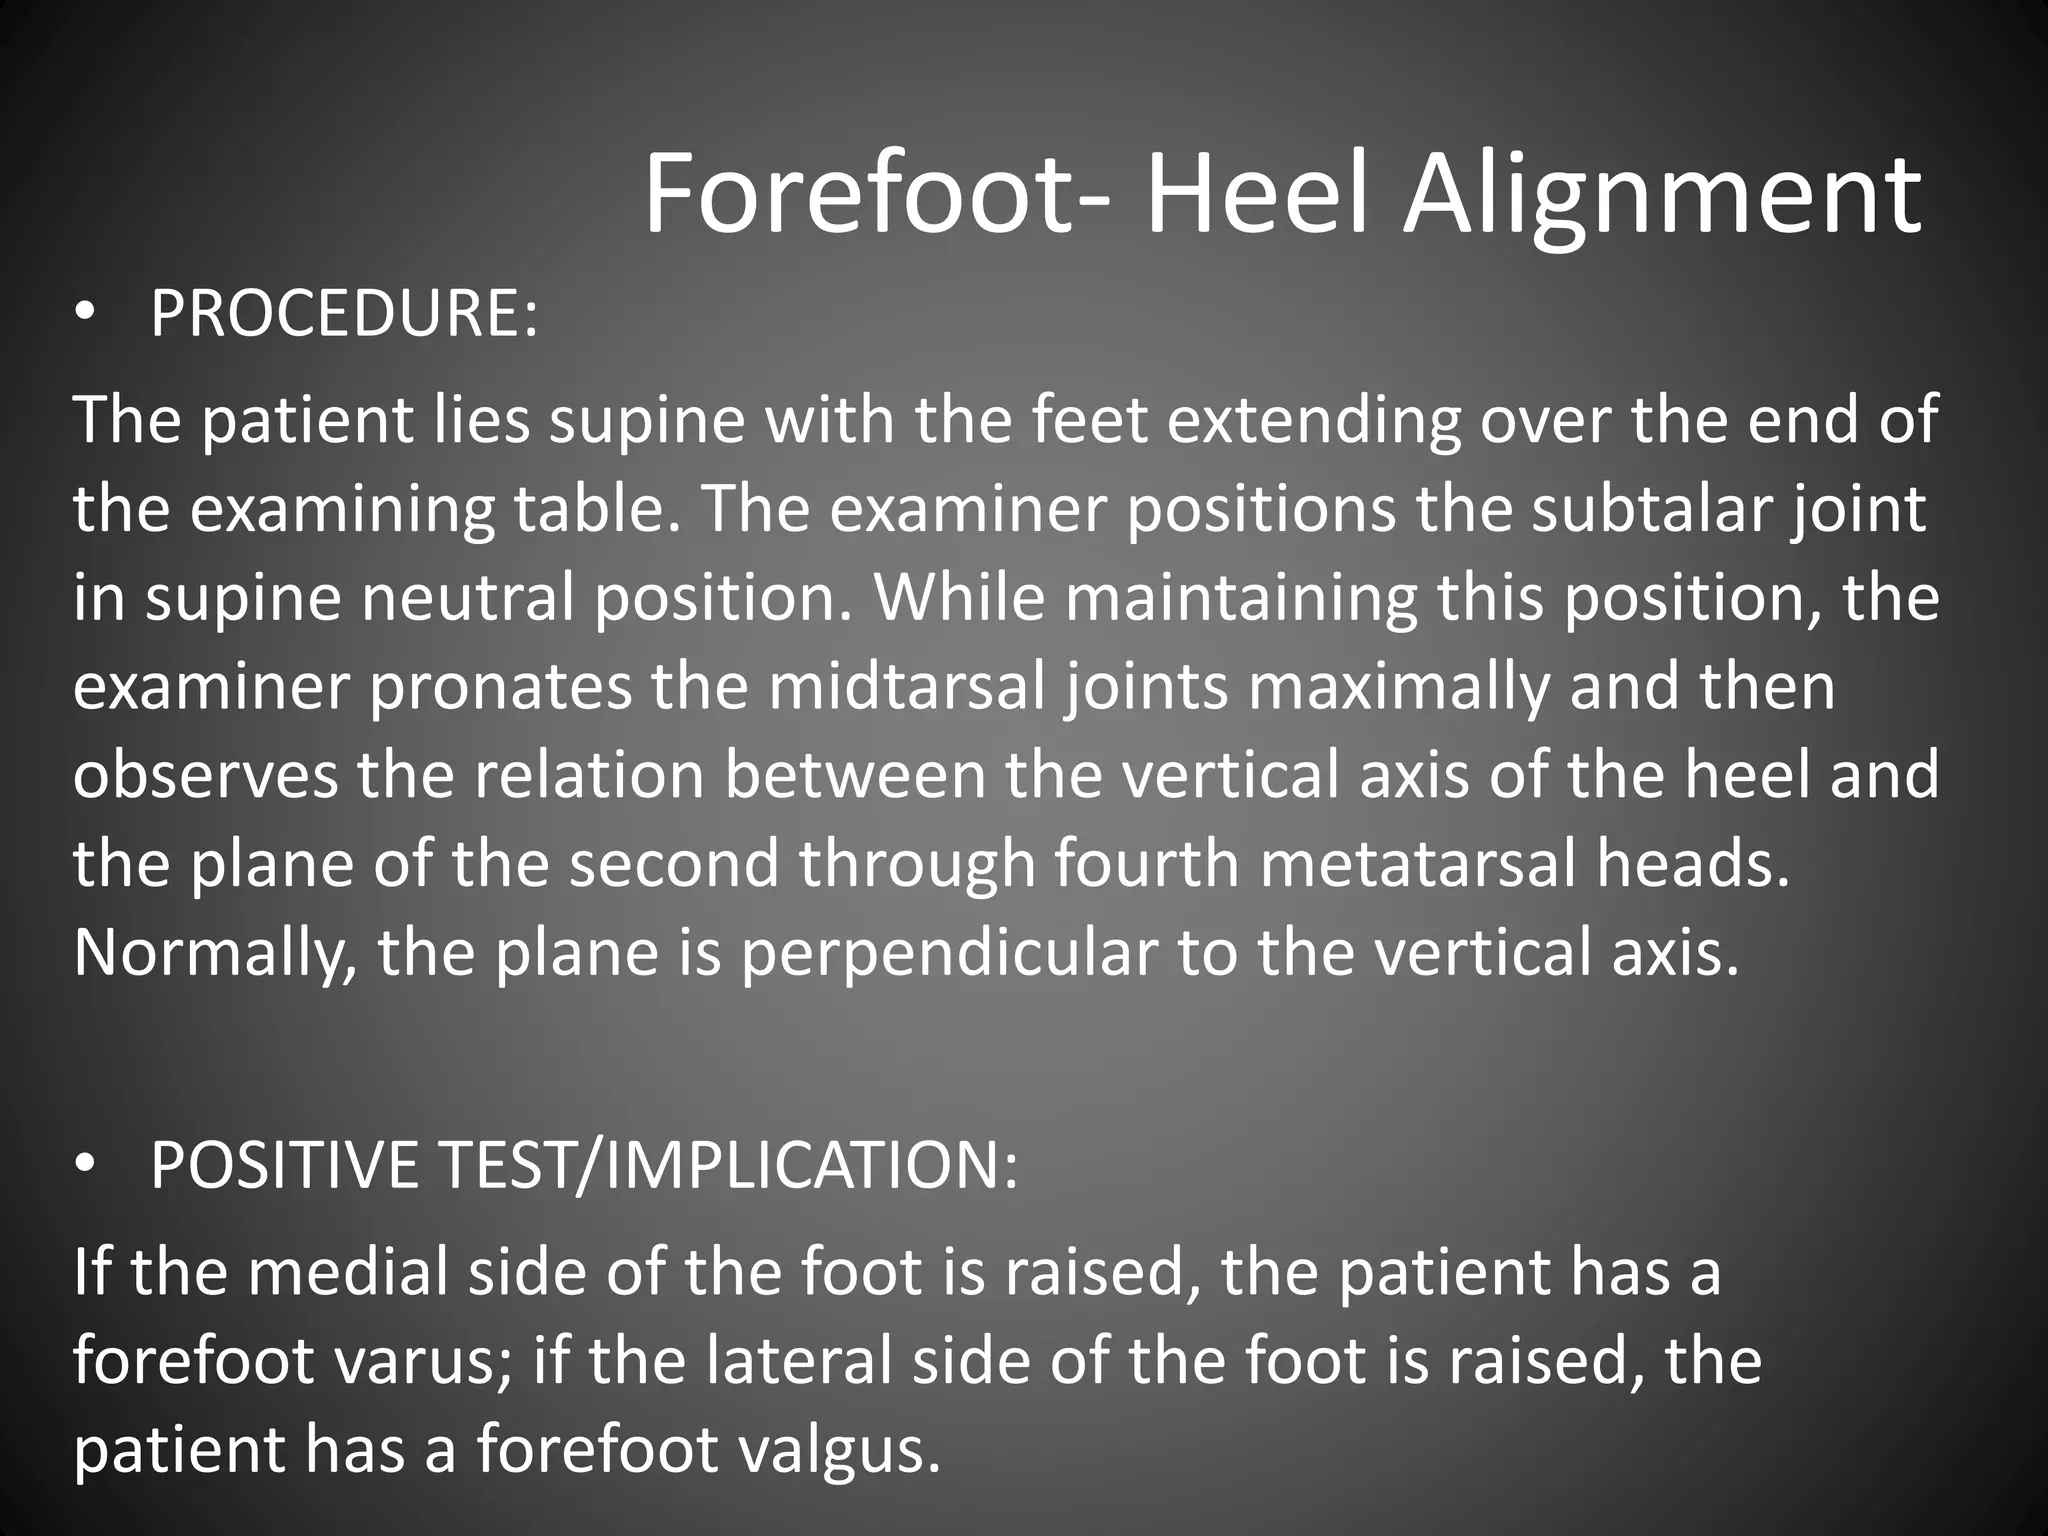
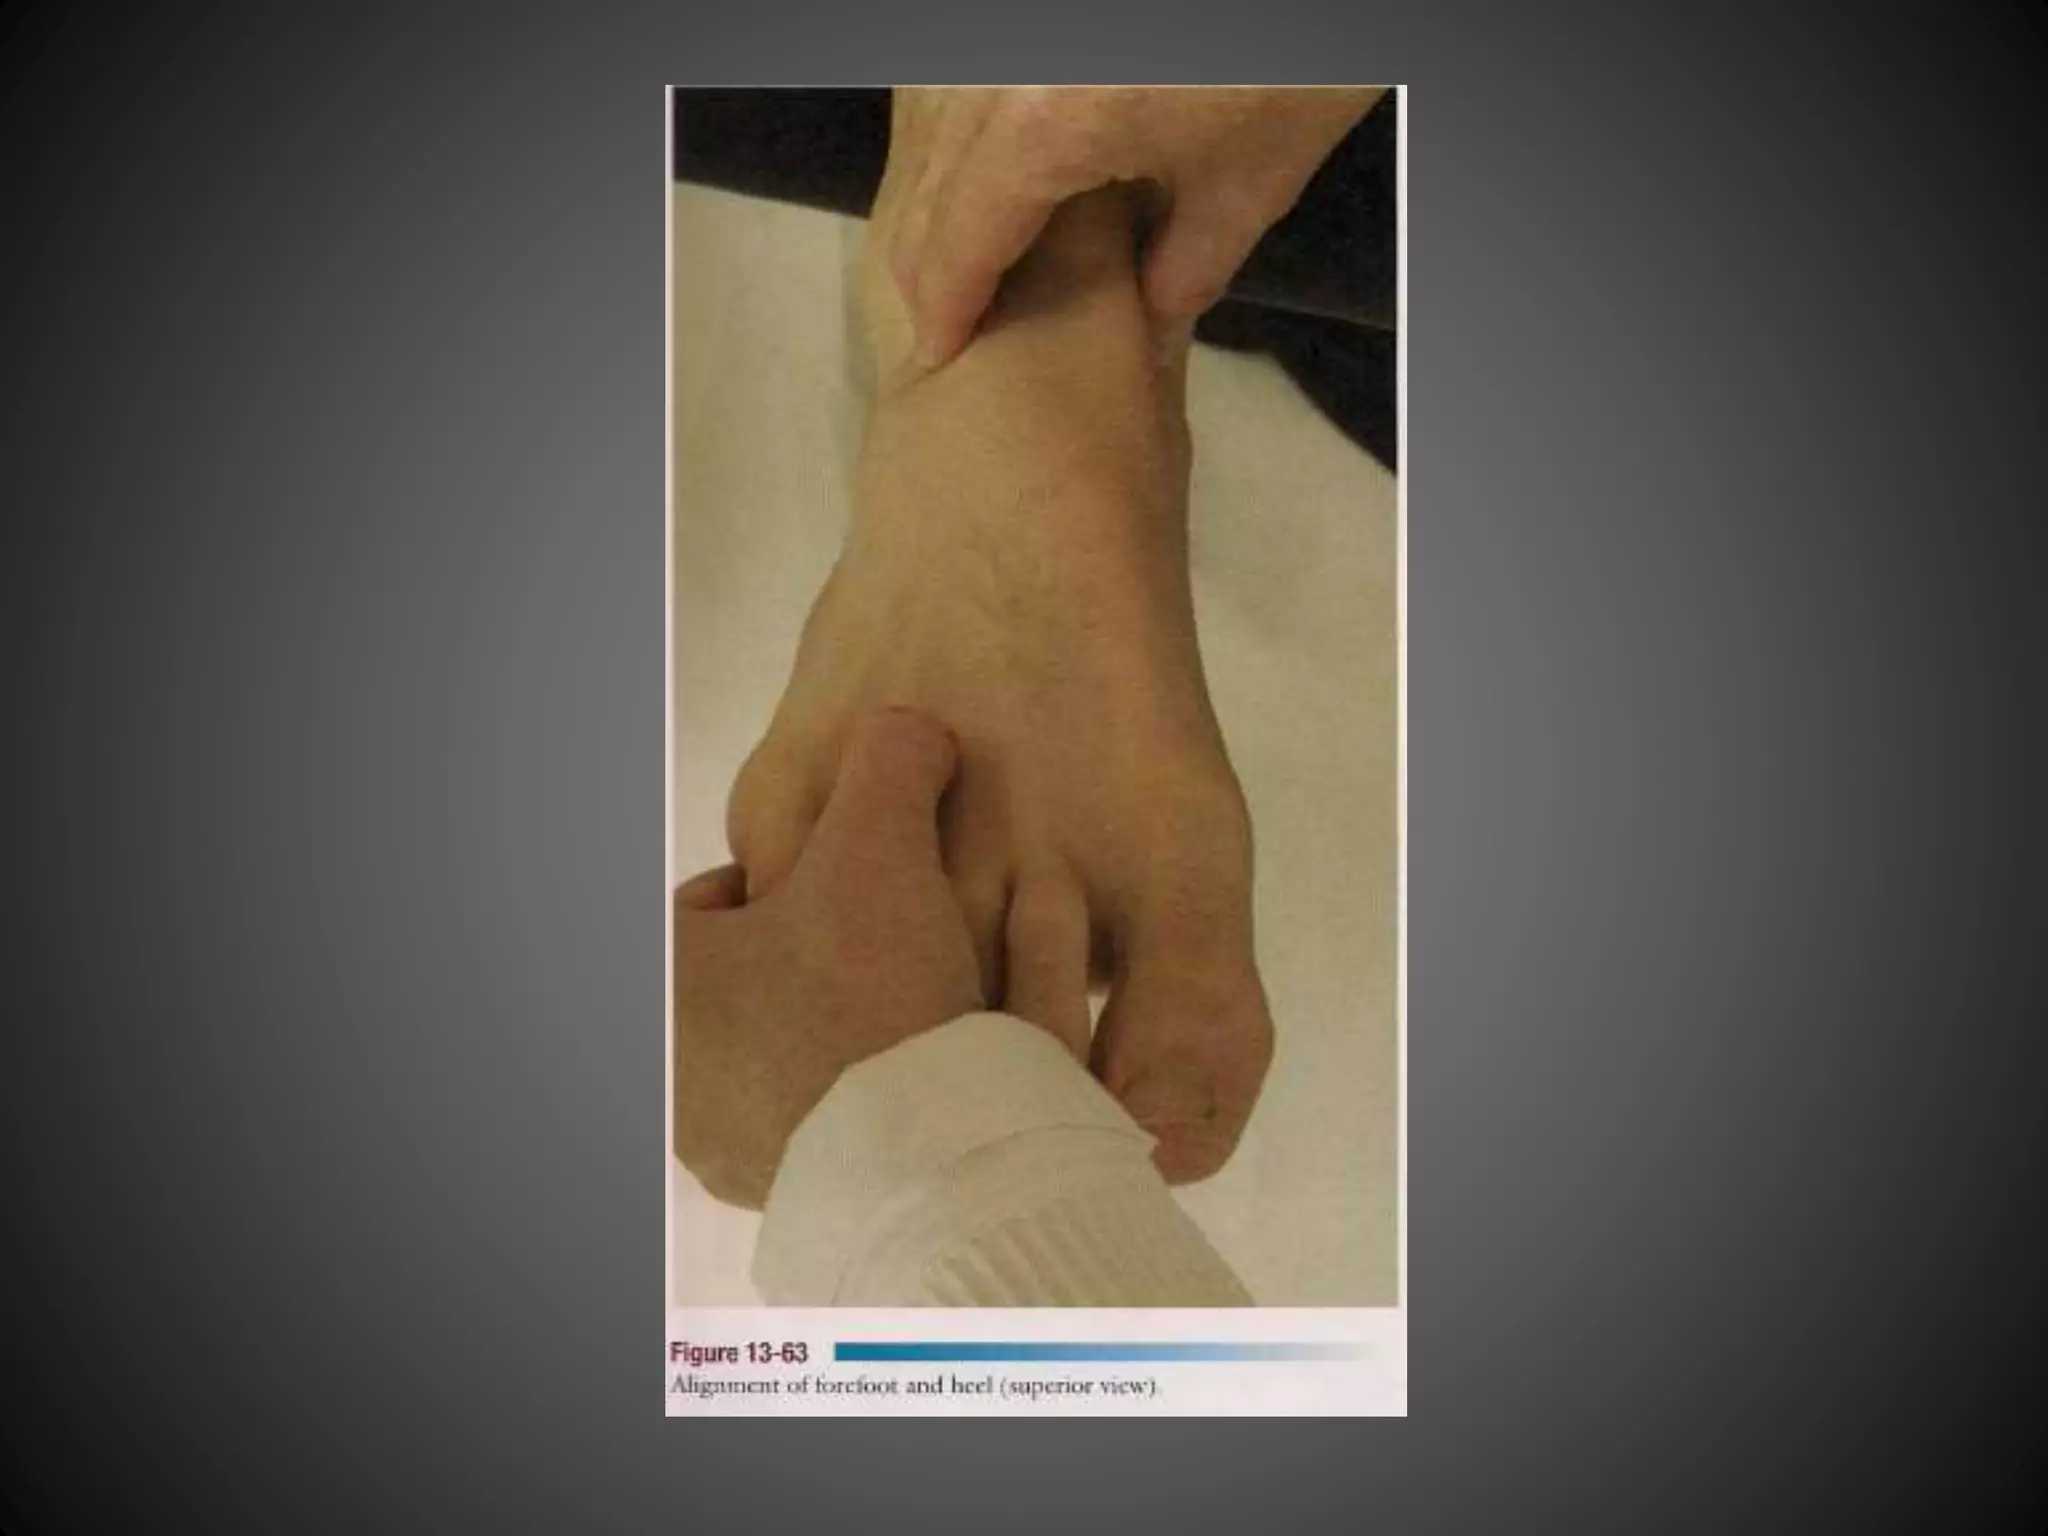
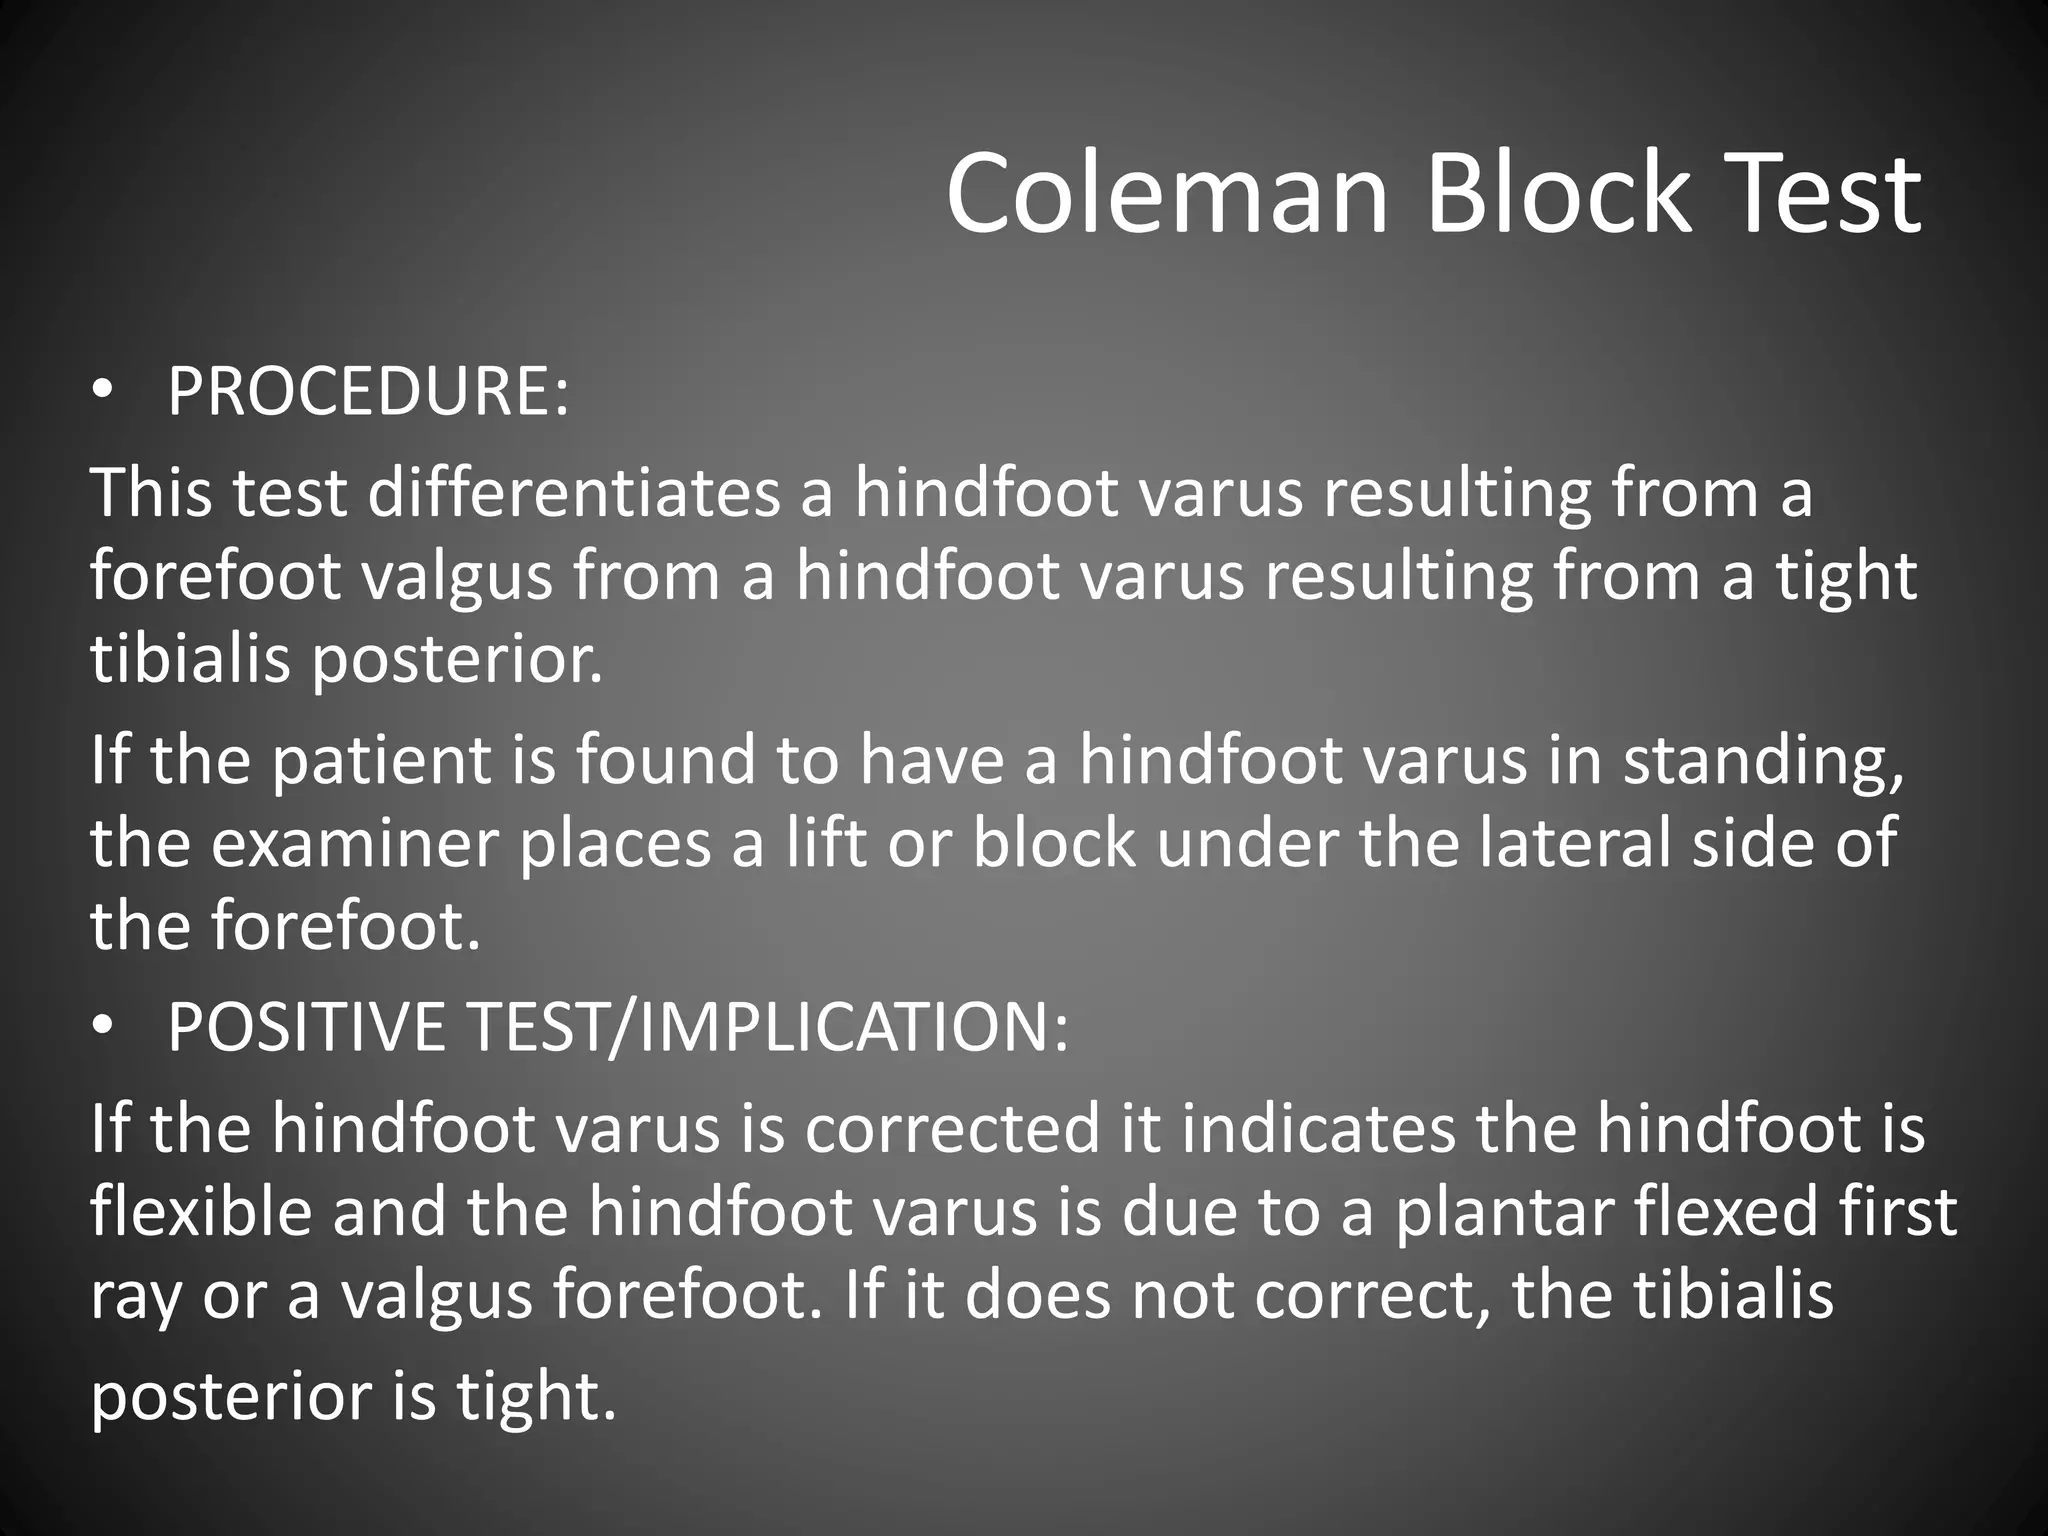
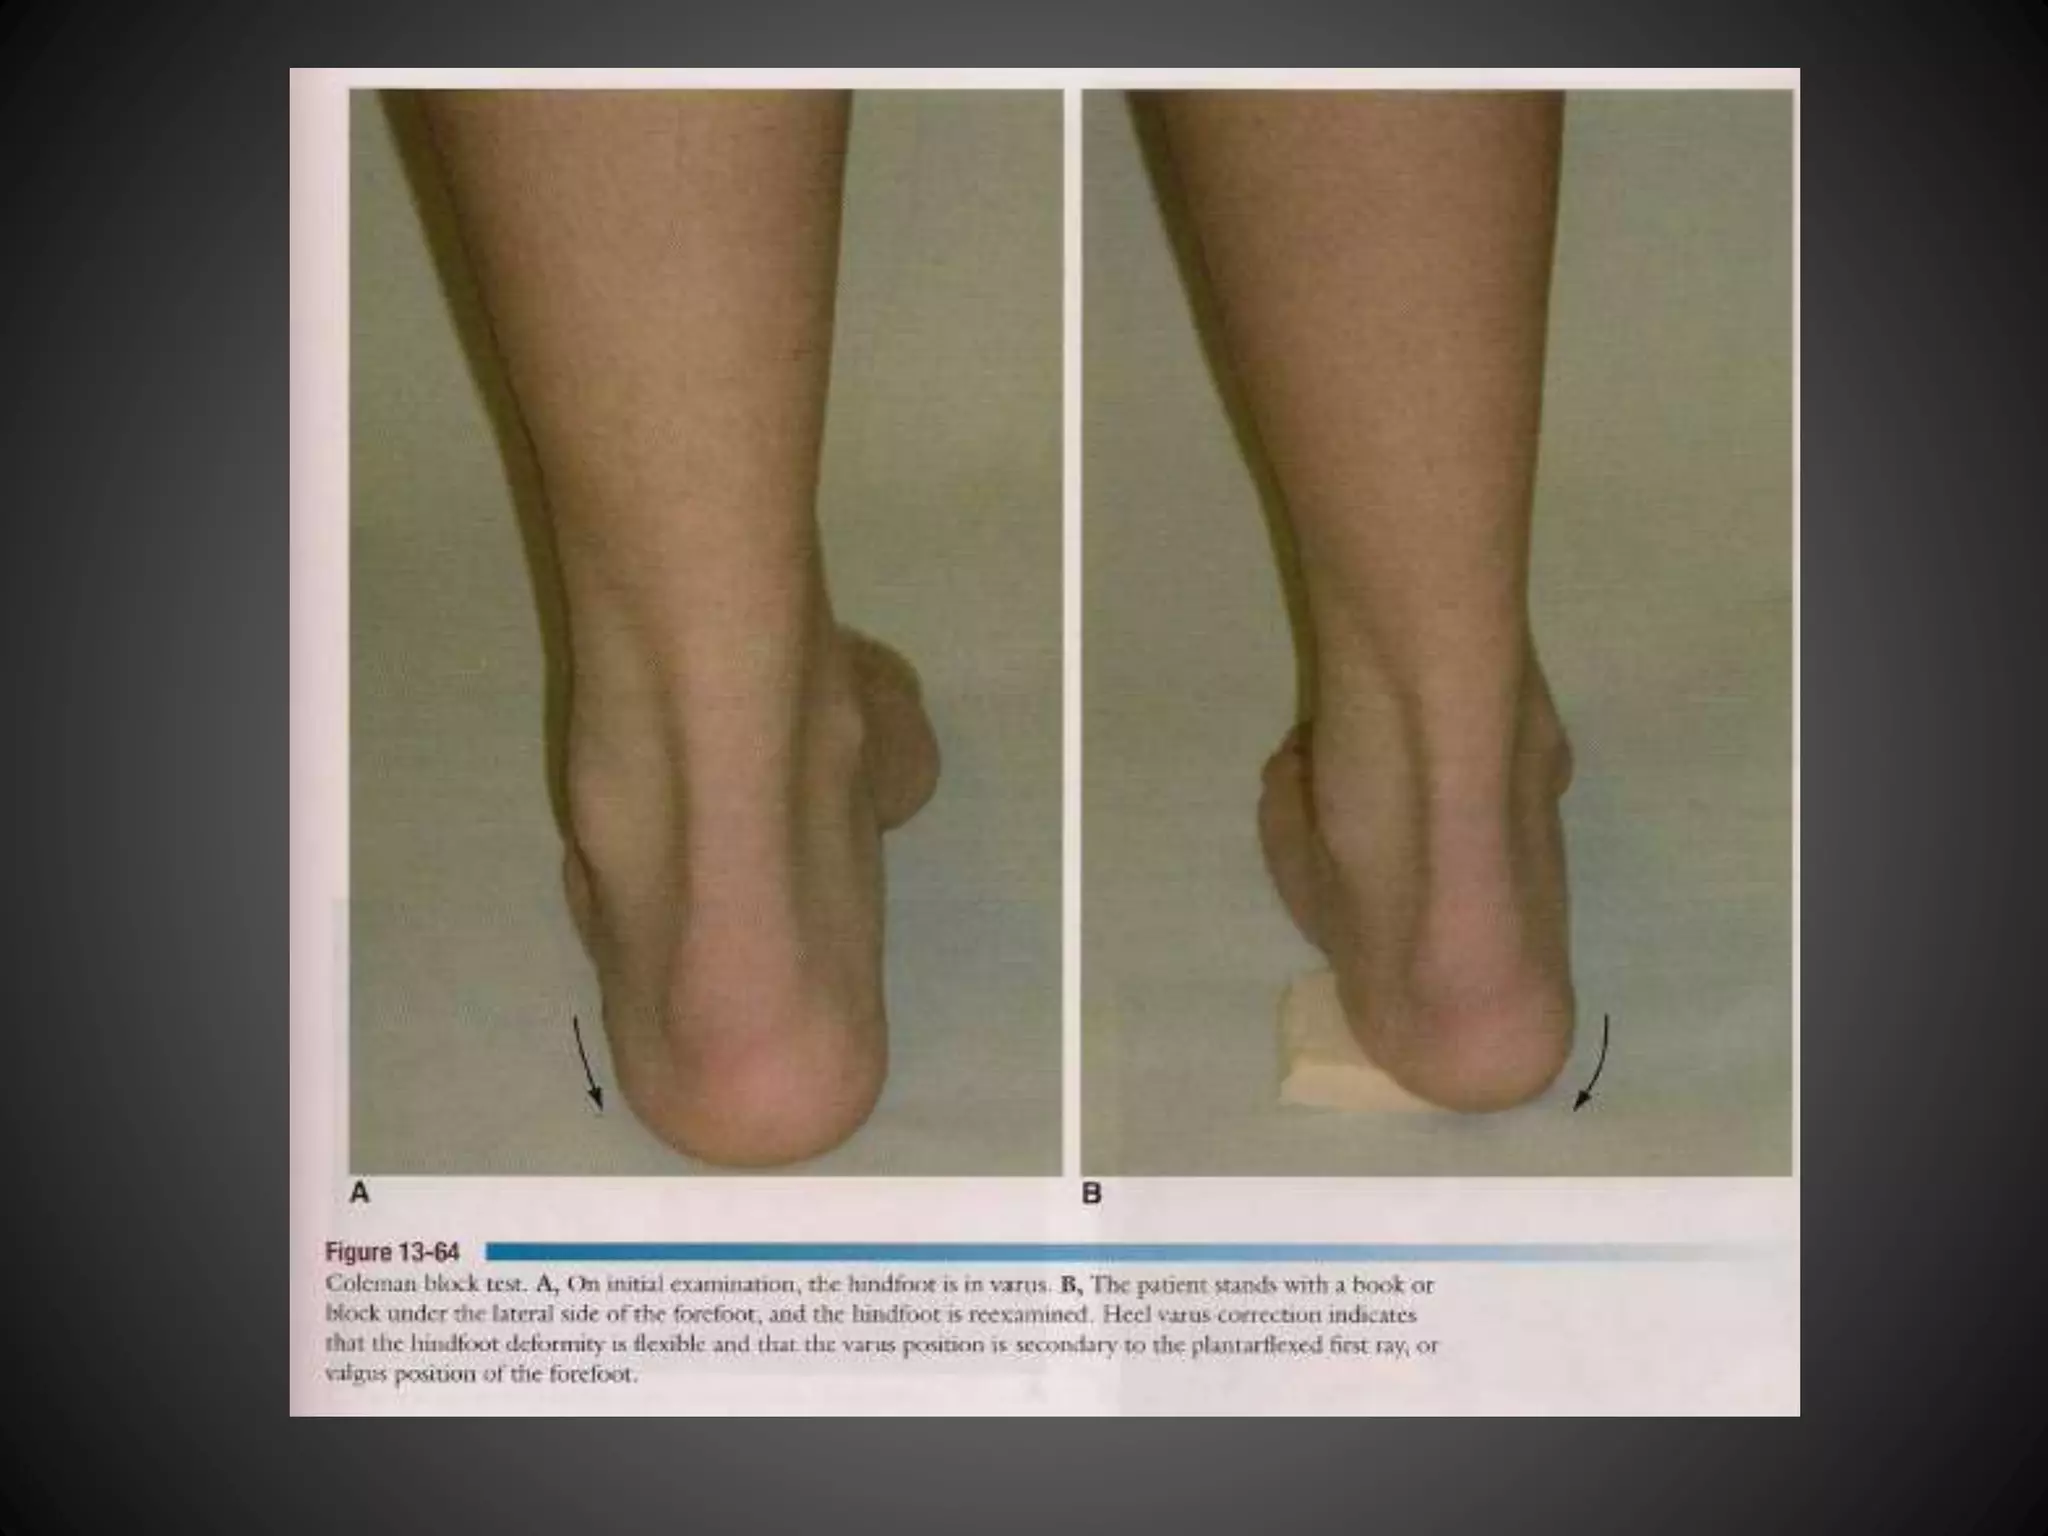
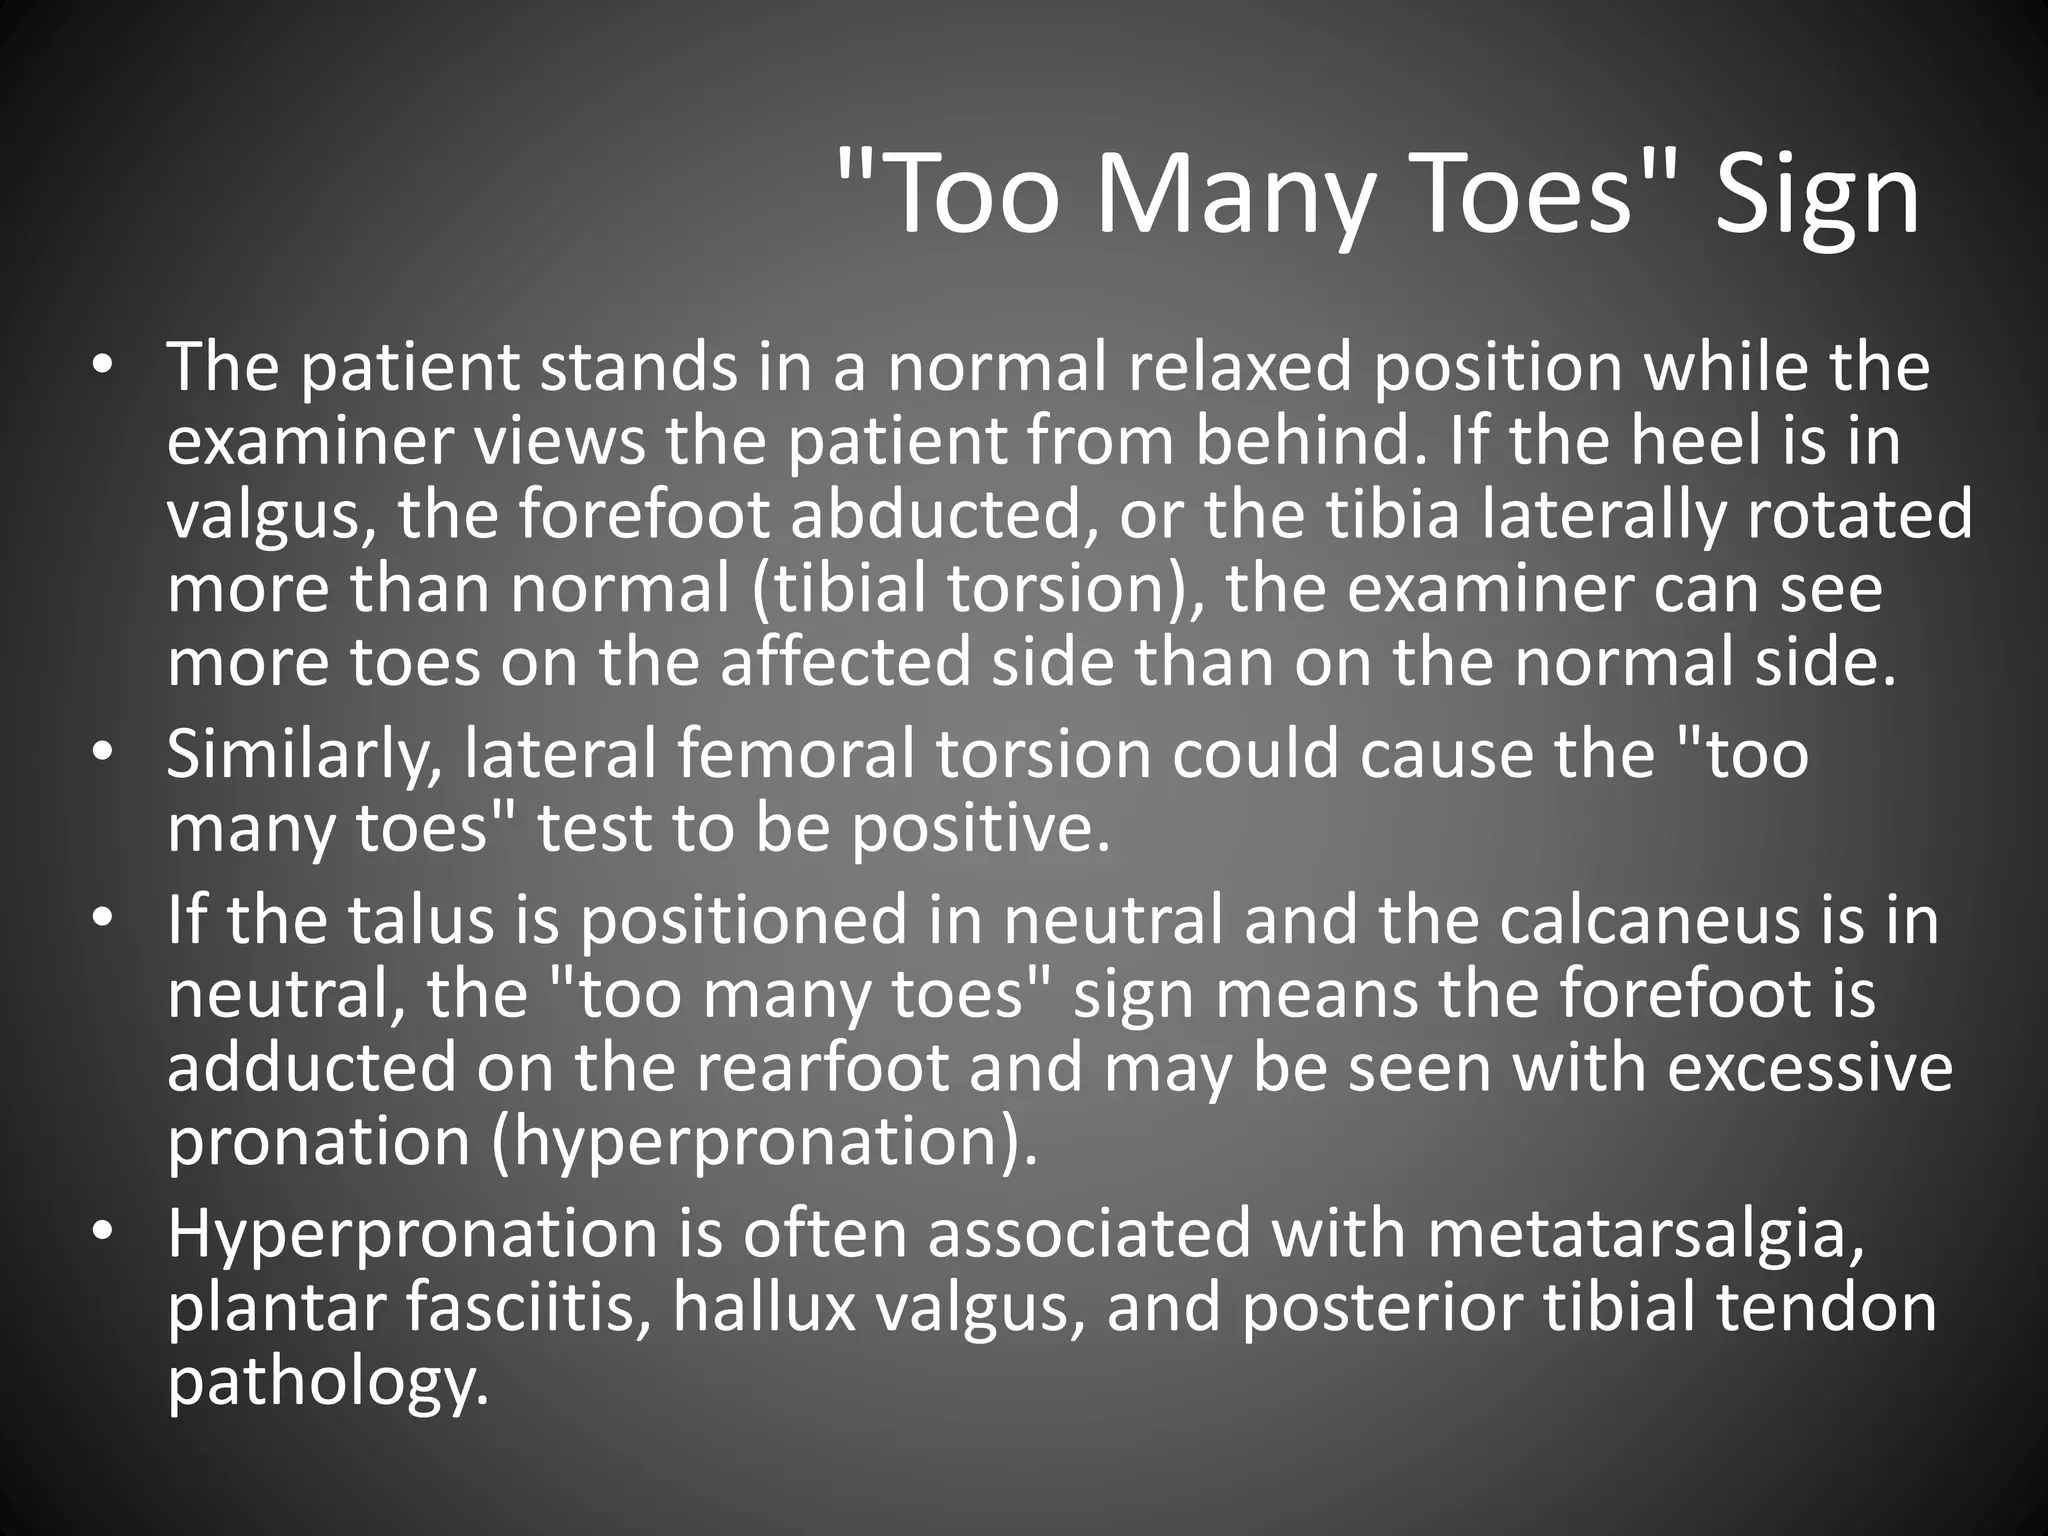
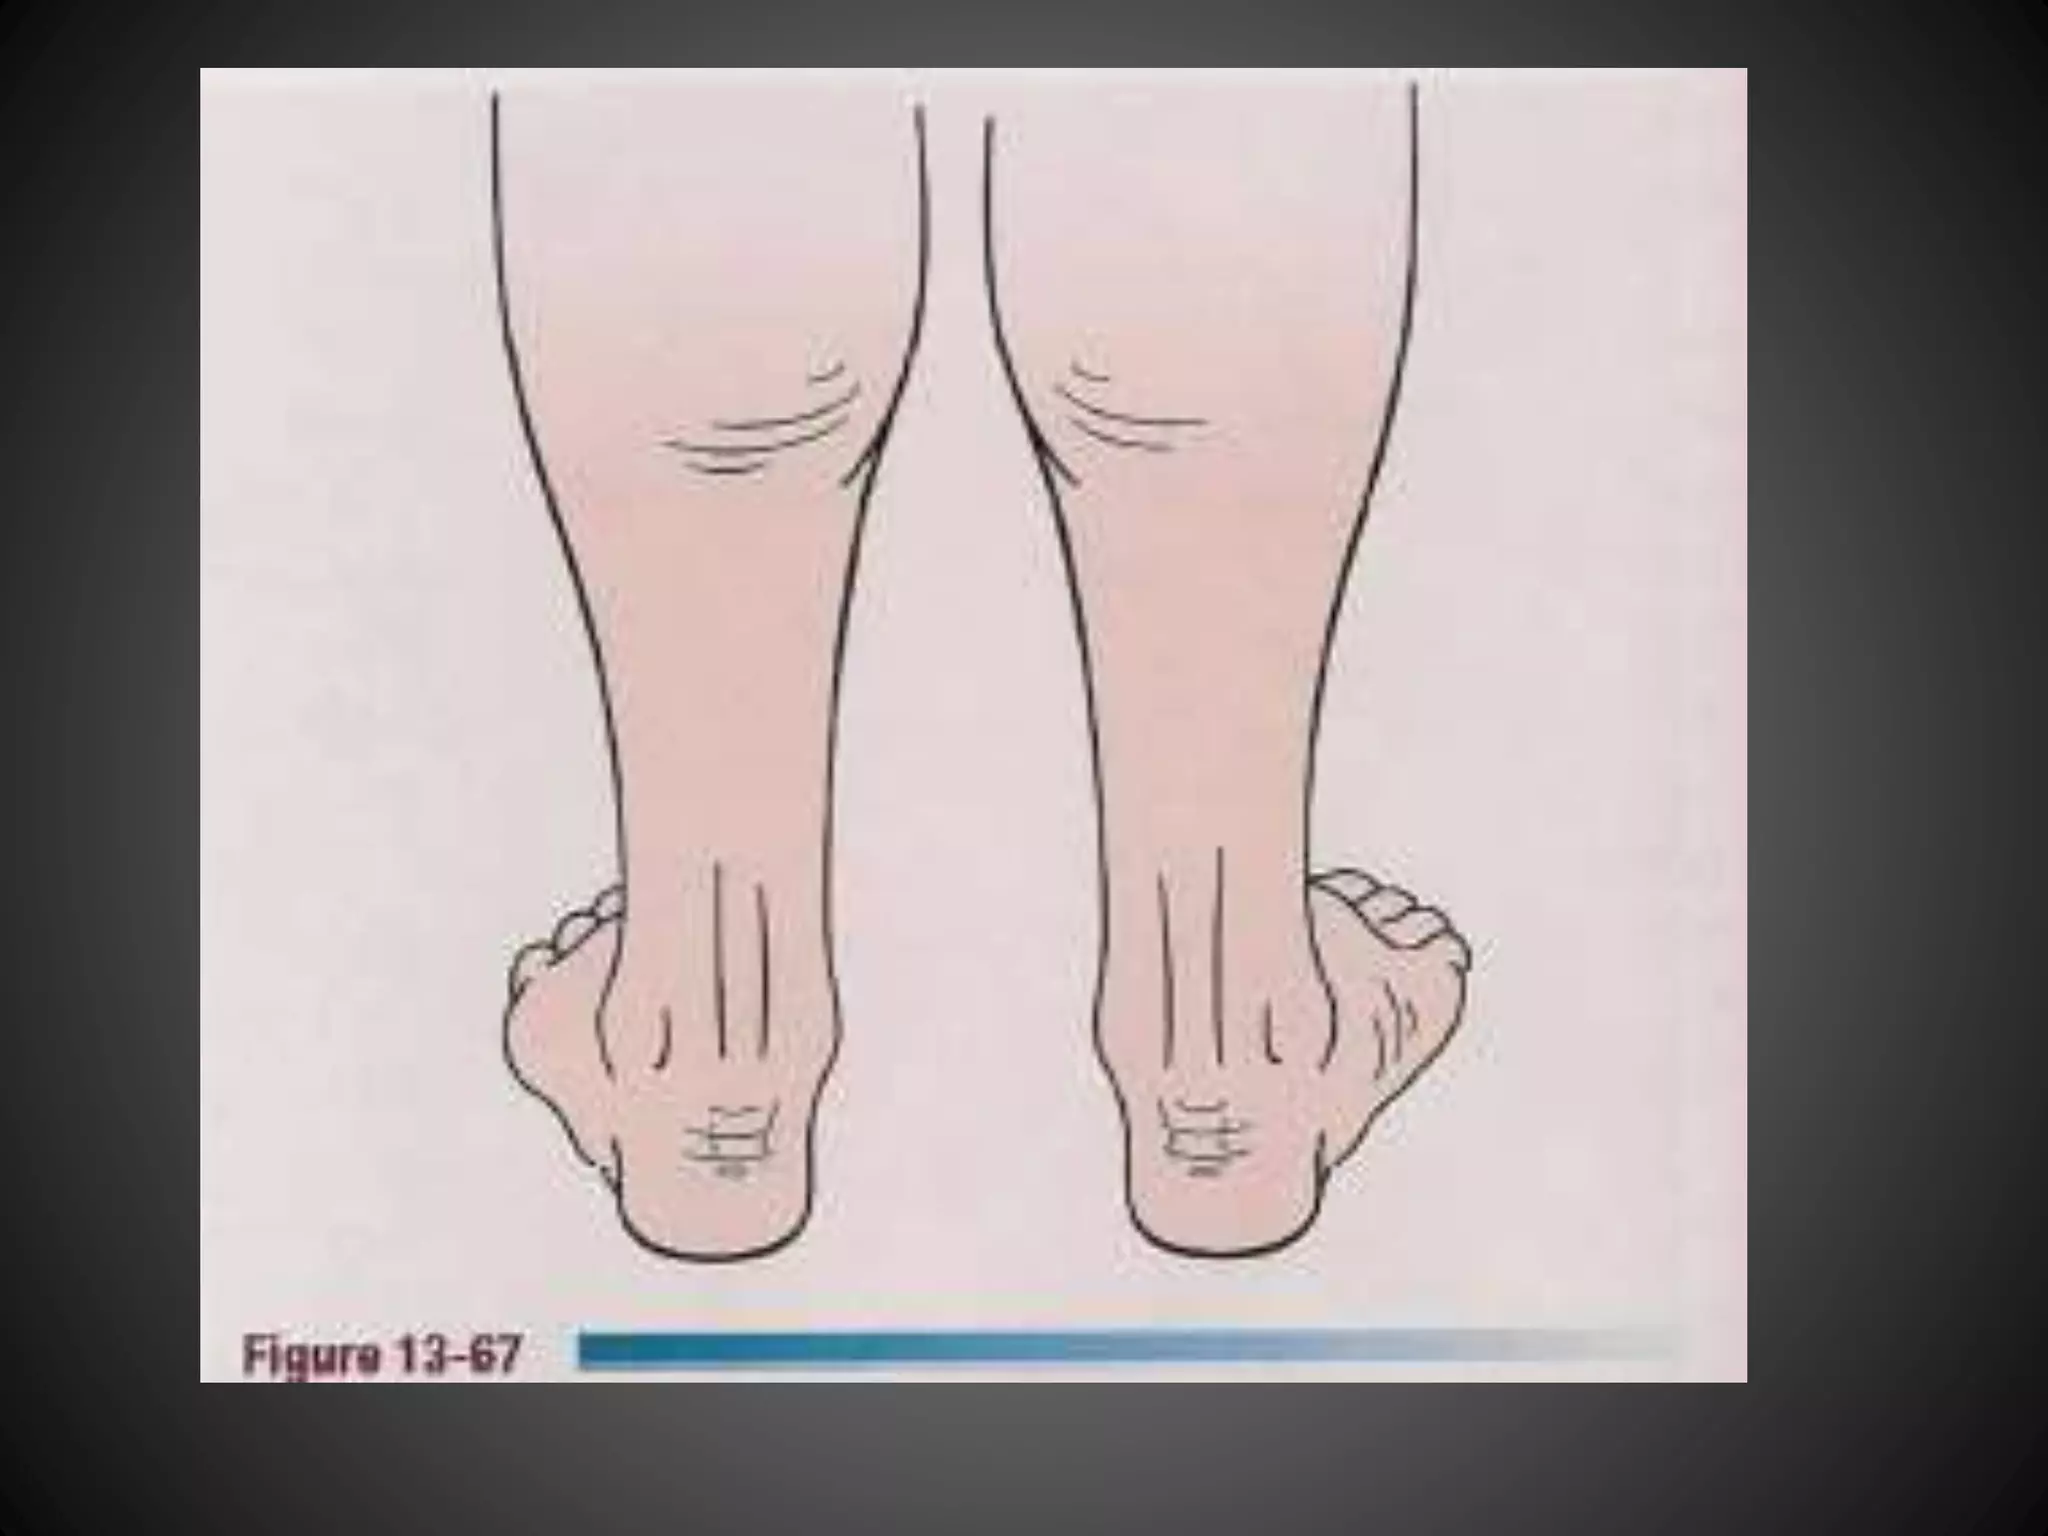
Evaluation of leg-heel and forefoot-heel alignments through specific procedures to identify conditions.
Evaluation of leg-heel and forefoot-heel alignments through specific procedures to identify conditions.
Evaluation of leg-heel and forefoot-heel alignments through specific procedures to identify conditions.
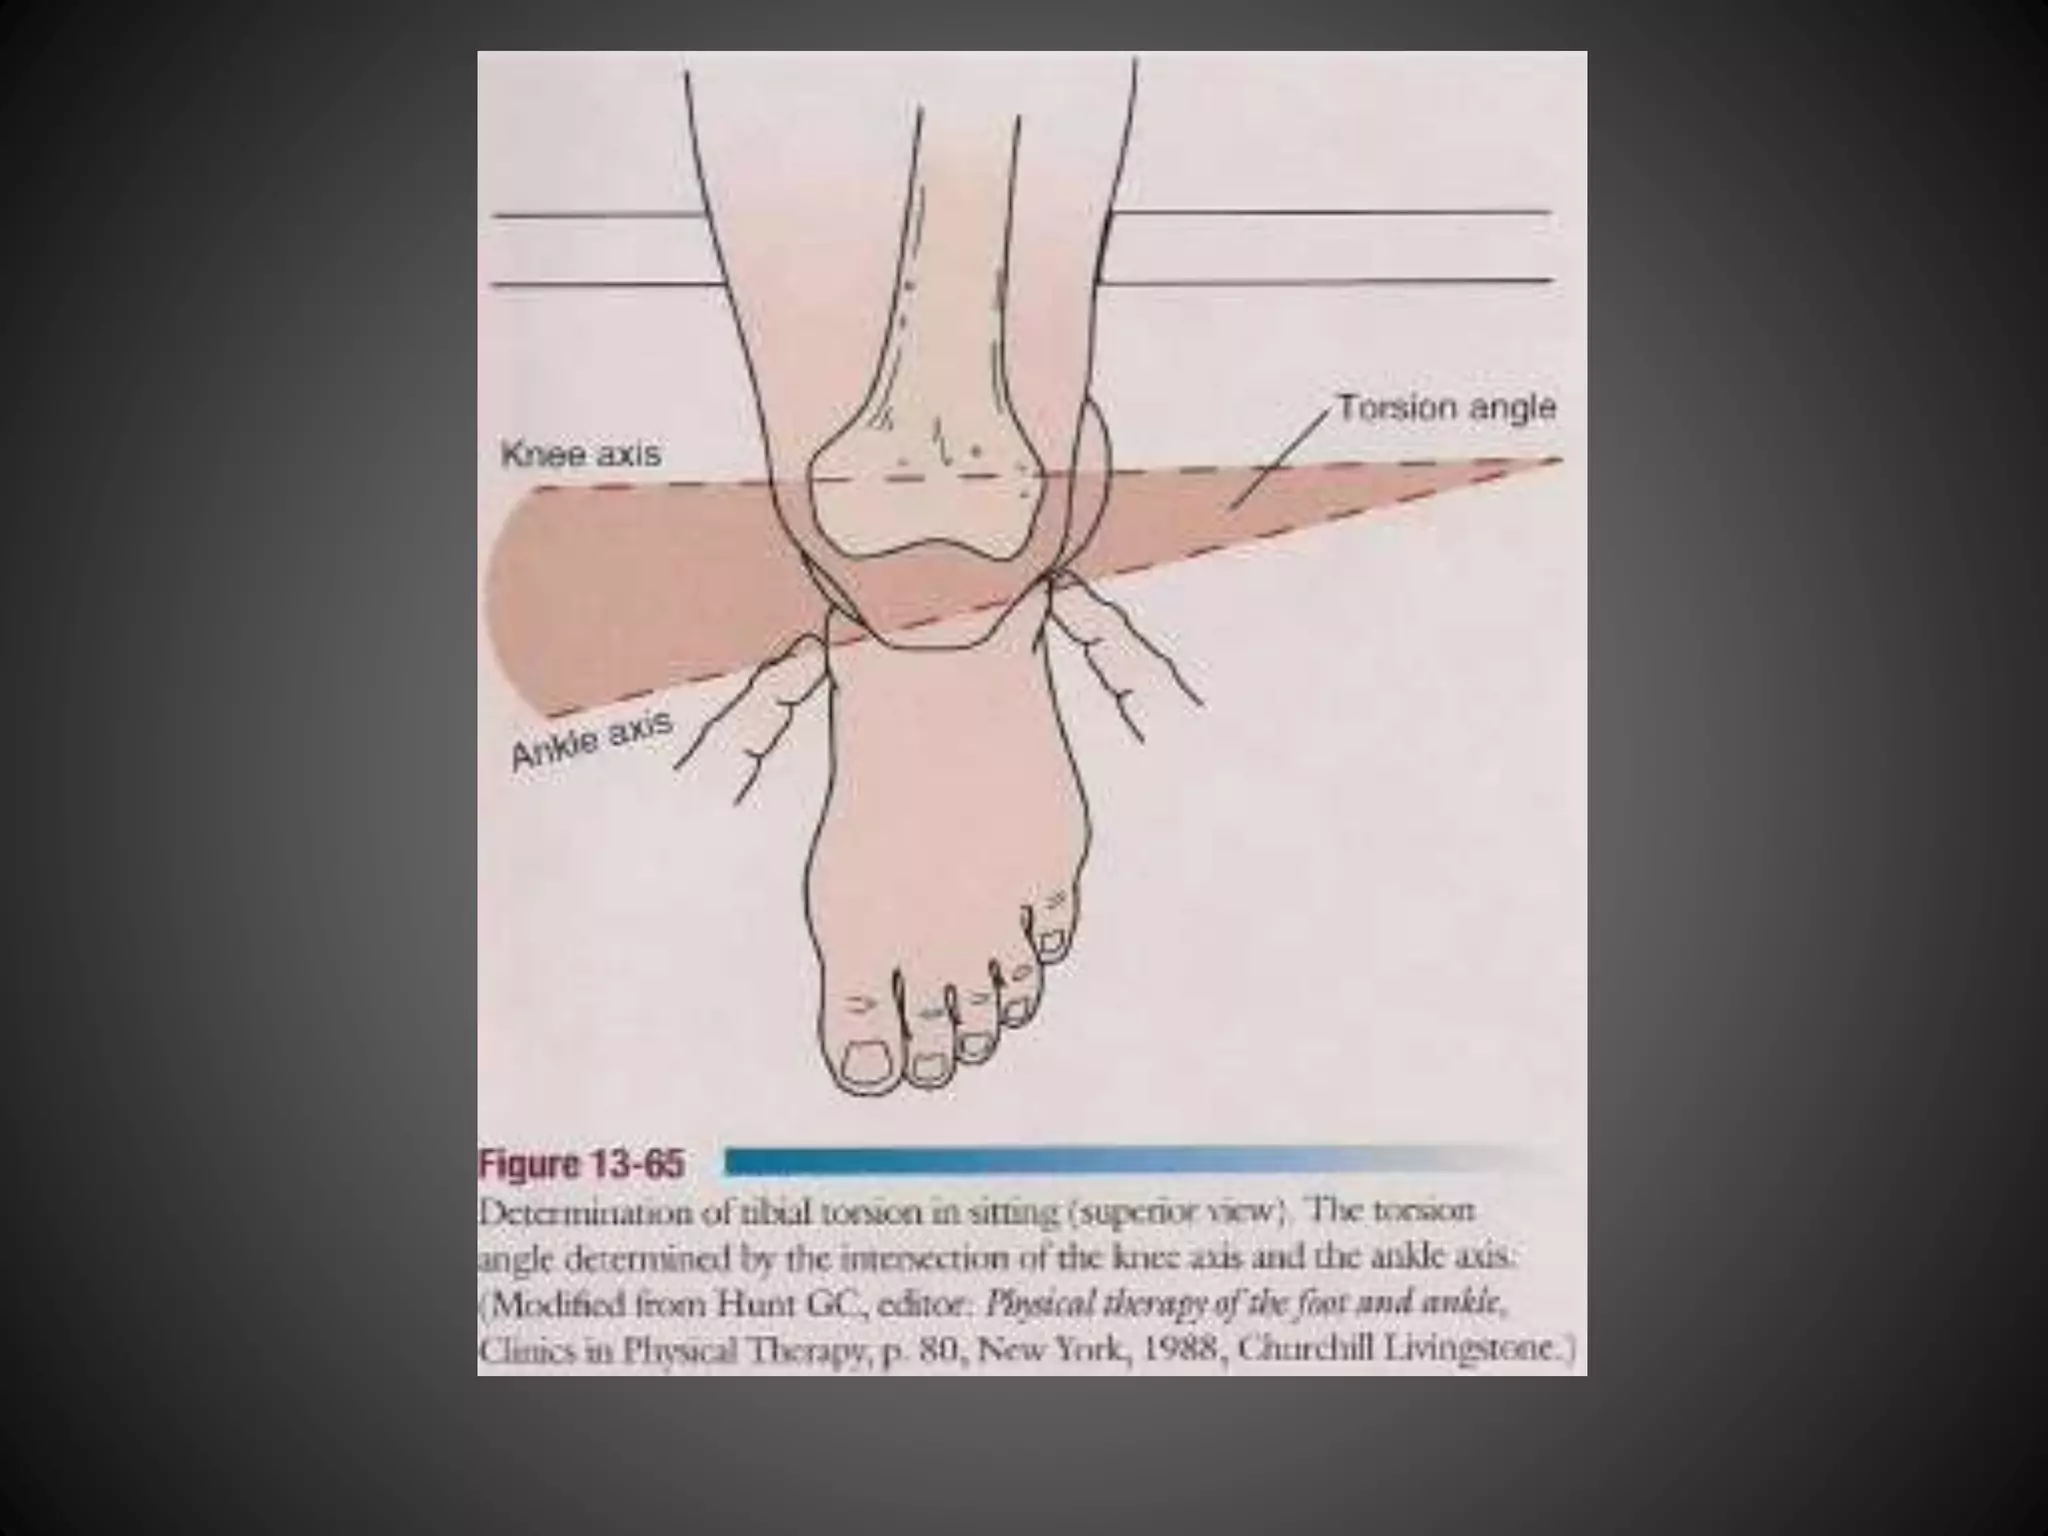
Methods for measuring tibial torsion in seated, supine, and prone positions to detect abnormalities.
Methods for measuring tibial torsion in seated, supine, and prone positions to detect abnormalities.
Methods for measuring tibial torsion in seated, supine, and prone positions to detect abnormalities.
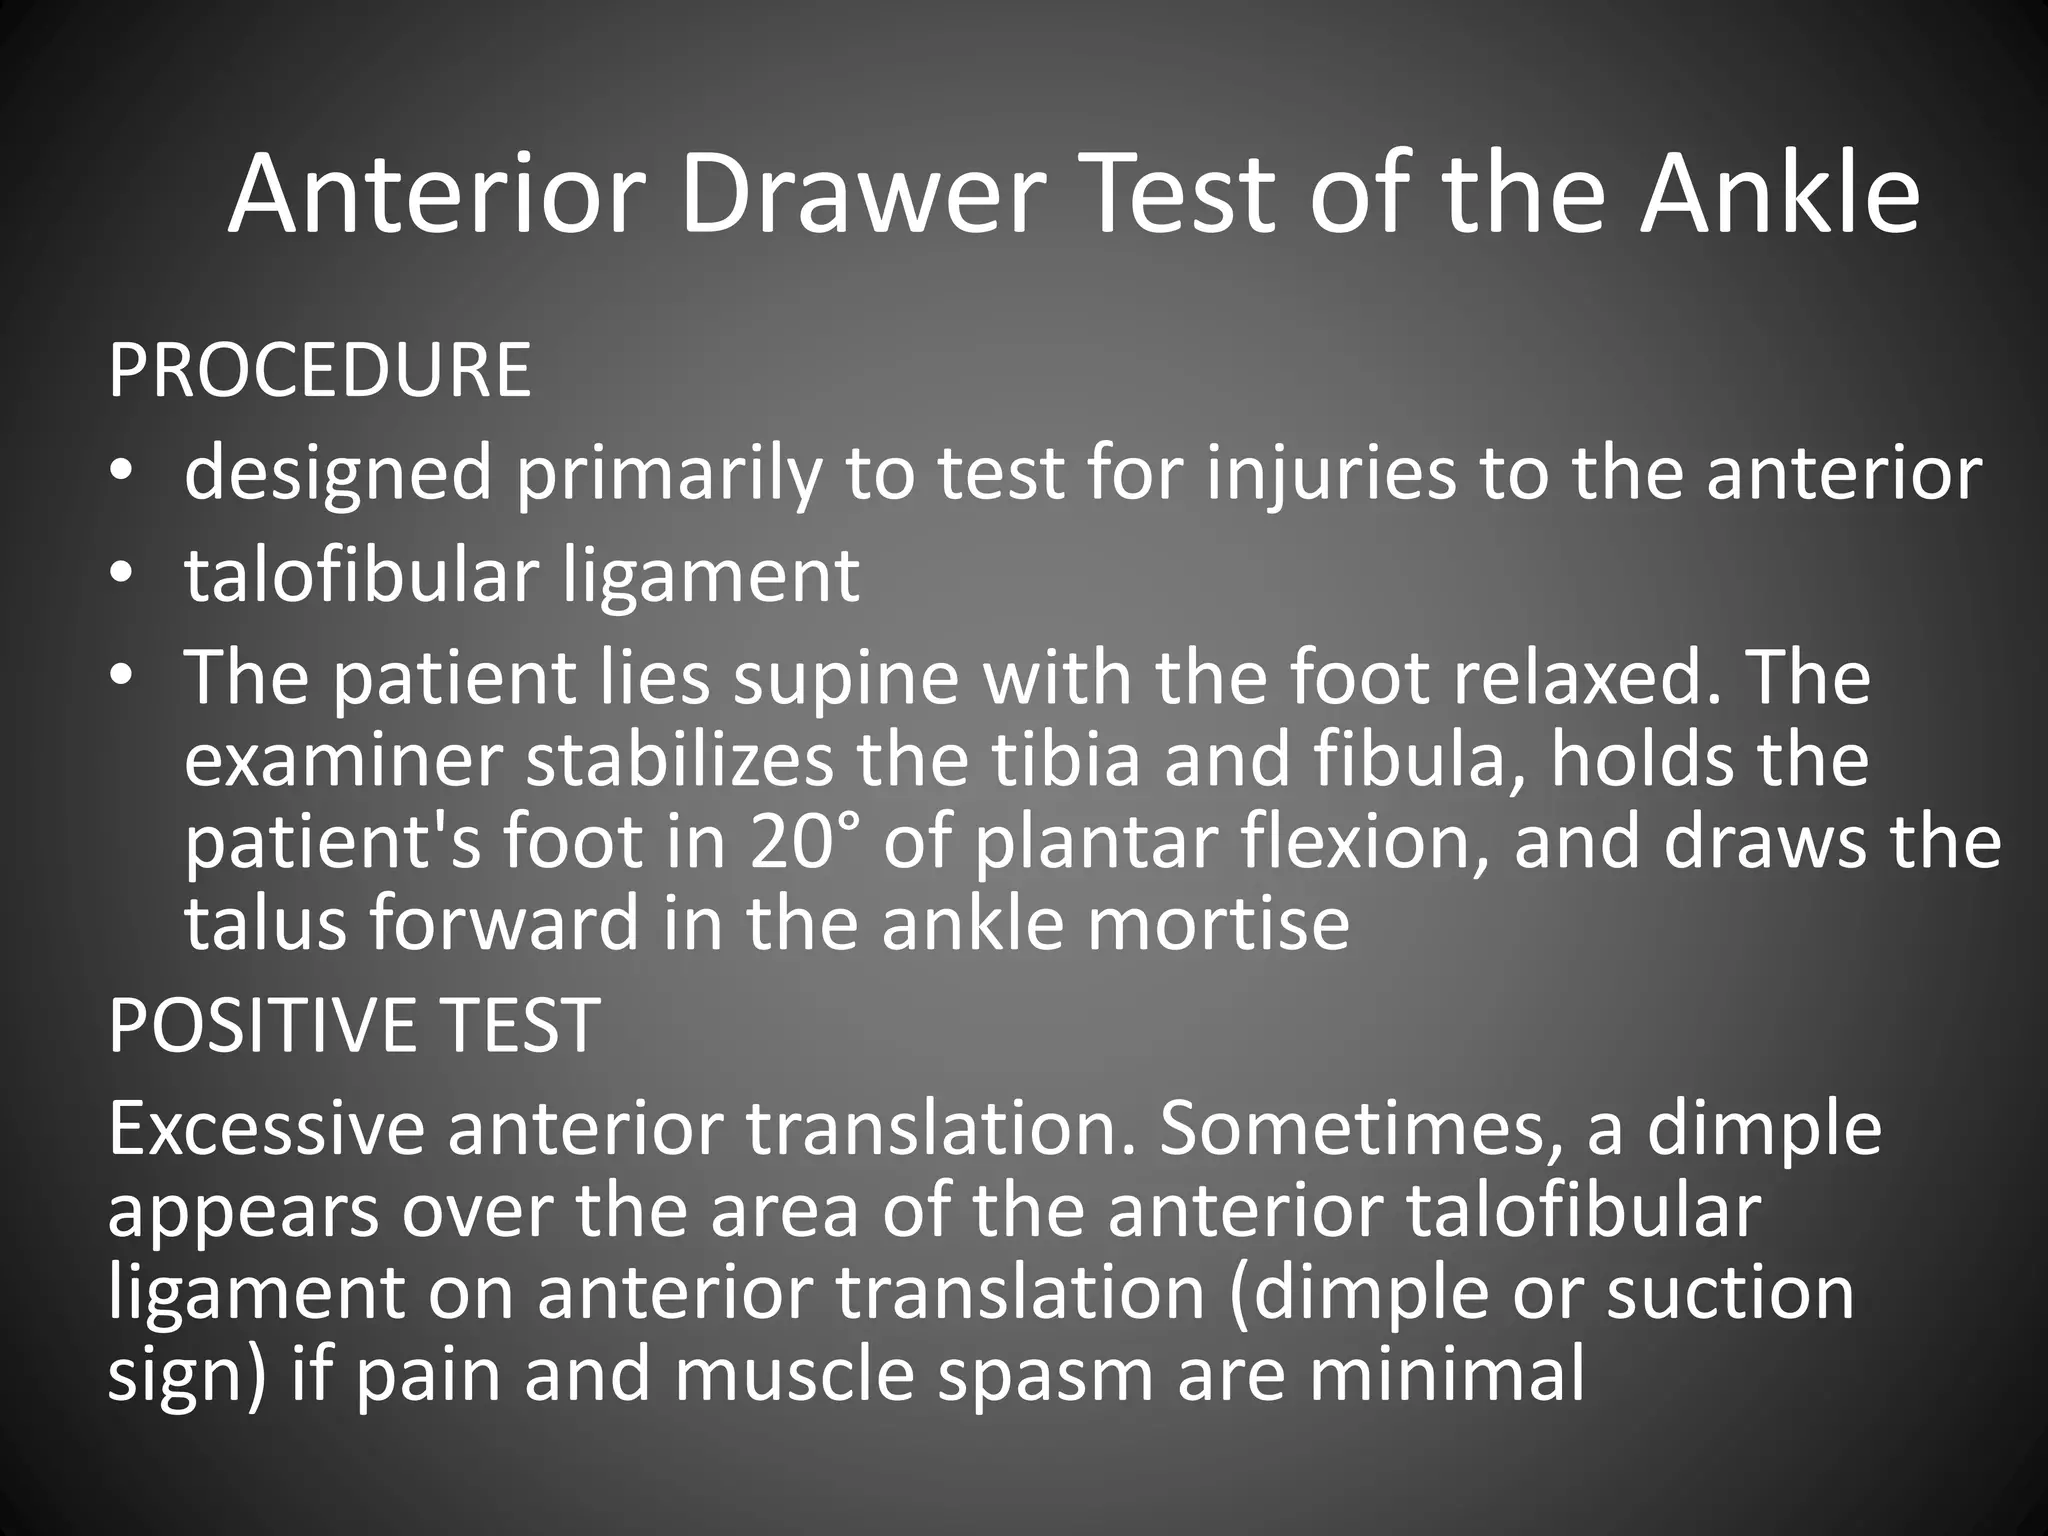
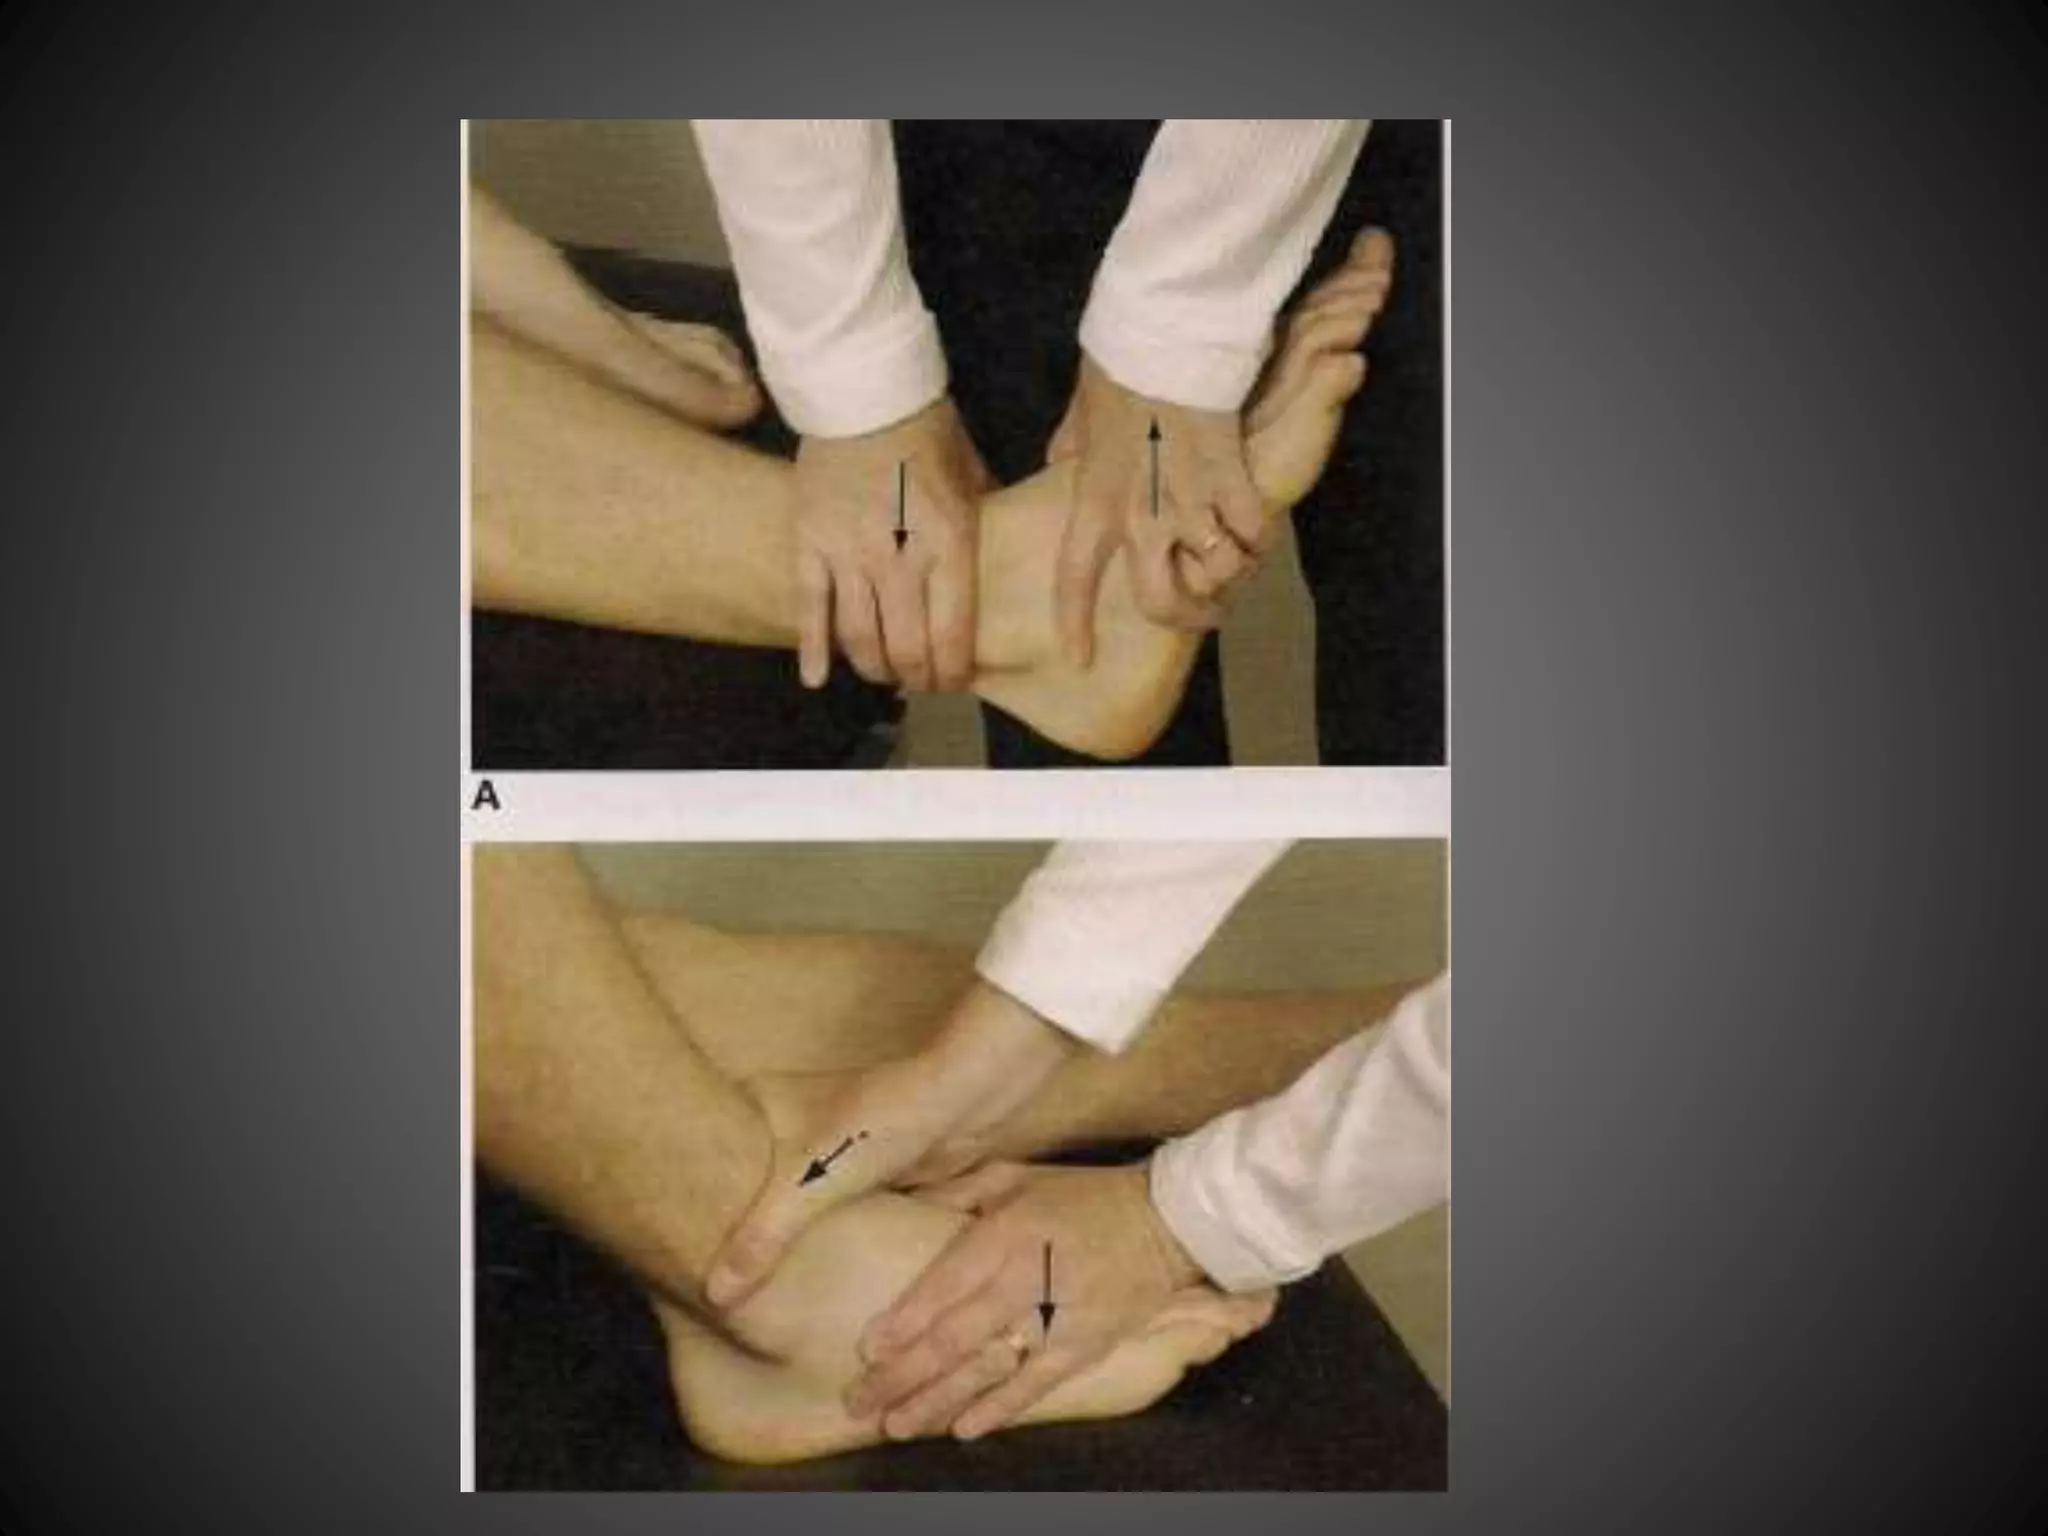
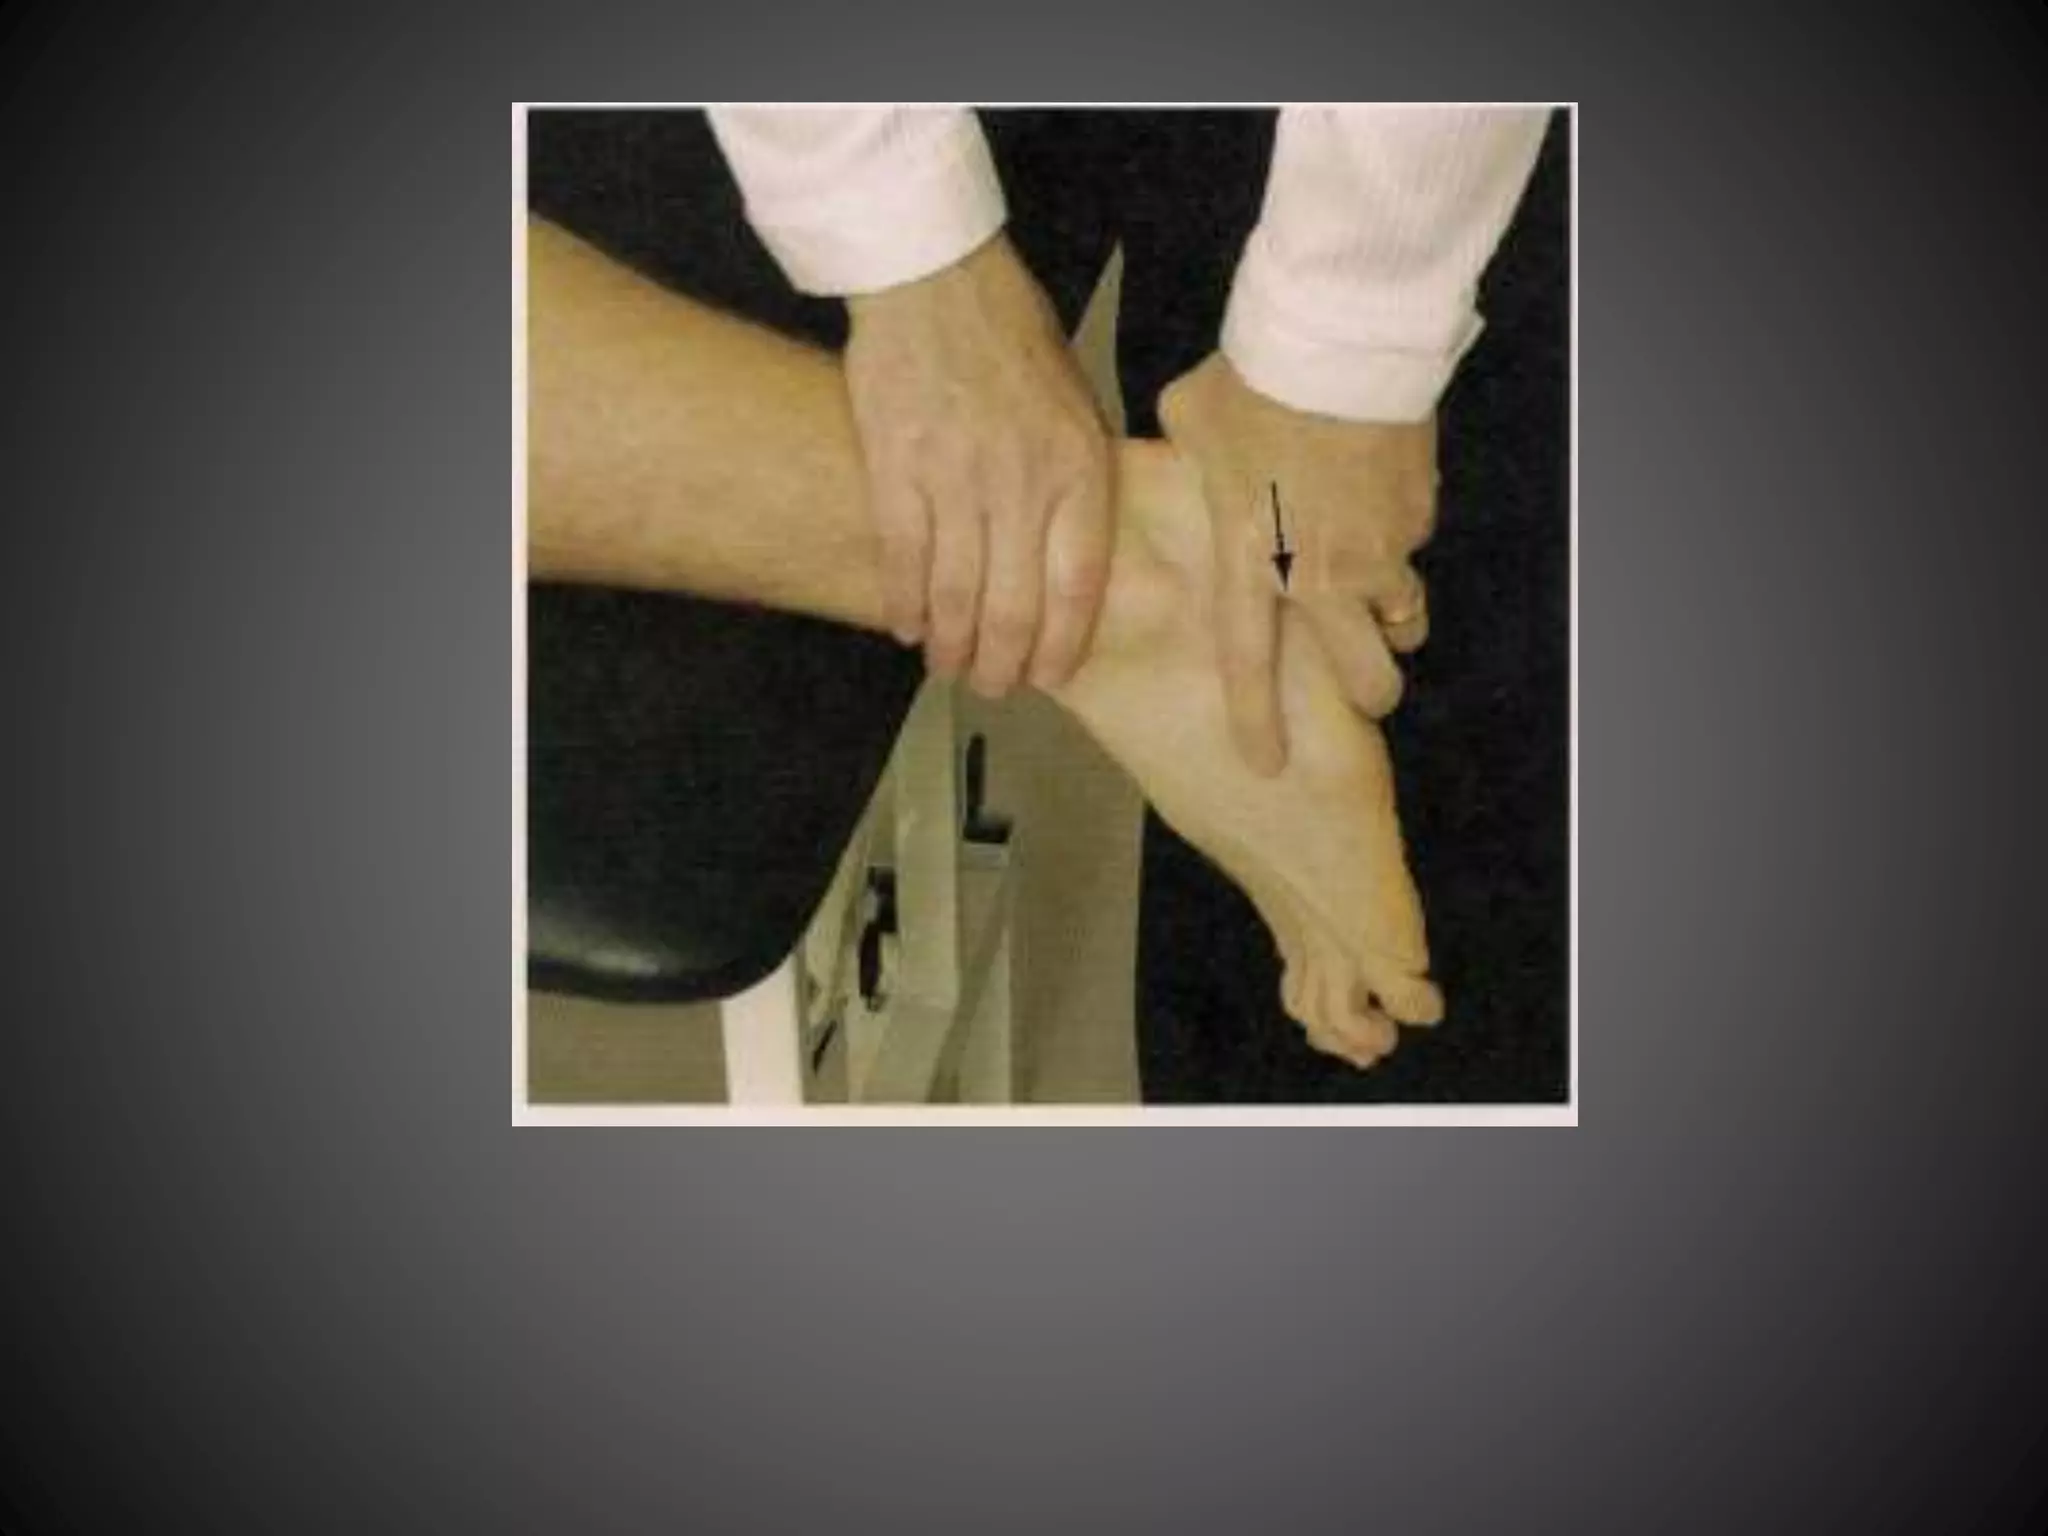
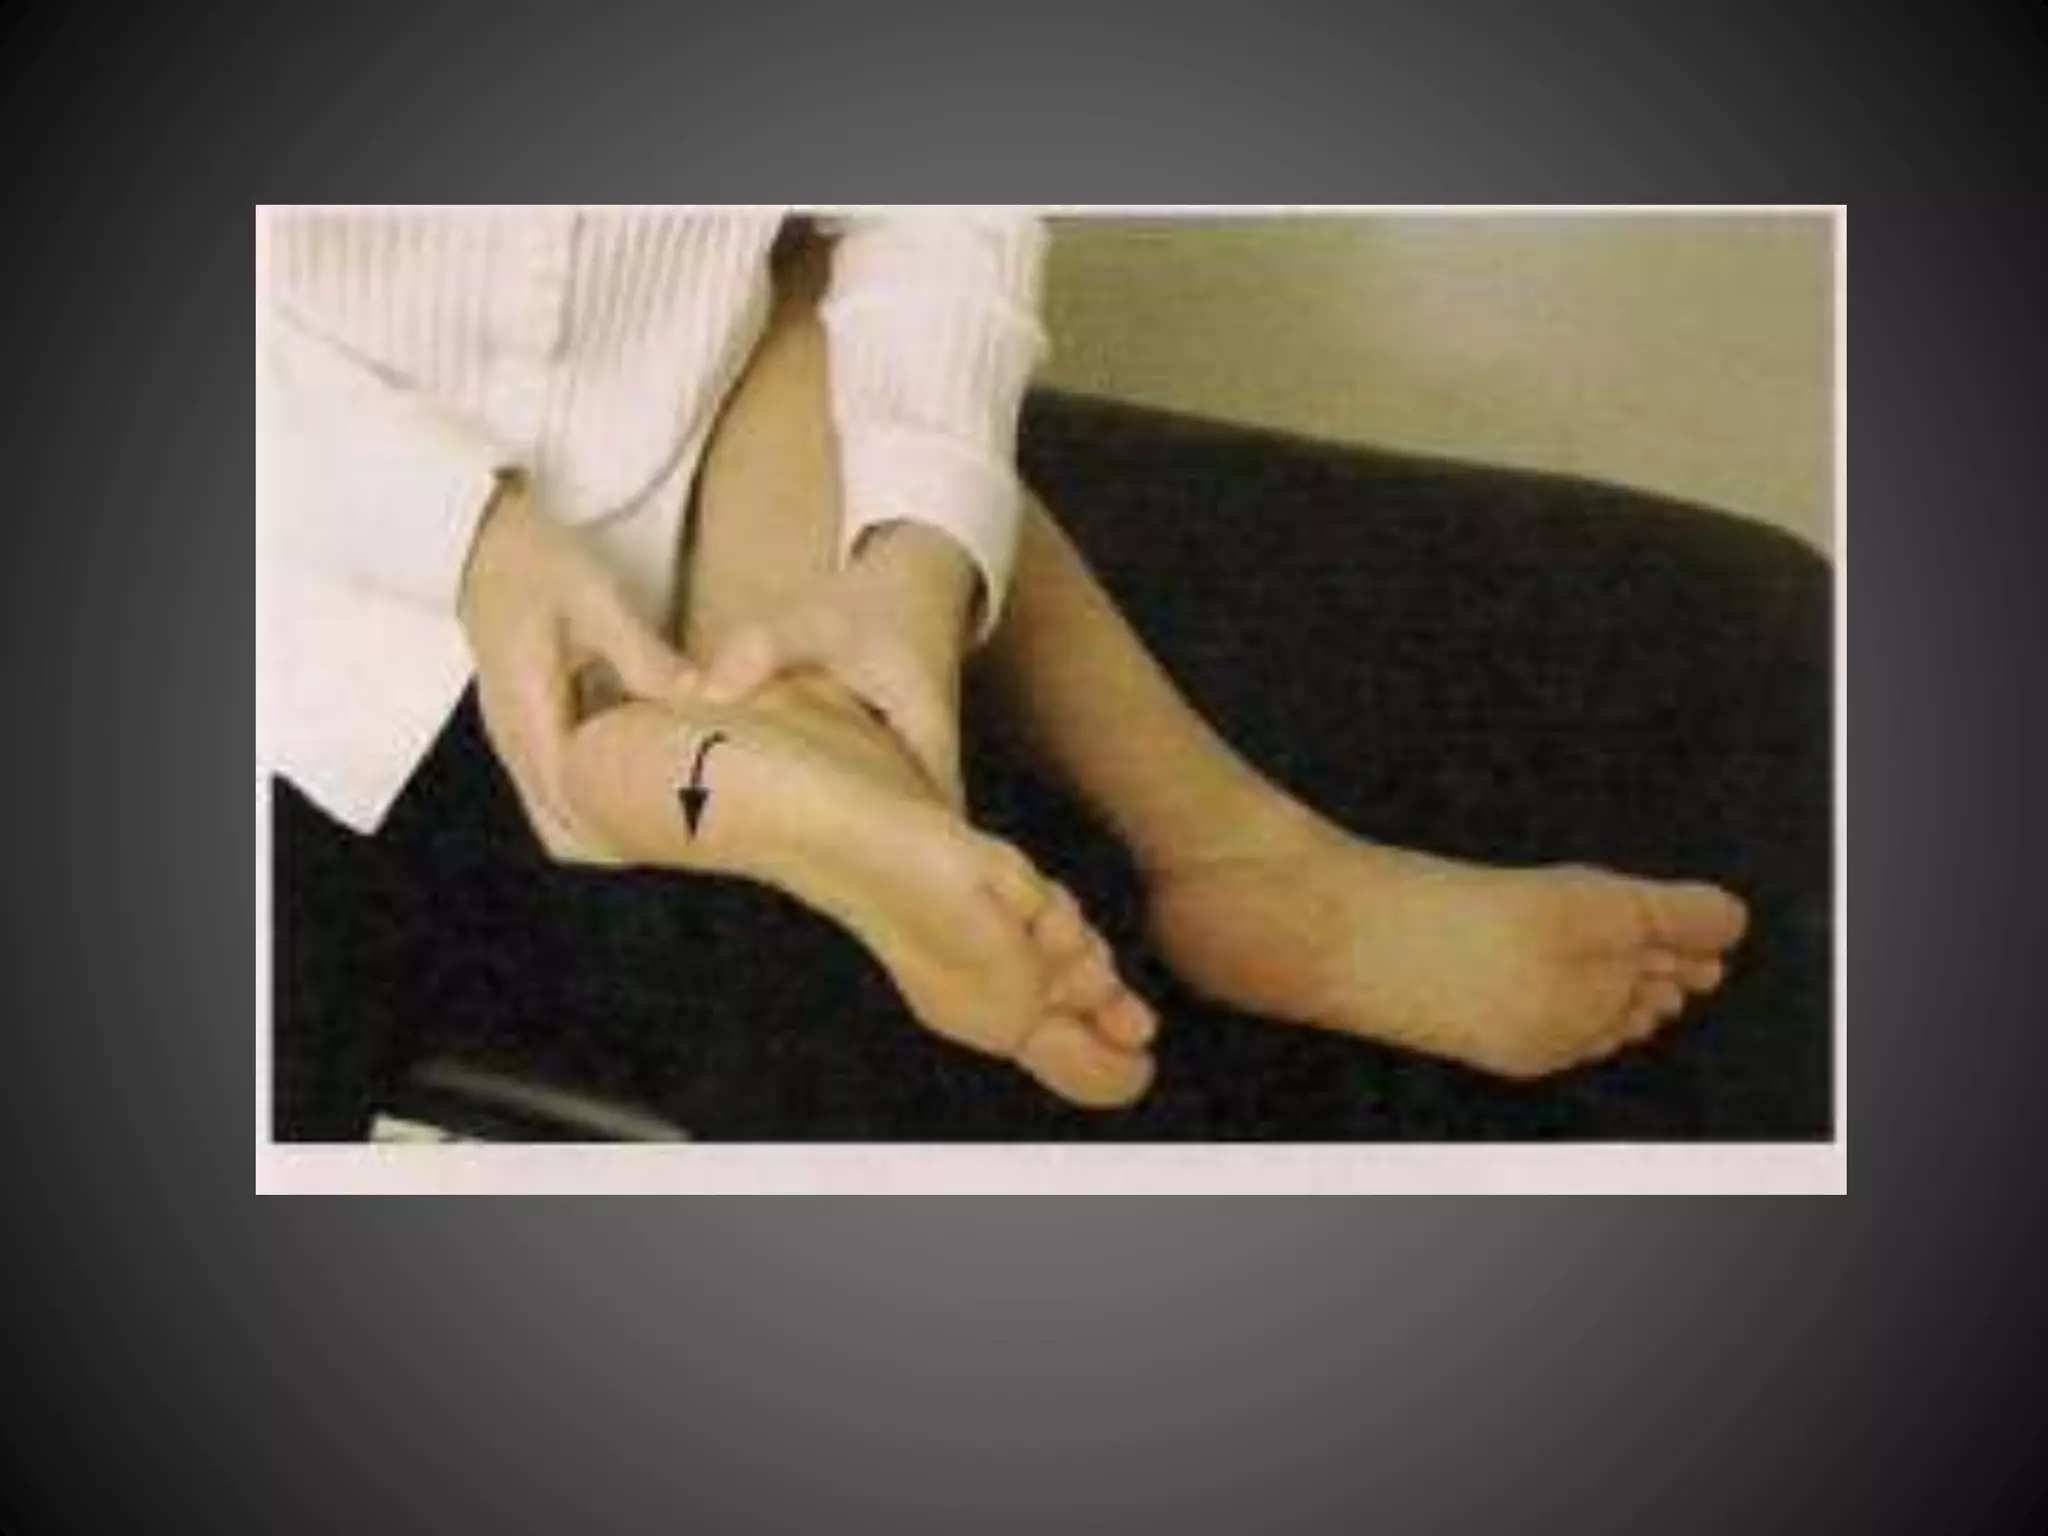
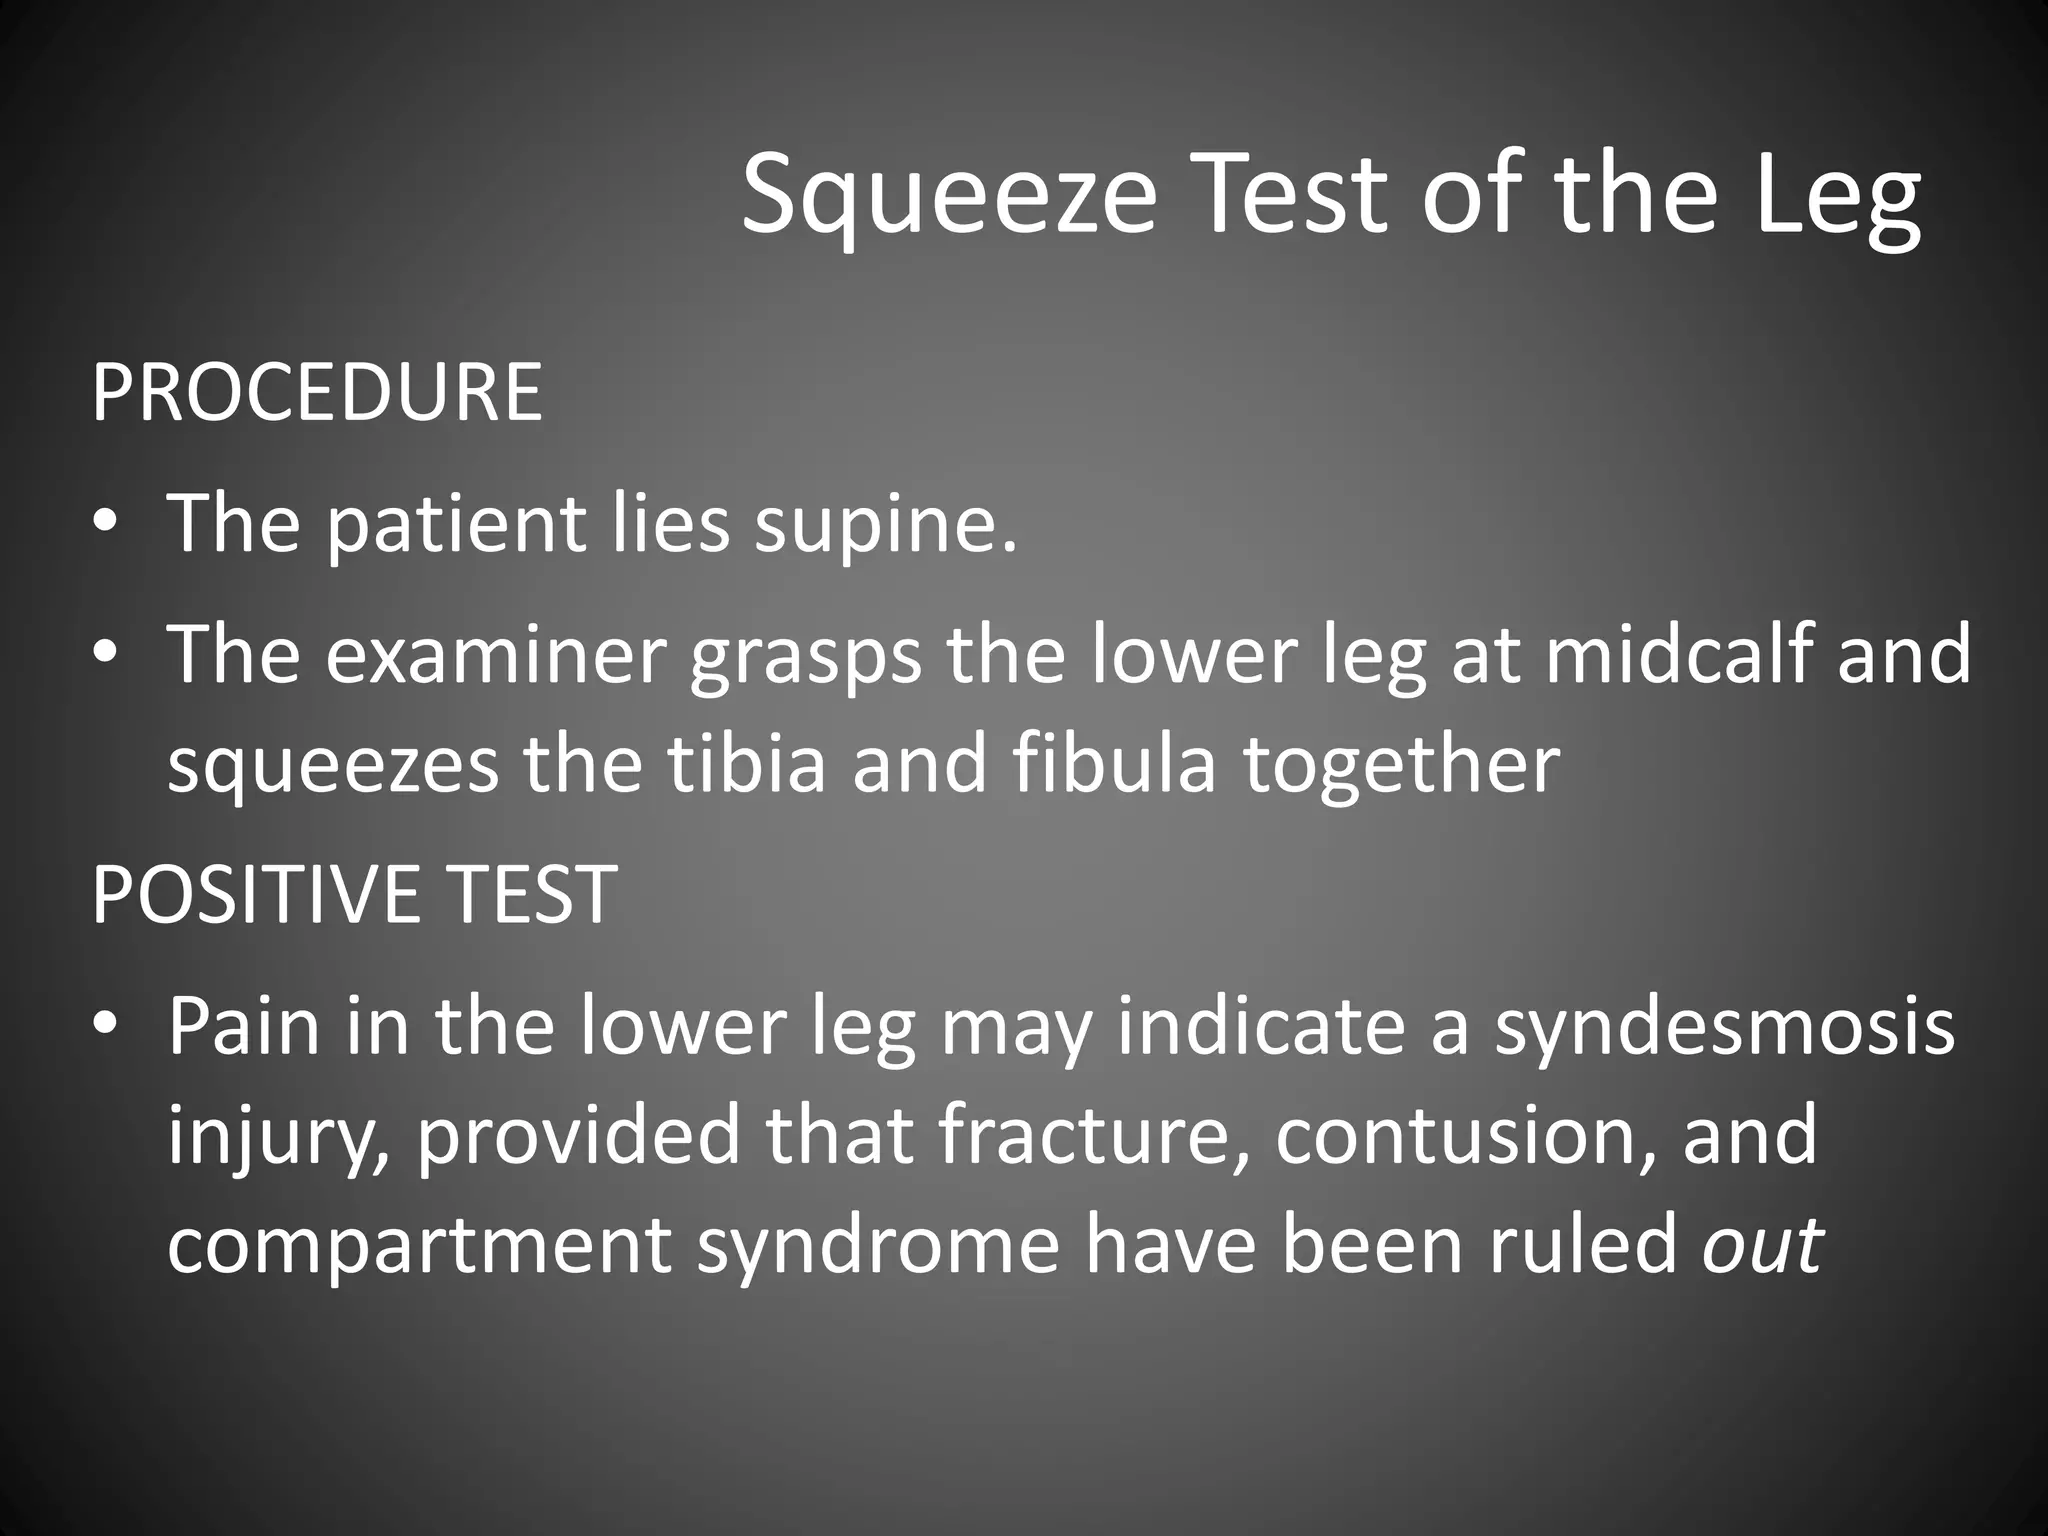
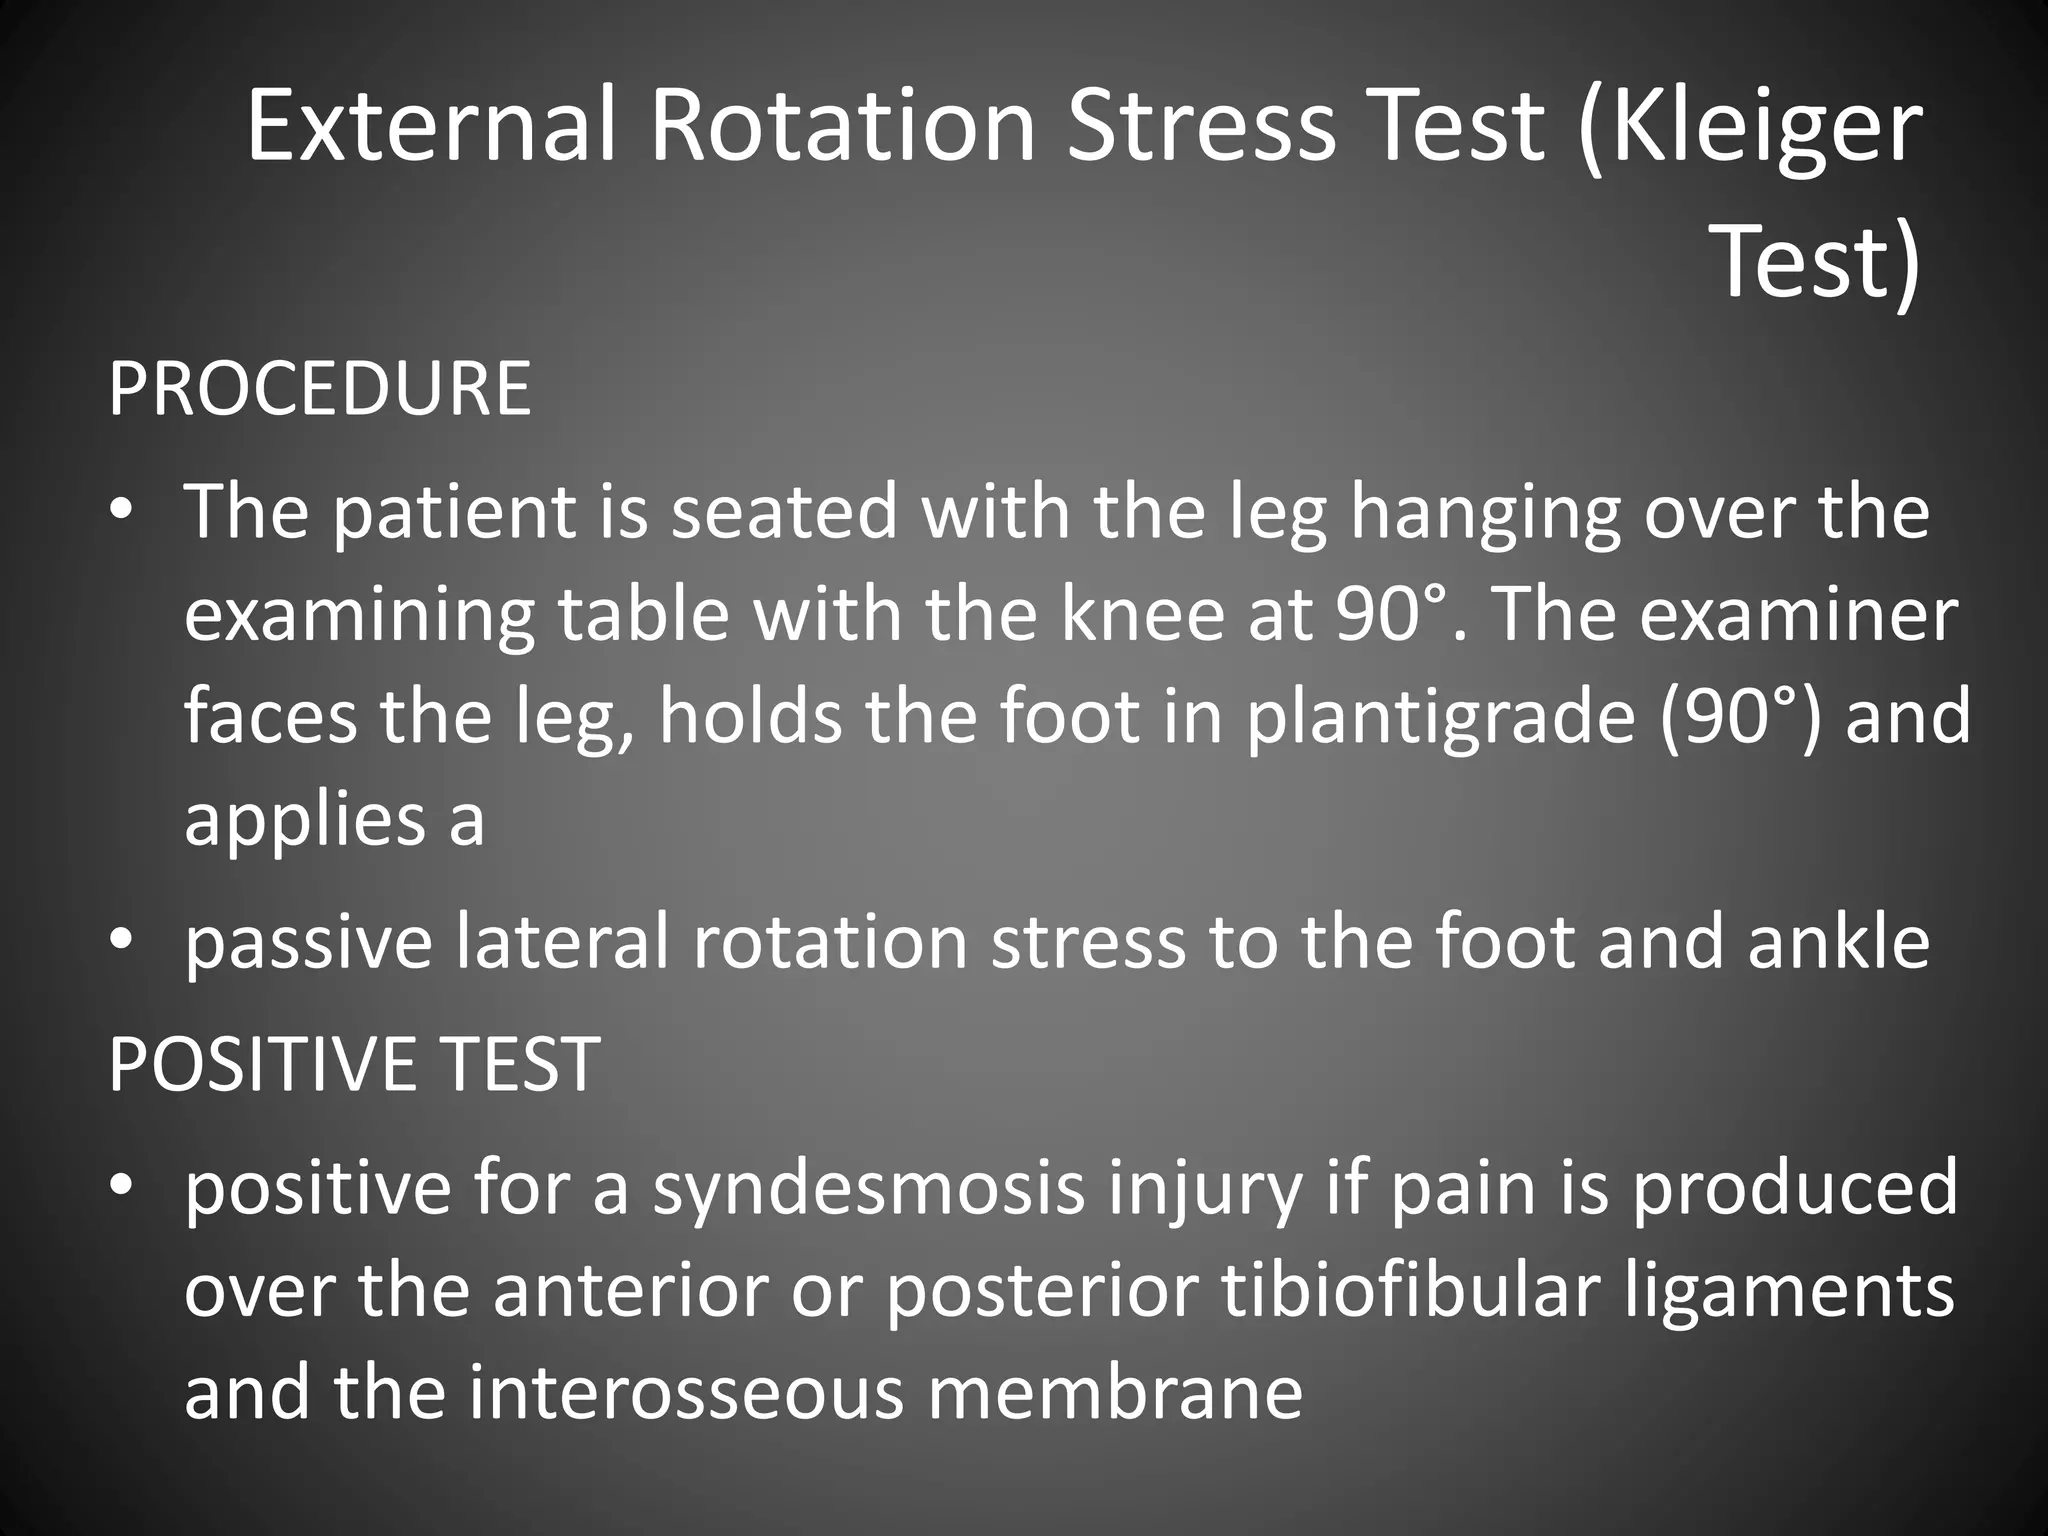
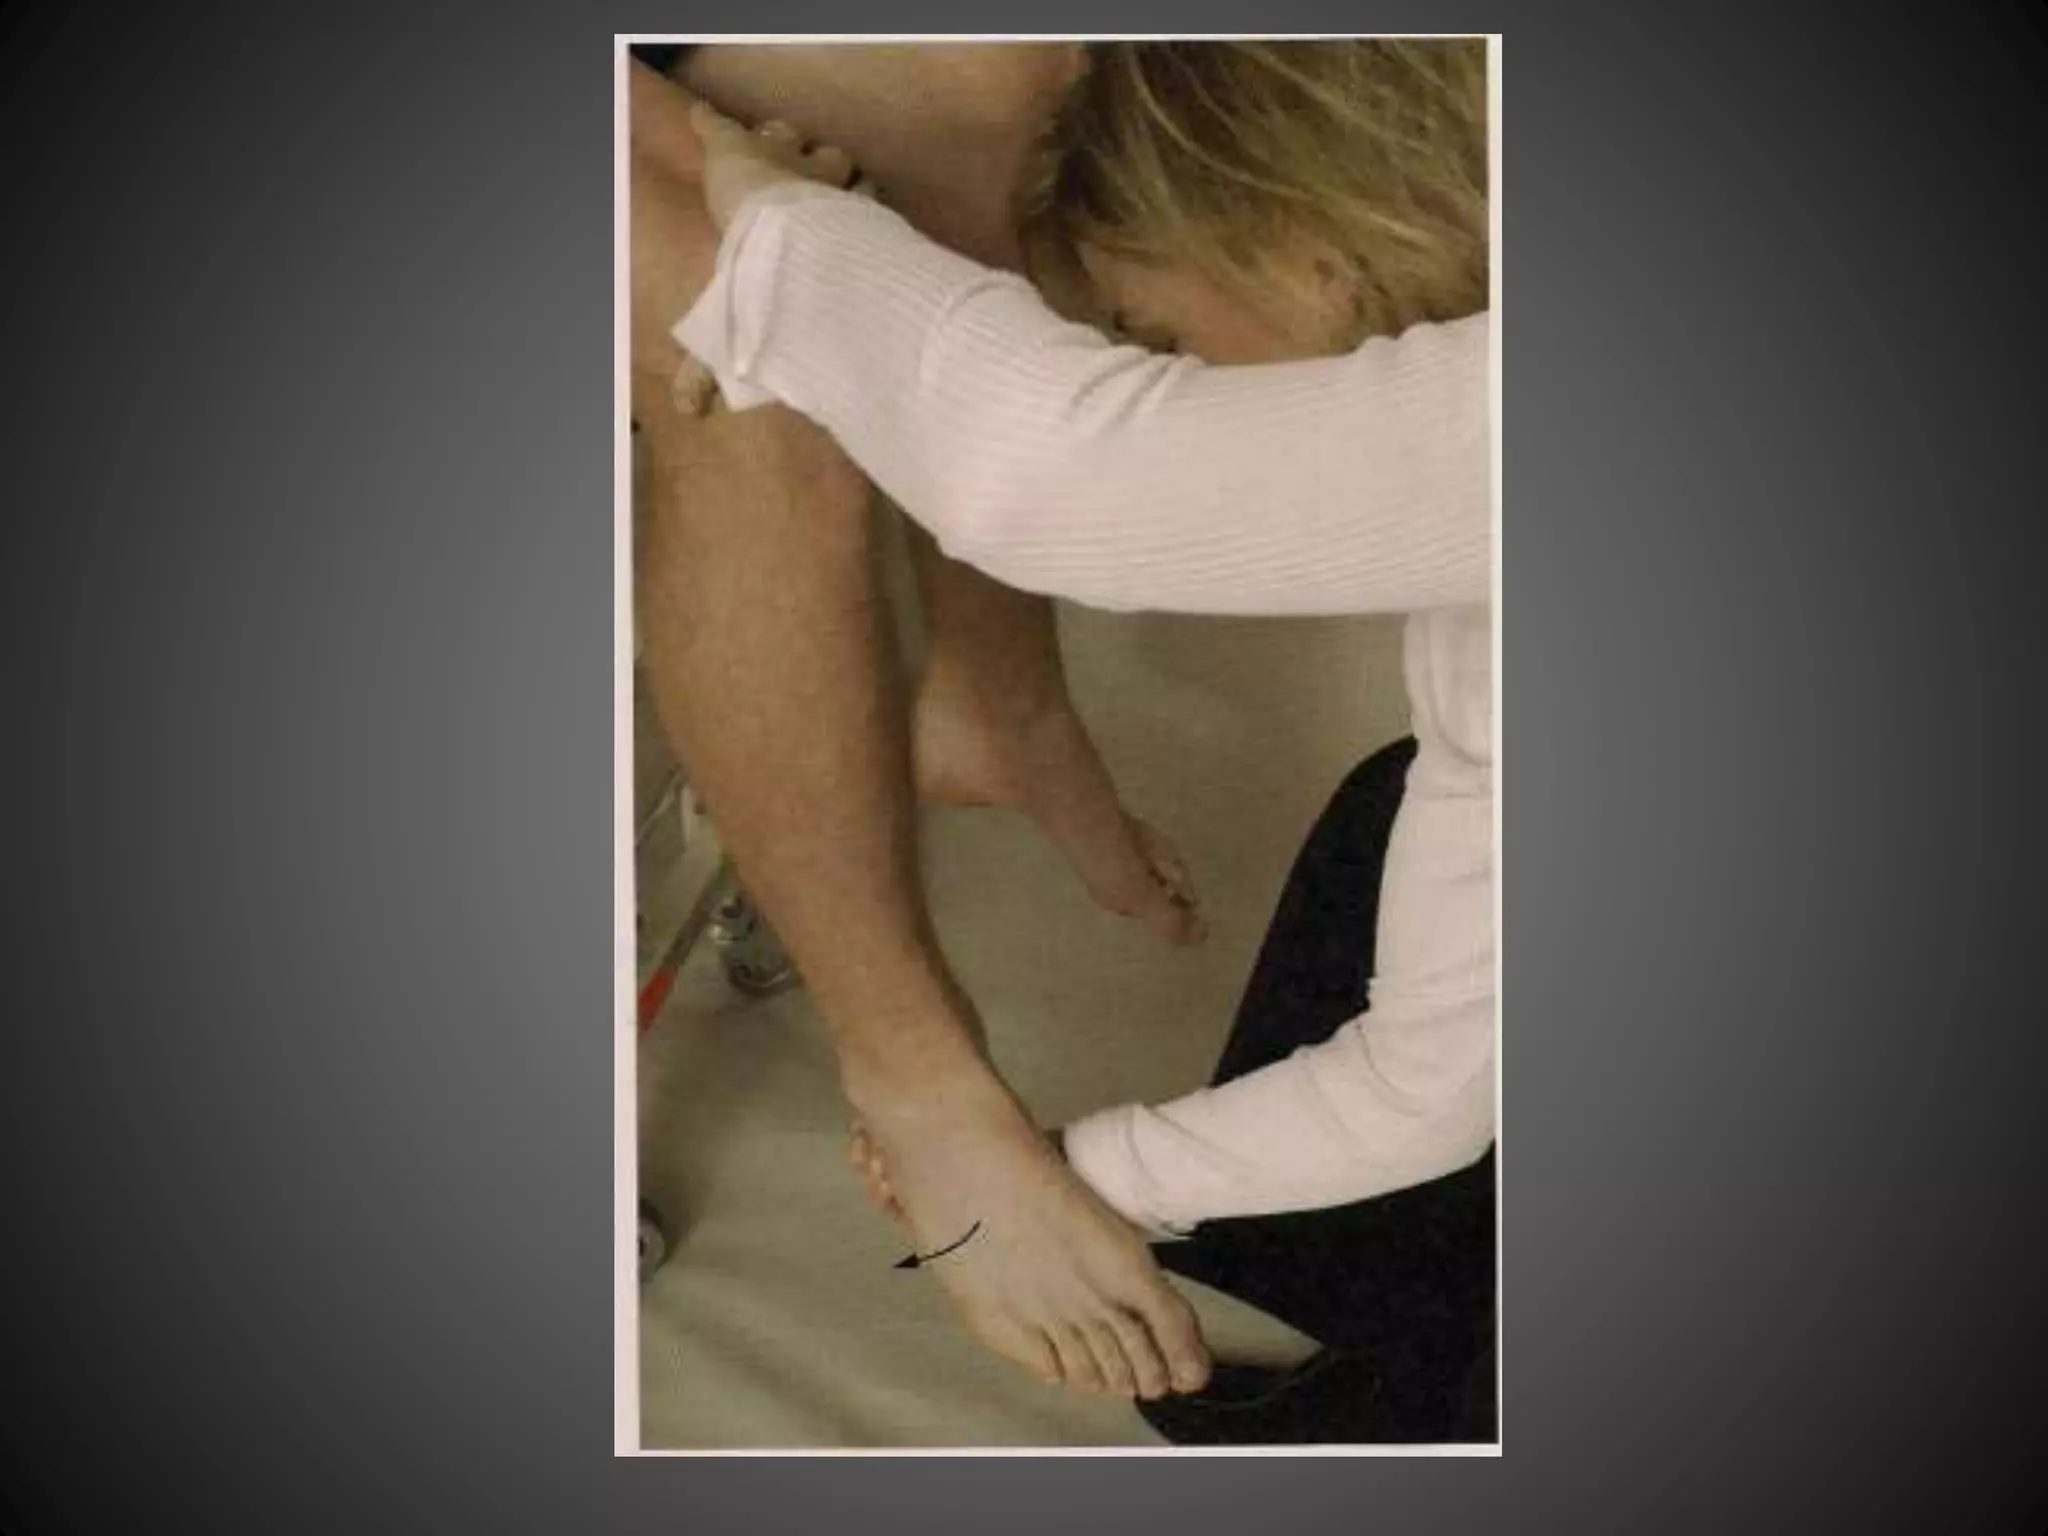
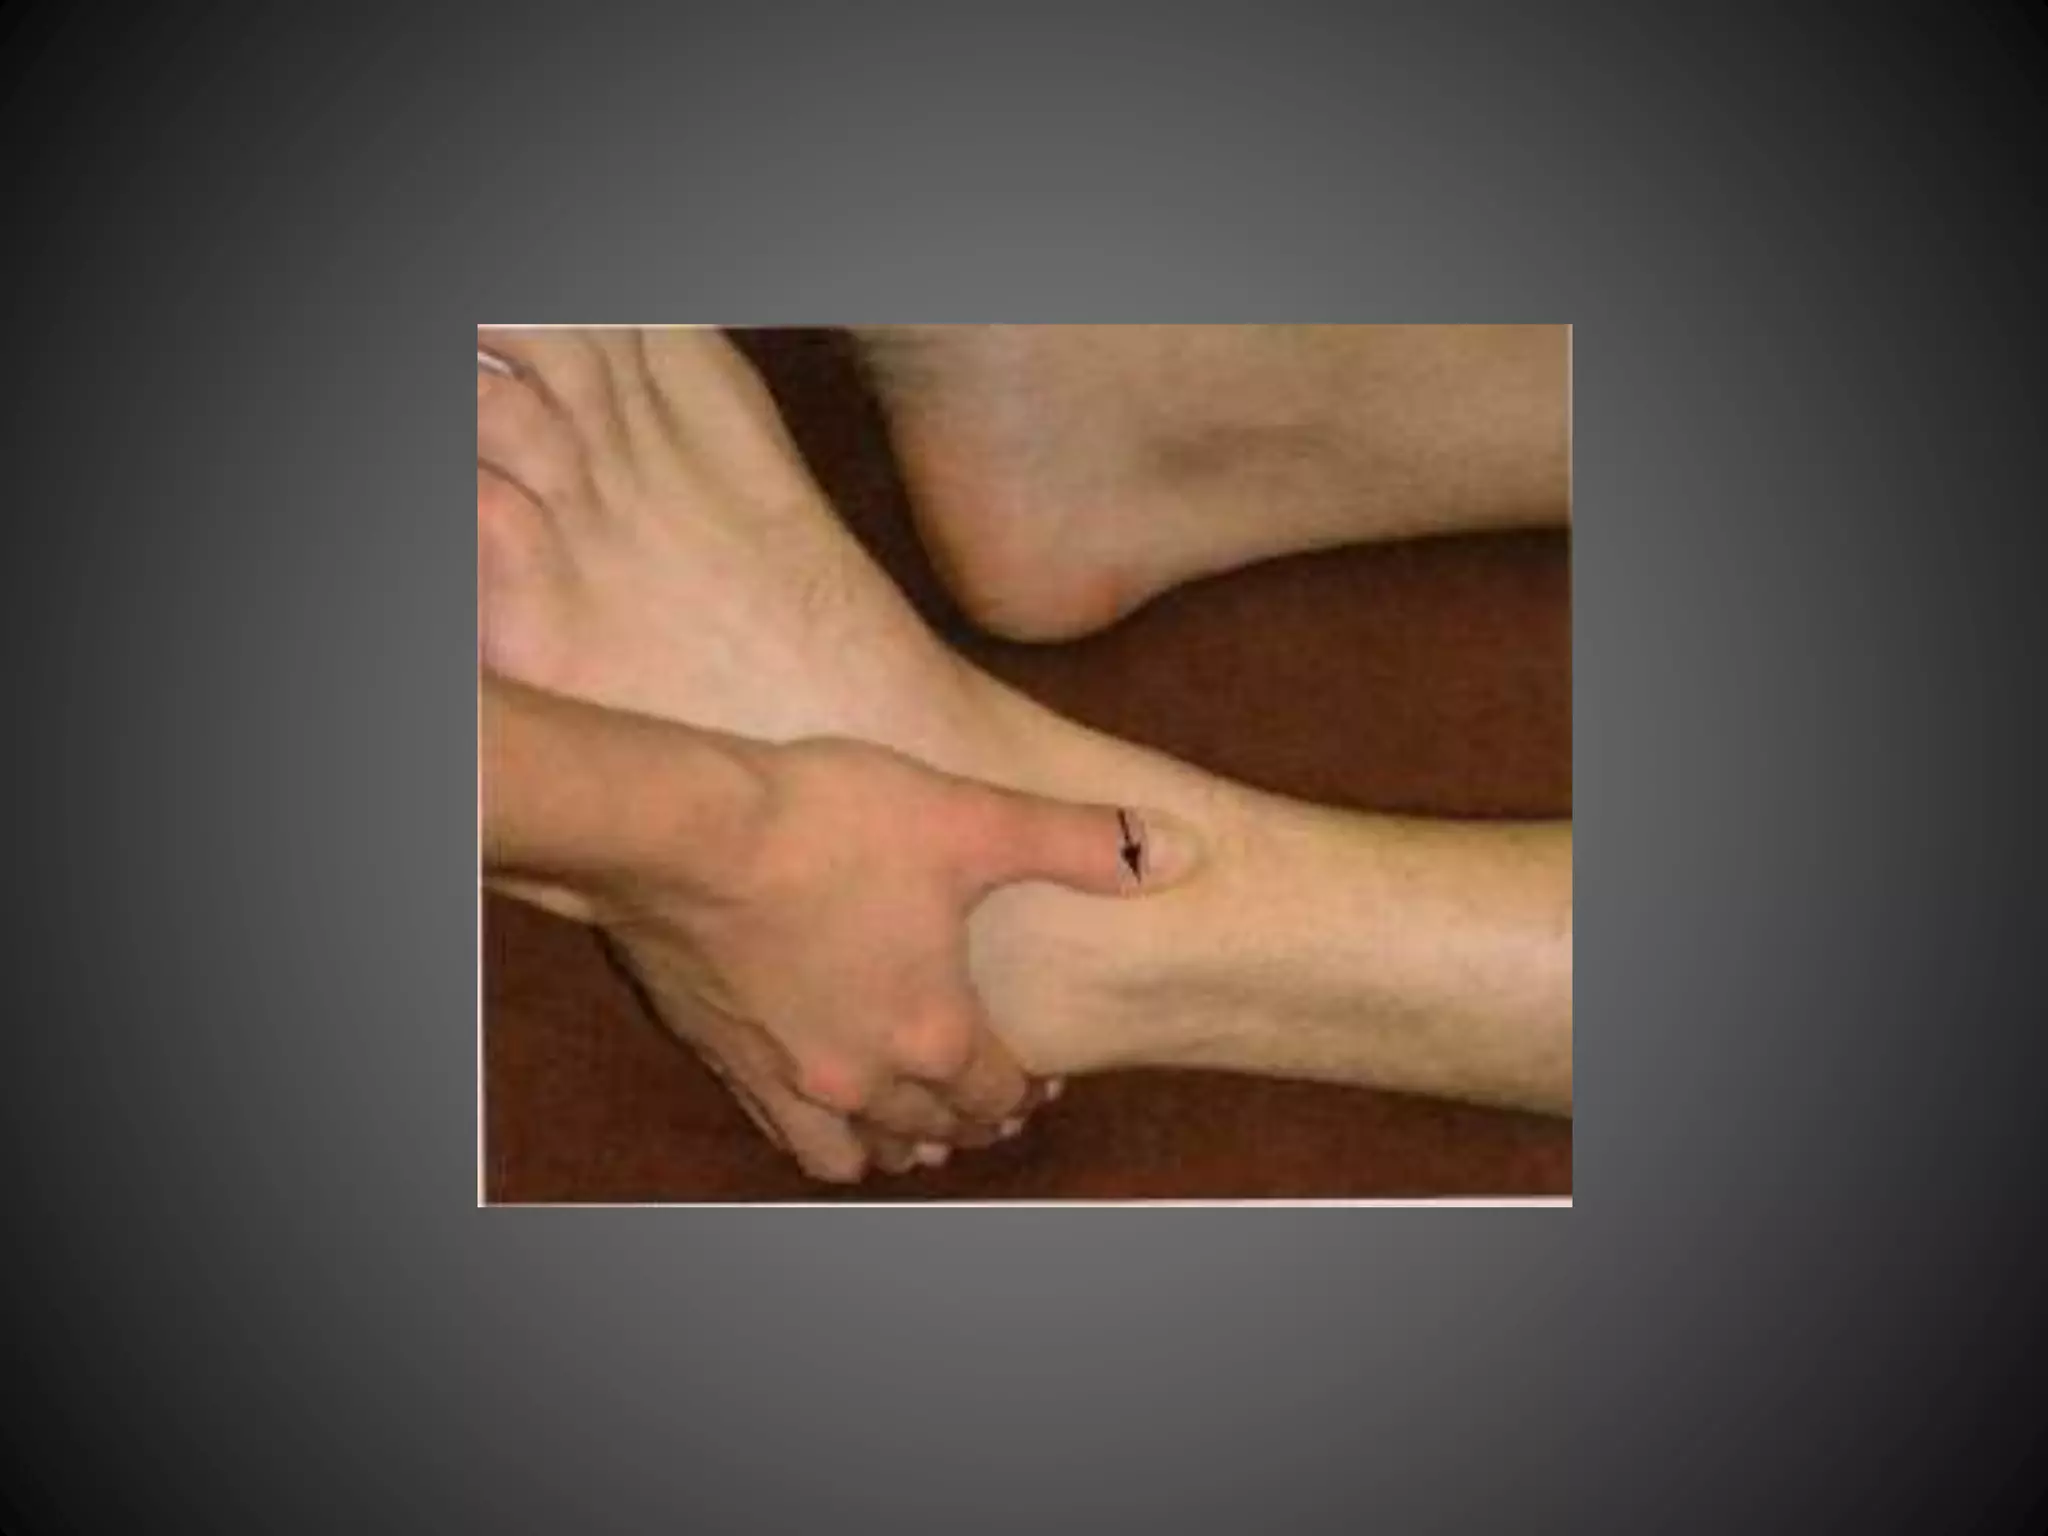
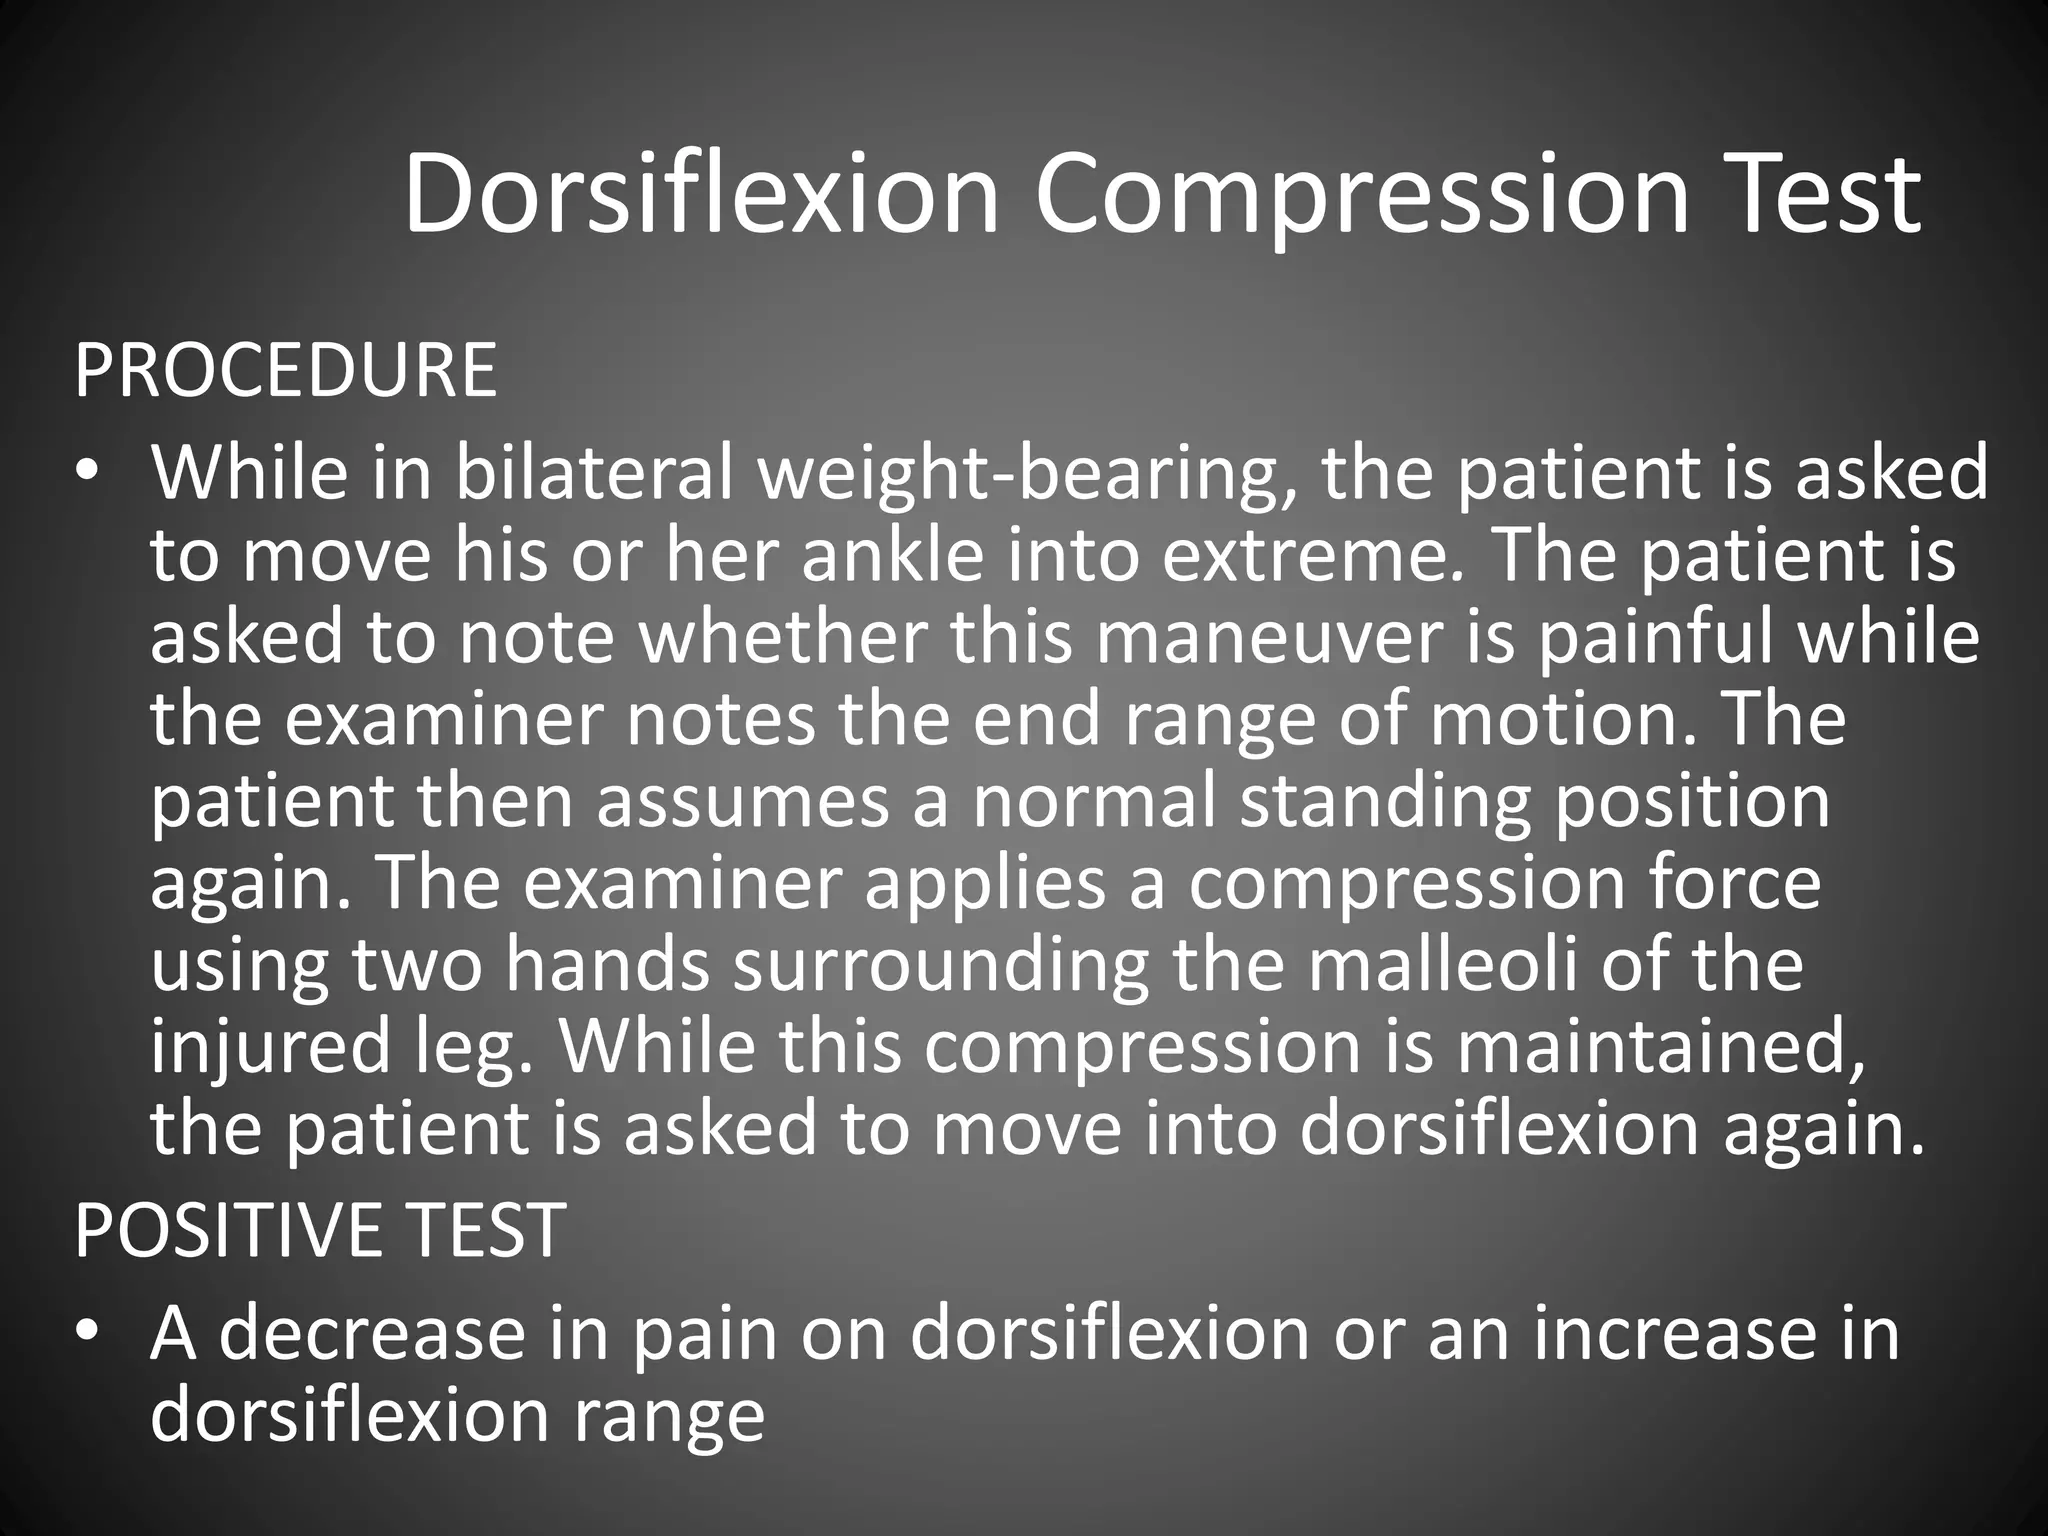
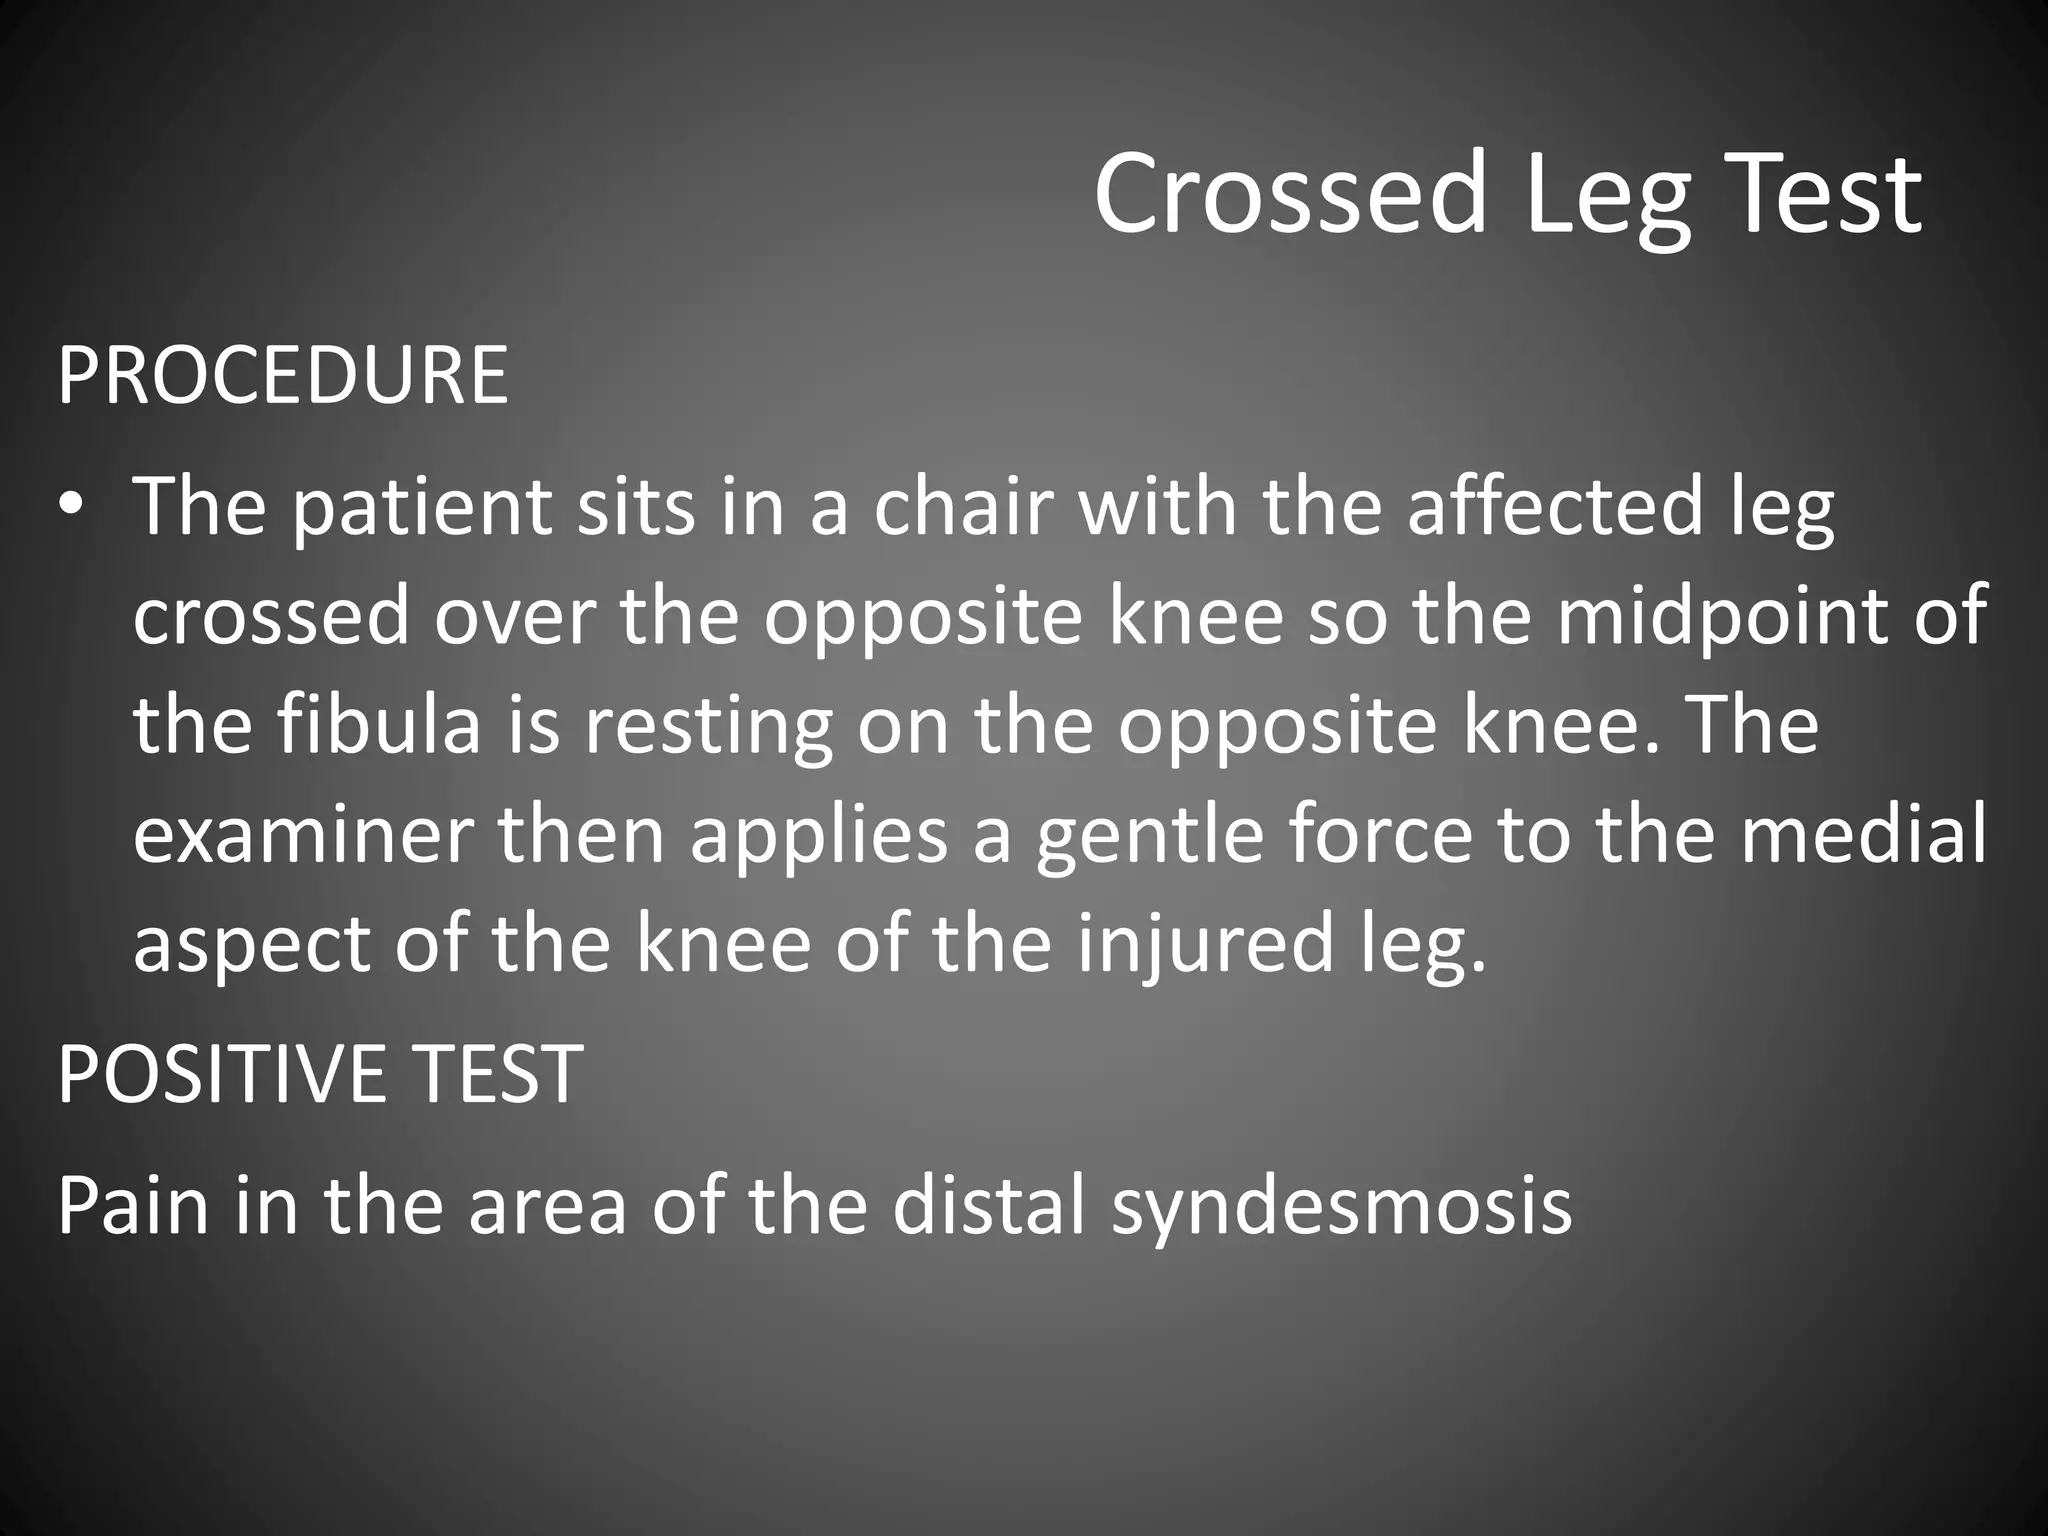
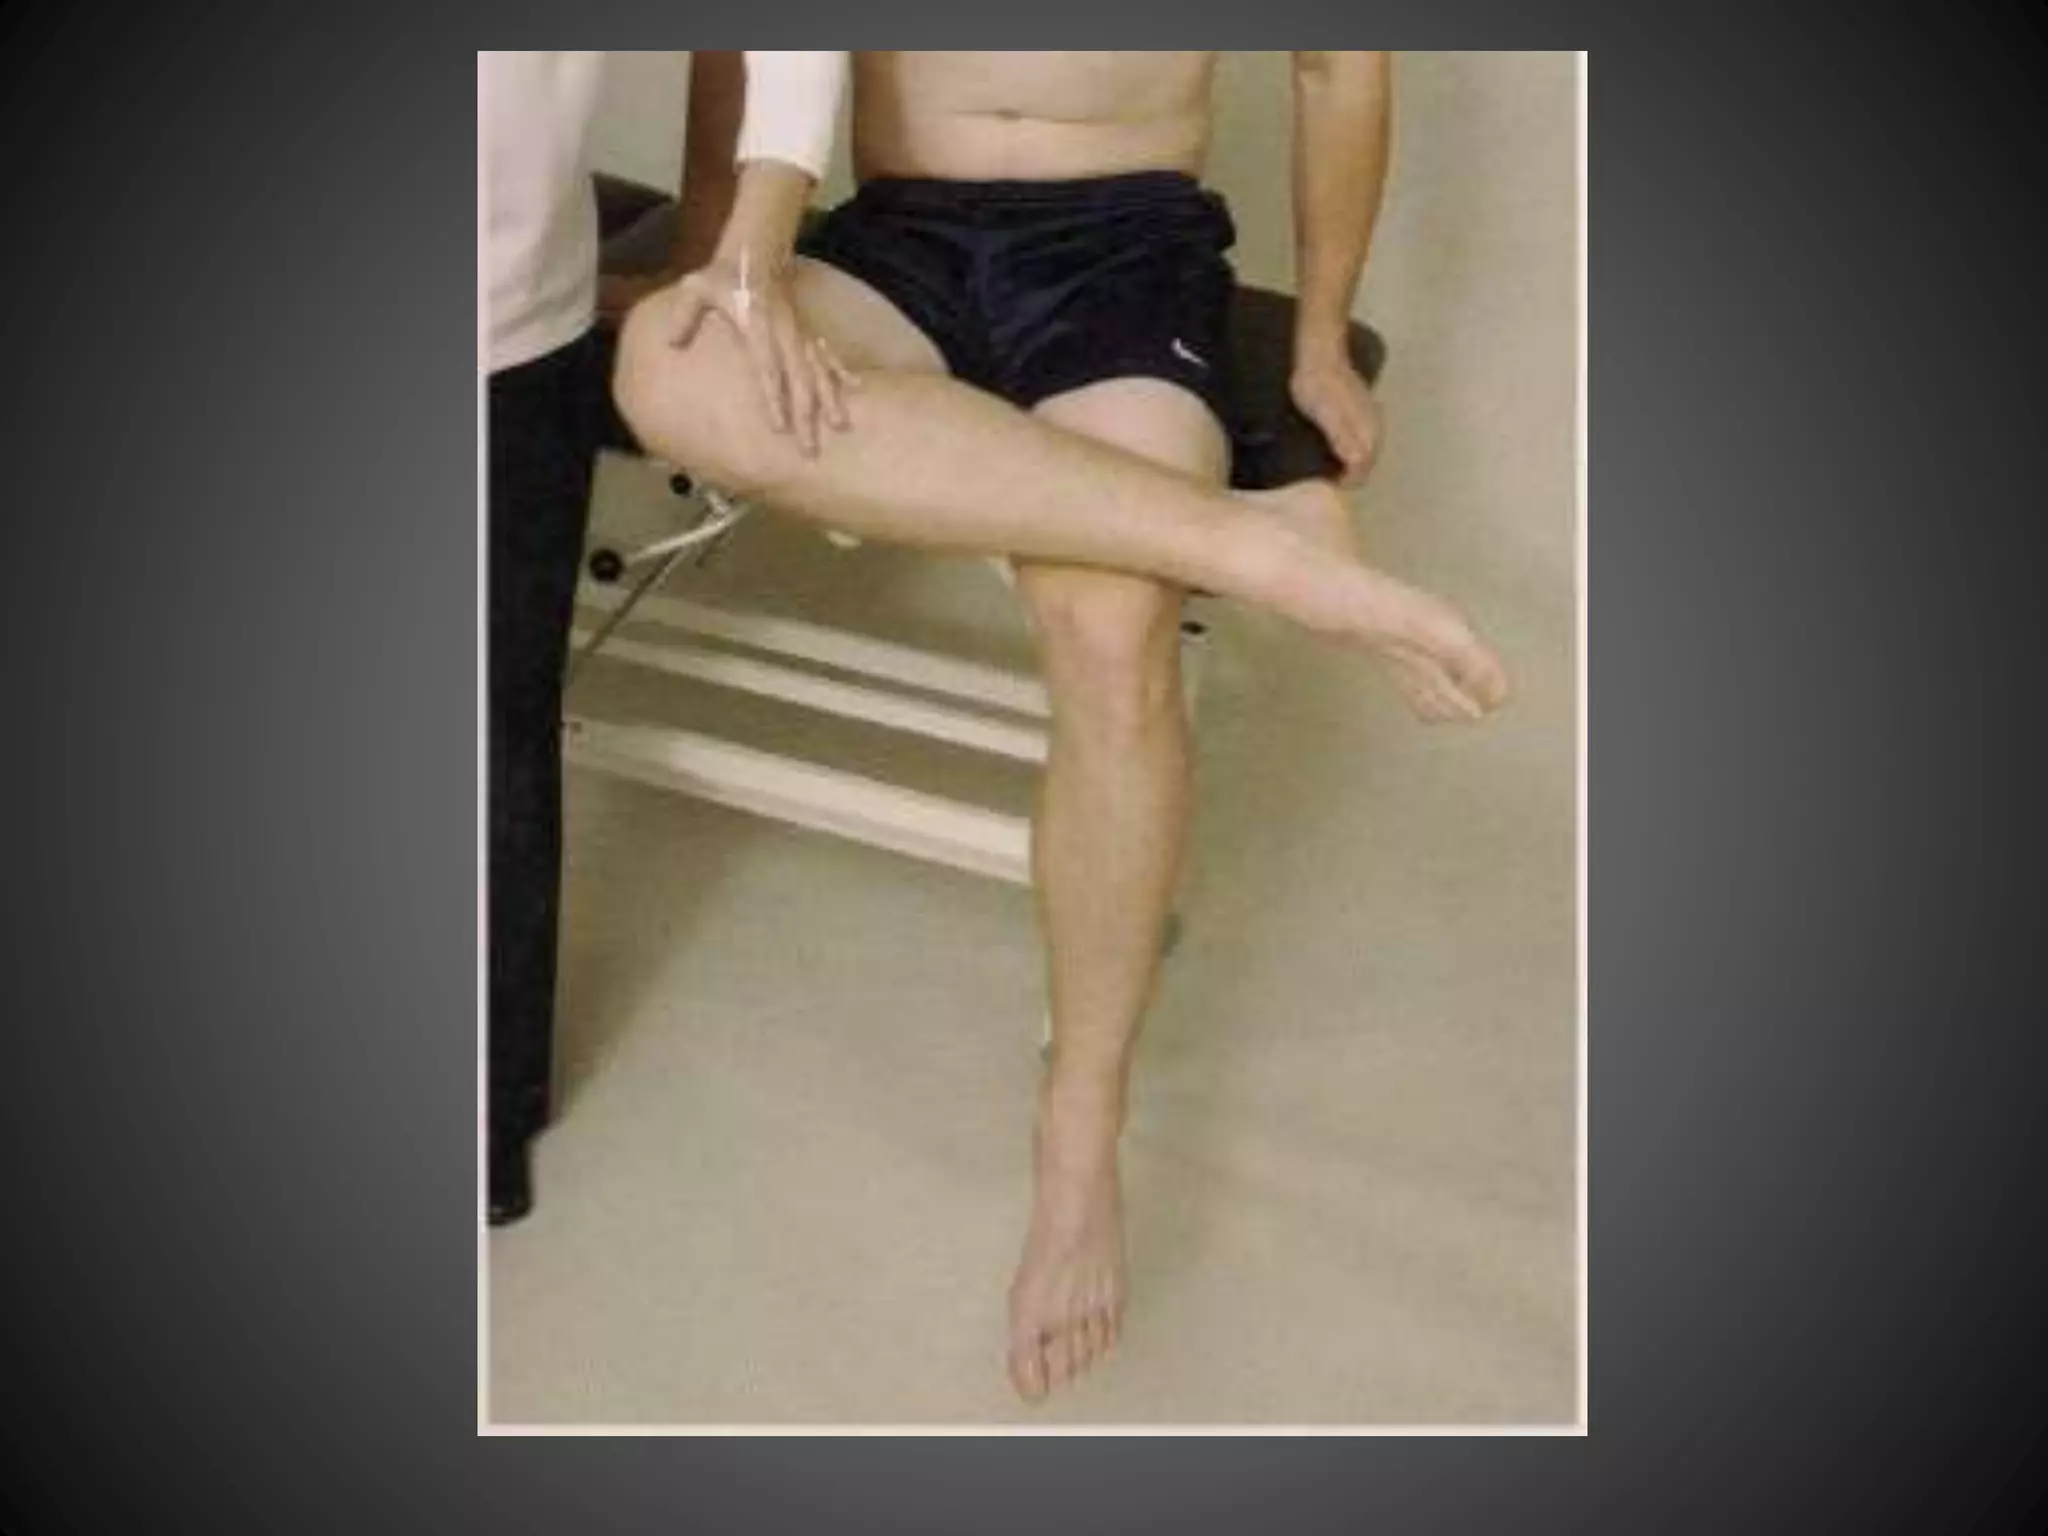
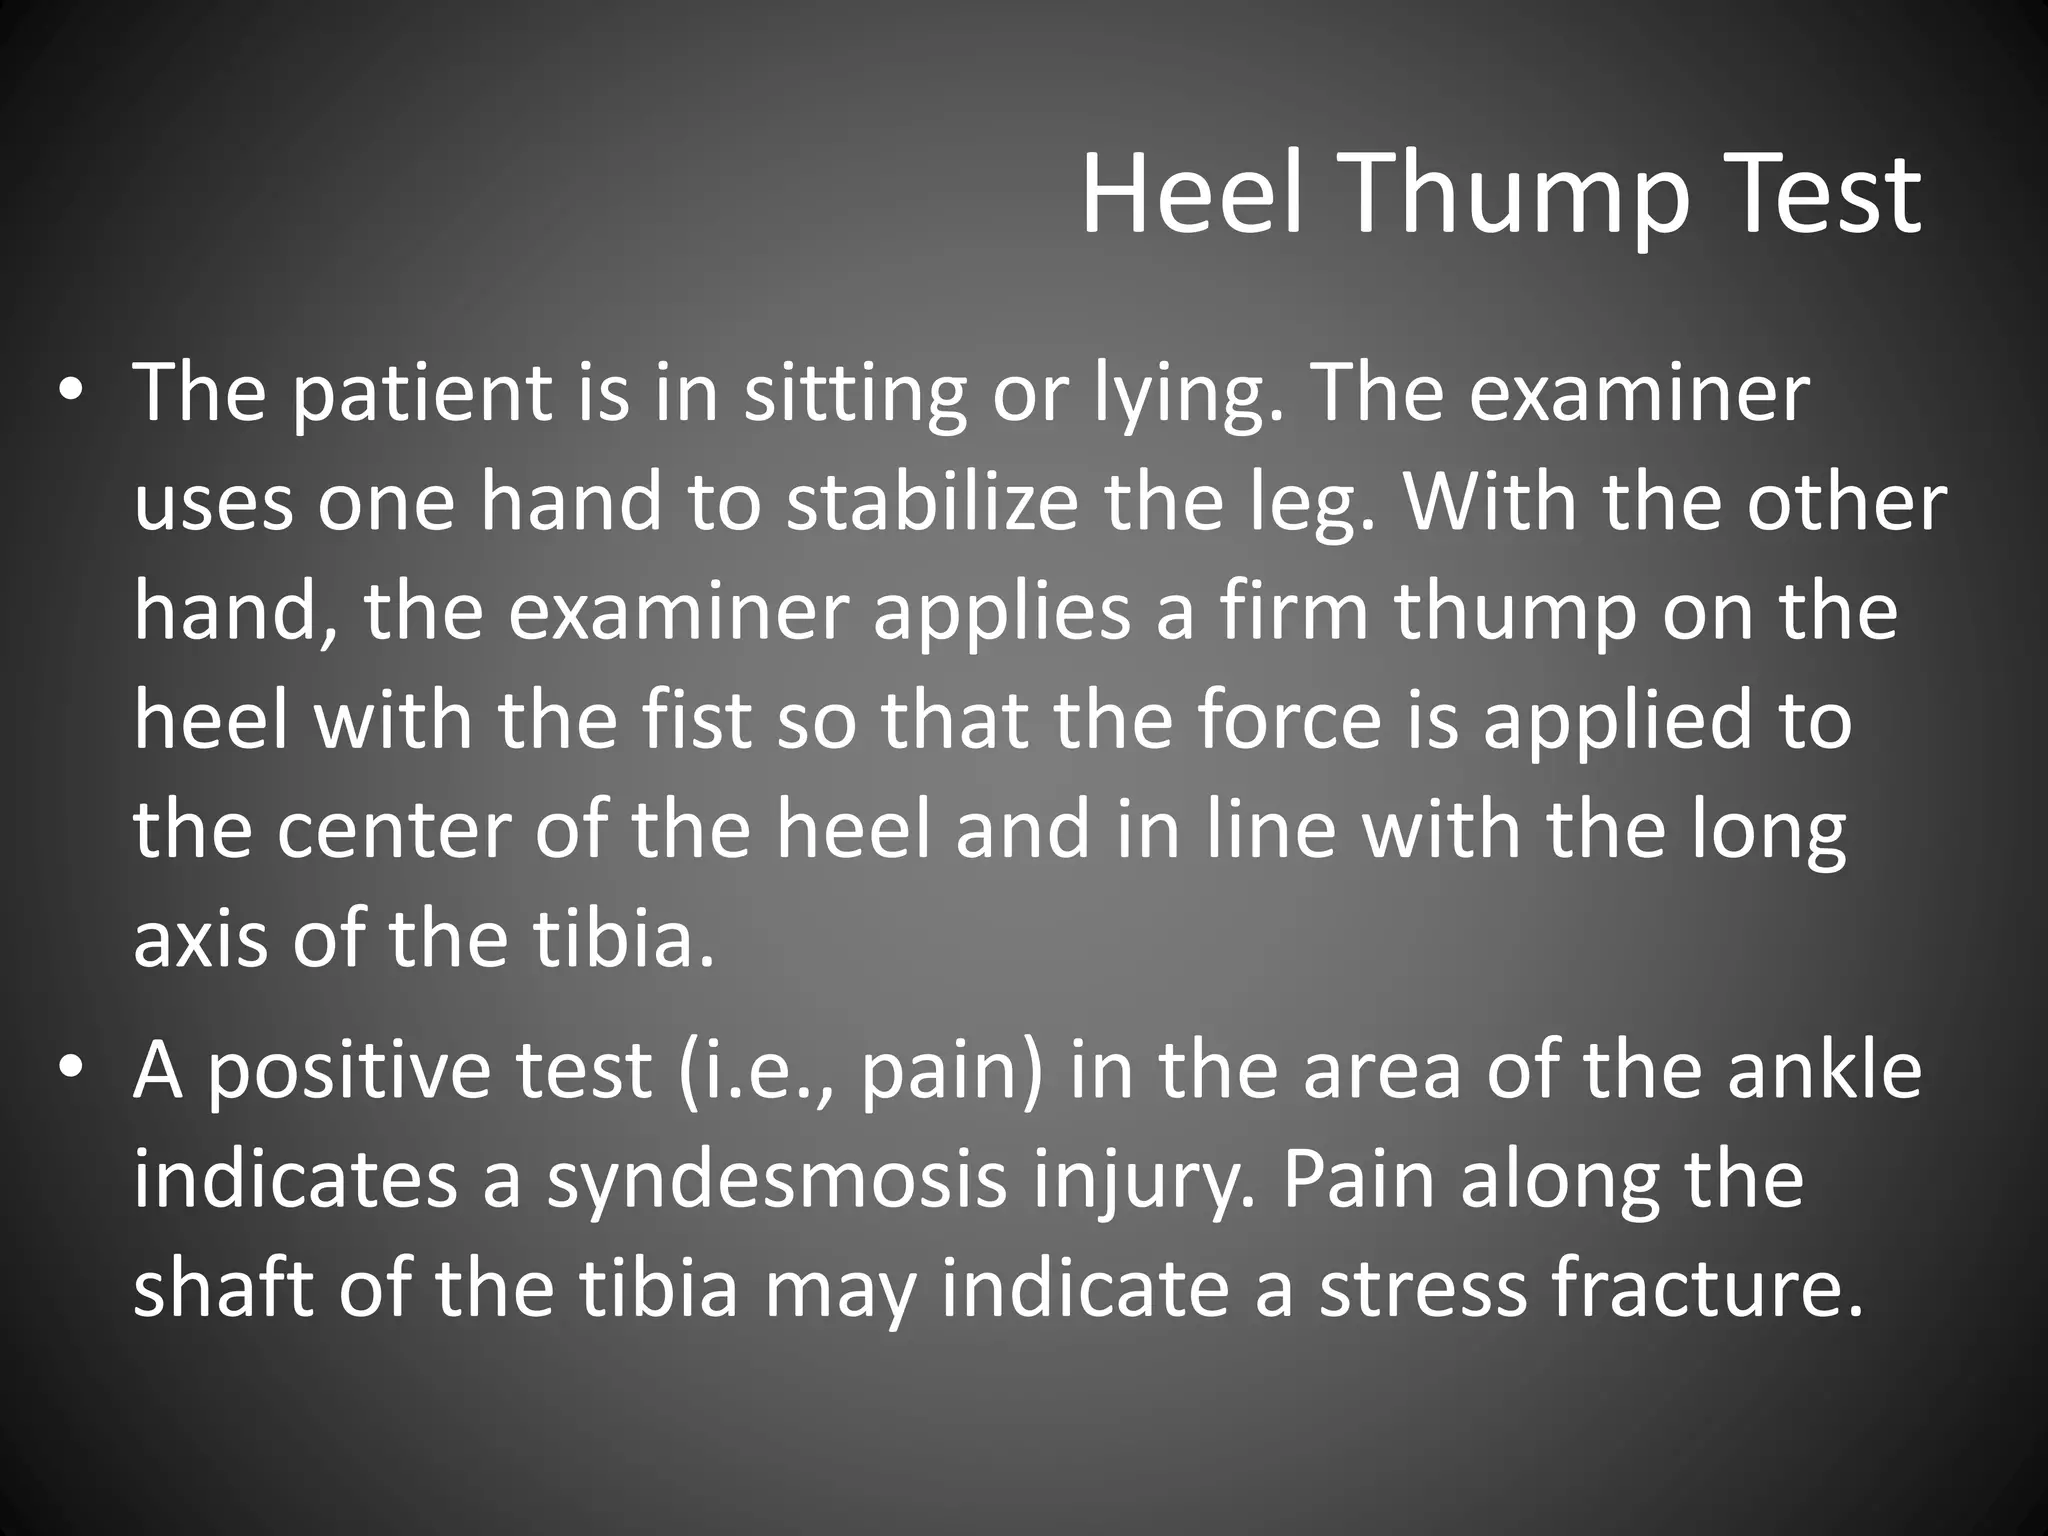
Various tests for evaluating ankle ligament integrity including anterior drawer, talar tilt, and stress tests. Comprehensive evaluation tests for syndesmosis injuries including Dorsiflexion and Crossed Leg Tests.
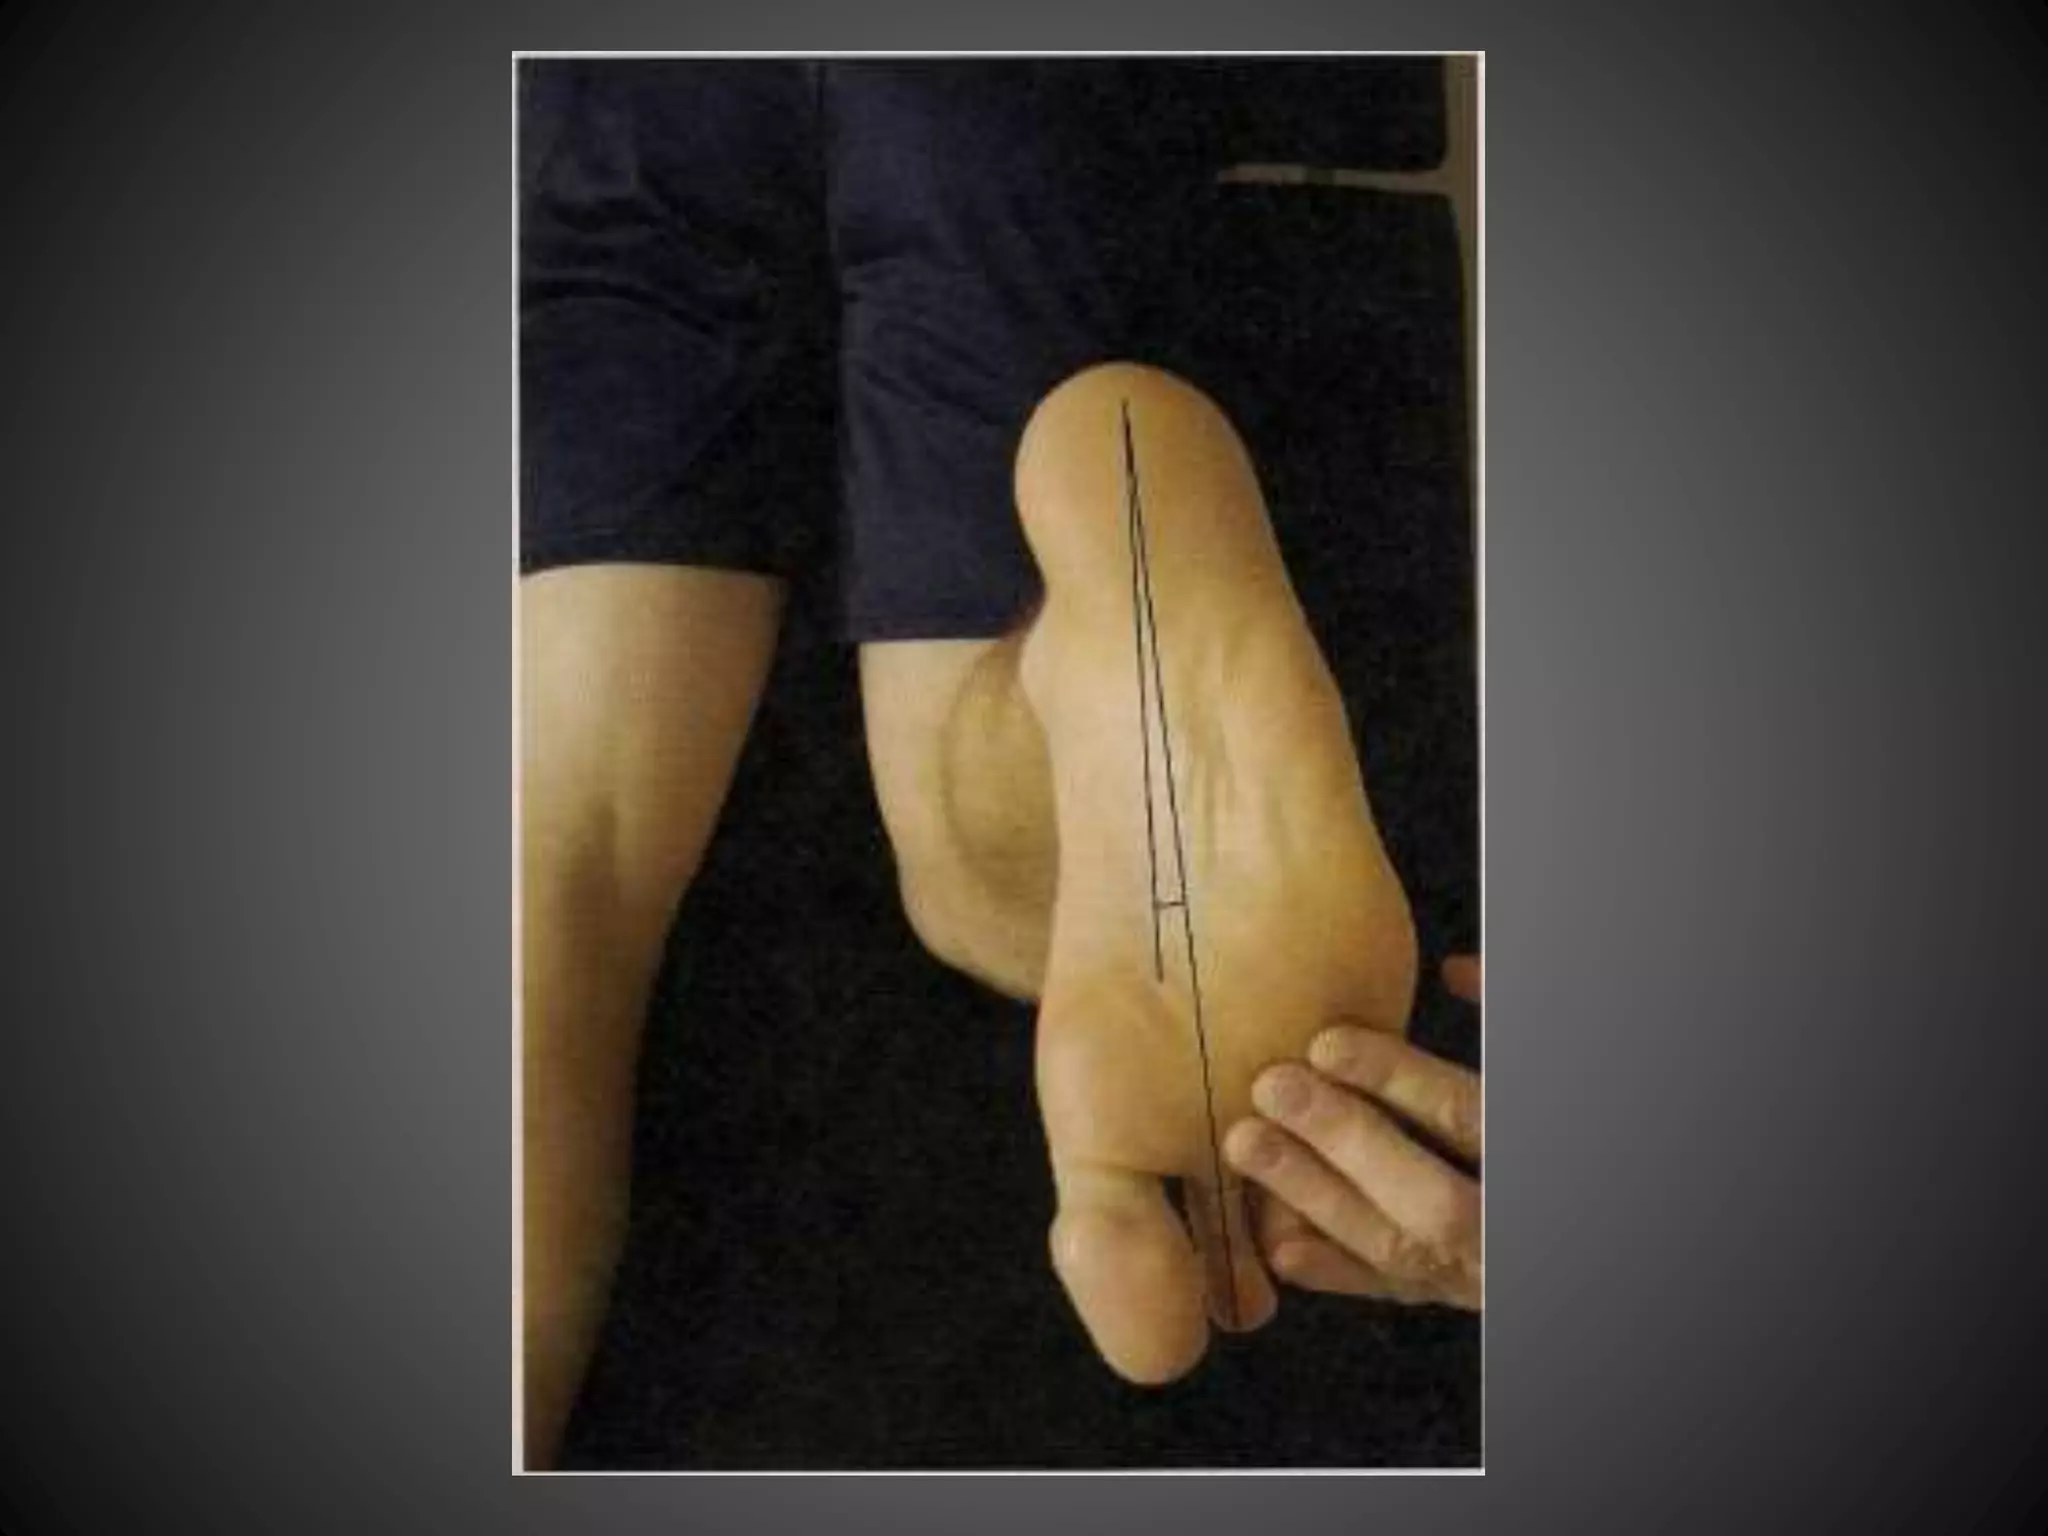
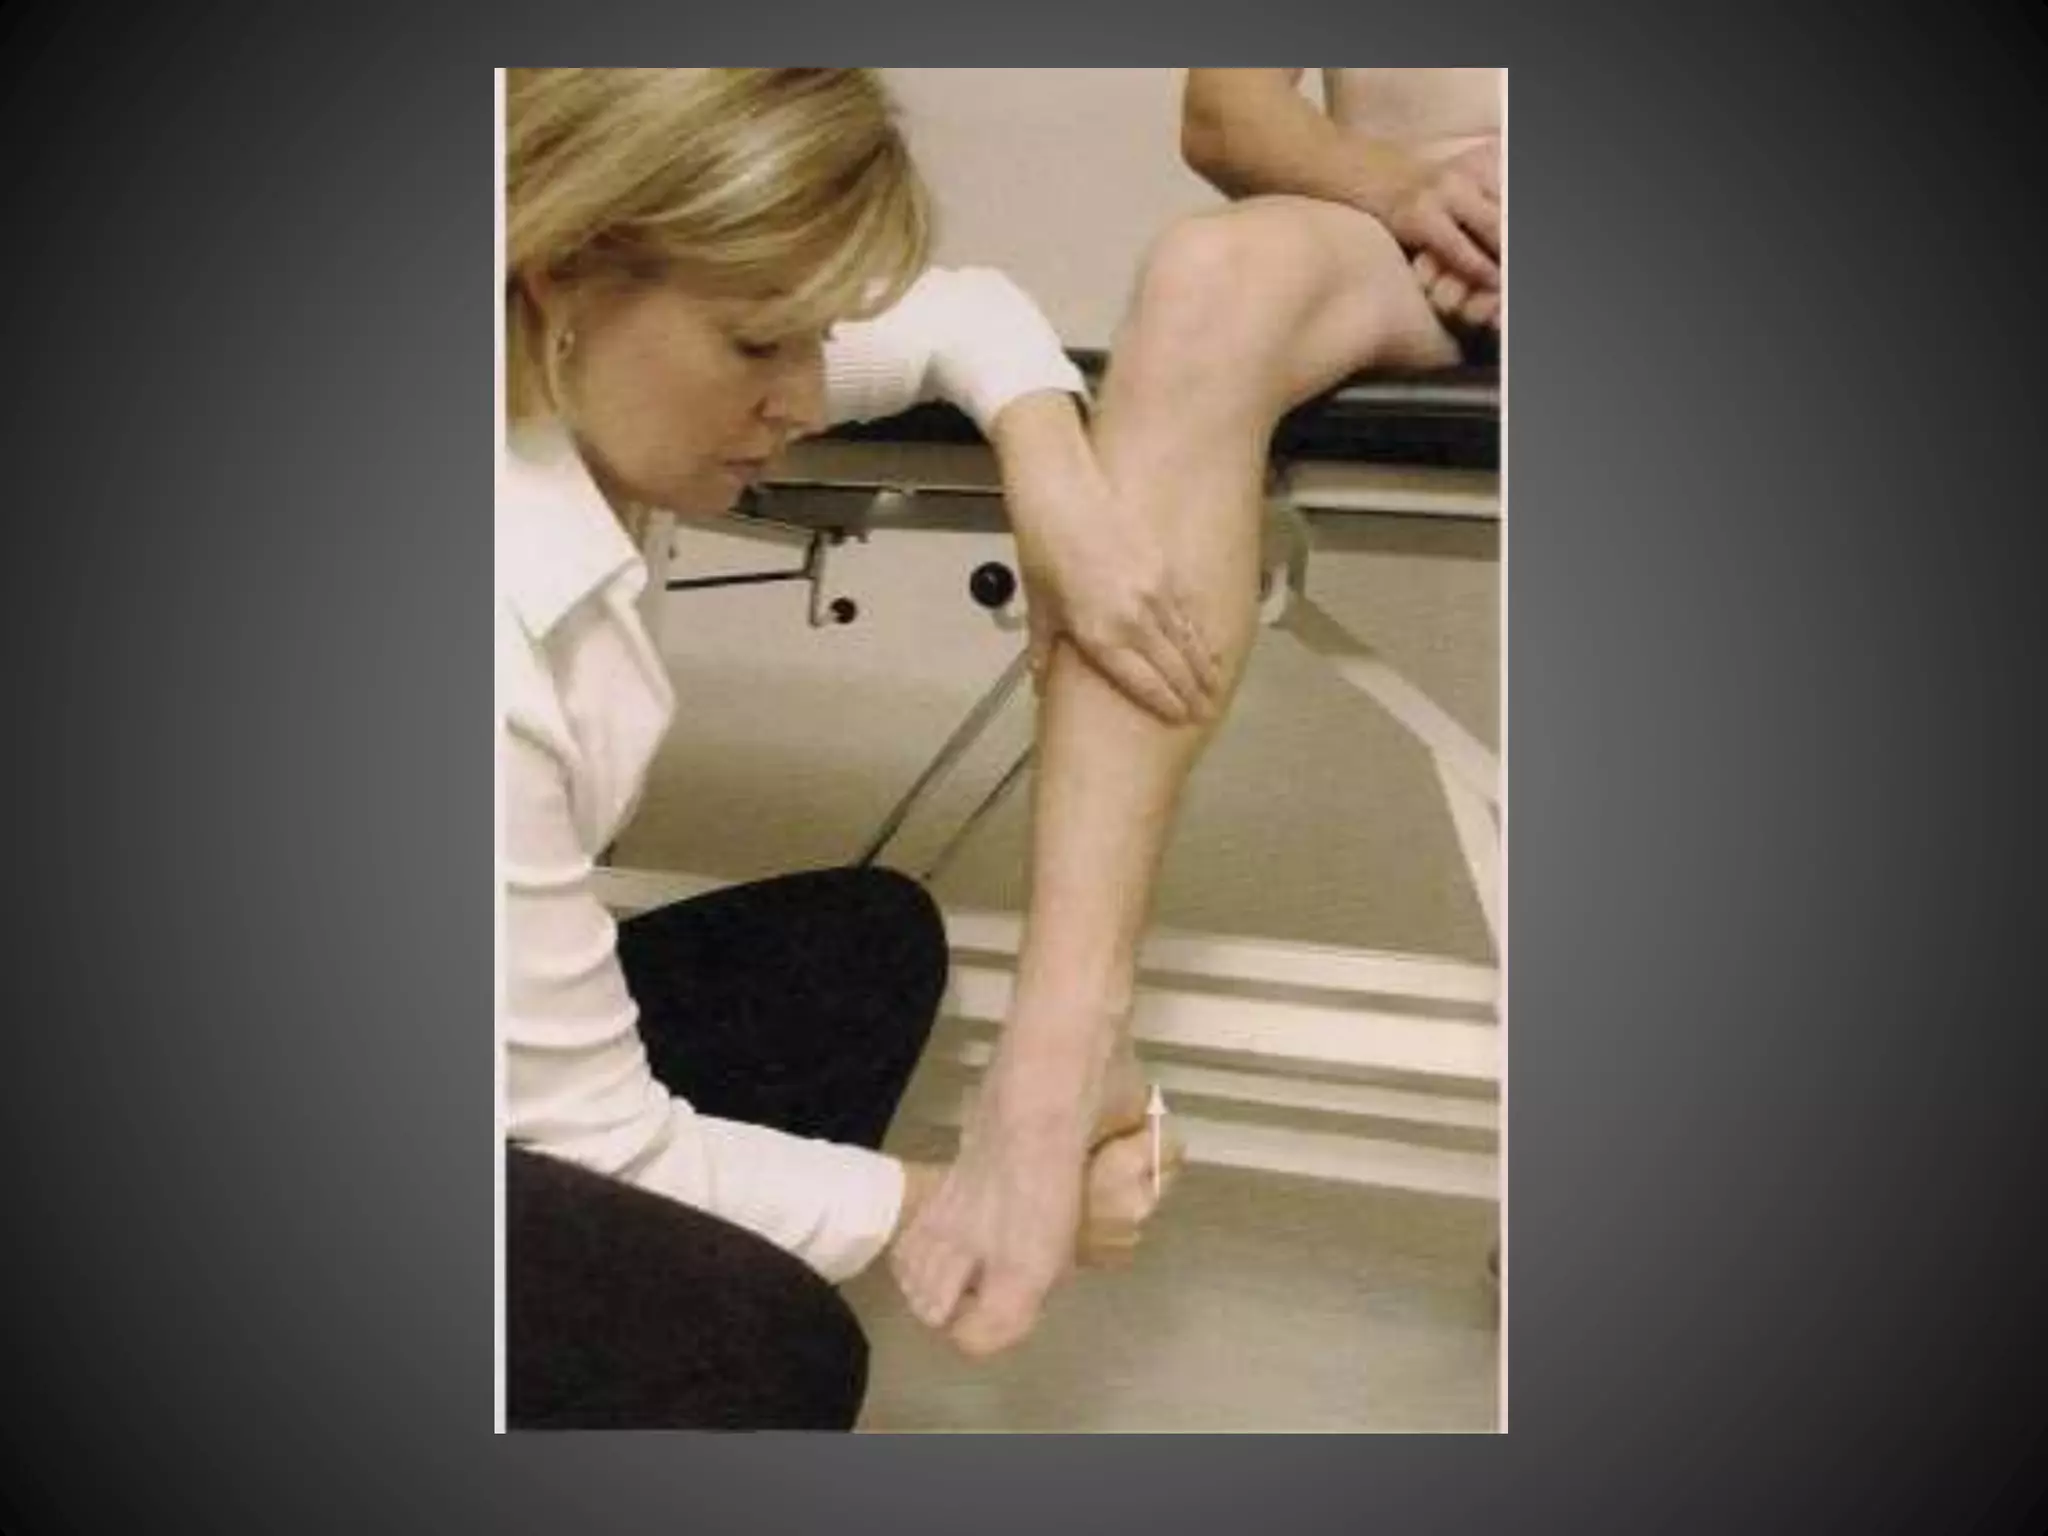
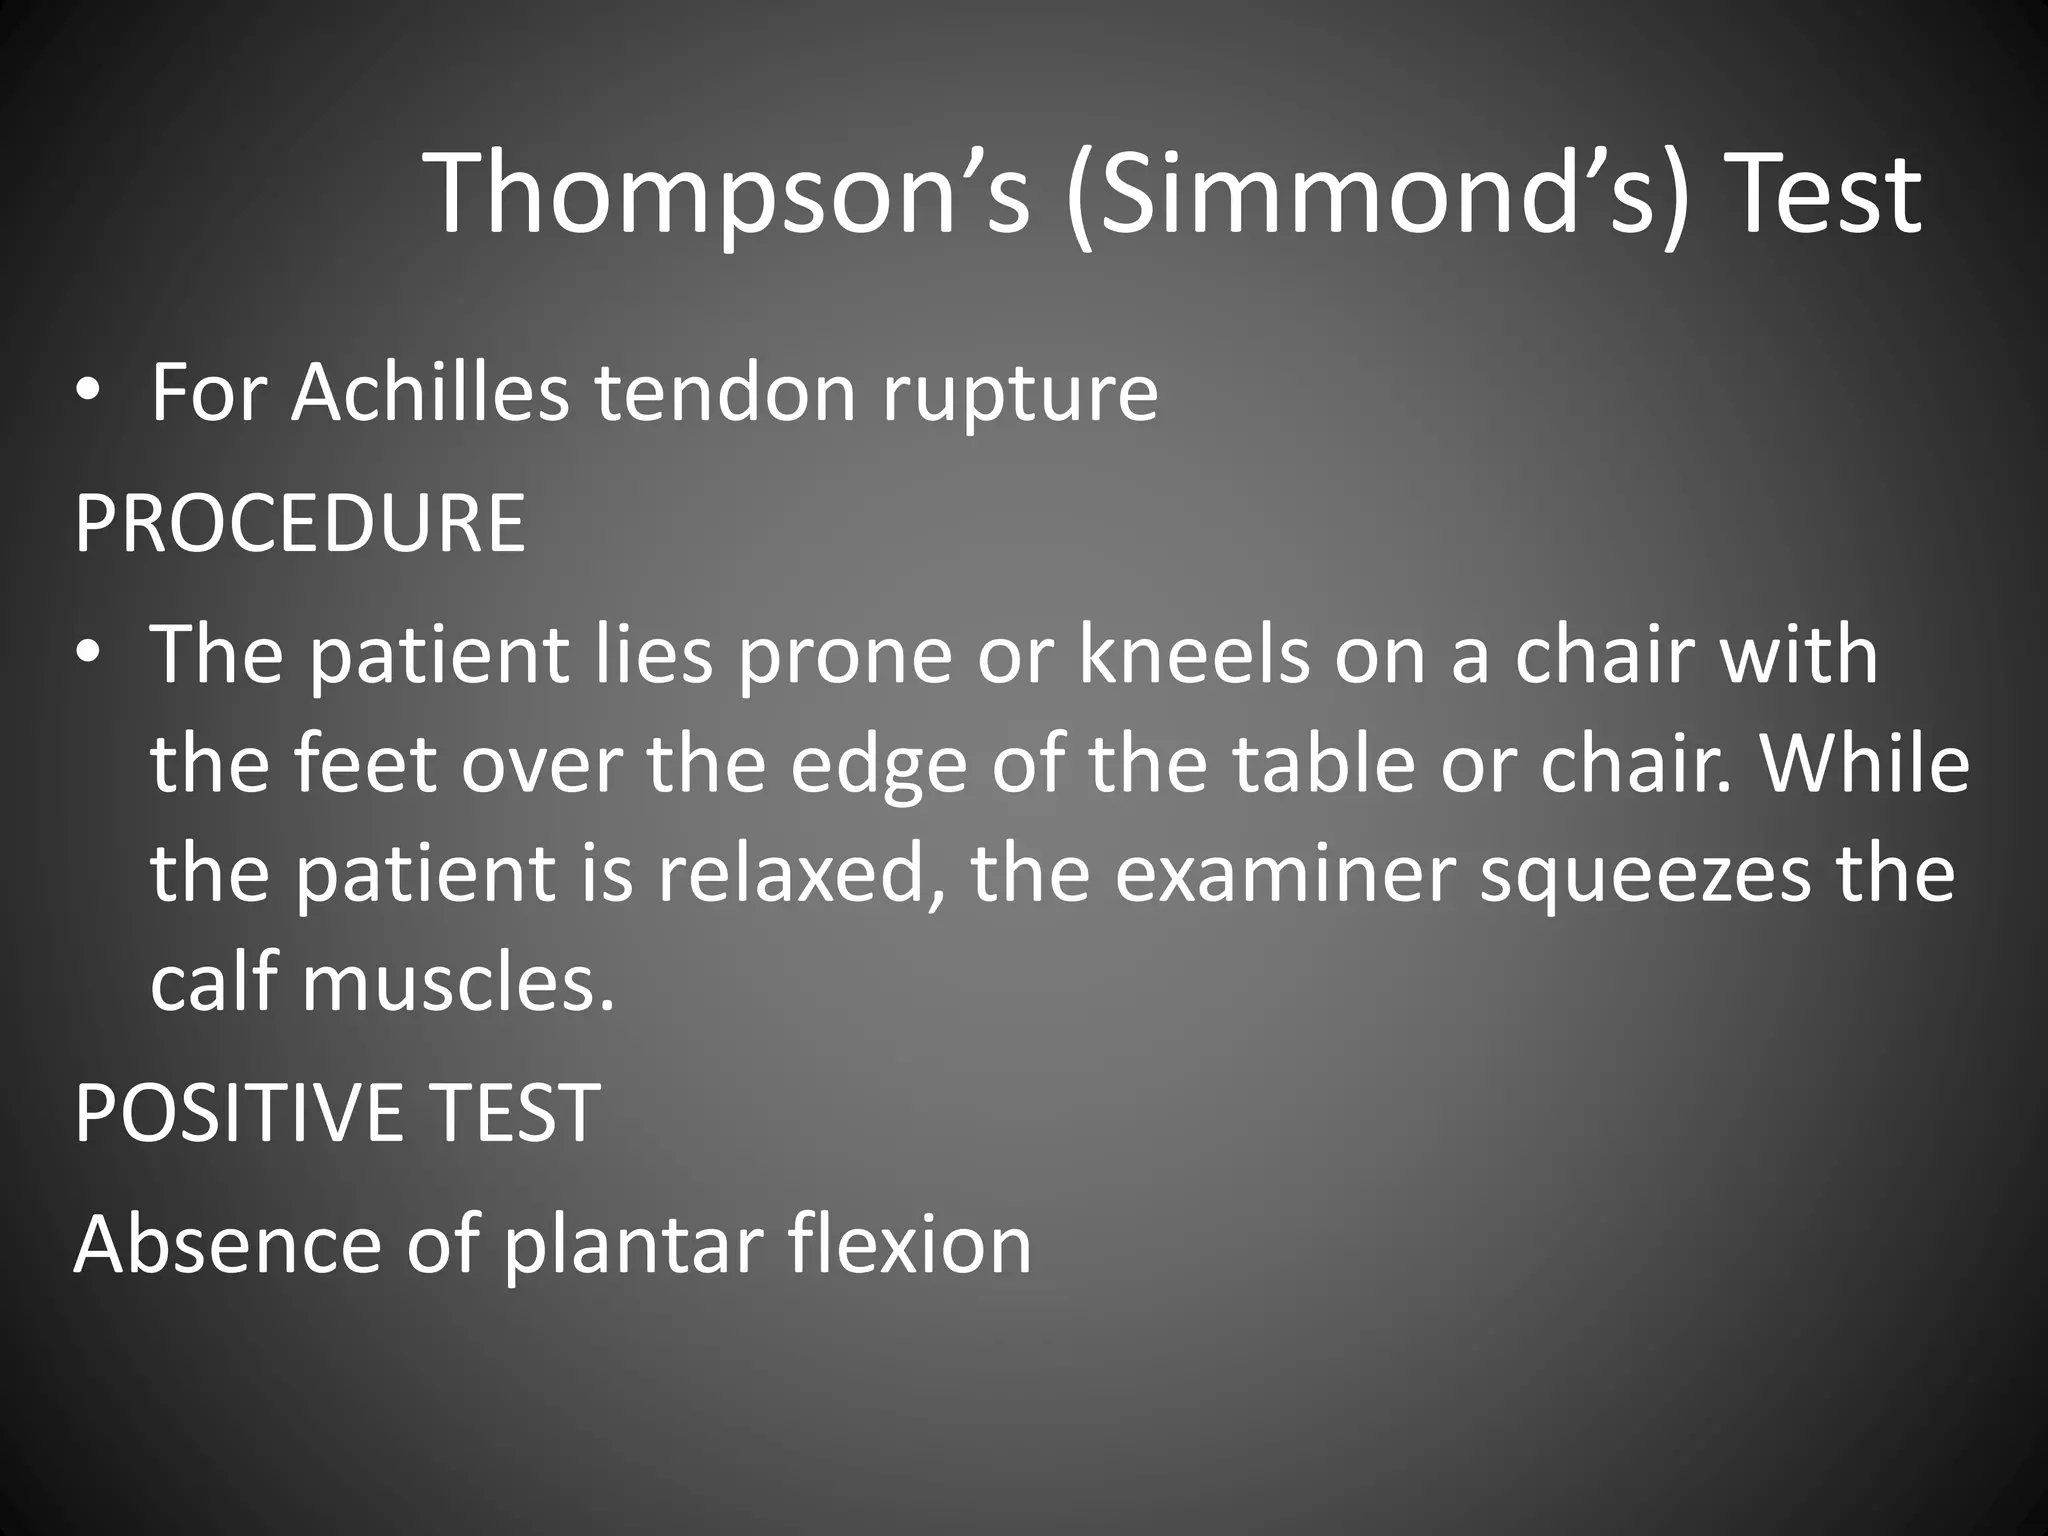
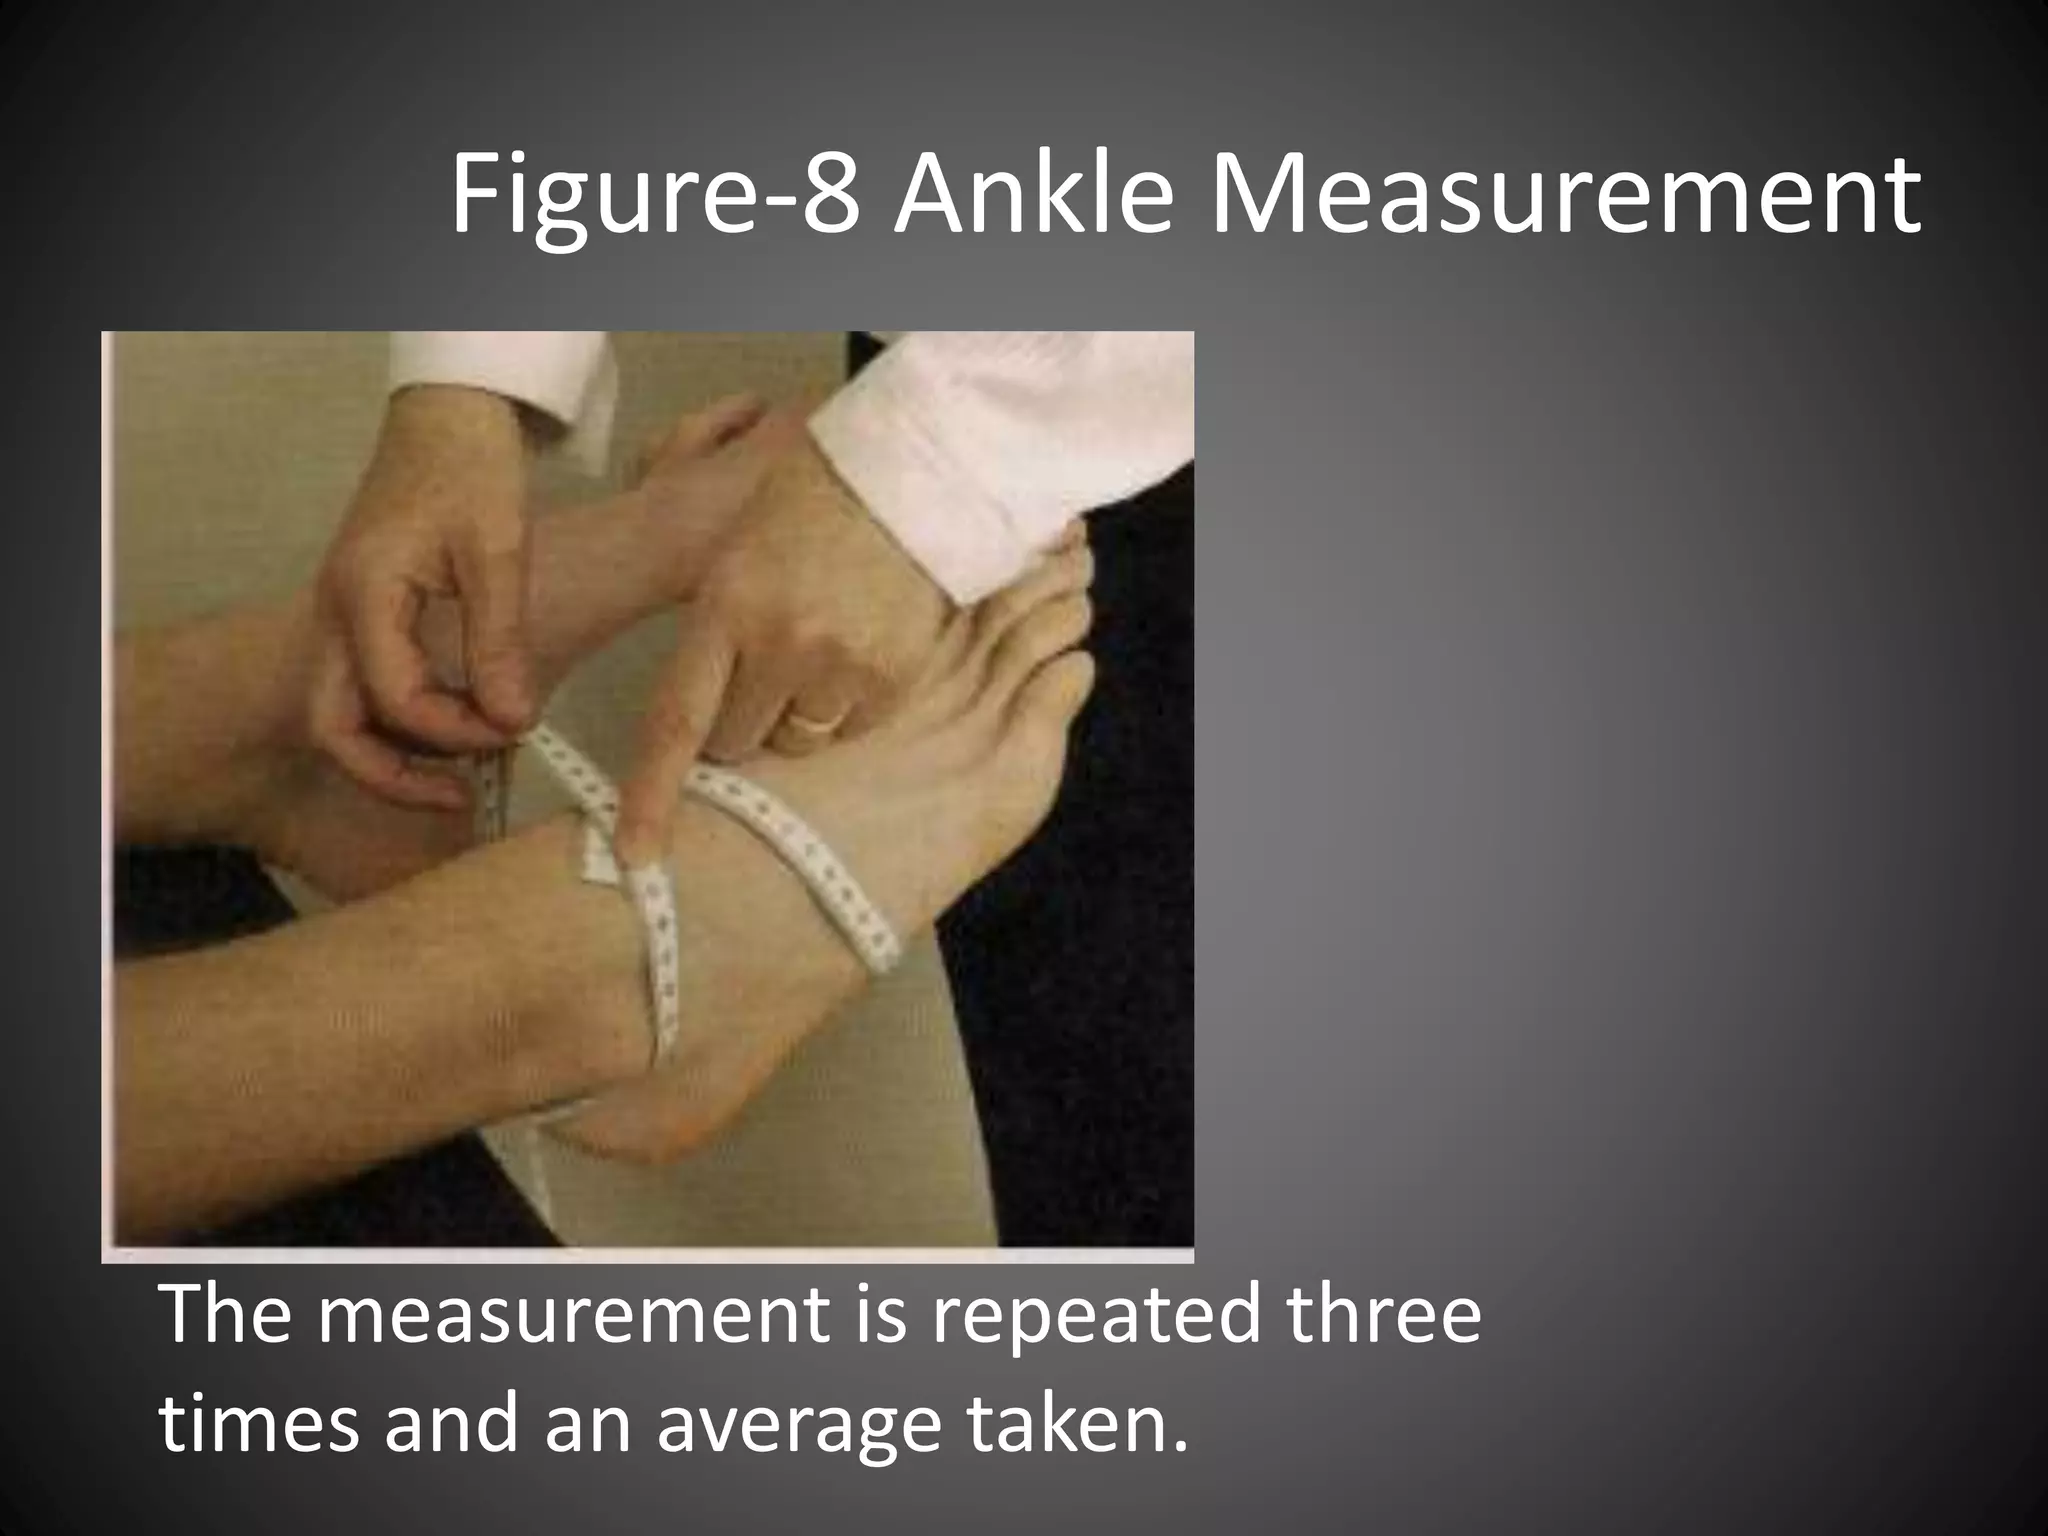
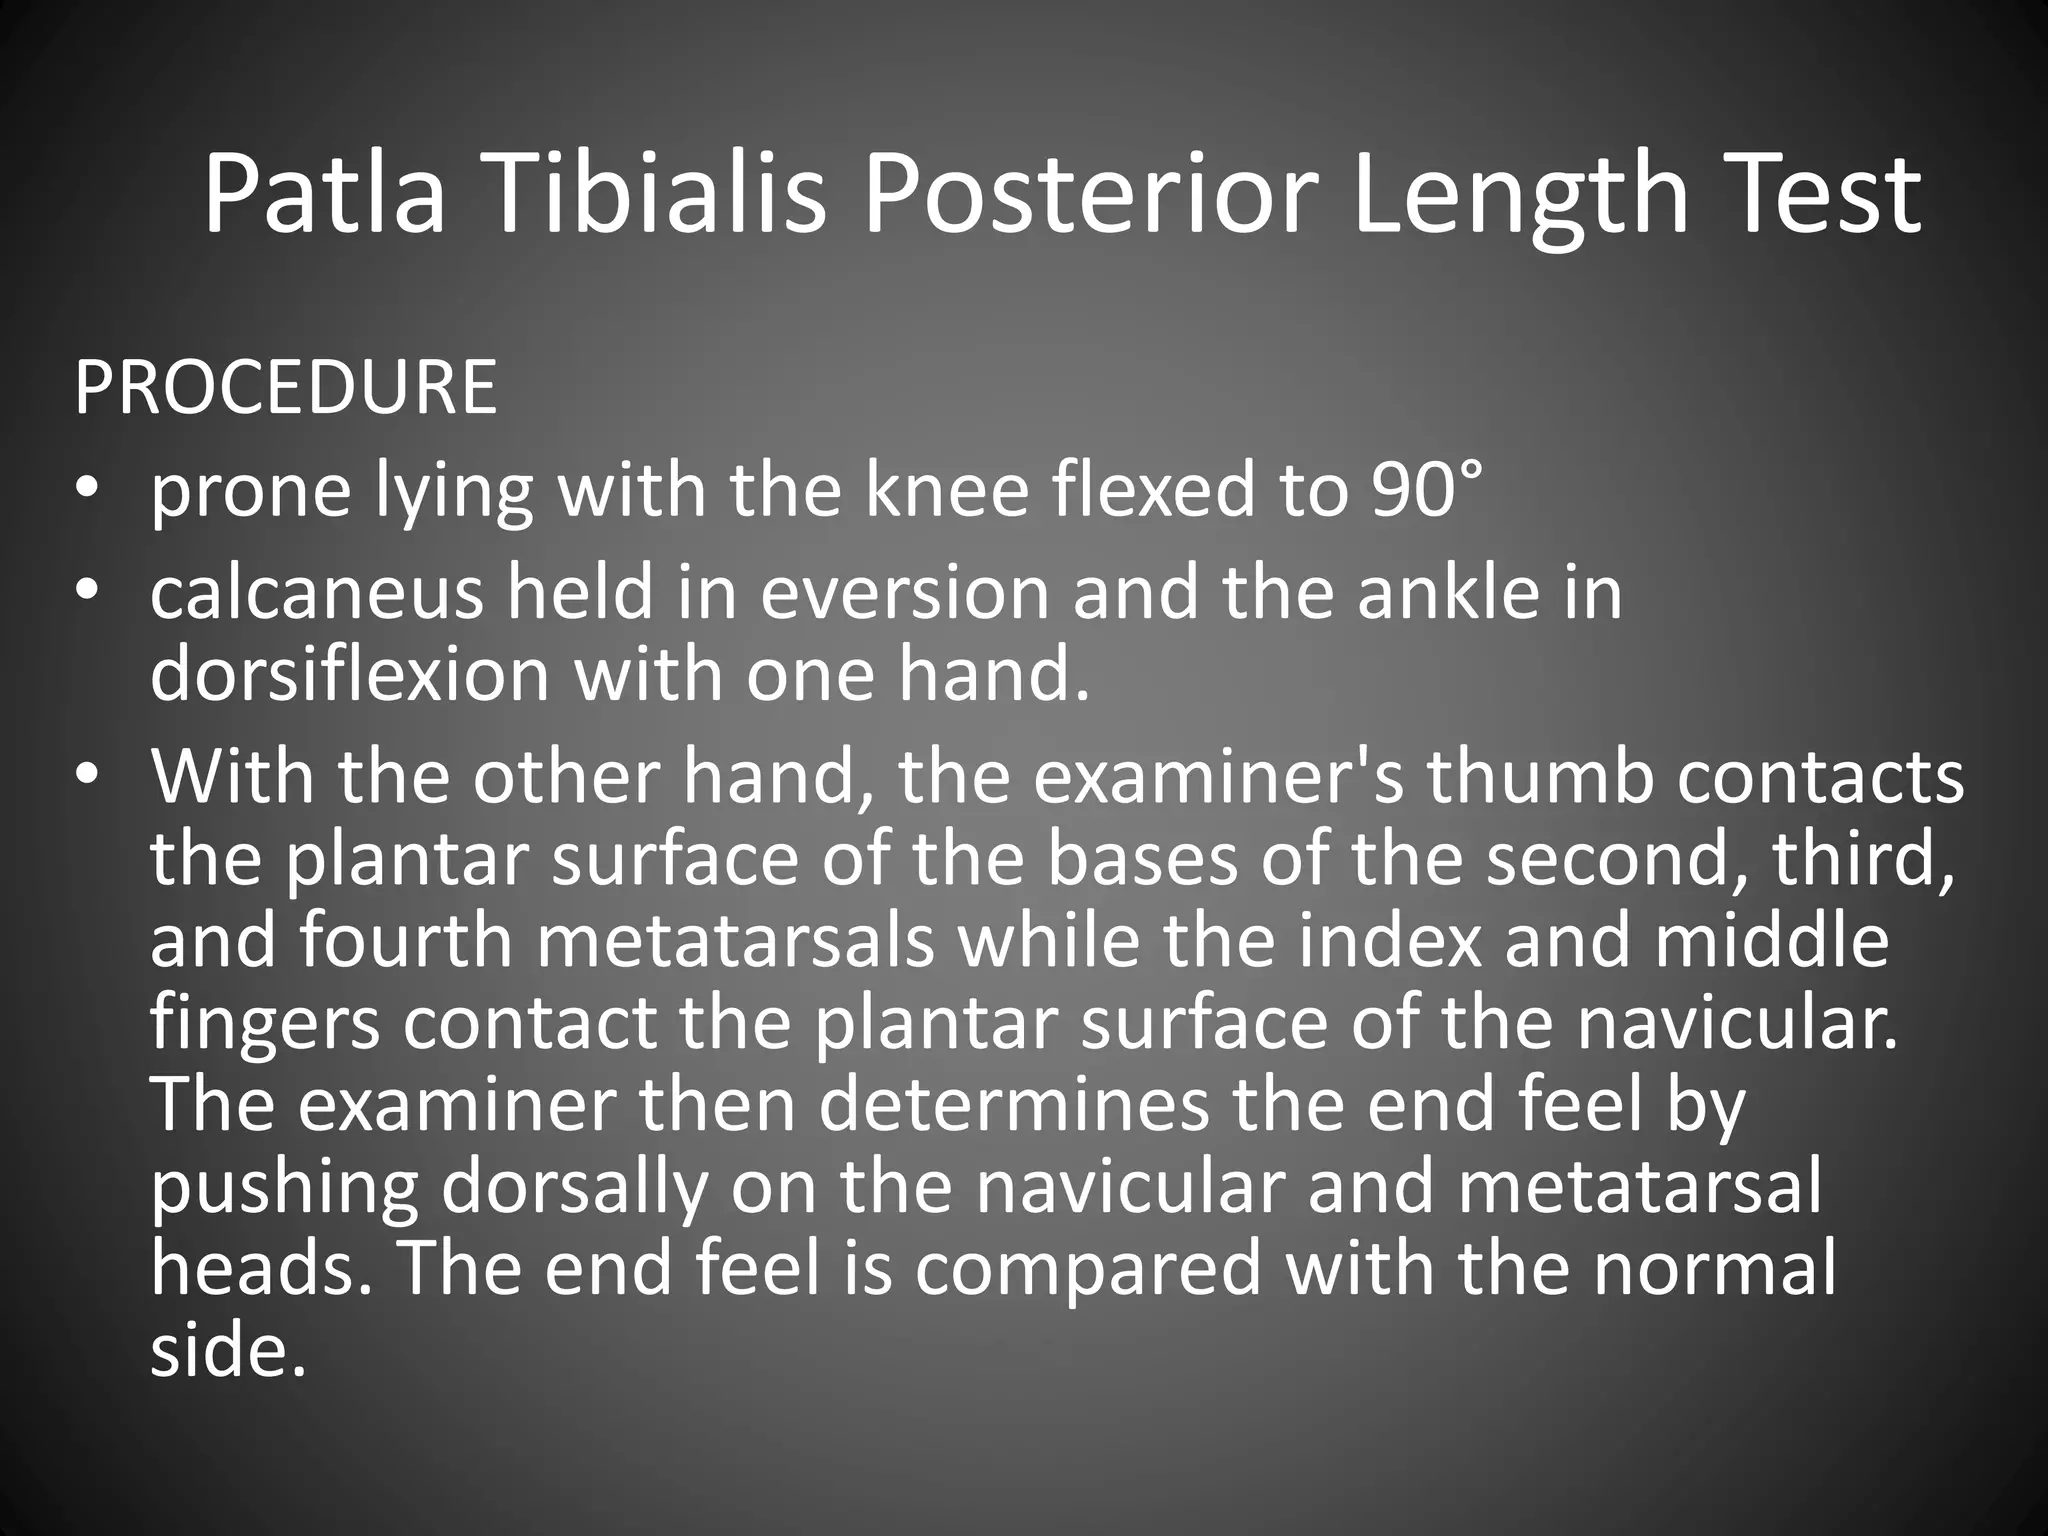
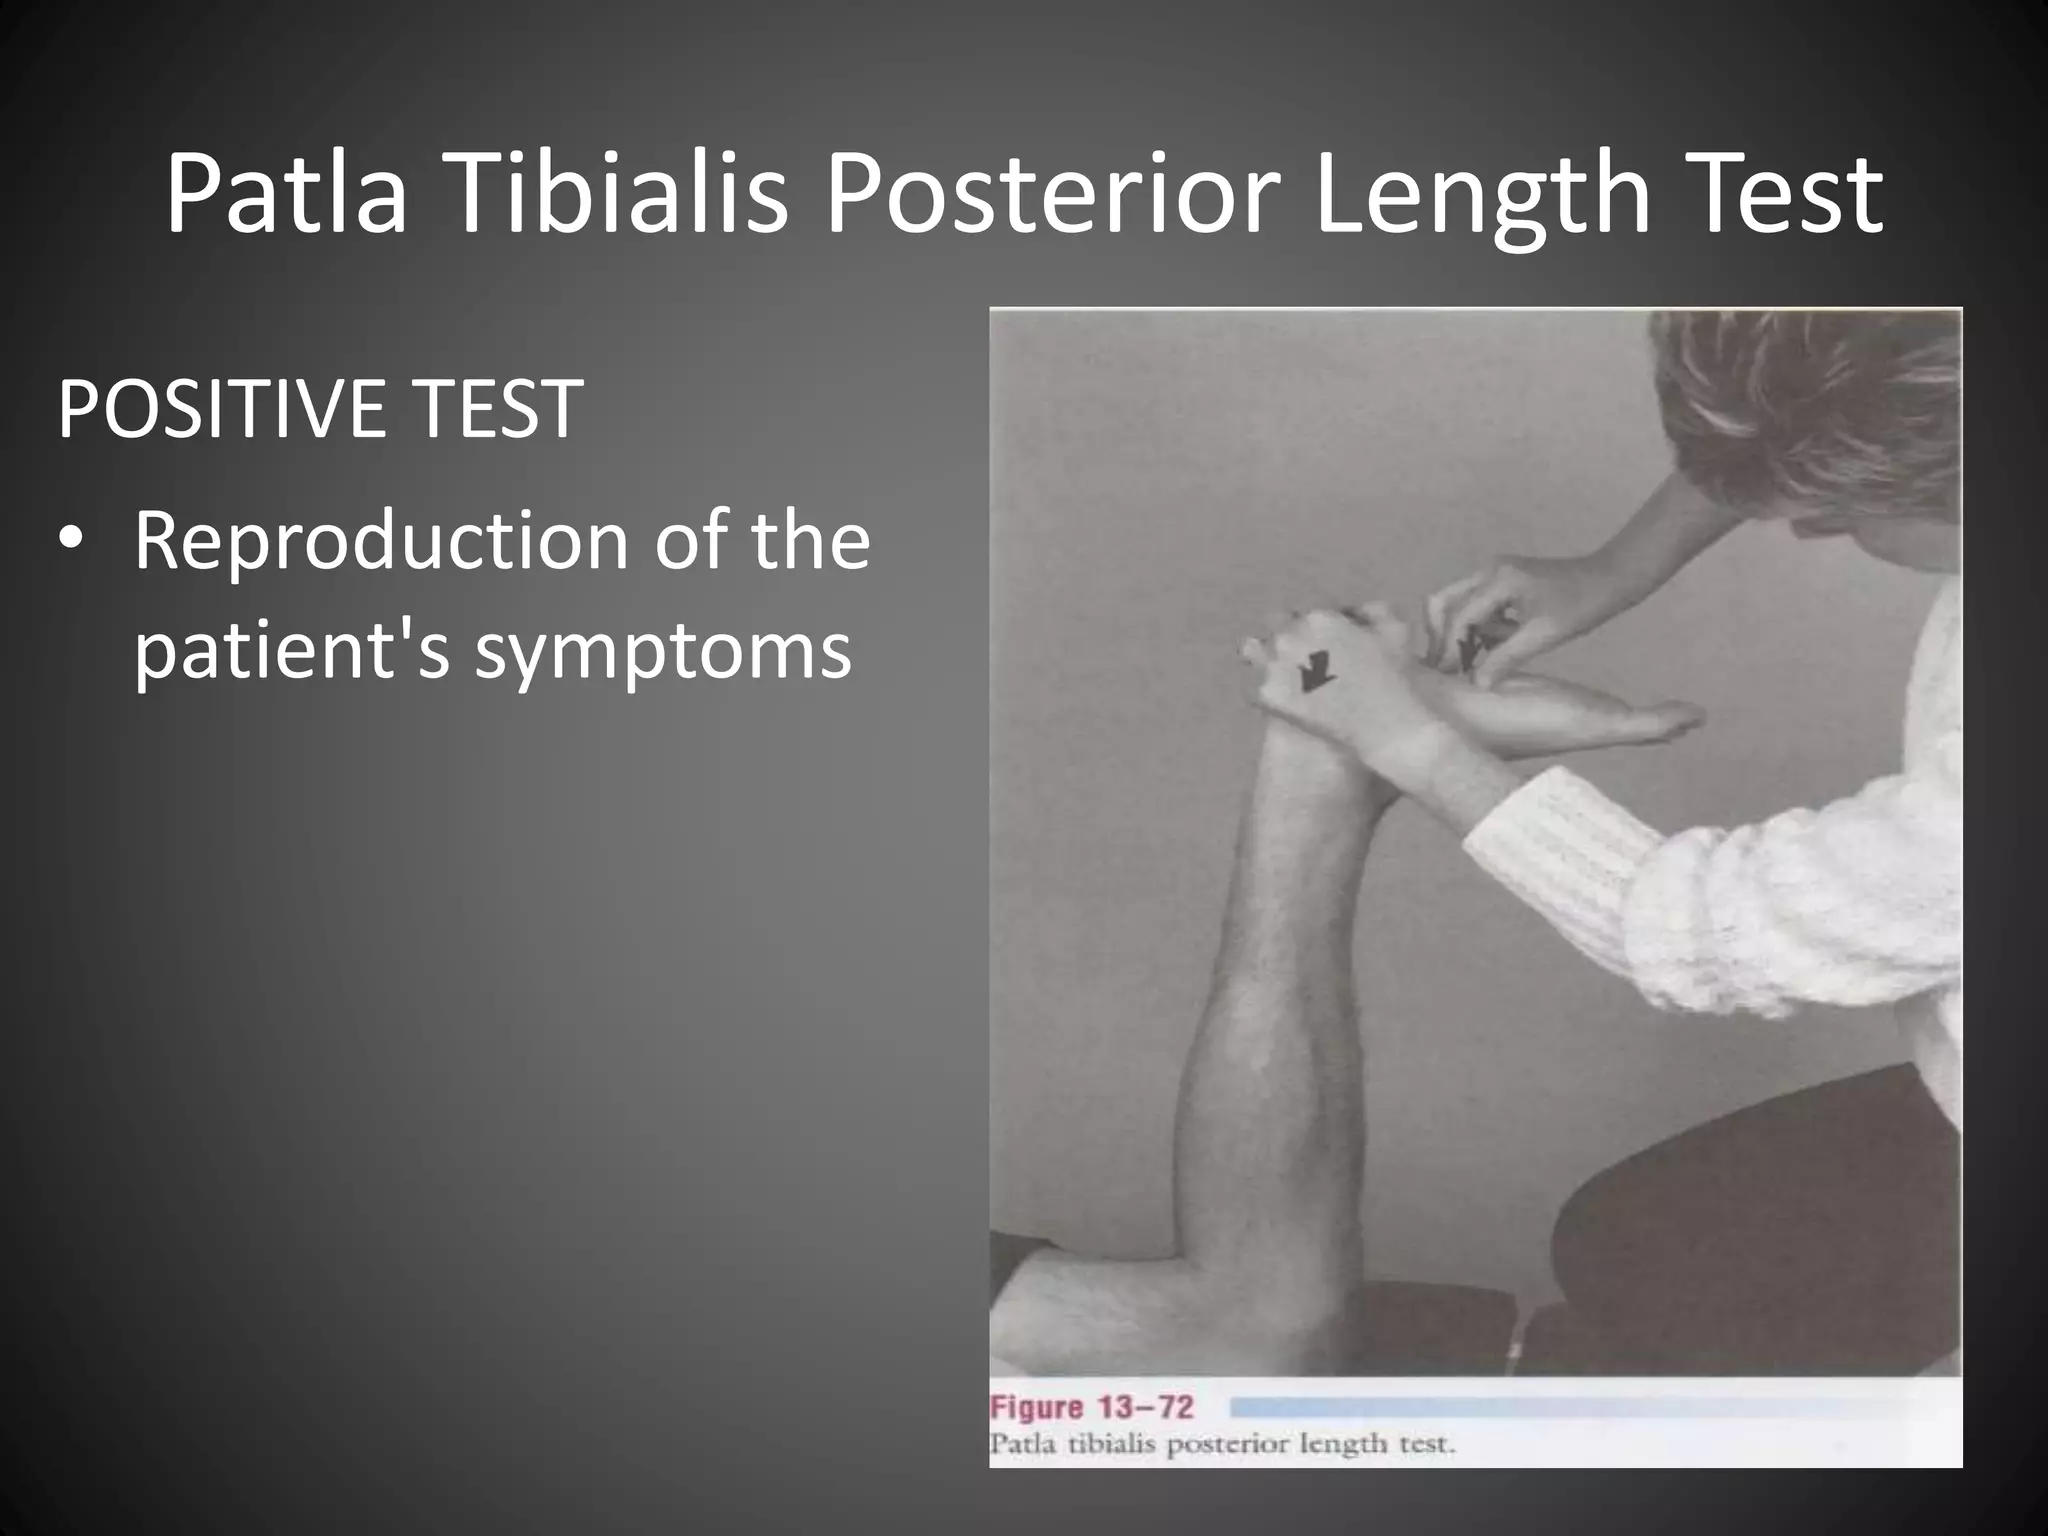
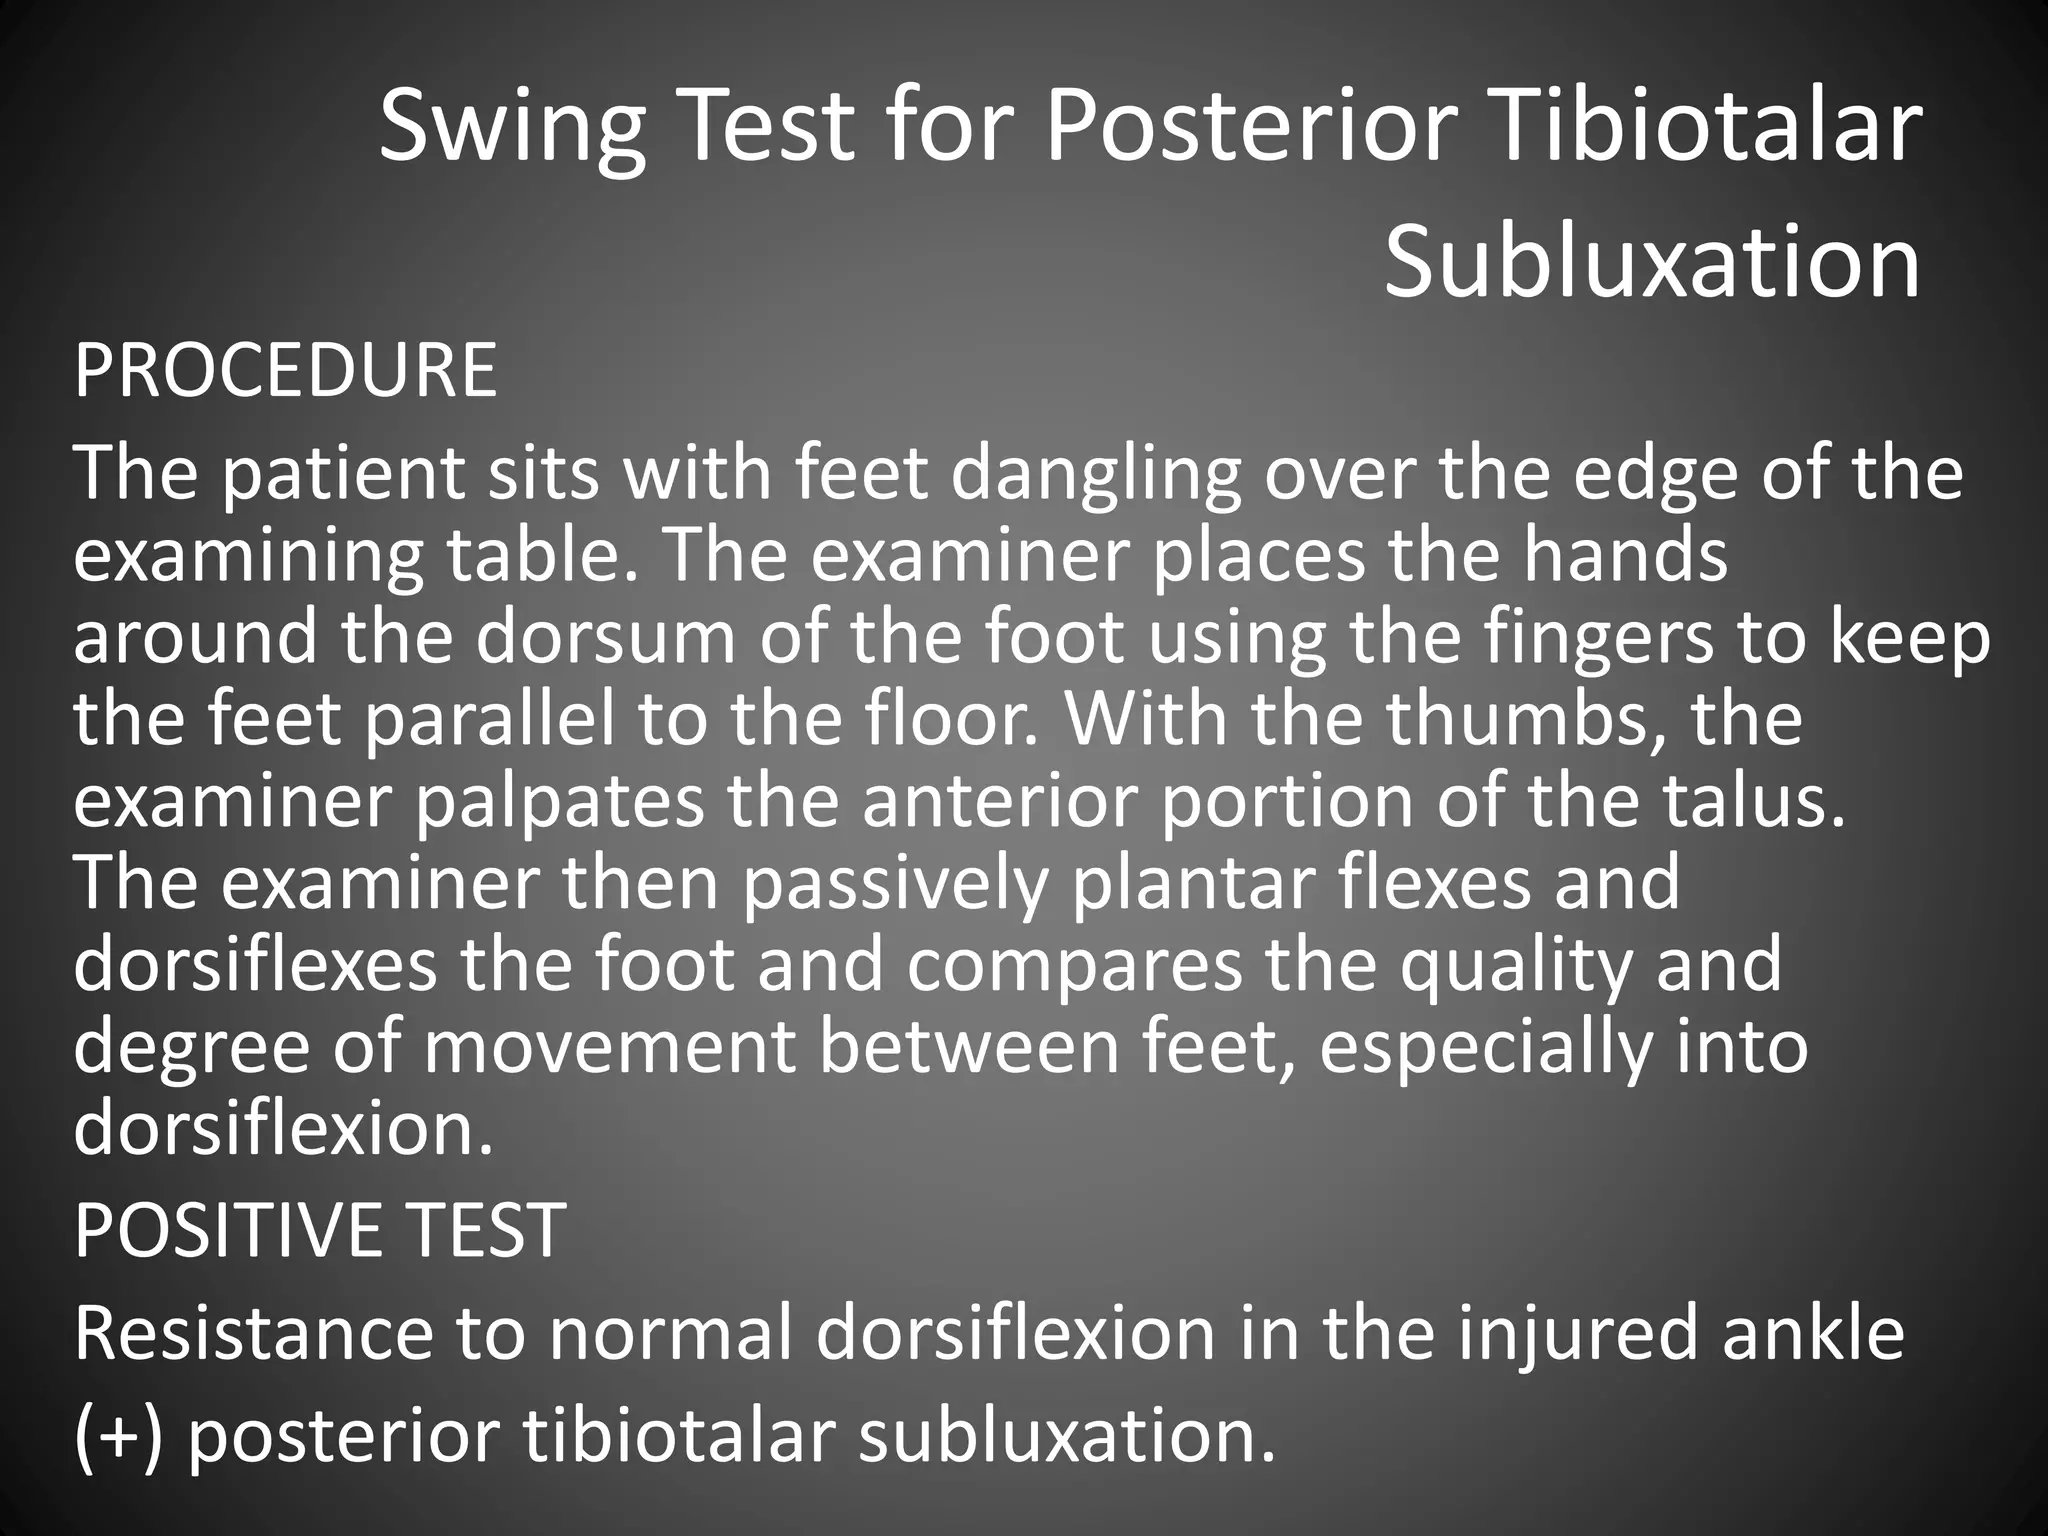
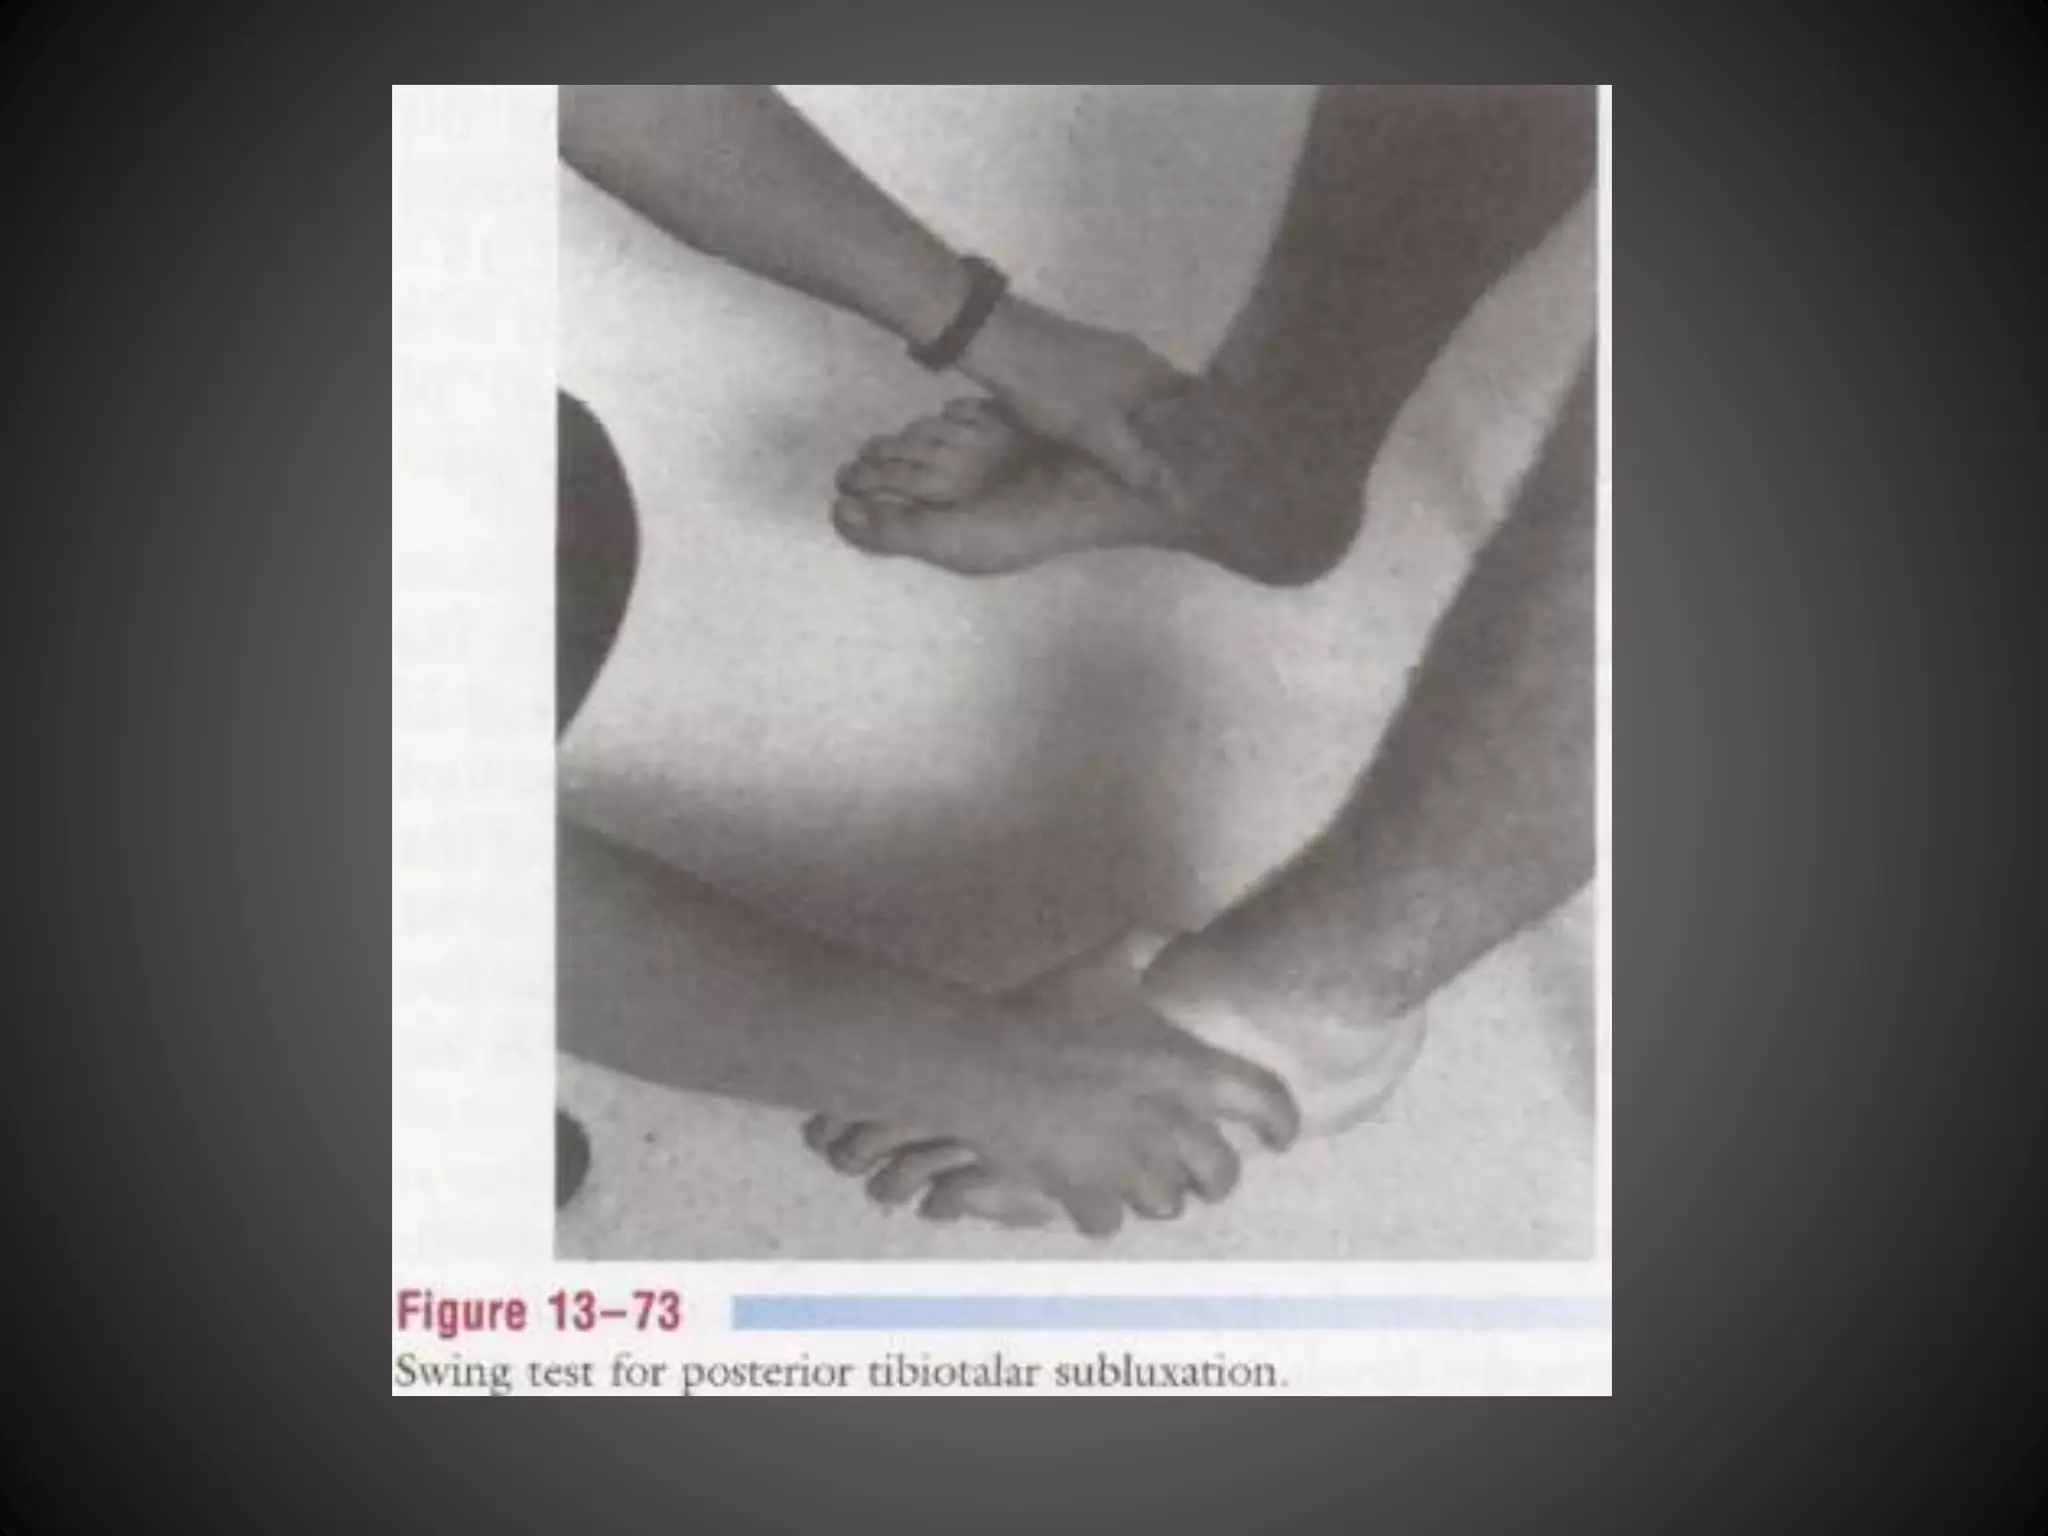
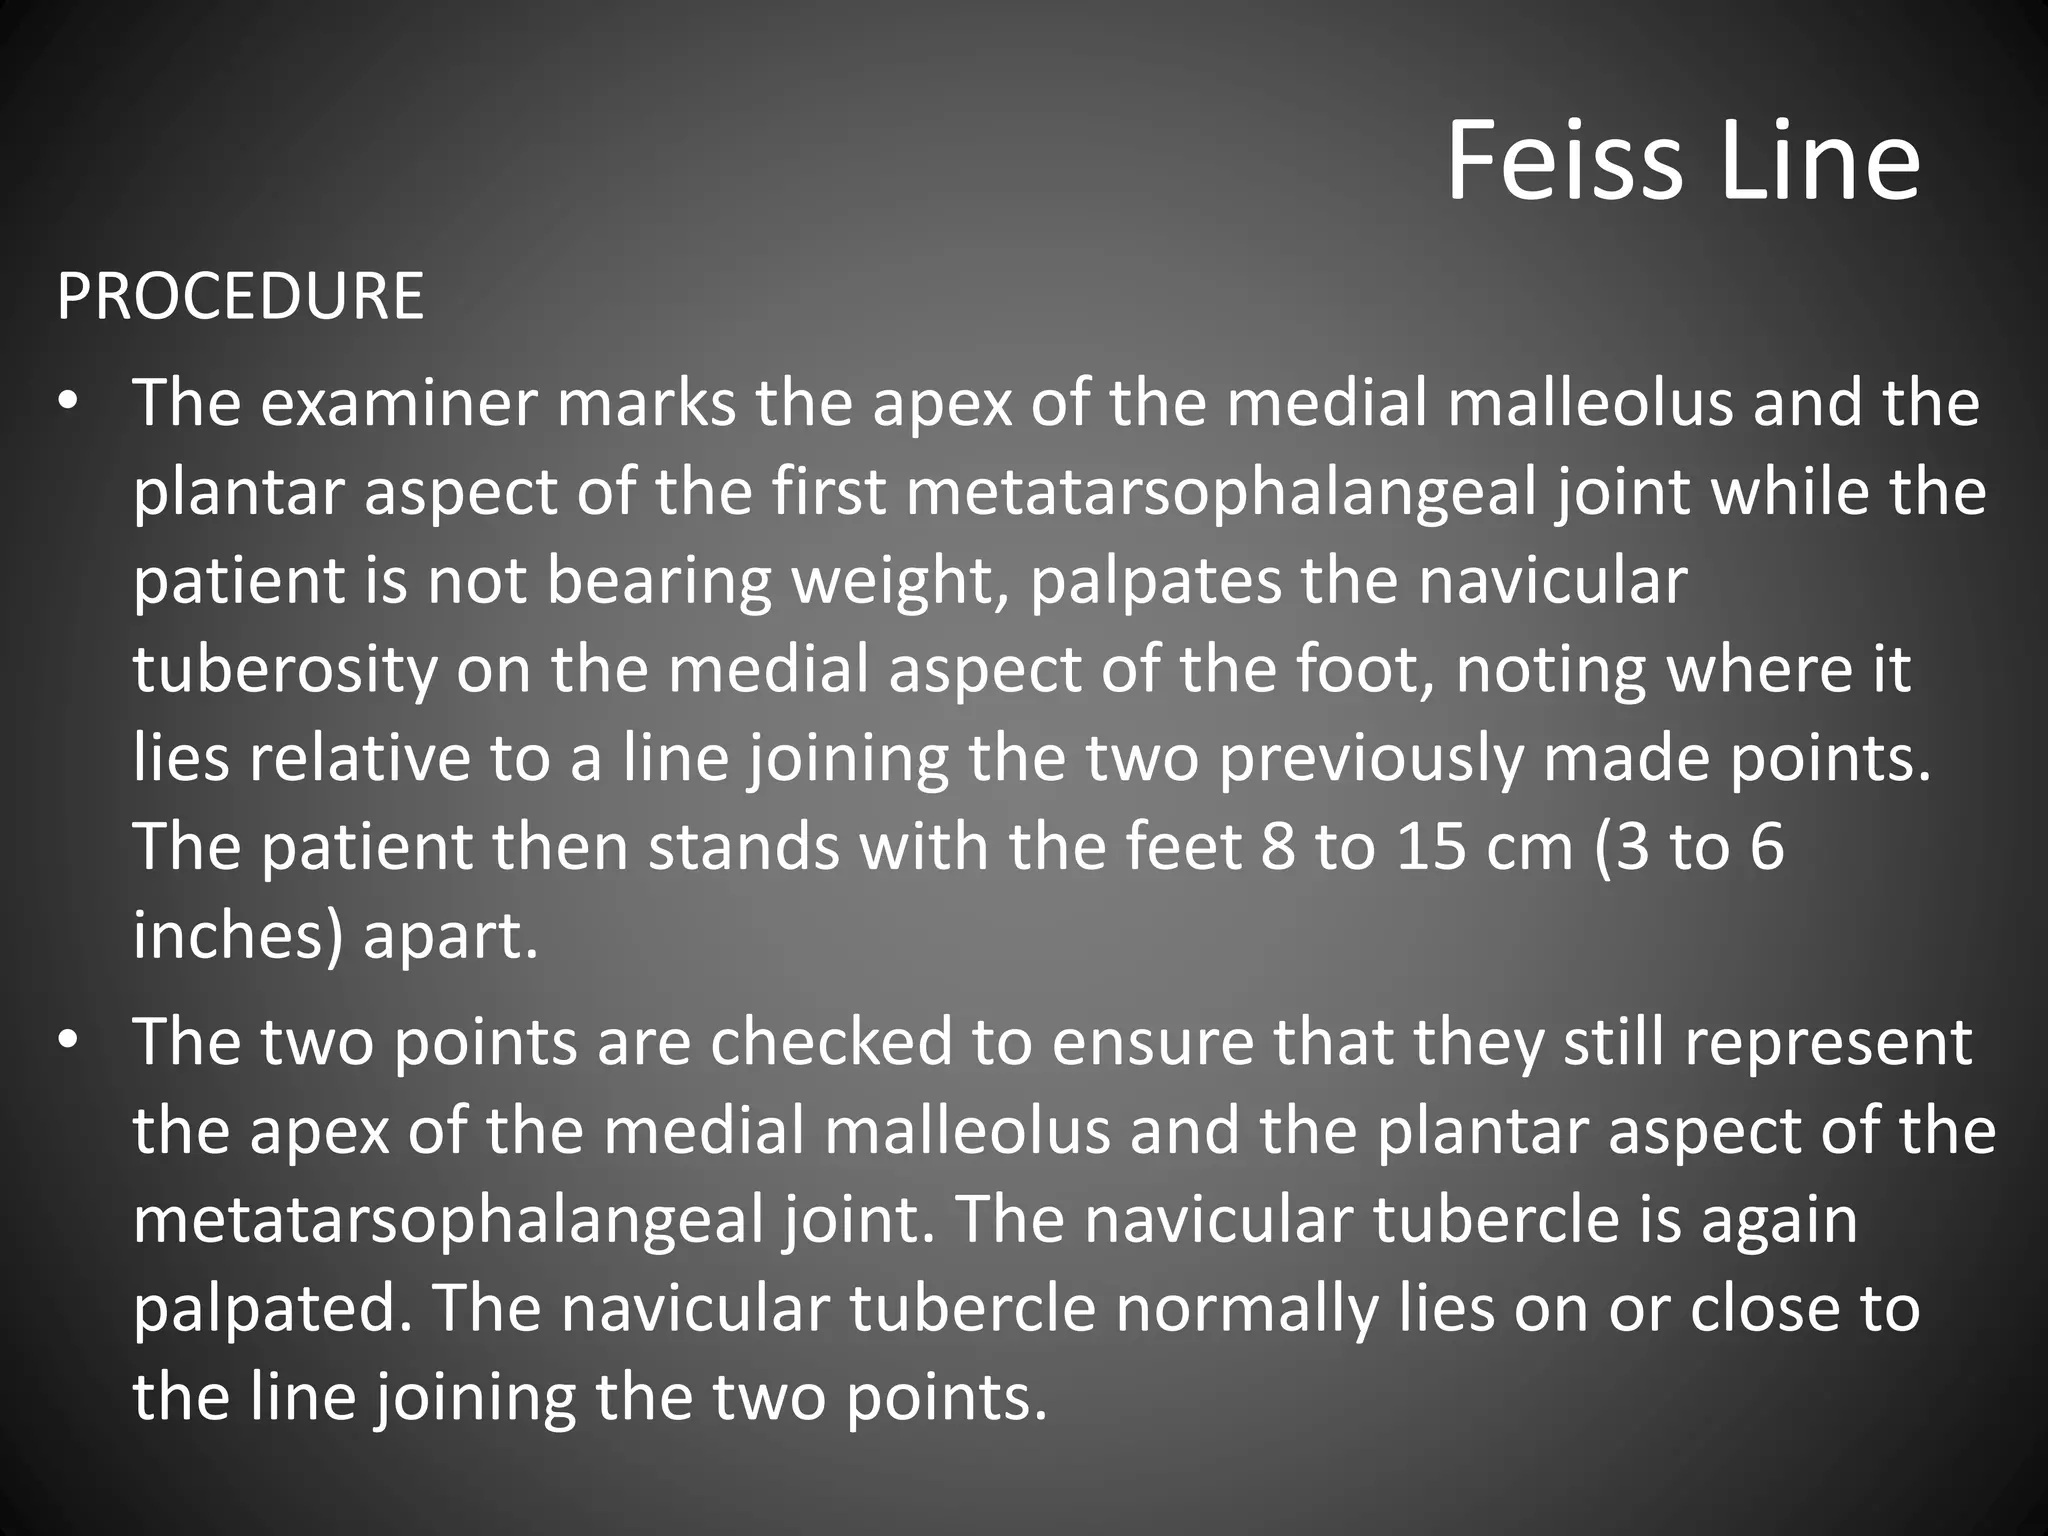
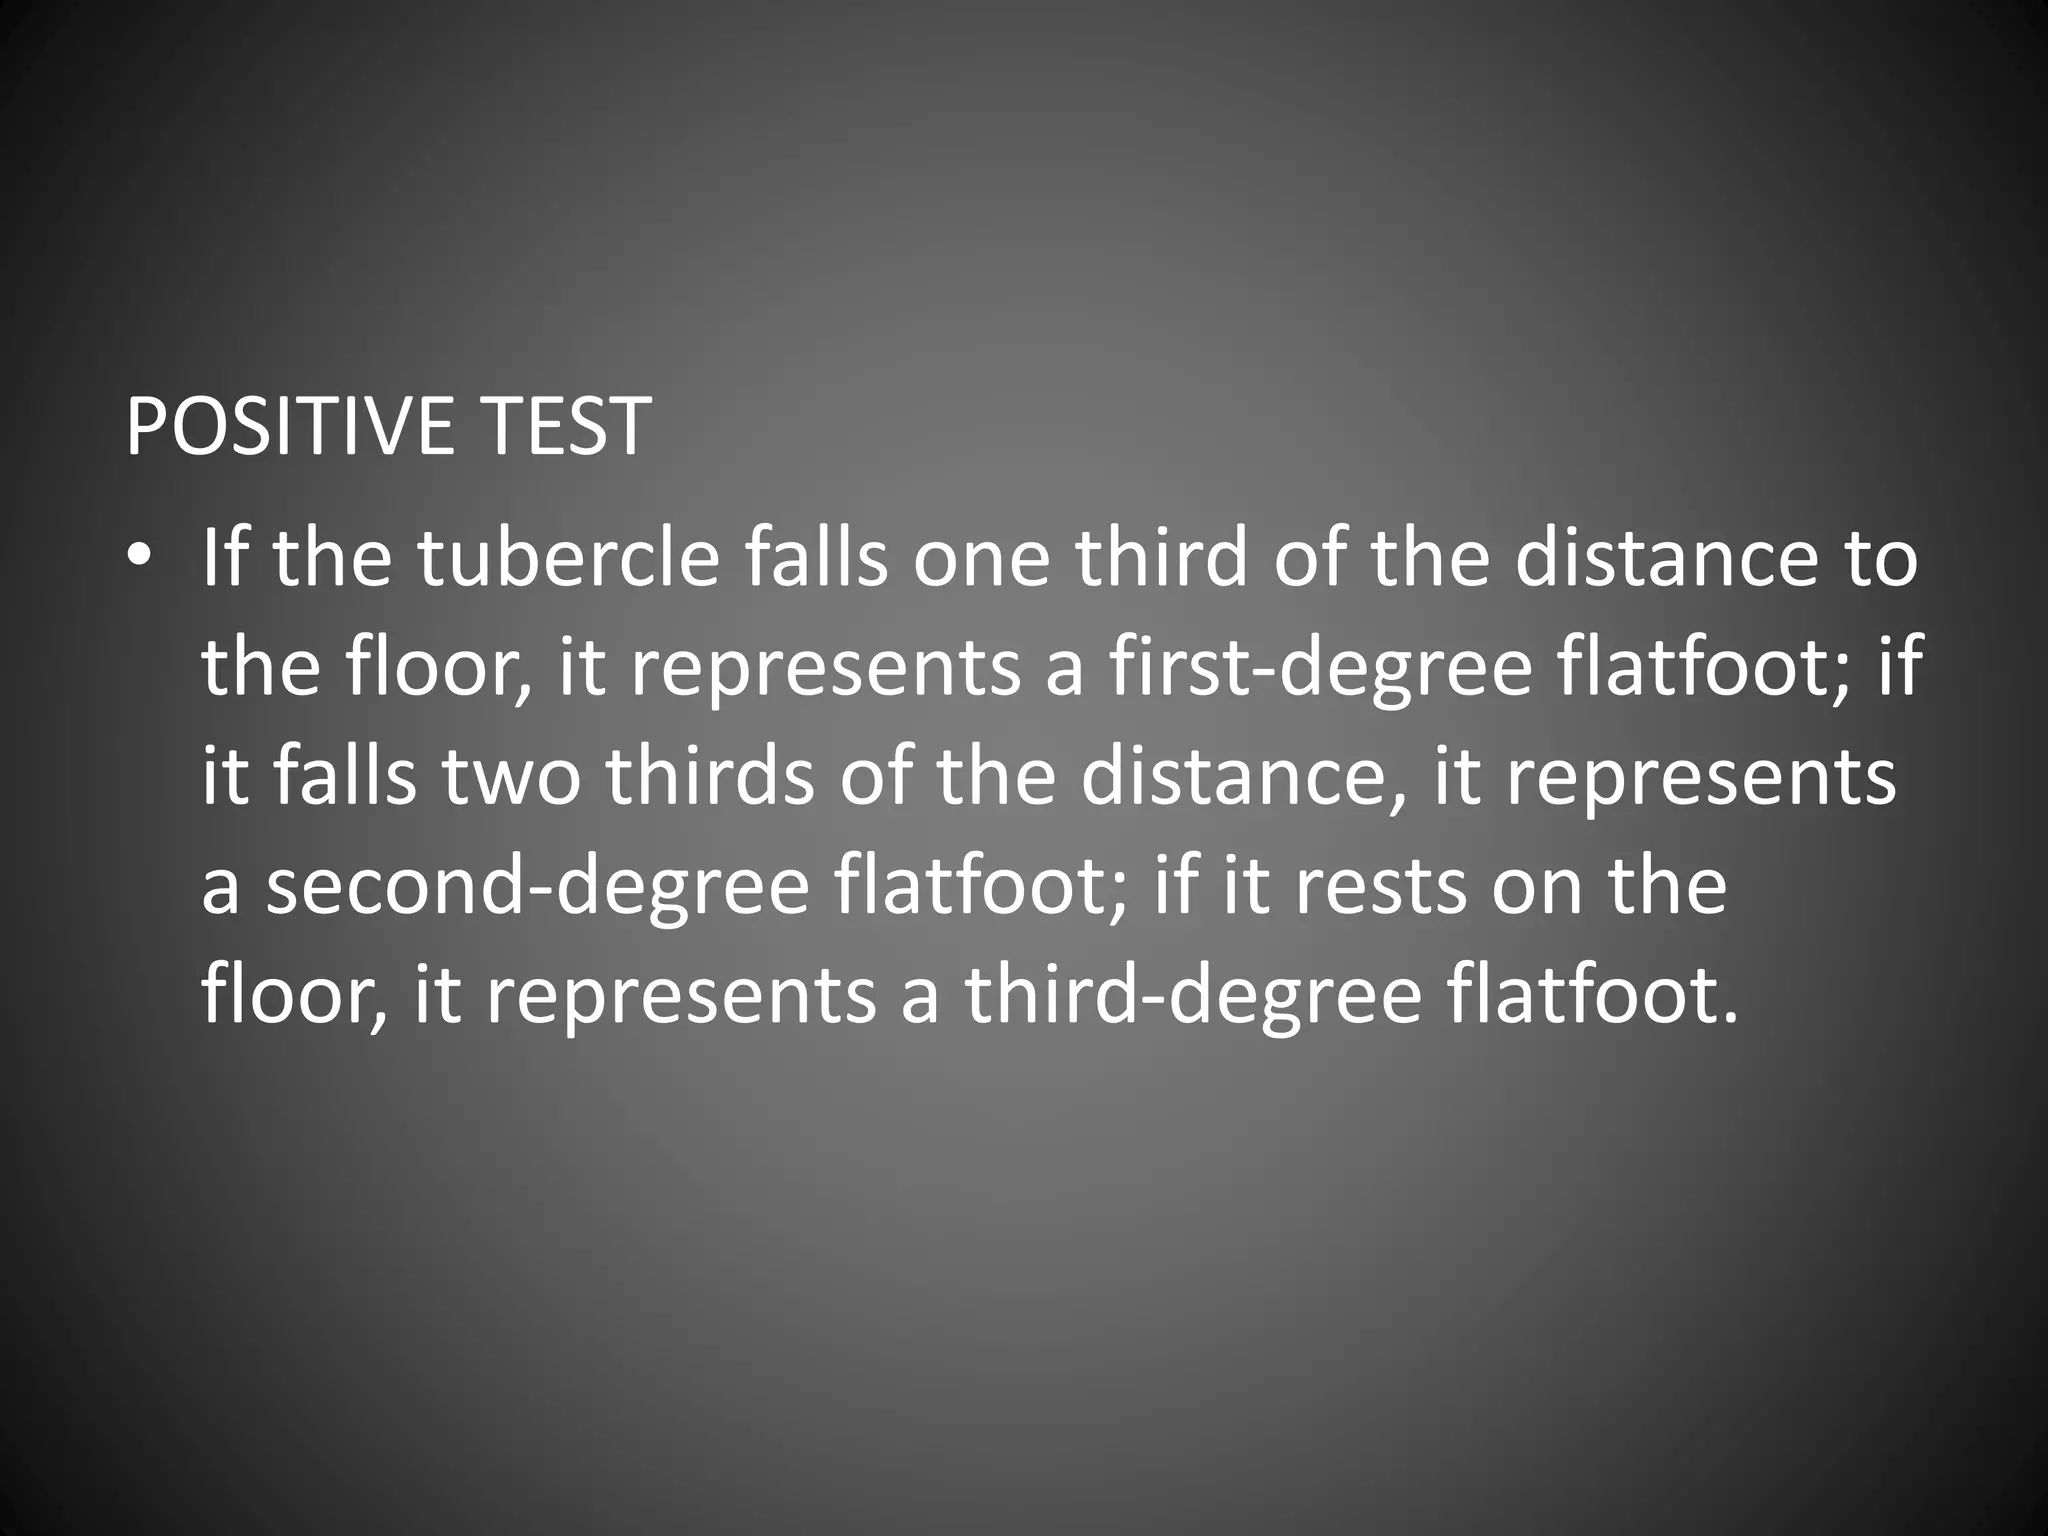
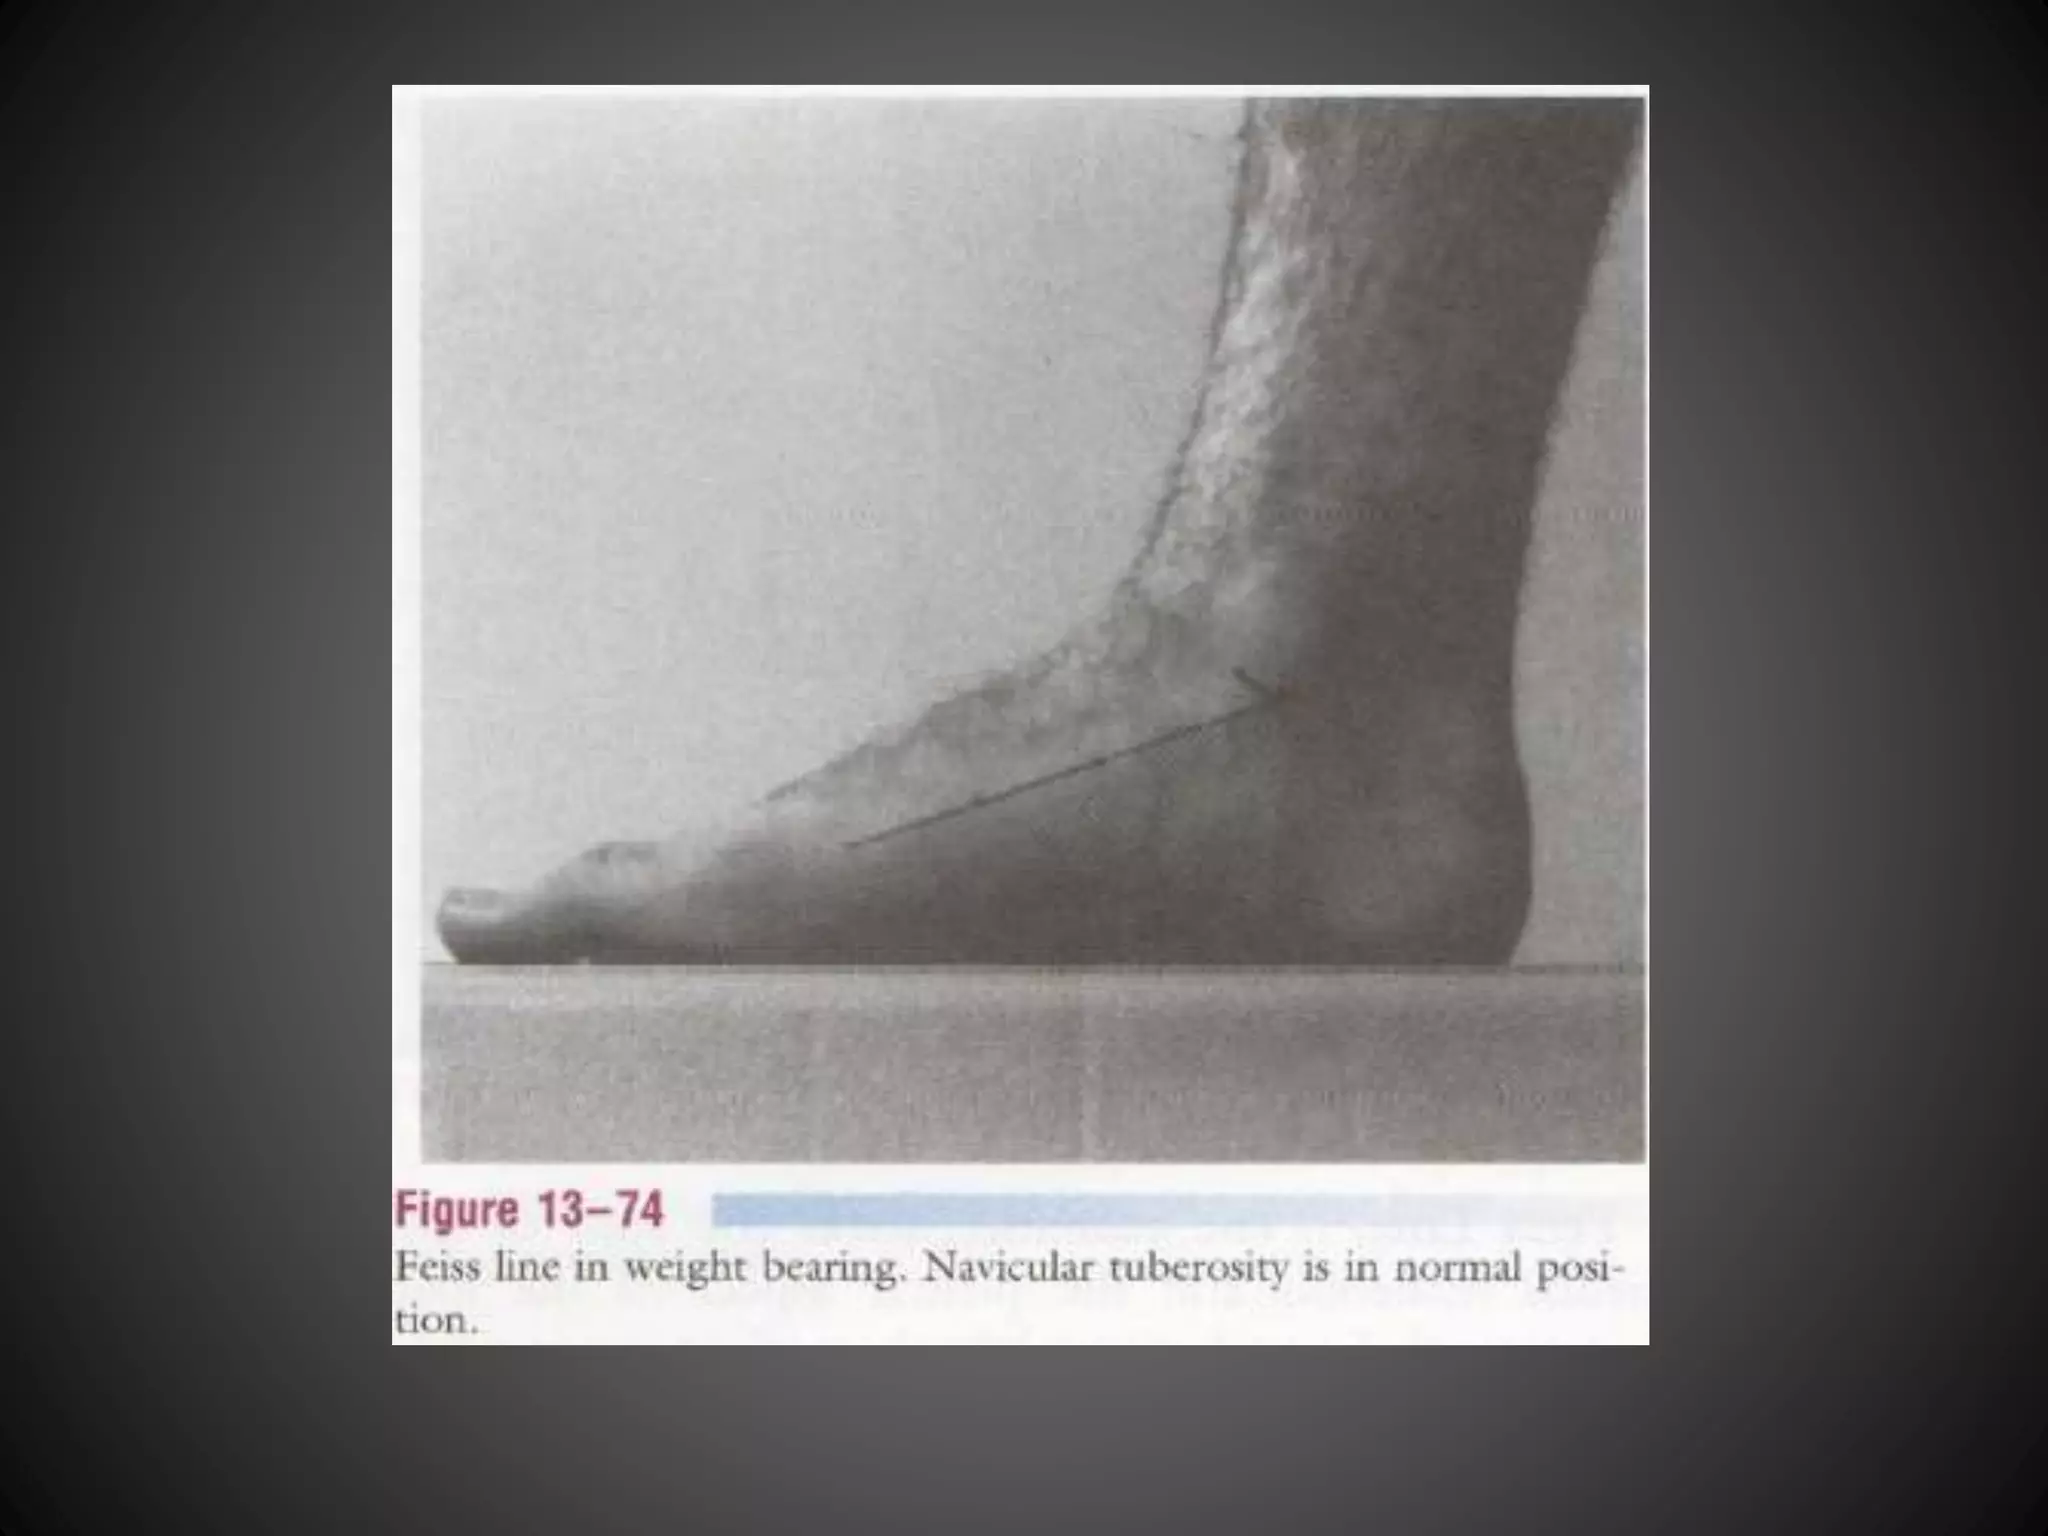
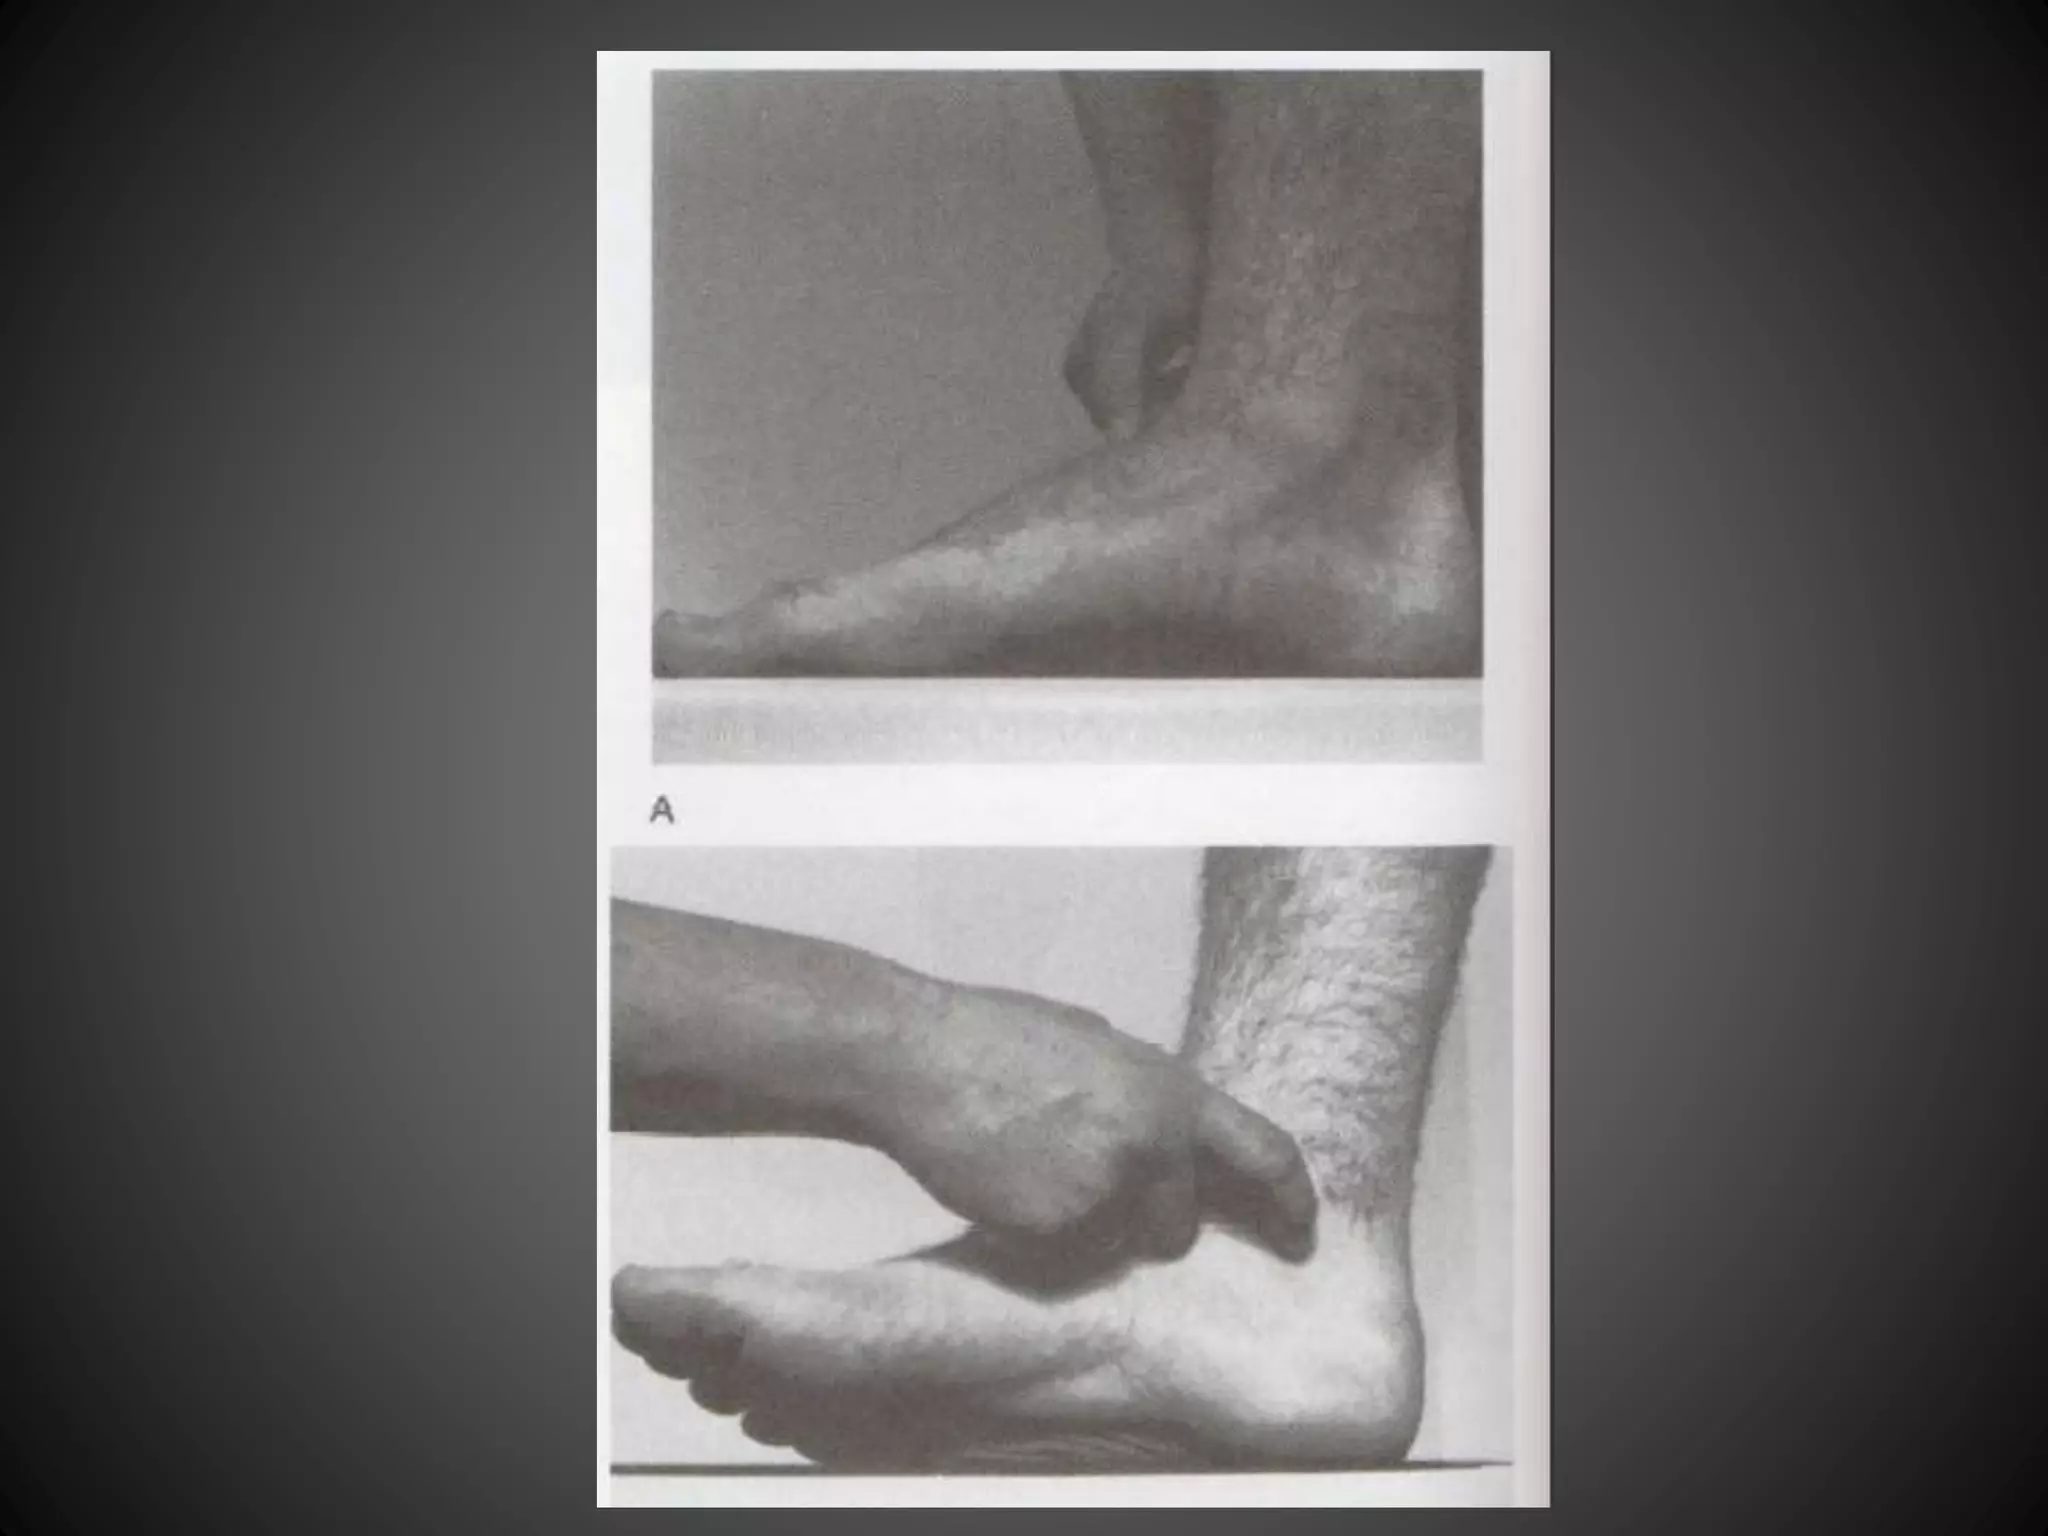
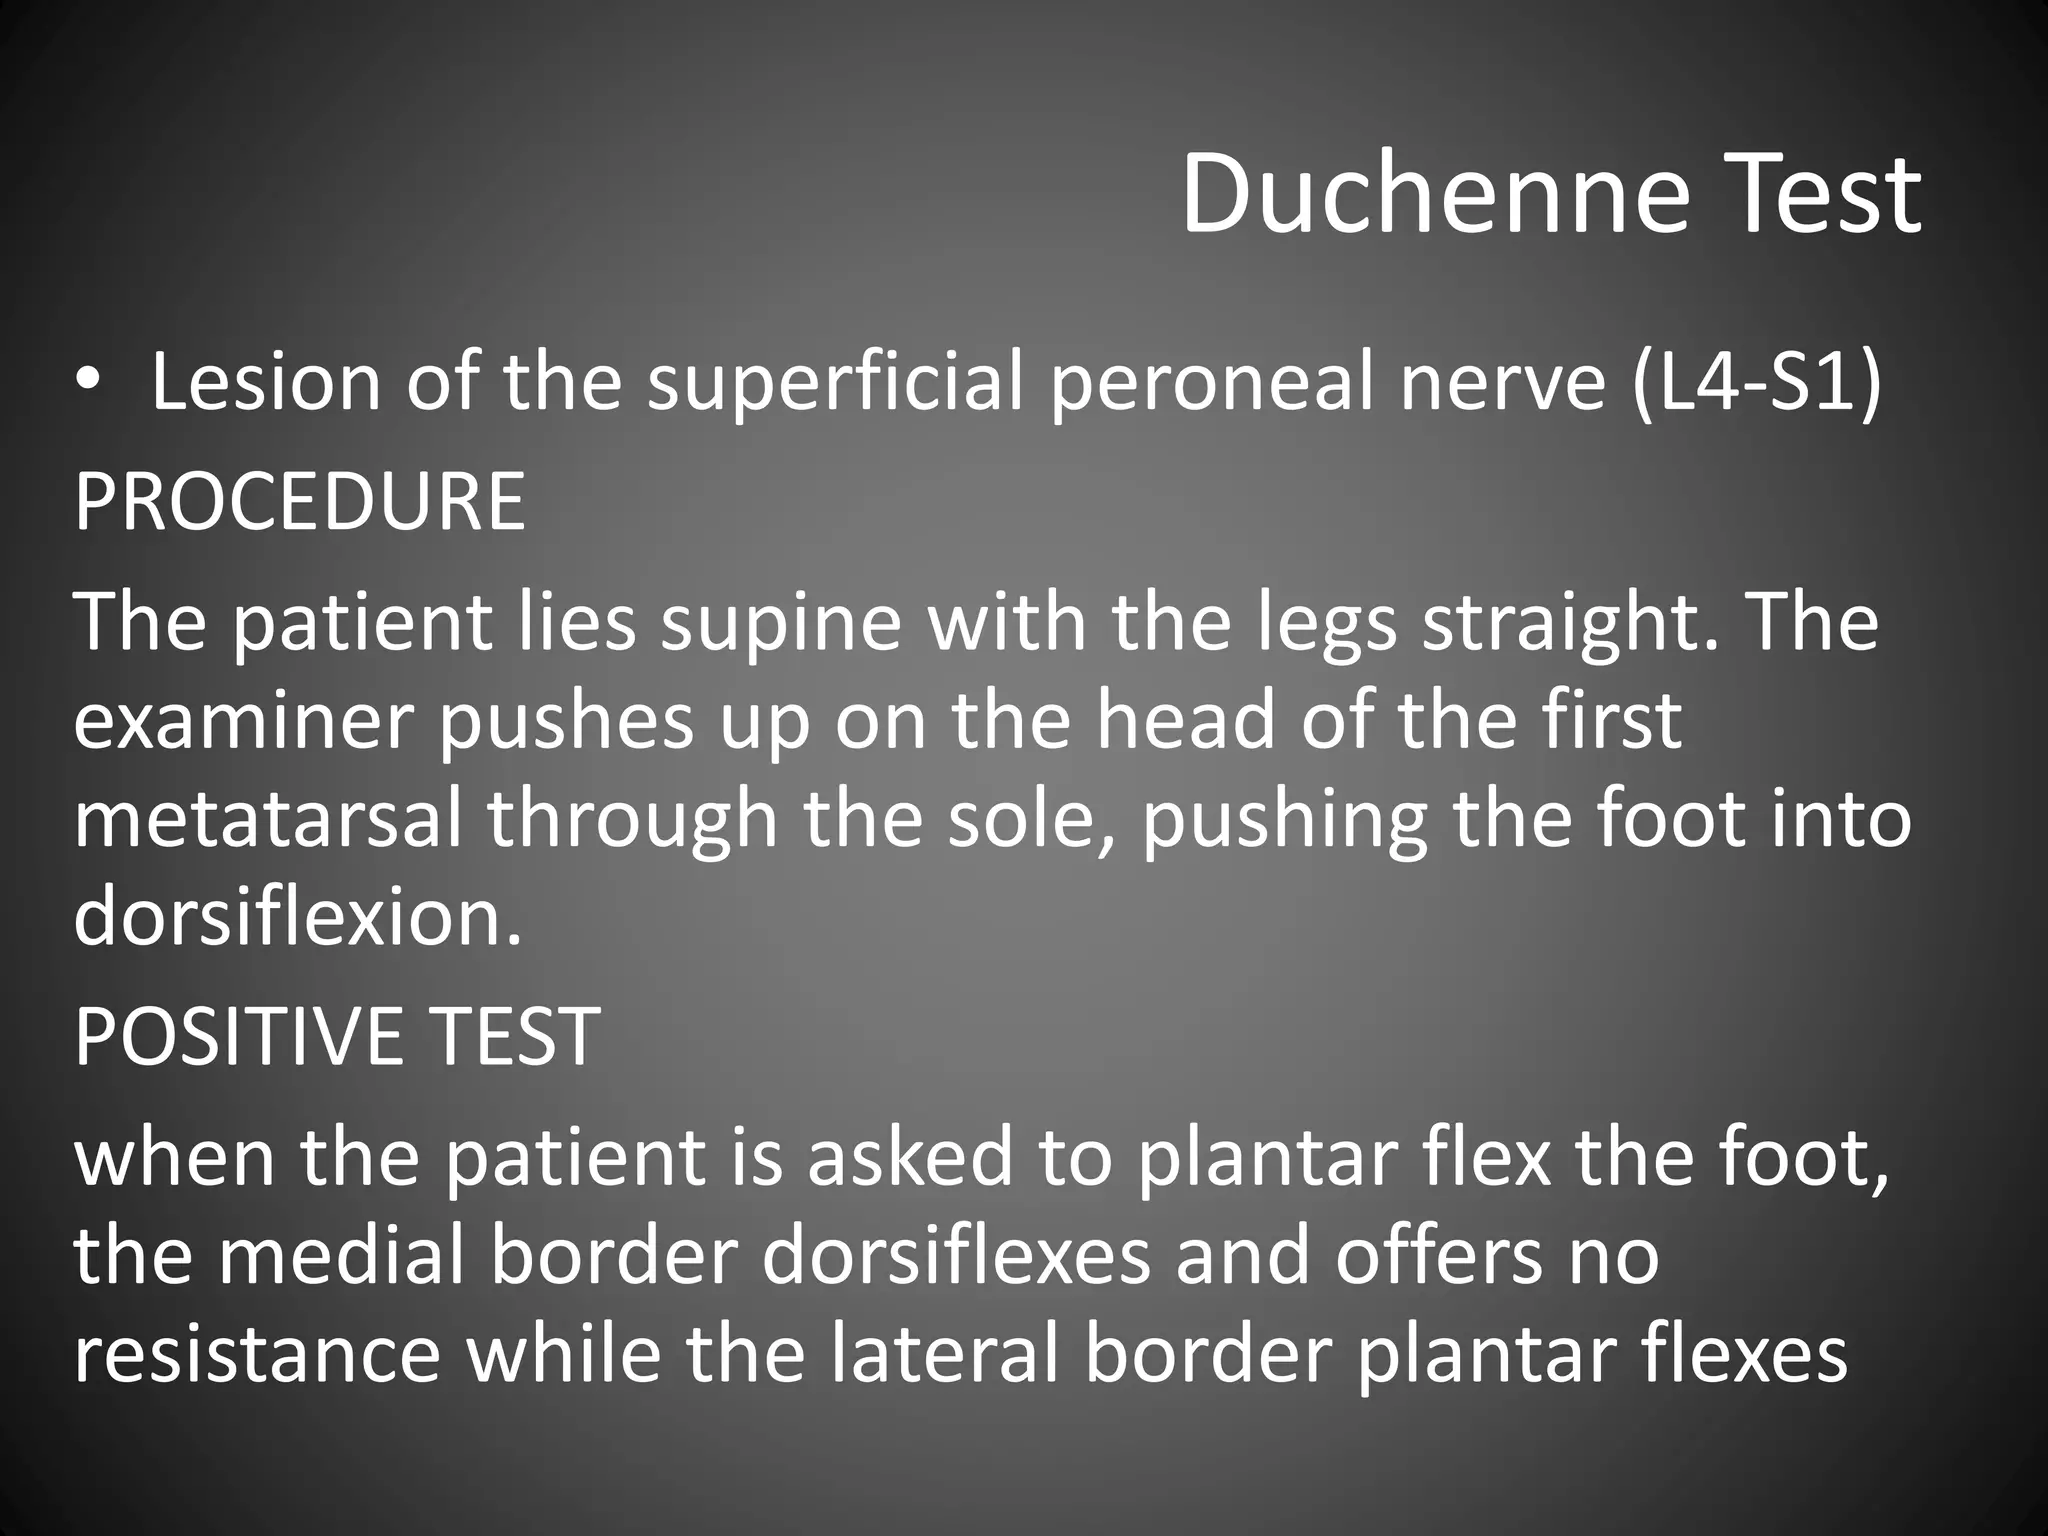
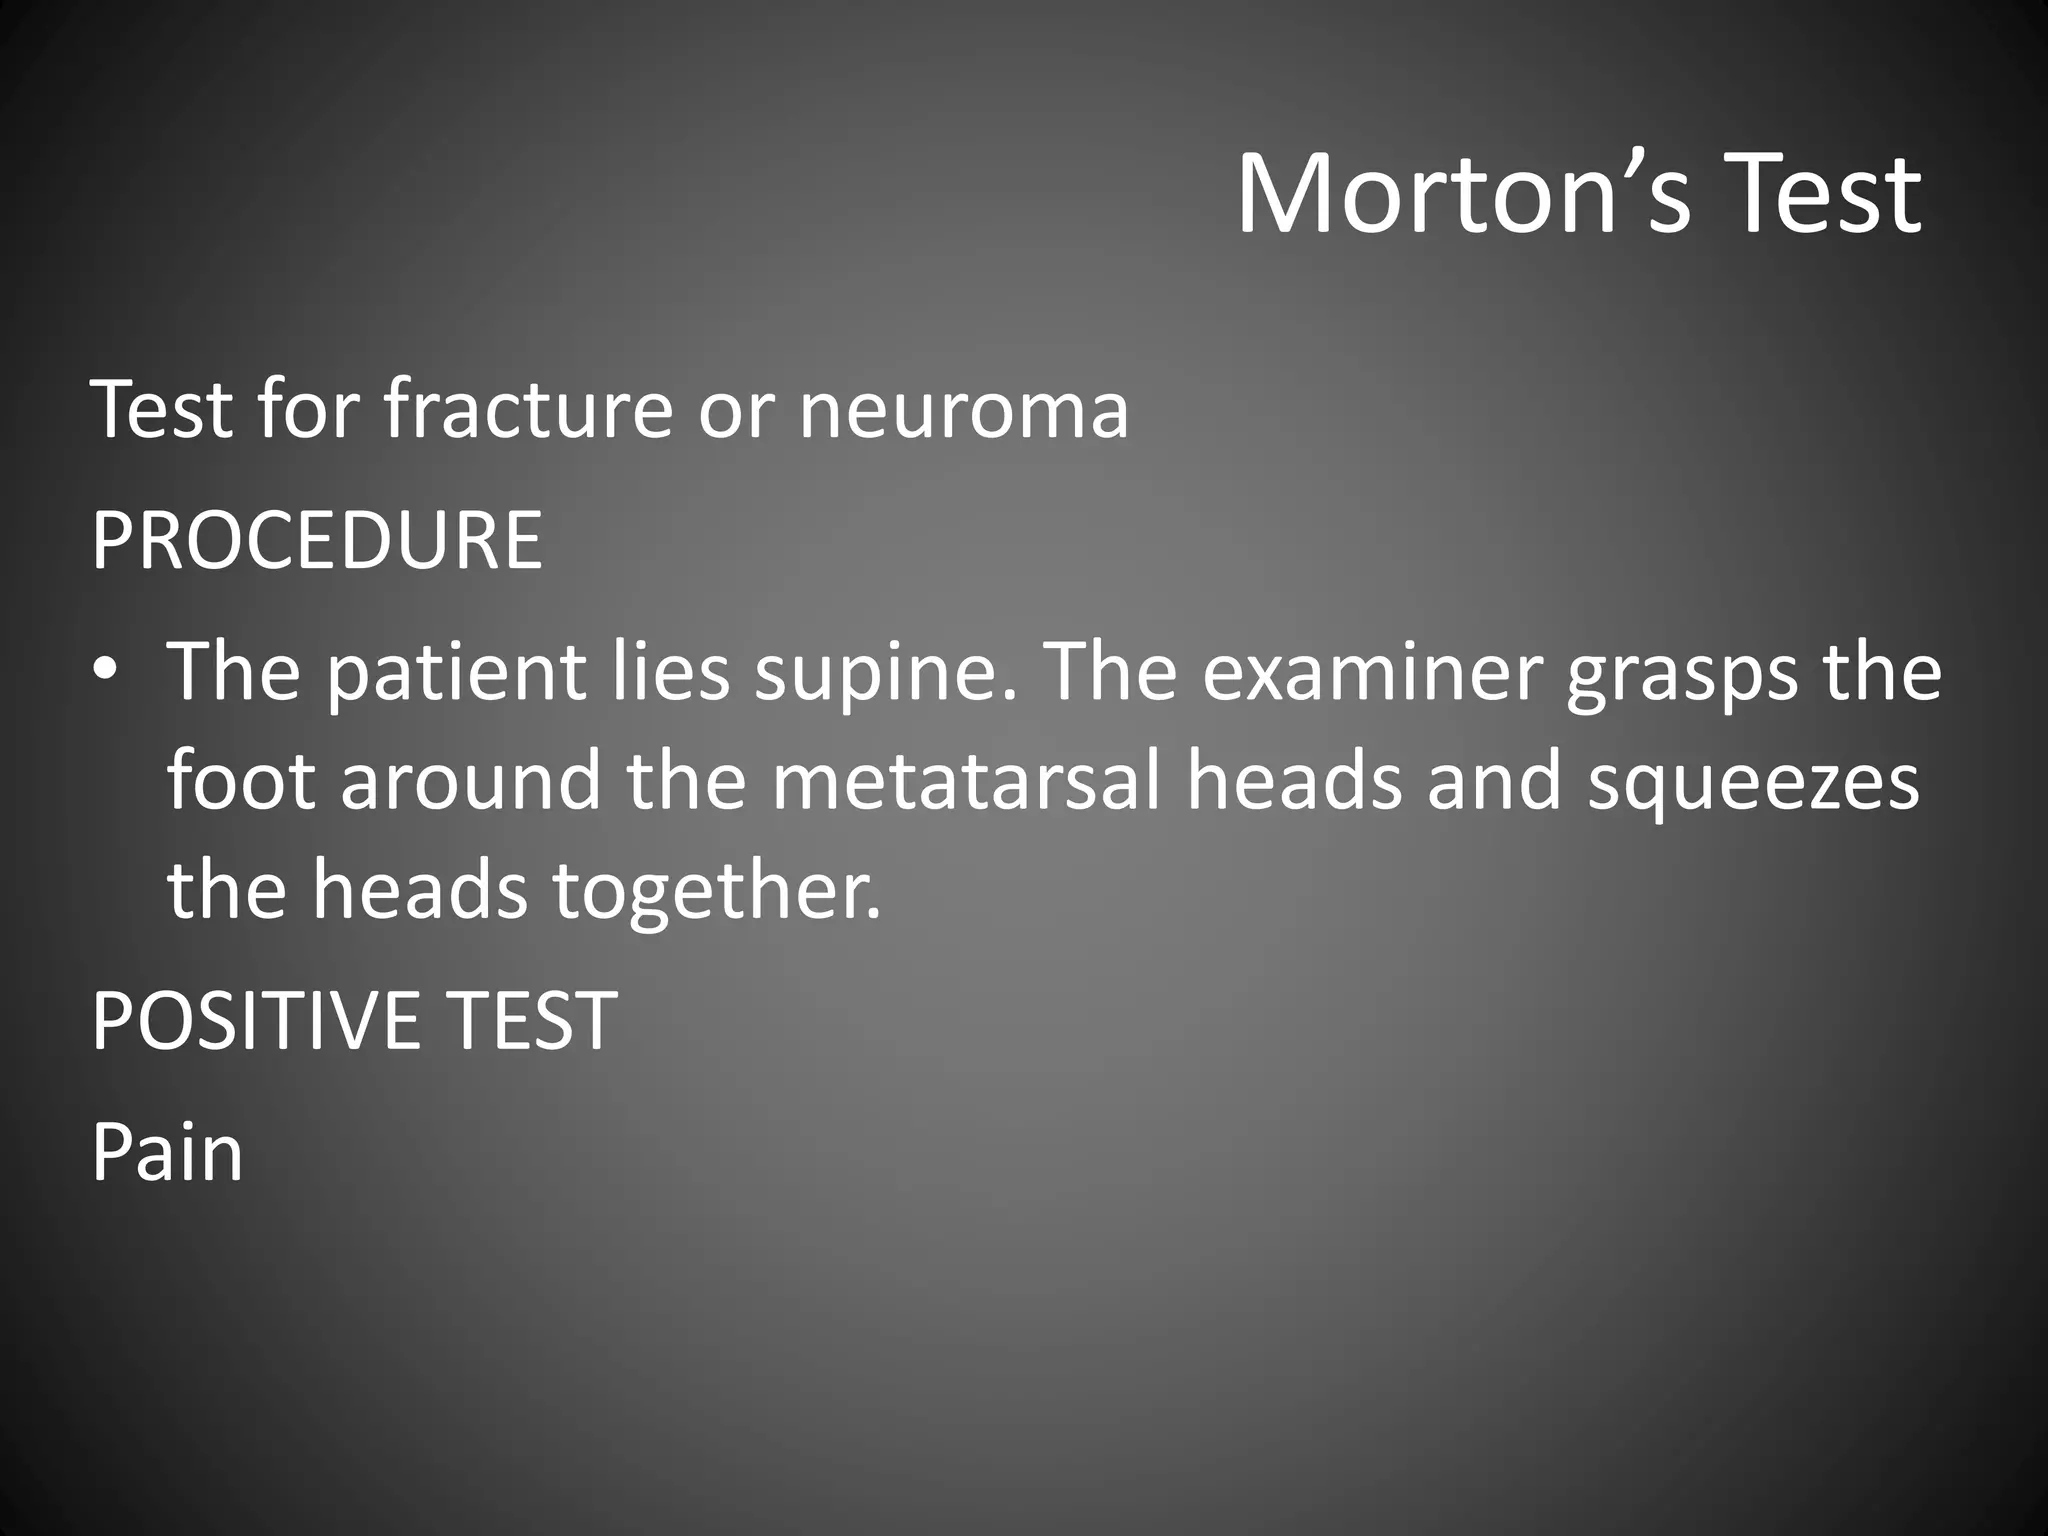
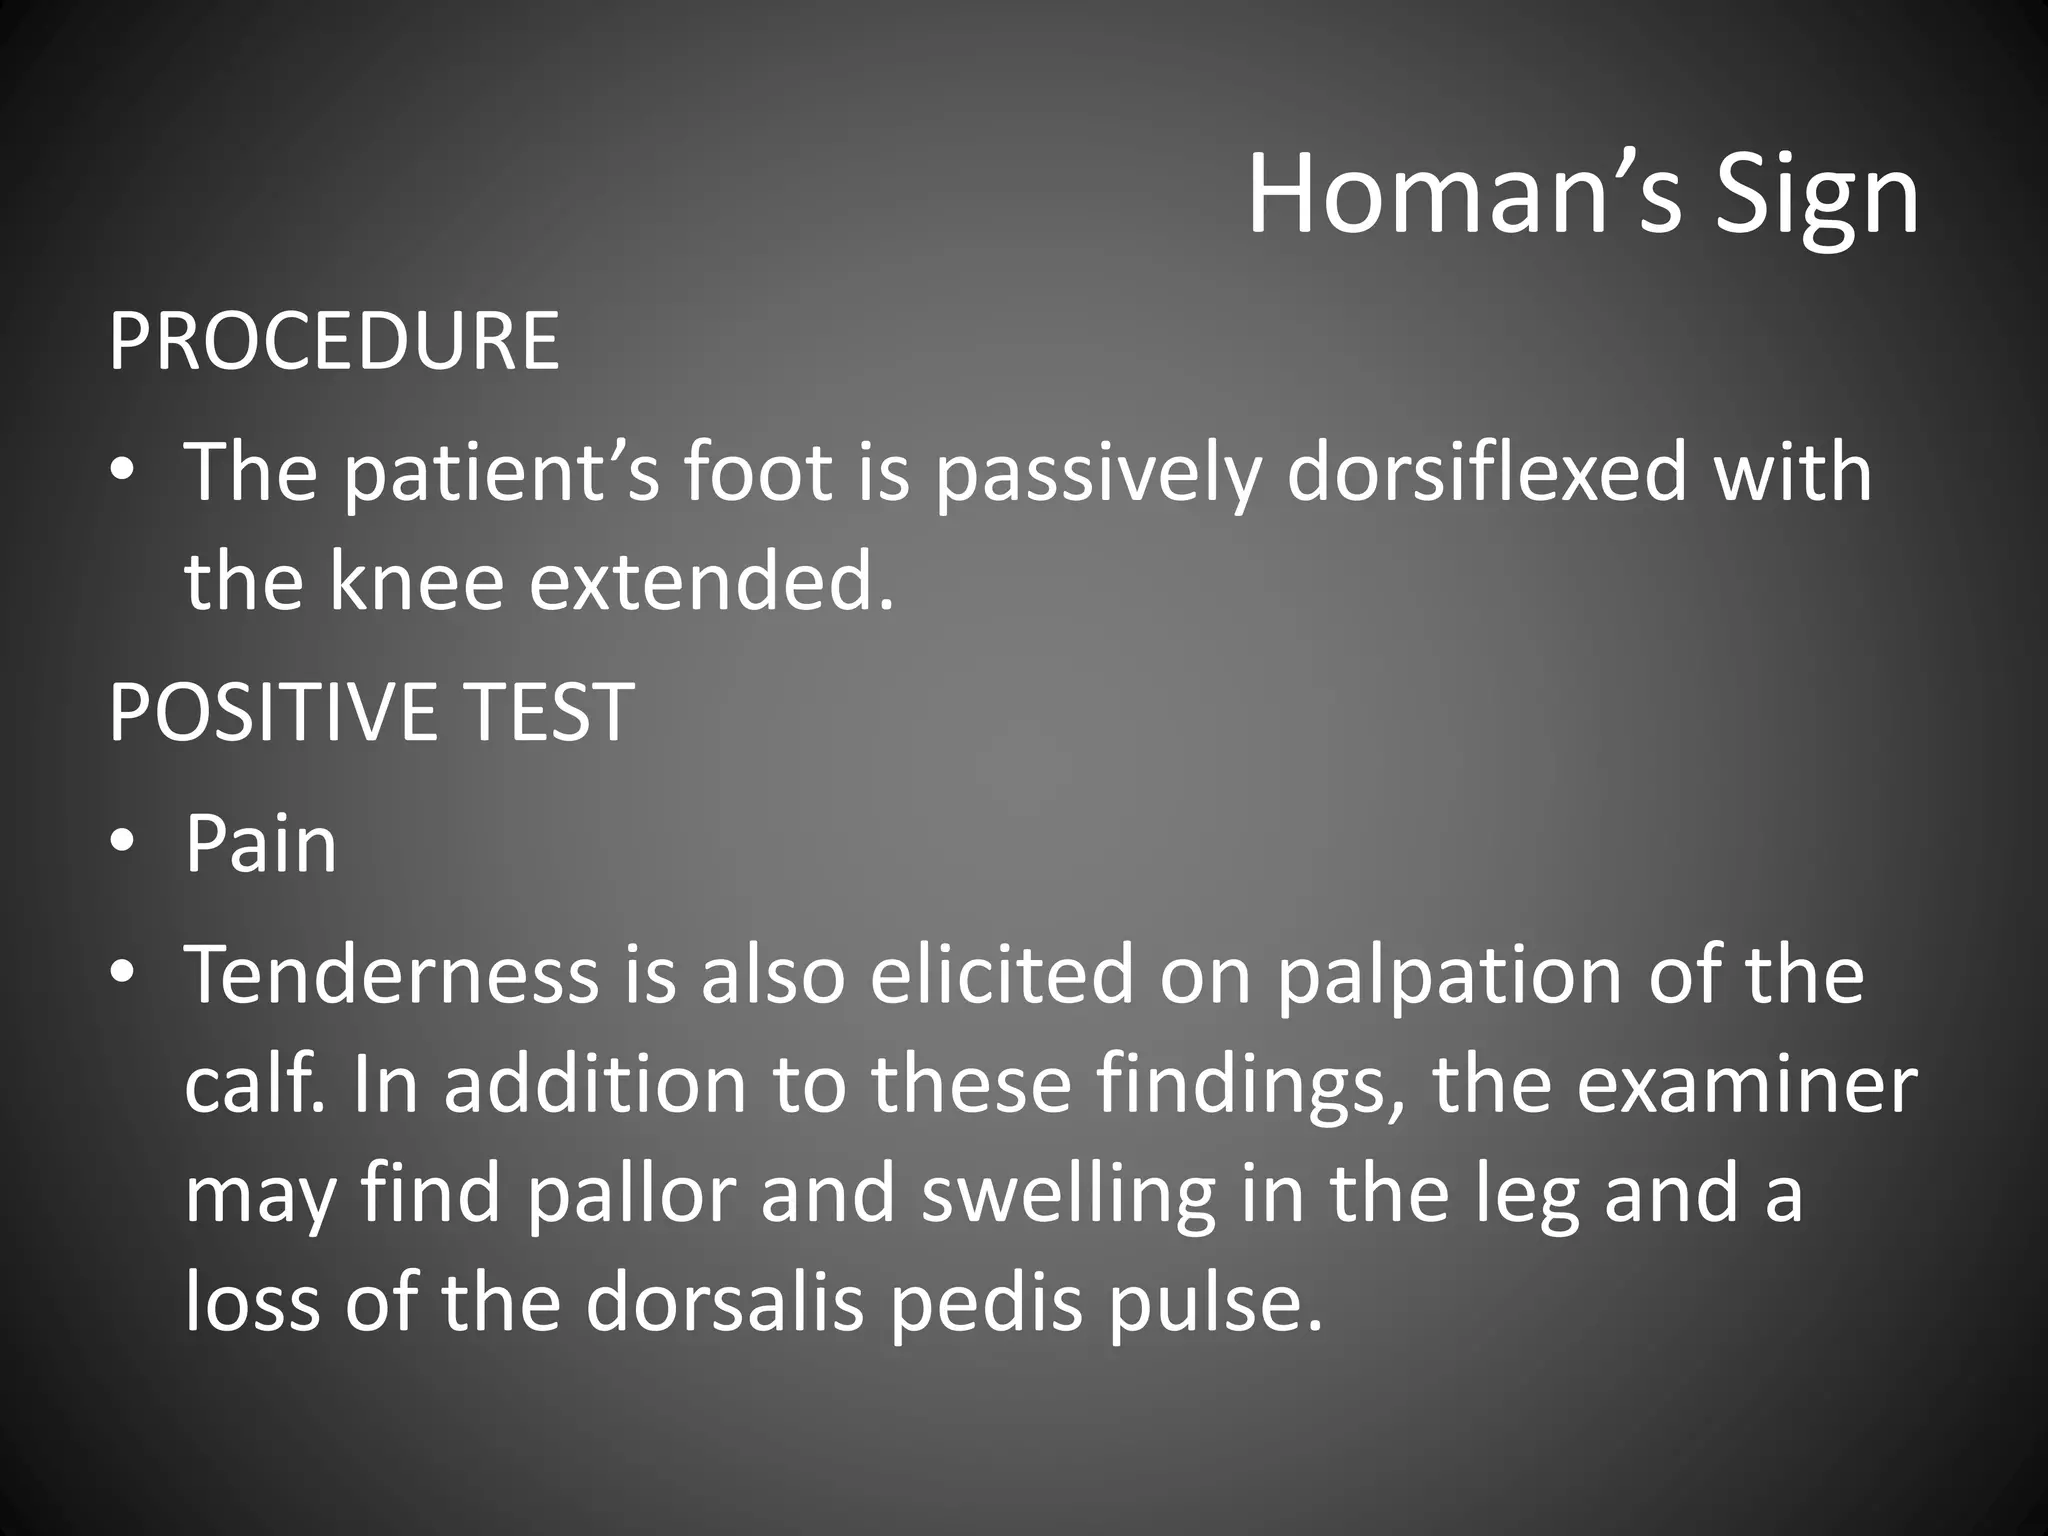
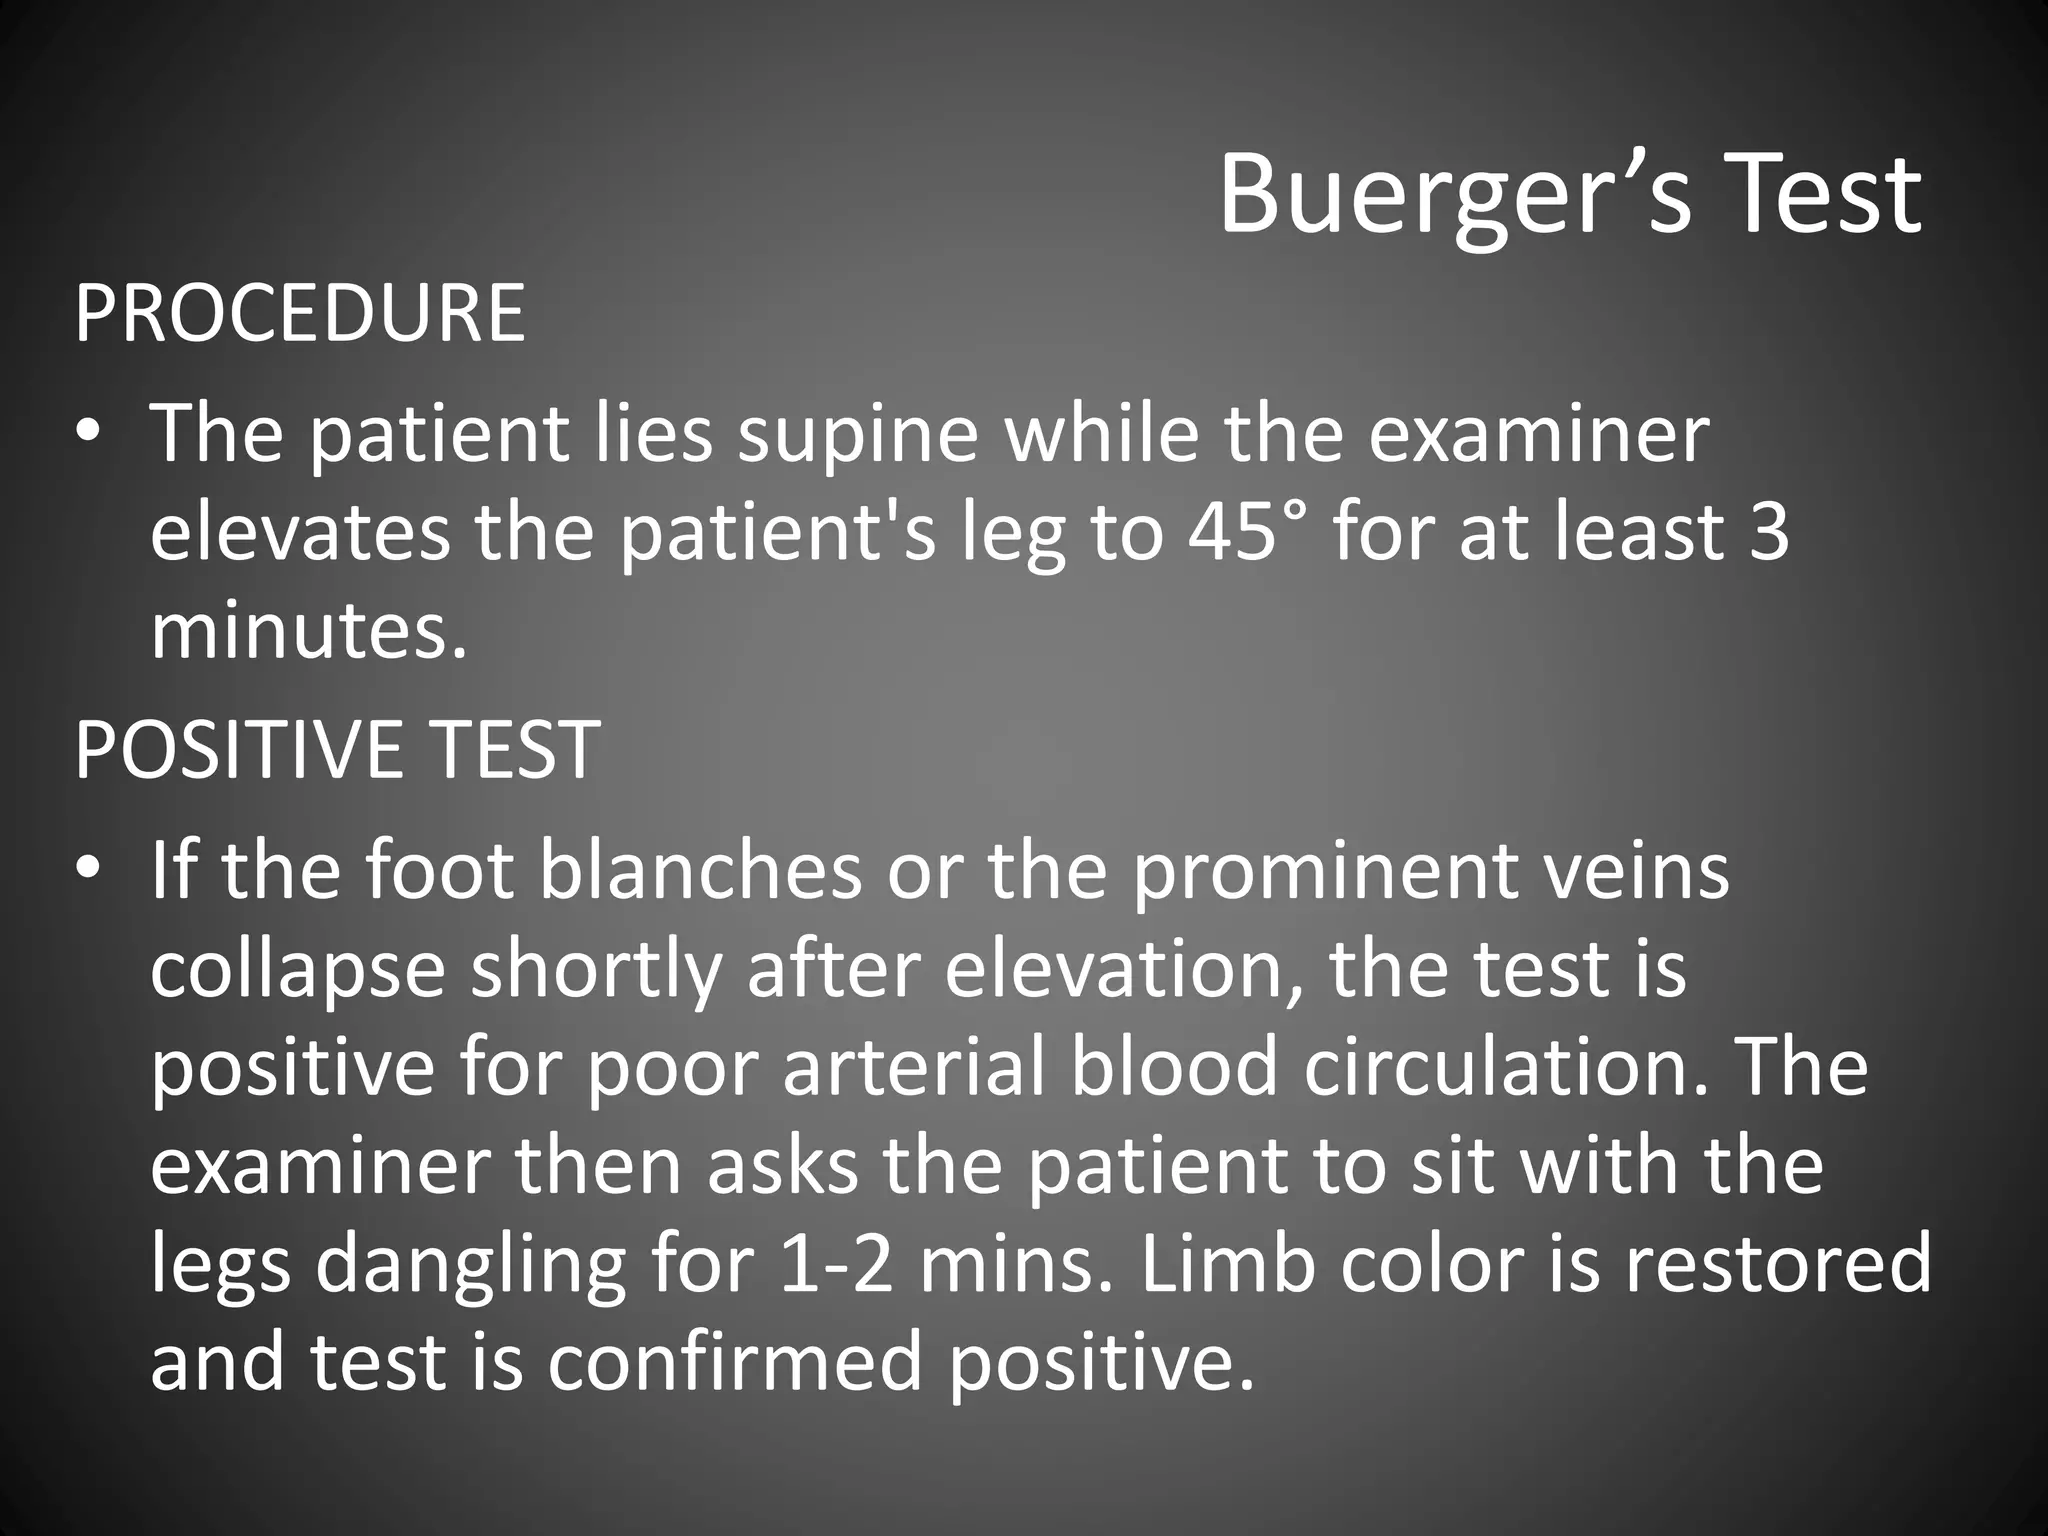
Functional tests conducted to assess the performance of tendons, blood circulation, and overall foot health.


![flat foot.ppt [pes planus ] #physio.# rehabilitation](https://cdn.slidesharecdn.com/ss_thumbnails/flatfoot-240310065759-517e9bef-thumbnail.jpg?width=640&height=640&fit=bounds)


