Download to read offline

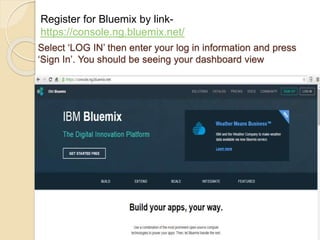
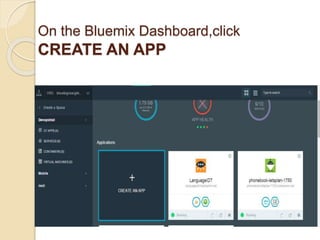


The document outlines steps to create and deploy a sentiment analysis application using IBM Bluemix DevOps Services. It details the process of logging in, registering, creating a project, enabling features like track & plan, modifying code, and managing tasks within the app. Additionally, it explains how to build and deploy the app, linking commits to work items and tracking project progress.


![[Easy] How to Use Toggl Time Tracker App Tutorial](https://cdn.slidesharecdn.com/ss_thumbnails/auttoggl-160902104513-thumbnail.jpg?width=640&height=640&fit=bounds)