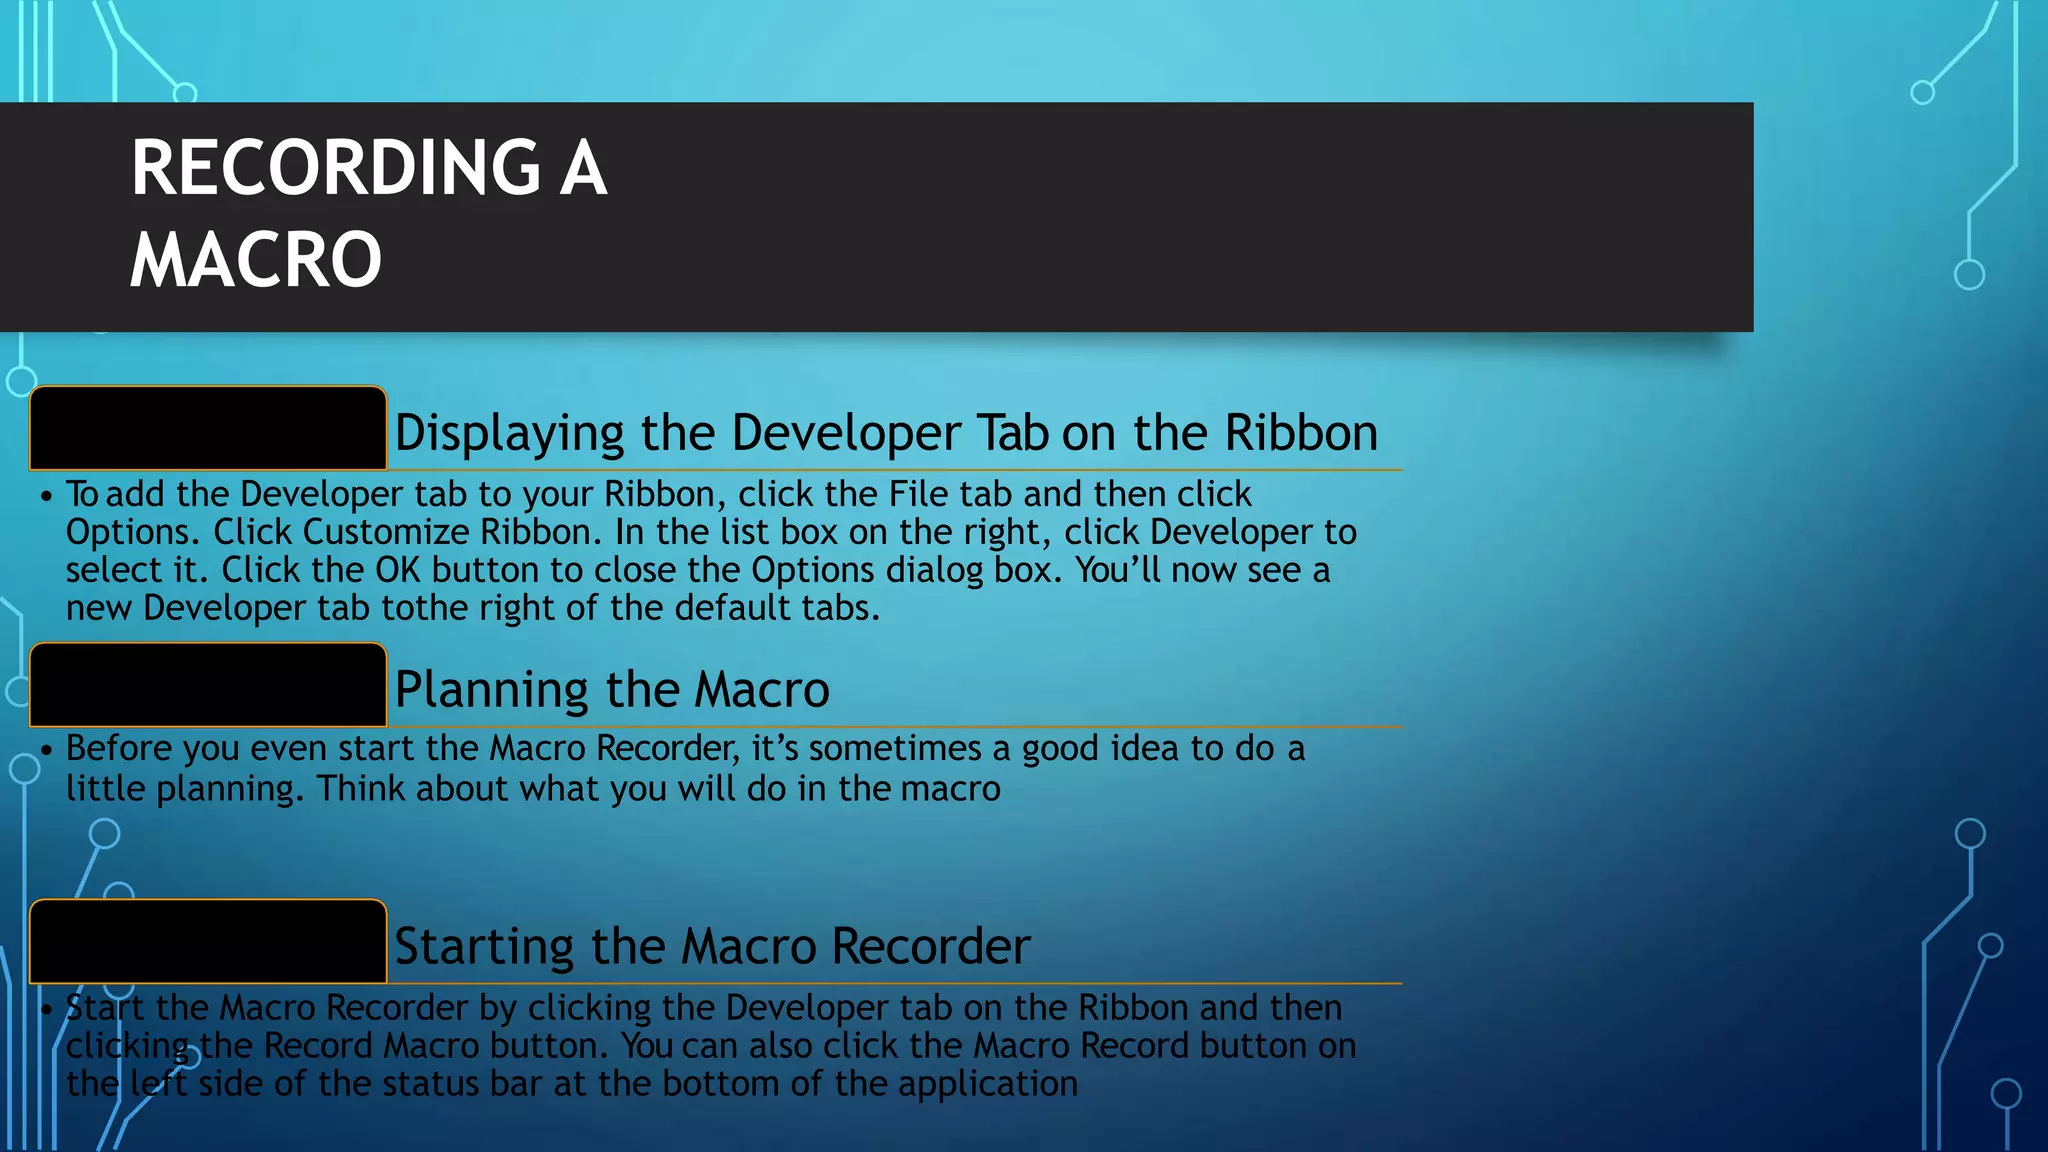
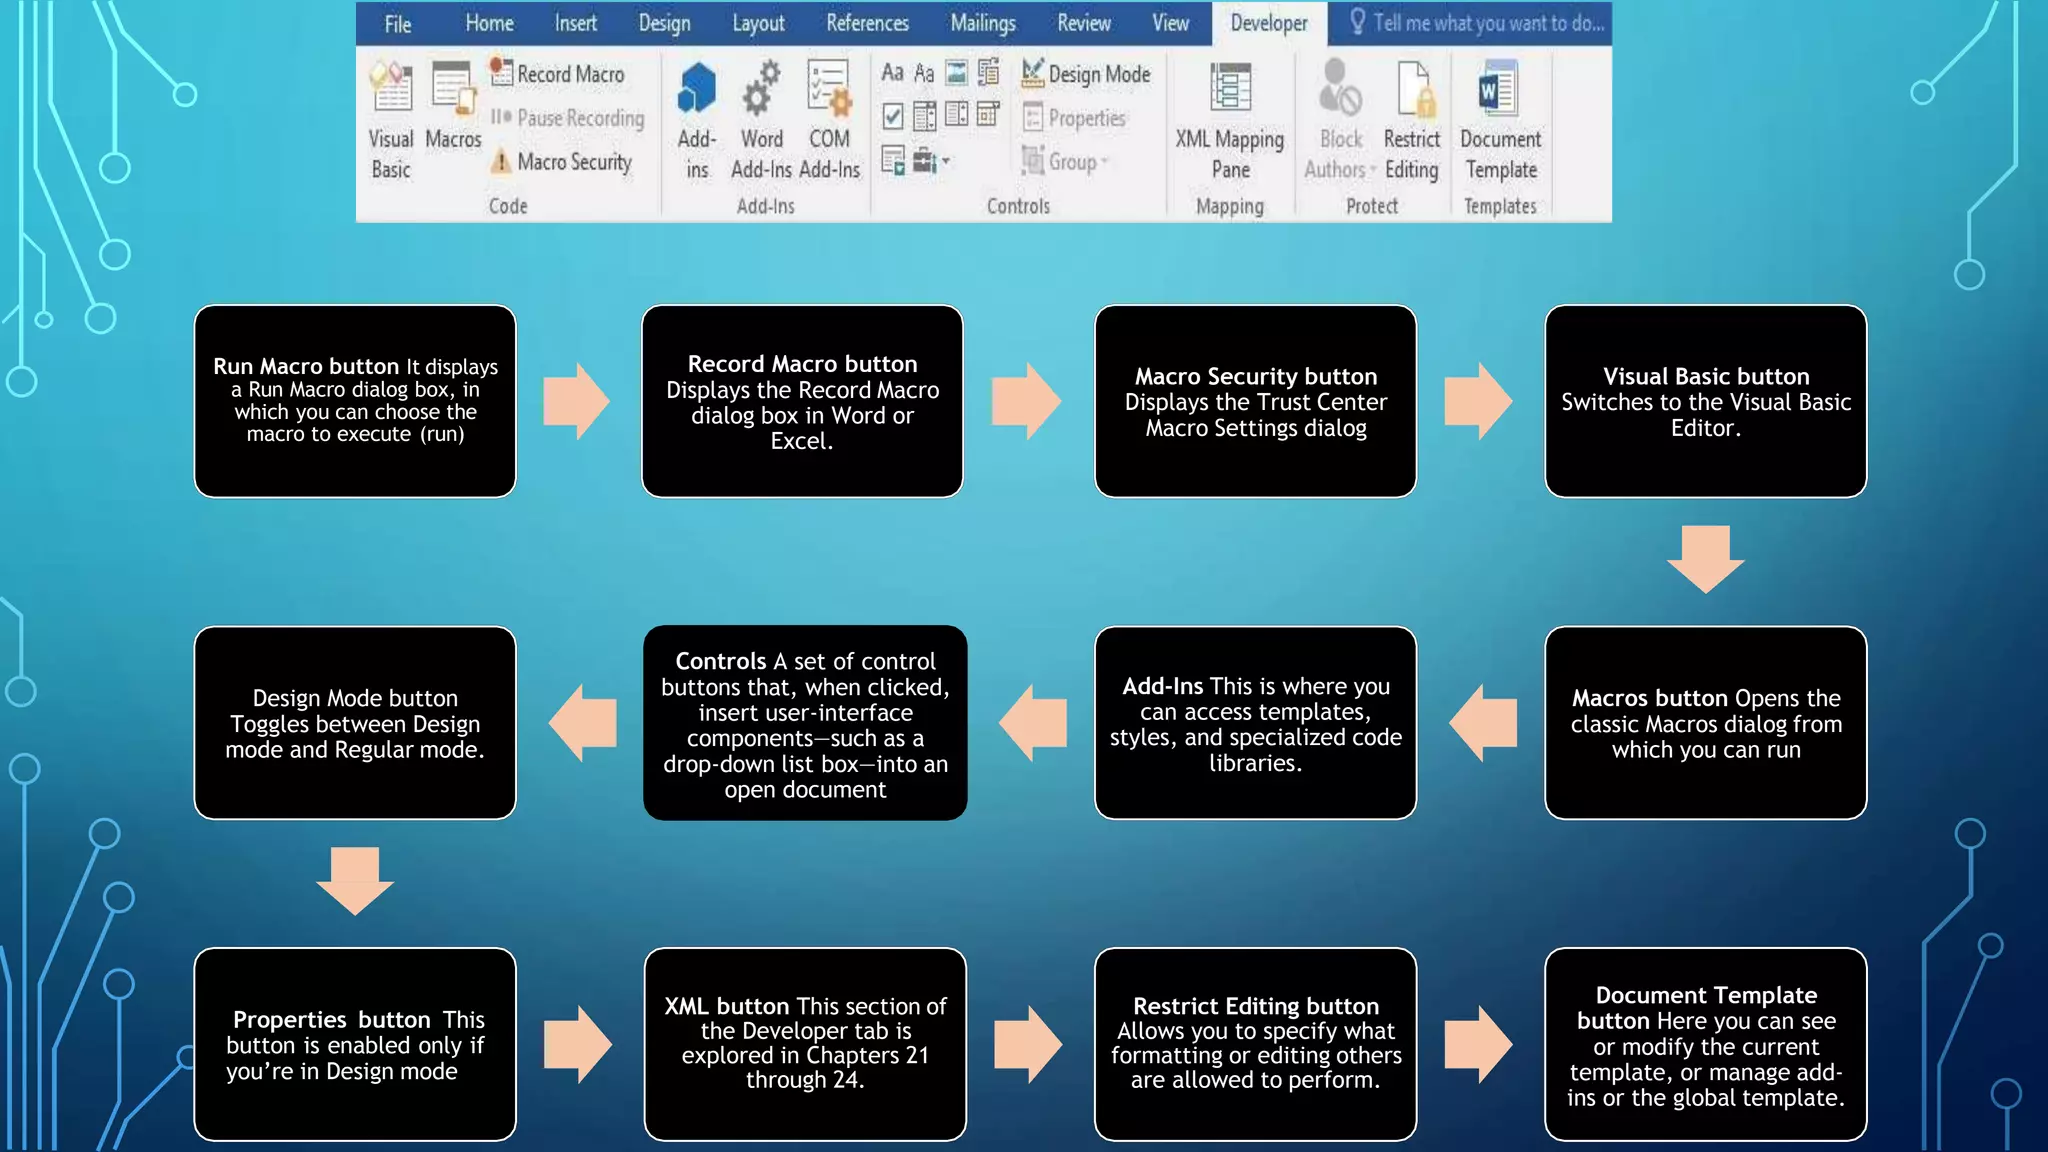
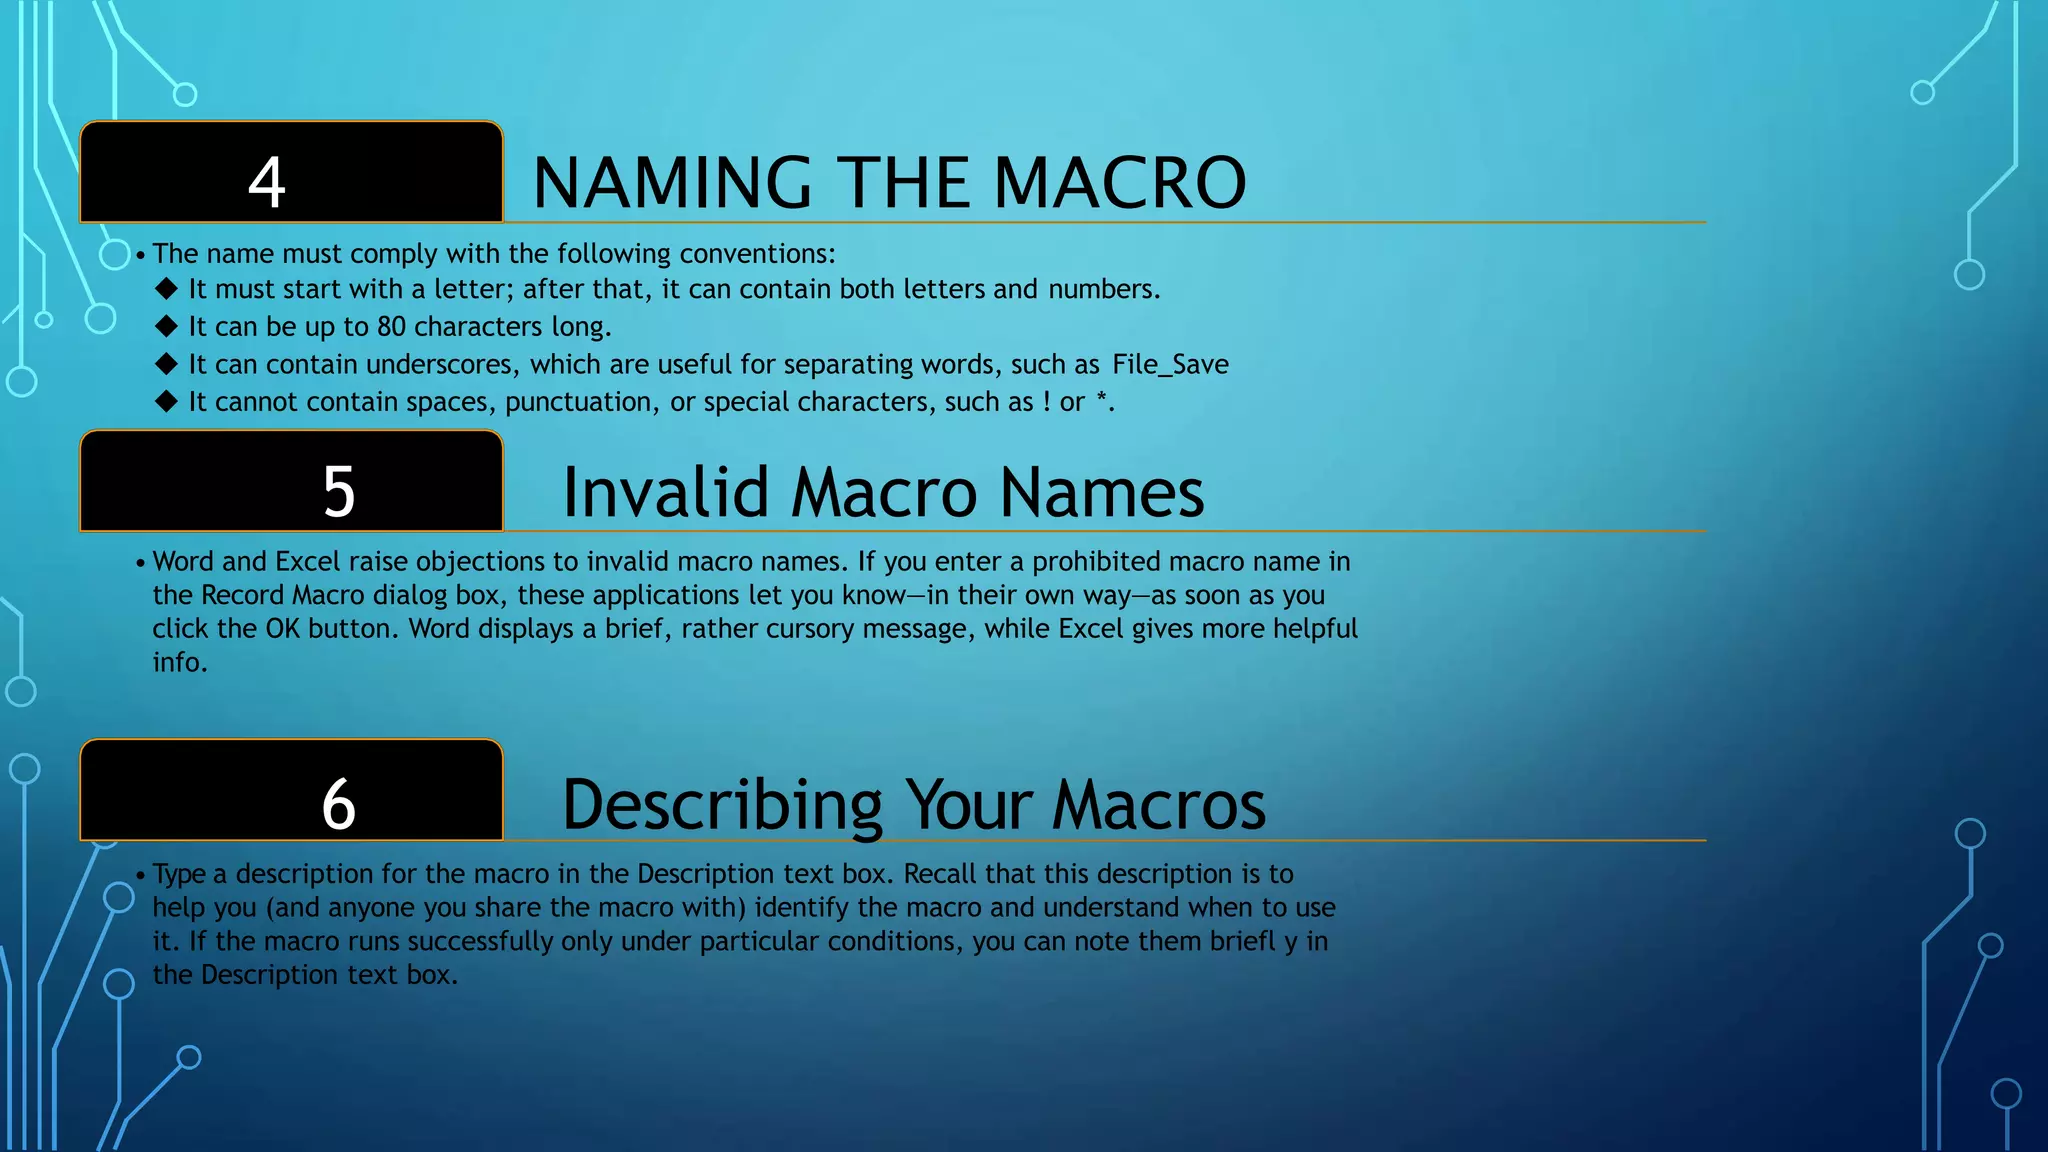
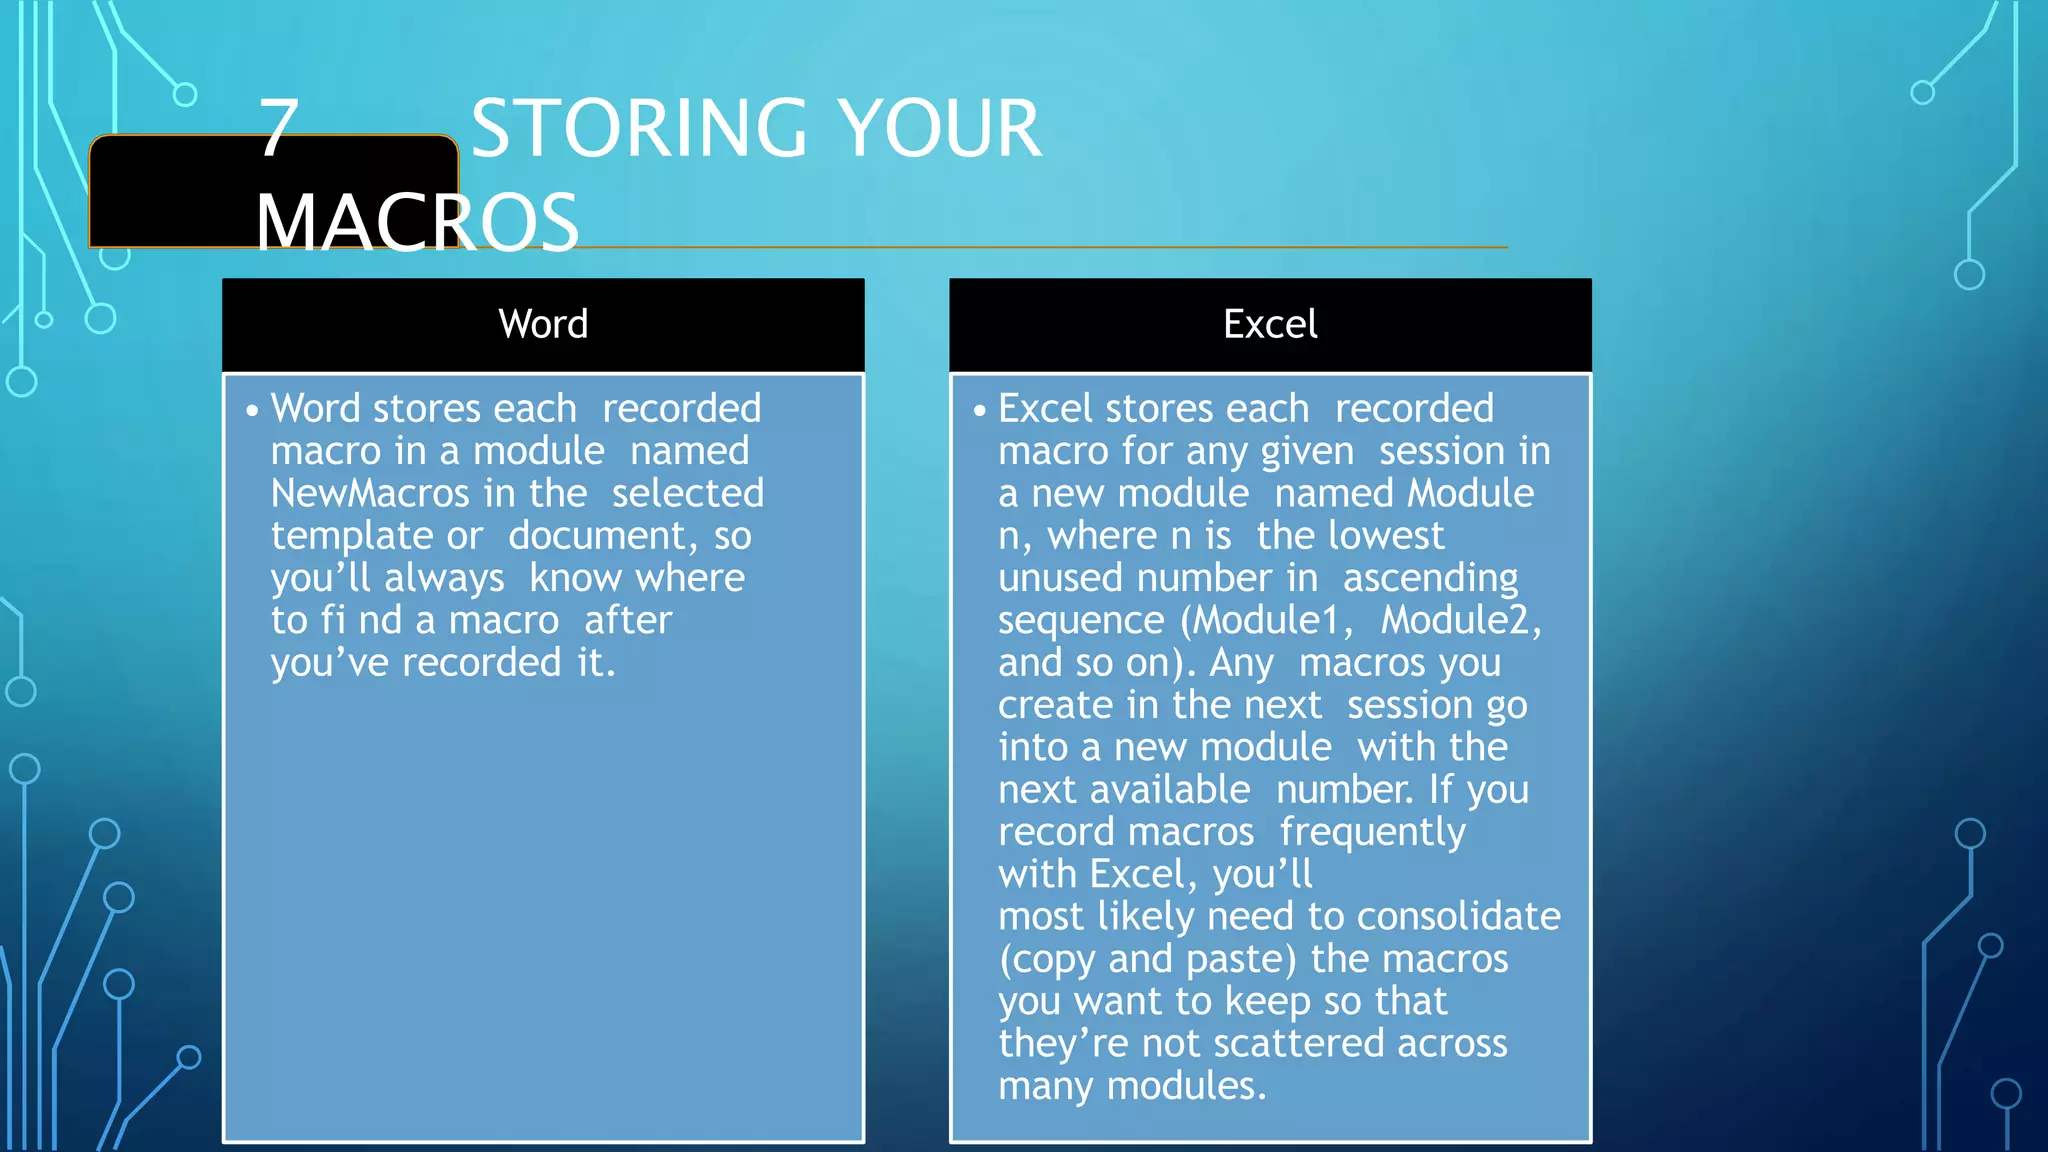
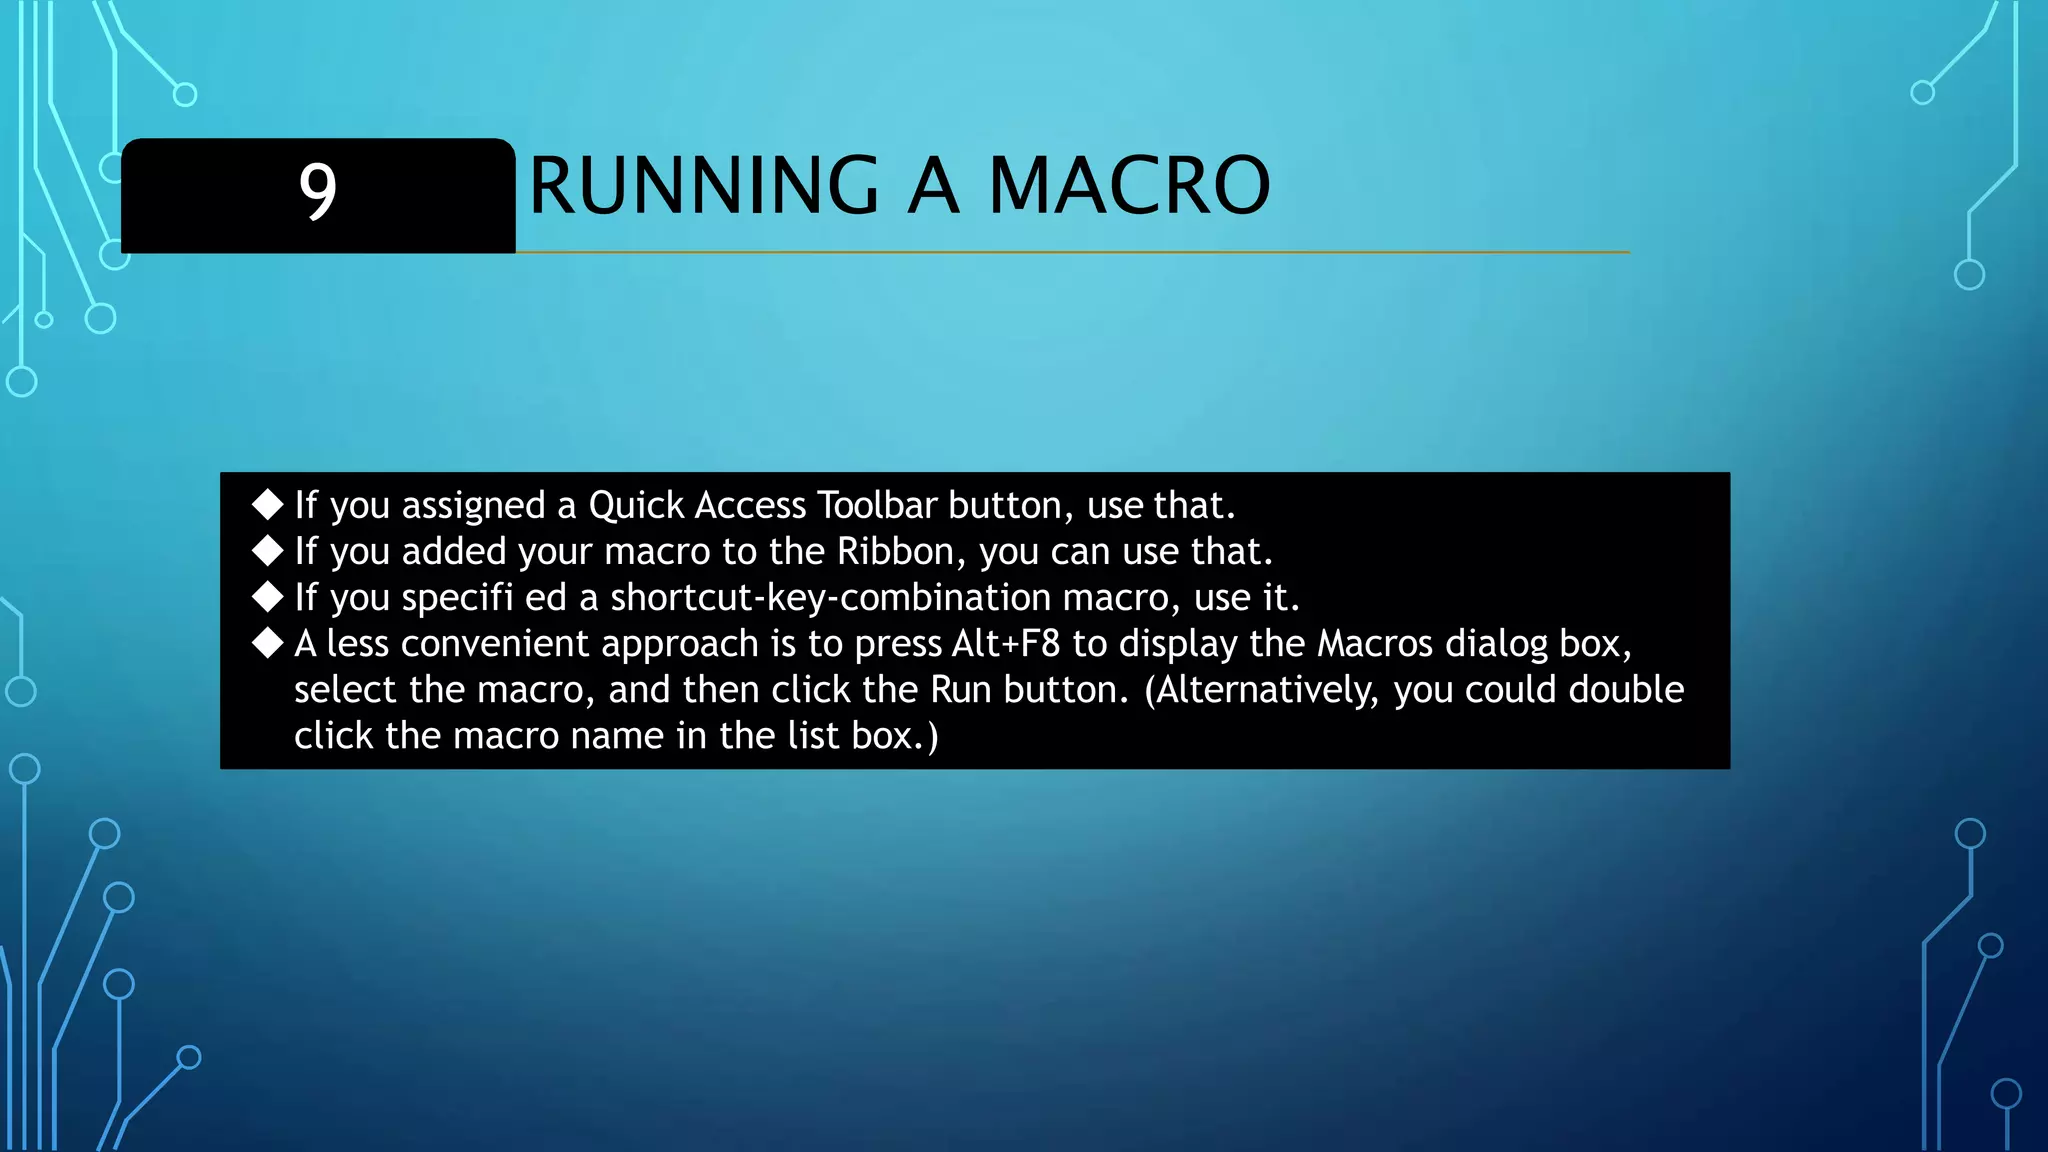
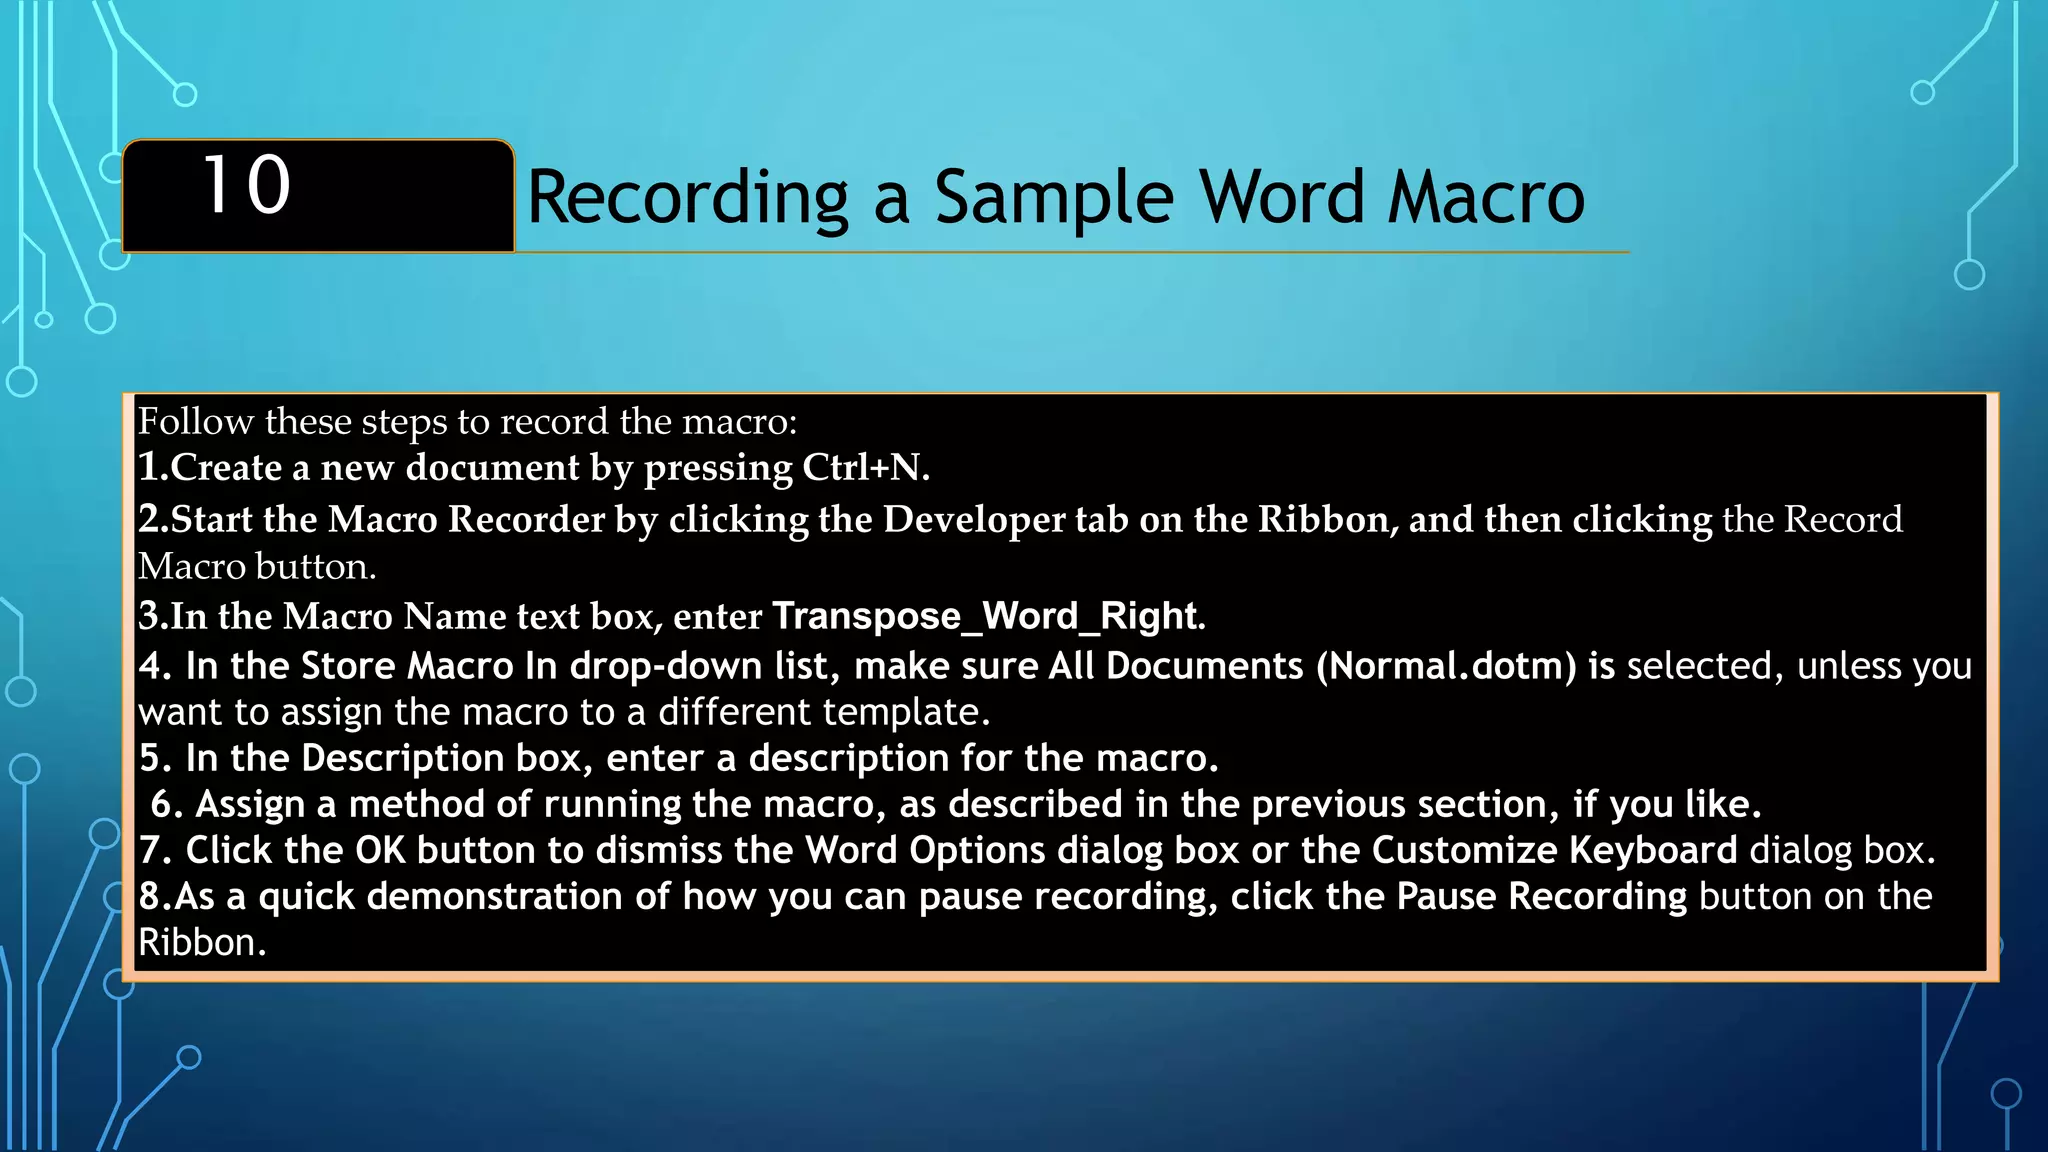
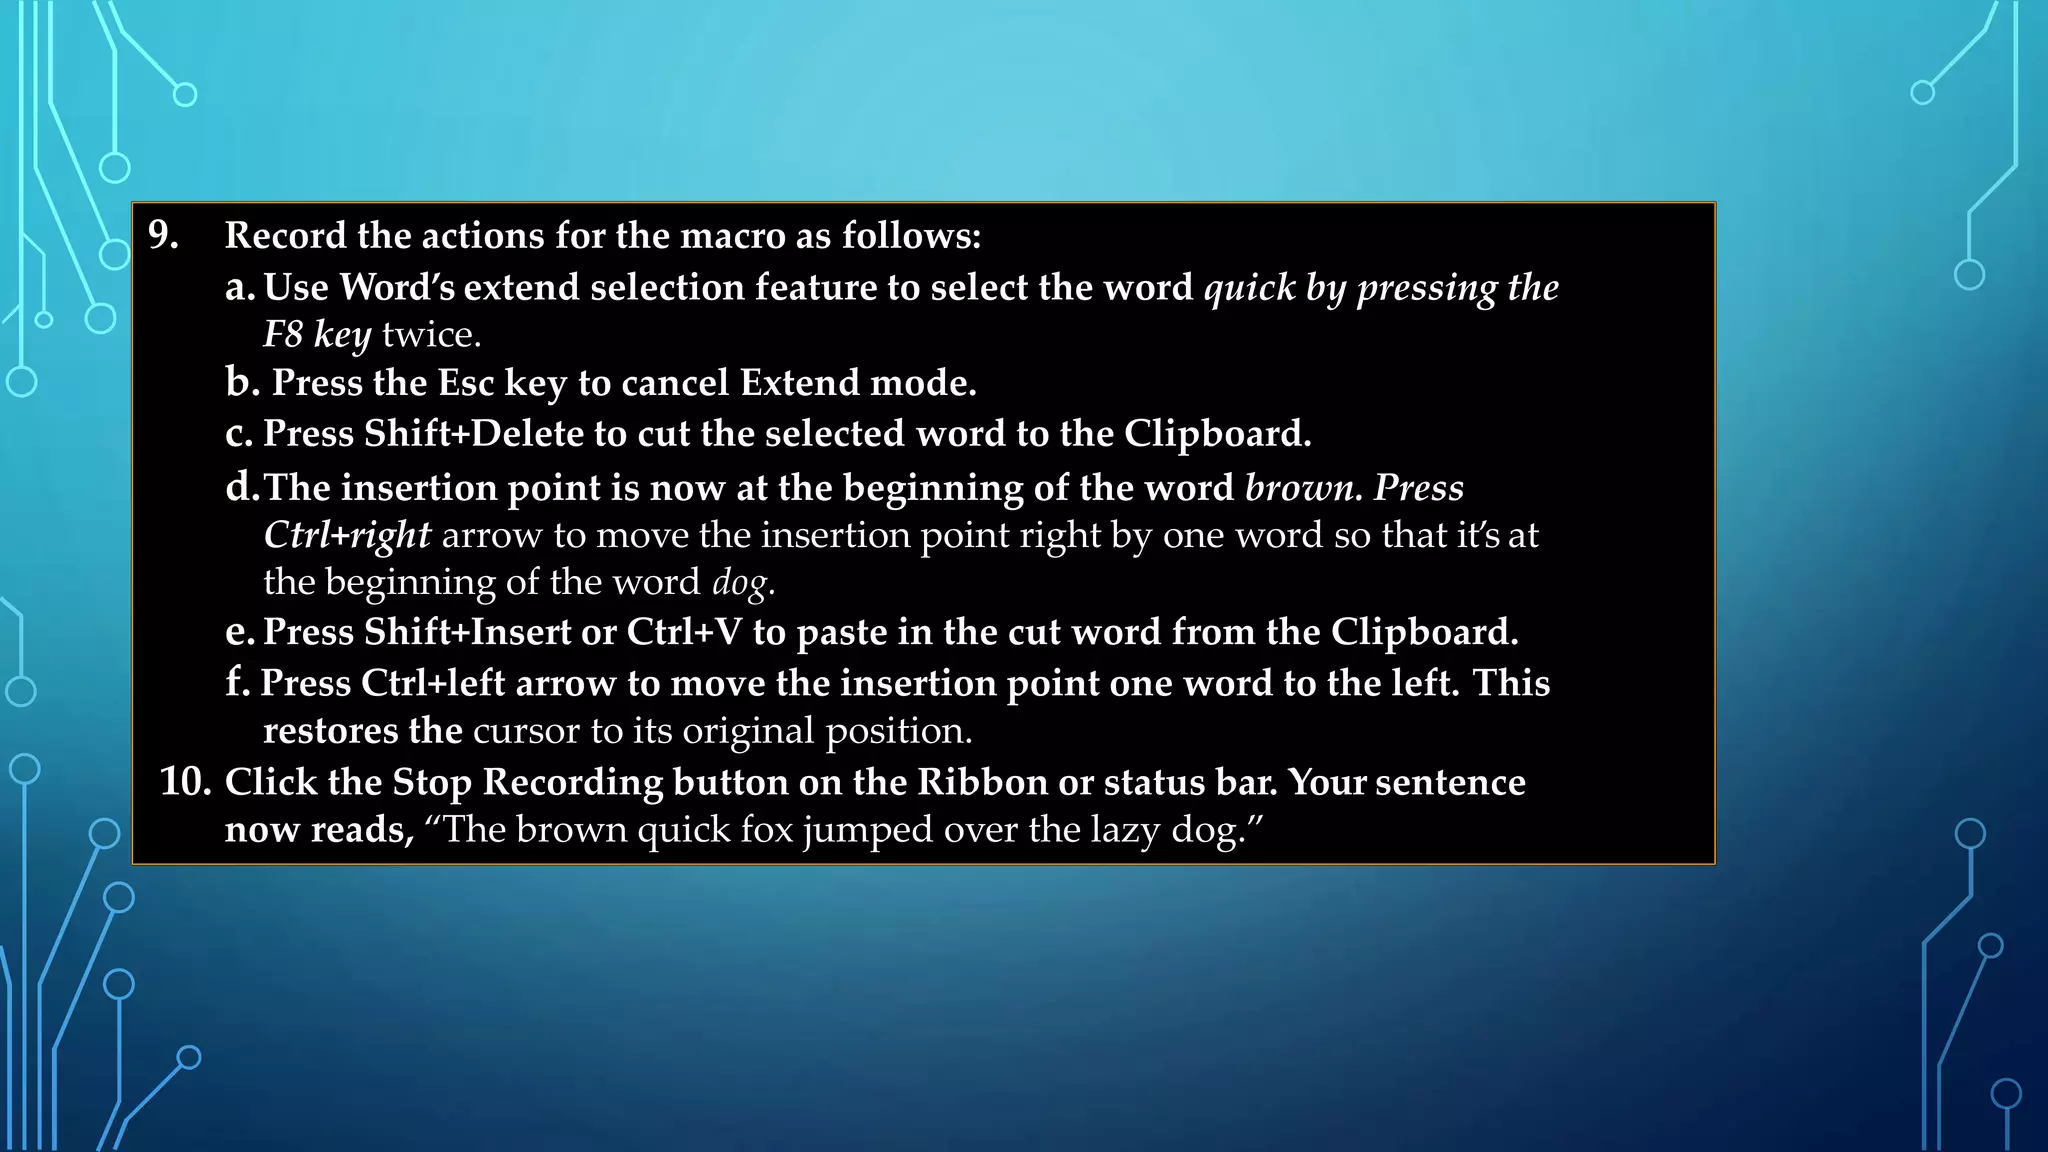
SlideShare a Scribd company logo
Astrid Yolanda
Program Studi S1 Sistem Informasi
Fakultas Sains dan Teknologi
Universitas Islam Negeri Sultan Syarif Kasim Riau
http://sif.uin-suska.ac.id/
http://fst.uin-suska.ac.id/
http://www.uin-suska.ac.id/
What Is VBA and What Can You Do With It?
Visual Basic for Applications is a programming language created by Microsoft
that is built into applications. You use VBA to automate operations in all the
main Offi ce applications—Word, Excel, Outlook, Access, and PowerPoint.
CONTINUE
...
You can record a macro that automatically carries out a series of actions that you frequently perform.
Don’t worry! You do not even need to know the programming terms ActiveWindow or View.Zoom. Just
turn on the Macro Recorder, manually click View, then click Zoom, and then set to 150 percent. The
recorder will watch the steps you take and then write the neces
You can write code that performs actions a certain number of times and makes decisions depending
on the situation in which it is running.
You can use VBA to modify the look or behavior of the user interface.
You can take actions via VBA that you can’t do easily, or at all, when directly manipulating the user
interface by hand.
You can make one application control another application
THE DIffERENCE BETWEEN VISUAL BASIC
AND VISUAL BASIC FOR APPLICATIONS
Visual Basic
Visual Basic is visual in that it
offers effi cient shortcuts such as
drag-and-drop programming
techniques and many graphical
elements
Visual Basic for
Applications
Visual Basic for Applications is a
version of Visual Basic tailored to
manage the Microsoft Office
applications. The set of objects
(features and behaviors) available
in each application differs
Somewhat Because no two
Applications share the exact same
set of features and commands.
Understanding Macro Basics
A macro is a sequence of commands you or a user can repeat at will. That’s also
exactly the definition of a computer program. Macros, however, are generally
short programs—dedicated to a single task.
Displaying the Developer Tab on the Ribbon1
• To add the Developer tab to your Ribbon, click the File tab and then click
Options. Click Customize Ribbon. In the list box on the right, click Developer to
select it. Click the OK button to close the Options dialog box. You’ll now see a
new Developer tab tothe right of the default tabs.
Planning the Macro2
• Before you even start the Macro Recorder, it’s sometimes a good idea to do a
little planning. Think about what you will do in the macro
Starting the Macro Recorder3
• Start the Macro Recorder by clicking the Developer tab on the Ribbon and then
clicking the Record Macro button. You can also click the Macro Record button on
the left side of the status bar at the bottom of the application
RECORDING A
MACRO
Run Macro button It displays
a Run Macro dialog box, in
which you can choose the
macro to execute (run)
Record Macro button
Displays the Record Macro
dialog box in Word or
Excel.
Macro Security button
Displays the Trust Center
Macro Settings dialog
Visual Basic button
Switches to the Visual Basic
Editor.
Macros button Opens the
classic Macros dialog from
which you can run
Add-Ins This is where you
can access templates,
styles, and specialized code
libraries.
Controls A set of control
buttons that, when clicked,
insert user-interface
components—such as a
drop-down list box—into an
open document
Design Mode button
Toggles between Design
mode and Regular mode.
Properties button This
button is enabled only if
you’re in Design mode
XML button This section of
the Developer tab is
explored in Chapters 21
through 24.
Restrict Editing button
Allows you to specify what
formatting or editing others
are allowed to perform.
Document Template
button Here you can see
or modify the current
template, or manage add-
ins or the global template.
4 NAMING THE MACRO
• The name must comply with the following conventions:
◆ It must start with a letter; after that, it can contain both letters and numbers.
◆ It can be up to 80 characters long.
◆ It can contain underscores, which are useful for separating words, such as File_Save
◆ It cannot contain spaces, punctuation, or special characters, such as ! or *.
5 Invalid Macro Names
• Word and Excel raise objections to invalid macro names. If you enter a prohibited macro name in
the Record Macro dialog box, these applications let you know—in their own way—as soon as you
click the OK button. Word displays a brief, rather cursory message, while Excel gives more helpful
info.
6 Describing Your Macros
• Type a description for the macro in the Description text box. Recall that this description is to
help you (and anyone you share the macro with) identify the macro and understand when to use
it. If the macro runs successfully only under particular conditions, you can note them briefl y in
the Description text box.
7 STORING YOUR
MACROS
Word
• Word stores each recorded
macro in a module named
NewMacros in the selected
template or document, so
you’ll always know where
to fi nd a macro after
you’ve recorded it.
Excel
• Excel stores each recorded
macro for any given session in
a new module named Module
n, where n is the lowest
unused number in ascending
sequence (Module1, Module2,
and so on). Any macros you
create in the next session go
into a new module with the
next available number. If you
record macros frequently
with Excel, you’ll
most likely need to consolidate
(copy and paste) the macros
you want to keep so that
they’re not scattered across
many modules.
RUNNING A MACRO FROM THE
RIBBON
8
1. Right-click anywhere on the Ribbon.
2. Click Customize The Ribbon on the menu. The Word Options dialog box appears.
3. In the Choose Commands From drop-down list, select Macros.
4. Click a macro’s name to select it in the list.
5. Click an existing tab in the list of tabs in the right dialog box where you want to
locate your macro.
6. Then click the New Group button and specify the name of your custom group.
7. Click the Rename button to give your new group a name.
8. Click OK to close the Rename dialog box.
9. Click the Add button to add your macro.
10. Click the Rename button to give your macro an easily understood name and
optionally an icon.
11. Click OK to close the Rename dialog box.
12. Click OK to close the Word Options dialog box.
RUNNING A MACRO9
◆ If you assigned a Quick Access Toolbar button, use that.
◆ If you added your macro to the Ribbon, you can use that.
◆ If you specifi ed a shortcut-key-combination macro, use it.
◆ A less convenient approach is to press Alt+F8 to display the Macros dialog box,
select the macro, and then click the Run button. (Alternatively, you could double
click the macro name in the list box.)
Recording a Sample Word Macro10
Follow these steps to record the macro:
1.Create a new document by pressing Ctrl+N.
2.Start the Macro Recorder by clicking the Developer tab on the Ribbon, and then clicking the Record
Macro button.
3.In the Macro Name text box, enter Transpose_Word_Right.
4. In the Store Macro In drop-down list, make sure All Documents (Normal.dotm) is selected, unless you
want to assign the macro to a different template.
5. In the Description box, enter a description for the macro.
6. Assign a method of running the macro, as described in the previous section, if you like.
7. Click the OK button to dismiss the Word Options dialog box or the Customize Keyboard dialog box.
8.As a quick demonstration of how you can pause recording, click the Pause Recording button on the
Ribbon.
9. Record the actions for the macro as follows:
a.Use Word’s extend selection feature to select the word quick by pressing the
F8 key twice.
b. Press the Esc key to cancel Extend mode.
c. Press Shift+Delete to cut the selected word to the Clipboard.
d.The insertion point is now at the beginning of the word brown. Press
Ctrl+right arrow to move the insertion point right by one word so that it’s at
the beginning of the word dog.
e. Press Shift+Insert or Ctrl+V to paste in the cut word from the Clipboard.
f. Press Ctrl+left arrow to move the insertion point one word to the left. This
restores the cursor to its original position.
10. Click the Stop Recording button on the Ribbon or status bar. Your sentence
now reads, “The brown quick fox jumped over the lazy dog.”
RECORDING A SAMPLE EXCEL
MACRO
11
Creating a Personal Macro Workbook
•Click the Developer tab in the Ribbon, and then click the Record Macro
button on the Ribbon (or just click the Record Macro button on the
status bar) to display the Record Macro dialog box.
•Accept the default name for the macro because you’ll be deleting it
momentarily.
•In the Store Macro In drop-down list, choose Personal Macro Workbook.
•Click the OK button to close the Record Macro dialog box and start
recording the macro.
•Type a single character in whichever cell is active, and press the Enter
key.
•Click the Stop Recording button on the Ribbon or status bar to stop
recording the macro.
•Click the Unhide button on the View tab to display the Unhide dialog
box. Select PERSONAL.XLSB and click the OK button.
•Click the Developer tab in the Ribbon, and then click the Macros
button on the Ribbon to display the Macros dialog box.
•Select the macro you recorded and click the Delete button to delete
it. Click the Yes button in the confirmation message box.
Recording the Macro
•Create a new workbook by choosing File ➢ New ➢ Blank Workbook.
•Click the Developer tab in the Ribbon, and then click the Record Macro
button on the Ribbon (or just click the Record Macro button on the
status bar).
•Enter the name for the macro in the Macro Name text box:
Add_Months.
•In the Shortcut Key text box, enter a shortcut key if you like.
(Remember that you can always change the shortcut key later, so
you’re not forced to enter one at this point.)
•In the Store Macro In drop-down list, choose whether to store the
macro in your Personal Macro Workbook, in a new workbook, or in this
active workbook.
•Click the OK button to dismiss the Record Macro dialog box and start
recording the macro.
•Click cell A1 to select it. (It may already be selected; click it anyway
because you need to record this click instruction.)
•Enter January 2016 and press the right-arrow key to select cell B1.
Excel automatically changes the date to your default date format.
That’s fi ne.
•Enter February 2016 and press the left-arrow key to select cell A1
again.
• Drag from cell A1 to cell B1 so that the two cells are selected.
•Drag the fi ll handle from cell B1 to cell L1 so that Excel’s AutoFill
feature enters the months March 2016 through December 2016 in the
cells. (The fi ll handle is the small black dot in the lower-right corner
of the selection frame. You’ll know you’re on it when the cursor
changes from a white to a black cross.)
•Click the Stop Recording button on the Ribbon or status bar to stop
recording the macro.
“
• Thank you
•”
Source : Mastering VBA for Microsoft Office 2016 by Richard Mansfi eld’s (2016)

More Related Content

What's hot

Creating forms word 2003
Creating forms word 2003Creating forms word 2003
Creating forms word 2003Khoa (K.A)
 
Open Office Writer : Lesson 03
Open Office Writer : Lesson 03Open Office Writer : Lesson 03
Open Office Writer : Lesson 03thinkict
 
Creating a Microsoft Excel Macro
Creating a Microsoft Excel MacroCreating a Microsoft Excel Macro
Creating a Microsoft Excel Macro
Lauraly DuBois
 
"Bba (III year)osmania university it project report"
"Bba (III year)osmania university it project report""Bba (III year)osmania university it project report"
"Bba (III year)osmania university it project report"
isagargandhi
 
Word
WordWord
Cheat sheet windows complete (xp, 7, 8)
Cheat sheet windows complete (xp, 7, 8)Cheat sheet windows complete (xp, 7, 8)
Cheat sheet windows complete (xp, 7, 8)
Hastho Oke Sekali Jaya
 
Creación de formas utilizando tablas en ms word
Creación de formas utilizando tablas en ms wordCreación de formas utilizando tablas en ms word
Creación de formas utilizando tablas en ms word
University of Puerto Rico
 
Lecture 5 introduction to computer
Lecture 5 introduction to computerLecture 5 introduction to computer
Lecture 5 introduction to computer
Sultan Omar Shige
 
7 features in word 2010 you need to know
7 features in word 2010 you need to know7 features in word 2010 you need to know
7 features in word 2010 you need to know
NR Computer Learning Center
 
REVIEW TAB : Proofing group and Comments group
REVIEW TAB : Proofing group and Comments groupREVIEW TAB : Proofing group and Comments group
REVIEW TAB : Proofing group and Comments group
Ashish051992
 
MS Access Macros
MS Access MacrosMS Access Macros
MS Access Macros
Paul Barnett
 
MS Word 2007
MS Word 2007MS Word 2007
MS Word 2007
Mirea Mizushima
 
Power Point Project 5
Power Point Project 5Power Point Project 5
Power Point Project 5lonetree
 
MS Word Intermediate Training
MS Word Intermediate TrainingMS Word Intermediate Training
MS Word Intermediate Training
Michael Sheyahshe
 
Microsoft Word intermediate
Microsoft Word intermediateMicrosoft Word intermediate
Microsoft Word intermediate
NR Computer Learning Center
 

What's hot (19)

Notacd04
Notacd04Notacd04
Notacd04
 
Notacd04
Notacd04Notacd04
Notacd04
 
Creating forms word 2003
Creating forms word 2003Creating forms word 2003
Creating forms word 2003
 
Open Office Writer : Lesson 03
Open Office Writer : Lesson 03Open Office Writer : Lesson 03
Open Office Writer : Lesson 03
 
Chapter.02
Chapter.02Chapter.02
Chapter.02
 
Creating a Microsoft Excel Macro
Creating a Microsoft Excel MacroCreating a Microsoft Excel Macro
Creating a Microsoft Excel Macro
 
"Bba (III year)osmania university it project report"
"Bba (III year)osmania university it project report""Bba (III year)osmania university it project report"
"Bba (III year)osmania university it project report"
 
Word
WordWord
Word
 
Cheat sheet windows complete (xp, 7, 8)
Cheat sheet windows complete (xp, 7, 8)Cheat sheet windows complete (xp, 7, 8)
Cheat sheet windows complete (xp, 7, 8)
 
Creación de formas utilizando tablas en ms word
Creación de formas utilizando tablas en ms wordCreación de formas utilizando tablas en ms word
Creación de formas utilizando tablas en ms word
 
Lecture 5 introduction to computer
Lecture 5 introduction to computerLecture 5 introduction to computer
Lecture 5 introduction to computer
 
7 features in word 2010 you need to know
7 features in word 2010 you need to know7 features in word 2010 you need to know
7 features in word 2010 you need to know
 
REVIEW TAB : Proofing group and Comments group
REVIEW TAB : Proofing group and Comments groupREVIEW TAB : Proofing group and Comments group
REVIEW TAB : Proofing group and Comments group
 
MS Access Macros
MS Access MacrosMS Access Macros
MS Access Macros
 
Introduction to microsoft word 2007
Introduction to microsoft word 2007Introduction to microsoft word 2007
Introduction to microsoft word 2007
 
MS Word 2007
MS Word 2007MS Word 2007
MS Word 2007
 
Power Point Project 5
Power Point Project 5Power Point Project 5
Power Point Project 5
 
MS Word Intermediate Training
MS Word Intermediate TrainingMS Word Intermediate Training
MS Word Intermediate Training
 
Microsoft Word intermediate
Microsoft Word intermediateMicrosoft Word intermediate
Microsoft Word intermediate
 

Similar to Recordingandrunningmacrosintheofficeapplication3

ExcelMacros.pptx
ExcelMacros.pptxExcelMacros.pptx
ExcelMacros.pptx
AshishDhiman62
 
0403-excel-macros-made-easy.pdf
0403-excel-macros-made-easy.pdf0403-excel-macros-made-easy.pdf
0403-excel-macros-made-easy.pdf
ABHISHEK MALIK
 
Creating forms word 2007
Creating forms word 2007Creating forms word 2007
Creating forms word 2007Khoa (K.A)
 
Learn Vba excel 2007
Learn Vba excel 2007Learn Vba excel 2007
Learn Vba excel 2007
Steve Johnson
 
Microsoft Office
Microsoft OfficeMicrosoft Office
Microsoft Office
Usman Bashir
 
27 e
27 e27 e
Getting started with the visual basic editor
Getting started with the visual basic editorGetting started with the visual basic editor
Getting started with the visual basic editor
putiadetiara
 
VBA Tips
VBA TipsVBA Tips
VBA Tips
Ike Onwubuya
 
Tugas testing
Tugas testingTugas testing
Tugas testing
Astrid yolanda
 
How to use Dictation on macOS Ventura
How to use Dictation on macOS VenturaHow to use Dictation on macOS Ventura
How to use Dictation on macOS Ventura
Jame Williamson
 
How To Use Dictation On macOS Ventura?
How To Use Dictation On macOS Ventura? How To Use Dictation On macOS Ventura?
How To Use Dictation On macOS Ventura?
Dragon Support
 
Introduction To Excel 2007 Macros
Introduction To Excel 2007 MacrosIntroduction To Excel 2007 Macros
Introduction To Excel 2007 Macros
Excel
 
Using macros in microsoft excel part 2
Using macros in microsoft excel   part 2Using macros in microsoft excel   part 2
Using macros in microsoft excel part 2
Er. Nawaraj Bhandari
 
Microsoft Office 2003 Creating Macros
Microsoft Office 2003 Creating MacrosMicrosoft Office 2003 Creating Macros
Microsoft Office 2003 Creating Macros
S Burks
 
Word03p3
Word03p3Word03p3
Copia traducida de la guia
Copia traducida de la guiaCopia traducida de la guia
Copia traducida de la guiachichiplitis
 

Similar to Recordingandrunningmacrosintheofficeapplication3 (20)

VBA
VBAVBA
VBA
 
ExcelMacros.pptx
ExcelMacros.pptxExcelMacros.pptx
ExcelMacros.pptx
 
0403-excel-macros-made-easy.pdf
0403-excel-macros-made-easy.pdf0403-excel-macros-made-easy.pdf
0403-excel-macros-made-easy.pdf
 
Excel chapter-7
Excel chapter-7Excel chapter-7
Excel chapter-7
 
Creating forms word 2007
Creating forms word 2007Creating forms word 2007
Creating forms word 2007
 
Learn Vba excel 2007
Learn Vba excel 2007Learn Vba excel 2007
Learn Vba excel 2007
 
Excel ch10
Excel ch10Excel ch10
Excel ch10
 
Microsoft Office
Microsoft OfficeMicrosoft Office
Microsoft Office
 
27 e
27 e27 e
27 e
 
Getting started with the visual basic editor
Getting started with the visual basic editorGetting started with the visual basic editor
Getting started with the visual basic editor
 
VBA Tips
VBA TipsVBA Tips
VBA Tips
 
Tugas testing
Tugas testingTugas testing
Tugas testing
 
How to use Dictation on macOS Ventura
How to use Dictation on macOS VenturaHow to use Dictation on macOS Ventura
How to use Dictation on macOS Ventura
 
How To Use Dictation On macOS Ventura?
How To Use Dictation On macOS Ventura? How To Use Dictation On macOS Ventura?
How To Use Dictation On macOS Ventura?
 
Introduction To Excel 2007 Macros
Introduction To Excel 2007 MacrosIntroduction To Excel 2007 Macros
Introduction To Excel 2007 Macros
 
Using macros in microsoft excel part 2
Using macros in microsoft excel   part 2Using macros in microsoft excel   part 2
Using macros in microsoft excel part 2
 
Imd 203 Questions
Imd 203 QuestionsImd 203 Questions
Imd 203 Questions
 
Microsoft Office 2003 Creating Macros
Microsoft Office 2003 Creating MacrosMicrosoft Office 2003 Creating Macros
Microsoft Office 2003 Creating Macros
 
Word03p3
Word03p3Word03p3
Word03p3
 
Copia traducida de la guia
Copia traducida de la guiaCopia traducida de la guia
Copia traducida de la guia
 

Recently uploaded

Language Across the Curriculm LAC B.Ed.
Language Across the  Curriculm LAC B.Ed.Language Across the  Curriculm LAC B.Ed.
Language Across the Curriculm LAC B.Ed.
Atul Kumar Singh
 
Welcome to TechSoup New Member Orientation and Q&A (May 2024).pdf
Welcome to TechSoup   New Member Orientation and Q&A (May 2024).pdfWelcome to TechSoup   New Member Orientation and Q&A (May 2024).pdf
Welcome to TechSoup New Member Orientation and Q&A (May 2024).pdf
TechSoup
 
How libraries can support authors with open access requirements for UKRI fund...
How libraries can support authors with open access requirements for UKRI fund...How libraries can support authors with open access requirements for UKRI fund...
How libraries can support authors with open access requirements for UKRI fund...
Jisc
 
Phrasal Verbs.XXXXXXXXXXXXXXXXXXXXXXXXXX
Phrasal Verbs.XXXXXXXXXXXXXXXXXXXXXXXXXXPhrasal Verbs.XXXXXXXXXXXXXXXXXXXXXXXXXX
Phrasal Verbs.XXXXXXXXXXXXXXXXXXXXXXXXXX
MIRIAMSALINAS13
 
ESC Beyond Borders _From EU to You_ InfoPack general.pdf
ESC Beyond Borders _From EU to You_ InfoPack general.pdfESC Beyond Borders _From EU to You_ InfoPack general.pdf
ESC Beyond Borders _From EU to You_ InfoPack general.pdf
Fundacja Rozwoju Społeczeństwa Przedsiębiorczego
 
Fish and Chips - have they had their chips
Fish and Chips - have they had their chipsFish and Chips - have they had their chips
Fish and Chips - have they had their chips
GeoBlogs
 
Chapter 3 - Islamic Banking Products and Services.pptx
Chapter 3 - Islamic Banking Products and Services.pptxChapter 3 - Islamic Banking Products and Services.pptx
Chapter 3 - Islamic Banking Products and Services.pptx
Mohd Adib Abd Muin, Senior Lecturer at Universiti Utara Malaysia
 
The approach at University of Liverpool.pptx
The approach at University of Liverpool.pptxThe approach at University of Liverpool.pptx
The approach at University of Liverpool.pptx
Jisc
 
GIÁO ÁN DẠY THÊM (KẾ HOẠCH BÀI BUỔI 2) - TIẾNG ANH 8 GLOBAL SUCCESS (2 CỘT) N...
GIÁO ÁN DẠY THÊM (KẾ HOẠCH BÀI BUỔI 2) - TIẾNG ANH 8 GLOBAL SUCCESS (2 CỘT) N...GIÁO ÁN DẠY THÊM (KẾ HOẠCH BÀI BUỔI 2) - TIẾNG ANH 8 GLOBAL SUCCESS (2 CỘT) N...
GIÁO ÁN DẠY THÊM (KẾ HOẠCH BÀI BUỔI 2) - TIẾNG ANH 8 GLOBAL SUCCESS (2 CỘT) N...
Nguyen Thanh Tu Collection
 
How to Split Bills in the Odoo 17 POS Module
How to Split Bills in the Odoo 17 POS ModuleHow to Split Bills in the Odoo 17 POS Module
How to Split Bills in the Odoo 17 POS Module
Celine George
 
Supporting (UKRI) OA monographs at Salford.pptx
Supporting (UKRI) OA monographs at Salford.pptxSupporting (UKRI) OA monographs at Salford.pptx
Supporting (UKRI) OA monographs at Salford.pptx
Jisc
 
Cambridge International AS A Level Biology Coursebook - EBook (MaryFosbery J...
Cambridge International AS  A Level Biology Coursebook - EBook (MaryFosbery J...Cambridge International AS  A Level Biology Coursebook - EBook (MaryFosbery J...
Cambridge International AS A Level Biology Coursebook - EBook (MaryFosbery J...
AzmatAli747758
 
Thesis Statement for students diagnonsed withADHD.ppt
Thesis Statement for students diagnonsed withADHD.pptThesis Statement for students diagnonsed withADHD.ppt
Thesis Statement for students diagnonsed withADHD.ppt
EverAndrsGuerraGuerr
 
Introduction to Quality Improvement Essentials
Introduction to Quality Improvement EssentialsIntroduction to Quality Improvement Essentials
Introduction to Quality Improvement Essentials
Excellence Foundation for South Sudan
 
CLASS 11 CBSE B.St Project AIDS TO TRADE - INSURANCE
CLASS 11 CBSE B.St Project AIDS TO TRADE - INSURANCECLASS 11 CBSE B.St Project AIDS TO TRADE - INSURANCE
CLASS 11 CBSE B.St Project AIDS TO TRADE - INSURANCE
BhavyaRajput3
 
Sectors of the Indian Economy - Class 10 Study Notes pdf
Sectors of the Indian Economy - Class 10 Study Notes pdfSectors of the Indian Economy - Class 10 Study Notes pdf
Sectors of the Indian Economy - Class 10 Study Notes pdf
Vivekanand Anglo Vedic Academy
 
PART A. Introduction to Costumer Service
PART A. Introduction to Costumer ServicePART A. Introduction to Costumer Service
PART A. Introduction to Costumer Service
PedroFerreira53928
 
The Challenger.pdf DNHS Official Publication
The Challenger.pdf DNHS Official PublicationThe Challenger.pdf DNHS Official Publication
The Challenger.pdf DNHS Official Publication
Delapenabediema
 
Synthetic Fiber Construction in lab .pptx
Synthetic Fiber Construction in lab .pptxSynthetic Fiber Construction in lab .pptx
Synthetic Fiber Construction in lab .pptx
Pavel ( NSTU)
 
Unit 8 - Information and Communication Technology (Paper I).pdf
Unit 8 - Information and Communication Technology (Paper I).pdfUnit 8 - Information and Communication Technology (Paper I).pdf
Unit 8 - Information and Communication Technology (Paper I).pdf
Thiyagu K
 

Recently uploaded (20)

Language Across the Curriculm LAC B.Ed.
Language Across the  Curriculm LAC B.Ed.Language Across the  Curriculm LAC B.Ed.
Language Across the Curriculm LAC B.Ed.
 
Welcome to TechSoup New Member Orientation and Q&A (May 2024).pdf
Welcome to TechSoup   New Member Orientation and Q&A (May 2024).pdfWelcome to TechSoup   New Member Orientation and Q&A (May 2024).pdf
Welcome to TechSoup New Member Orientation and Q&A (May 2024).pdf
 
How libraries can support authors with open access requirements for UKRI fund...
How libraries can support authors with open access requirements for UKRI fund...How libraries can support authors with open access requirements for UKRI fund...
How libraries can support authors with open access requirements for UKRI fund...
 
Phrasal Verbs.XXXXXXXXXXXXXXXXXXXXXXXXXX
Phrasal Verbs.XXXXXXXXXXXXXXXXXXXXXXXXXXPhrasal Verbs.XXXXXXXXXXXXXXXXXXXXXXXXXX
Phrasal Verbs.XXXXXXXXXXXXXXXXXXXXXXXXXX
 
ESC Beyond Borders _From EU to You_ InfoPack general.pdf
ESC Beyond Borders _From EU to You_ InfoPack general.pdfESC Beyond Borders _From EU to You_ InfoPack general.pdf
ESC Beyond Borders _From EU to You_ InfoPack general.pdf
 
Fish and Chips - have they had their chips
Fish and Chips - have they had their chipsFish and Chips - have they had their chips
Fish and Chips - have they had their chips
 
Chapter 3 - Islamic Banking Products and Services.pptx
Chapter 3 - Islamic Banking Products and Services.pptxChapter 3 - Islamic Banking Products and Services.pptx
Chapter 3 - Islamic Banking Products and Services.pptx
 
The approach at University of Liverpool.pptx
The approach at University of Liverpool.pptxThe approach at University of Liverpool.pptx
The approach at University of Liverpool.pptx
 
GIÁO ÁN DẠY THÊM (KẾ HOẠCH BÀI BUỔI 2) - TIẾNG ANH 8 GLOBAL SUCCESS (2 CỘT) N...
GIÁO ÁN DẠY THÊM (KẾ HOẠCH BÀI BUỔI 2) - TIẾNG ANH 8 GLOBAL SUCCESS (2 CỘT) N...GIÁO ÁN DẠY THÊM (KẾ HOẠCH BÀI BUỔI 2) - TIẾNG ANH 8 GLOBAL SUCCESS (2 CỘT) N...
GIÁO ÁN DẠY THÊM (KẾ HOẠCH BÀI BUỔI 2) - TIẾNG ANH 8 GLOBAL SUCCESS (2 CỘT) N...
 
How to Split Bills in the Odoo 17 POS Module
How to Split Bills in the Odoo 17 POS ModuleHow to Split Bills in the Odoo 17 POS Module
How to Split Bills in the Odoo 17 POS Module
 
Supporting (UKRI) OA monographs at Salford.pptx
Supporting (UKRI) OA monographs at Salford.pptxSupporting (UKRI) OA monographs at Salford.pptx
Supporting (UKRI) OA monographs at Salford.pptx
 
Cambridge International AS A Level Biology Coursebook - EBook (MaryFosbery J...
Cambridge International AS  A Level Biology Coursebook - EBook (MaryFosbery J...Cambridge International AS  A Level Biology Coursebook - EBook (MaryFosbery J...
Cambridge International AS A Level Biology Coursebook - EBook (MaryFosbery J...
 
Thesis Statement for students diagnonsed withADHD.ppt
Thesis Statement for students diagnonsed withADHD.pptThesis Statement for students diagnonsed withADHD.ppt
Thesis Statement for students diagnonsed withADHD.ppt
 
Introduction to Quality Improvement Essentials
Introduction to Quality Improvement EssentialsIntroduction to Quality Improvement Essentials
Introduction to Quality Improvement Essentials
 
CLASS 11 CBSE B.St Project AIDS TO TRADE - INSURANCE
CLASS 11 CBSE B.St Project AIDS TO TRADE - INSURANCECLASS 11 CBSE B.St Project AIDS TO TRADE - INSURANCE
CLASS 11 CBSE B.St Project AIDS TO TRADE - INSURANCE
 
Sectors of the Indian Economy - Class 10 Study Notes pdf
Sectors of the Indian Economy - Class 10 Study Notes pdfSectors of the Indian Economy - Class 10 Study Notes pdf
Sectors of the Indian Economy - Class 10 Study Notes pdf
 
PART A. Introduction to Costumer Service
PART A. Introduction to Costumer ServicePART A. Introduction to Costumer Service
PART A. Introduction to Costumer Service
 
The Challenger.pdf DNHS Official Publication
The Challenger.pdf DNHS Official PublicationThe Challenger.pdf DNHS Official Publication
The Challenger.pdf DNHS Official Publication
 
Synthetic Fiber Construction in lab .pptx
Synthetic Fiber Construction in lab .pptxSynthetic Fiber Construction in lab .pptx
Synthetic Fiber Construction in lab .pptx
 
Unit 8 - Information and Communication Technology (Paper I).pdf
Unit 8 - Information and Communication Technology (Paper I).pdfUnit 8 - Information and Communication Technology (Paper I).pdf
Unit 8 - Information and Communication Technology (Paper I).pdf
 

Recordingandrunningmacrosintheofficeapplication3

  • 1. Astrid Yolanda Program Studi S1 Sistem Informasi Fakultas Sains dan Teknologi Universitas Islam Negeri Sultan Syarif Kasim Riau http://sif.uin-suska.ac.id/ http://fst.uin-suska.ac.id/ http://www.uin-suska.ac.id/
  • 2. What Is VBA and What Can You Do With It? Visual Basic for Applications is a programming language created by Microsoft that is built into applications. You use VBA to automate operations in all the main Offi ce applications—Word, Excel, Outlook, Access, and PowerPoint.
  • 3. CONTINUE ... You can record a macro that automatically carries out a series of actions that you frequently perform. Don’t worry! You do not even need to know the programming terms ActiveWindow or View.Zoom. Just turn on the Macro Recorder, manually click View, then click Zoom, and then set to 150 percent. The recorder will watch the steps you take and then write the neces You can write code that performs actions a certain number of times and makes decisions depending on the situation in which it is running. You can use VBA to modify the look or behavior of the user interface. You can take actions via VBA that you can’t do easily, or at all, when directly manipulating the user interface by hand. You can make one application control another application
  • 4. THE DIffERENCE BETWEEN VISUAL BASIC AND VISUAL BASIC FOR APPLICATIONS Visual Basic Visual Basic is visual in that it offers effi cient shortcuts such as drag-and-drop programming techniques and many graphical elements Visual Basic for Applications Visual Basic for Applications is a version of Visual Basic tailored to manage the Microsoft Office applications. The set of objects (features and behaviors) available in each application differs Somewhat Because no two Applications share the exact same set of features and commands.
  • 5. Understanding Macro Basics A macro is a sequence of commands you or a user can repeat at will. That’s also exactly the definition of a computer program. Macros, however, are generally short programs—dedicated to a single task.
  • 6. Displaying the Developer Tab on the Ribbon1 • To add the Developer tab to your Ribbon, click the File tab and then click Options. Click Customize Ribbon. In the list box on the right, click Developer to select it. Click the OK button to close the Options dialog box. You’ll now see a new Developer tab tothe right of the default tabs. Planning the Macro2 • Before you even start the Macro Recorder, it’s sometimes a good idea to do a little planning. Think about what you will do in the macro Starting the Macro Recorder3 • Start the Macro Recorder by clicking the Developer tab on the Ribbon and then clicking the Record Macro button. You can also click the Macro Record button on the left side of the status bar at the bottom of the application RECORDING A MACRO
  • 7. Run Macro button It displays a Run Macro dialog box, in which you can choose the macro to execute (run) Record Macro button Displays the Record Macro dialog box in Word or Excel. Macro Security button Displays the Trust Center Macro Settings dialog Visual Basic button Switches to the Visual Basic Editor. Macros button Opens the classic Macros dialog from which you can run Add-Ins This is where you can access templates, styles, and specialized code libraries. Controls A set of control buttons that, when clicked, insert user-interface components—such as a drop-down list box—into an open document Design Mode button Toggles between Design mode and Regular mode. Properties button This button is enabled only if you’re in Design mode XML button This section of the Developer tab is explored in Chapters 21 through 24. Restrict Editing button Allows you to specify what formatting or editing others are allowed to perform. Document Template button Here you can see or modify the current template, or manage add- ins or the global template.
  • 8. 4 NAMING THE MACRO • The name must comply with the following conventions: ◆ It must start with a letter; after that, it can contain both letters and numbers. ◆ It can be up to 80 characters long. ◆ It can contain underscores, which are useful for separating words, such as File_Save ◆ It cannot contain spaces, punctuation, or special characters, such as ! or *. 5 Invalid Macro Names • Word and Excel raise objections to invalid macro names. If you enter a prohibited macro name in the Record Macro dialog box, these applications let you know—in their own way—as soon as you click the OK button. Word displays a brief, rather cursory message, while Excel gives more helpful info. 6 Describing Your Macros • Type a description for the macro in the Description text box. Recall that this description is to help you (and anyone you share the macro with) identify the macro and understand when to use it. If the macro runs successfully only under particular conditions, you can note them briefl y in the Description text box.
  • 9. 7 STORING YOUR MACROS Word • Word stores each recorded macro in a module named NewMacros in the selected template or document, so you’ll always know where to fi nd a macro after you’ve recorded it. Excel • Excel stores each recorded macro for any given session in a new module named Module n, where n is the lowest unused number in ascending sequence (Module1, Module2, and so on). Any macros you create in the next session go into a new module with the next available number. If you record macros frequently with Excel, you’ll most likely need to consolidate (copy and paste) the macros you want to keep so that they’re not scattered across many modules.
  • 10. RUNNING A MACRO FROM THE RIBBON 8 1. Right-click anywhere on the Ribbon. 2. Click Customize The Ribbon on the menu. The Word Options dialog box appears. 3. In the Choose Commands From drop-down list, select Macros. 4. Click a macro’s name to select it in the list. 5. Click an existing tab in the list of tabs in the right dialog box where you want to locate your macro. 6. Then click the New Group button and specify the name of your custom group. 7. Click the Rename button to give your new group a name. 8. Click OK to close the Rename dialog box. 9. Click the Add button to add your macro. 10. Click the Rename button to give your macro an easily understood name and optionally an icon. 11. Click OK to close the Rename dialog box. 12. Click OK to close the Word Options dialog box.
  • 11. RUNNING A MACRO9 ◆ If you assigned a Quick Access Toolbar button, use that. ◆ If you added your macro to the Ribbon, you can use that. ◆ If you specifi ed a shortcut-key-combination macro, use it. ◆ A less convenient approach is to press Alt+F8 to display the Macros dialog box, select the macro, and then click the Run button. (Alternatively, you could double click the macro name in the list box.)
  • 12. Recording a Sample Word Macro10 Follow these steps to record the macro: 1.Create a new document by pressing Ctrl+N. 2.Start the Macro Recorder by clicking the Developer tab on the Ribbon, and then clicking the Record Macro button. 3.In the Macro Name text box, enter Transpose_Word_Right. 4. In the Store Macro In drop-down list, make sure All Documents (Normal.dotm) is selected, unless you want to assign the macro to a different template. 5. In the Description box, enter a description for the macro. 6. Assign a method of running the macro, as described in the previous section, if you like. 7. Click the OK button to dismiss the Word Options dialog box or the Customize Keyboard dialog box. 8.As a quick demonstration of how you can pause recording, click the Pause Recording button on the Ribbon.
  • 13. 9. Record the actions for the macro as follows: a.Use Word’s extend selection feature to select the word quick by pressing the F8 key twice. b. Press the Esc key to cancel Extend mode. c. Press Shift+Delete to cut the selected word to the Clipboard. d.The insertion point is now at the beginning of the word brown. Press Ctrl+right arrow to move the insertion point right by one word so that it’s at the beginning of the word dog. e. Press Shift+Insert or Ctrl+V to paste in the cut word from the Clipboard. f. Press Ctrl+left arrow to move the insertion point one word to the left. This restores the cursor to its original position. 10. Click the Stop Recording button on the Ribbon or status bar. Your sentence now reads, “The brown quick fox jumped over the lazy dog.”
  • 14. RECORDING A SAMPLE EXCEL MACRO 11 Creating a Personal Macro Workbook •Click the Developer tab in the Ribbon, and then click the Record Macro button on the Ribbon (or just click the Record Macro button on the status bar) to display the Record Macro dialog box. •Accept the default name for the macro because you’ll be deleting it momentarily. •In the Store Macro In drop-down list, choose Personal Macro Workbook. •Click the OK button to close the Record Macro dialog box and start recording the macro. •Type a single character in whichever cell is active, and press the Enter key. •Click the Stop Recording button on the Ribbon or status bar to stop recording the macro. •Click the Unhide button on the View tab to display the Unhide dialog box. Select PERSONAL.XLSB and click the OK button. •Click the Developer tab in the Ribbon, and then click the Macros button on the Ribbon to display the Macros dialog box. •Select the macro you recorded and click the Delete button to delete it. Click the Yes button in the confirmation message box. Recording the Macro •Create a new workbook by choosing File ➢ New ➢ Blank Workbook. •Click the Developer tab in the Ribbon, and then click the Record Macro button on the Ribbon (or just click the Record Macro button on the status bar). •Enter the name for the macro in the Macro Name text box: Add_Months. •In the Shortcut Key text box, enter a shortcut key if you like. (Remember that you can always change the shortcut key later, so you’re not forced to enter one at this point.) •In the Store Macro In drop-down list, choose whether to store the macro in your Personal Macro Workbook, in a new workbook, or in this active workbook. •Click the OK button to dismiss the Record Macro dialog box and start recording the macro. •Click cell A1 to select it. (It may already be selected; click it anyway because you need to record this click instruction.) •Enter January 2016 and press the right-arrow key to select cell B1. Excel automatically changes the date to your default date format. That’s fi ne. •Enter February 2016 and press the left-arrow key to select cell A1 again. • Drag from cell A1 to cell B1 so that the two cells are selected. •Drag the fi ll handle from cell B1 to cell L1 so that Excel’s AutoFill feature enters the months March 2016 through December 2016 in the cells. (The fi ll handle is the small black dot in the lower-right corner of the selection frame. You’ll know you’re on it when the cursor changes from a white to a black cross.) •Click the Stop Recording button on the Ribbon or status bar to stop recording the macro.
  • 15. “ • Thank you •” Source : Mastering VBA for Microsoft Office 2016 by Richard Mansfi eld’s (2016)