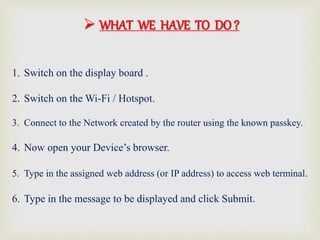
Downloaded 136 times


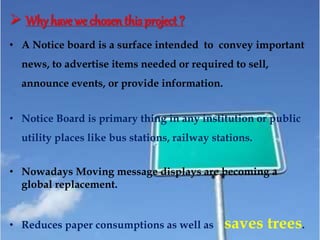
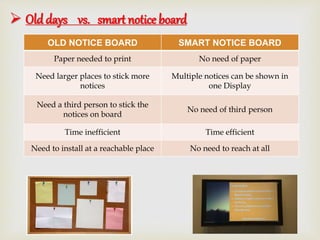
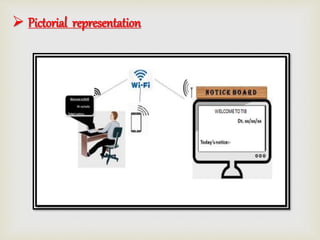
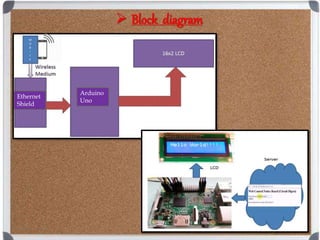
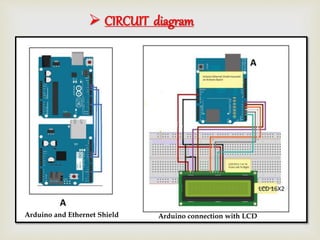
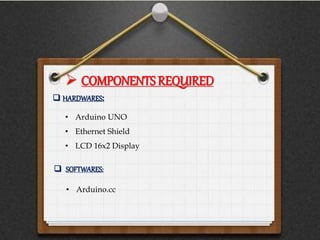
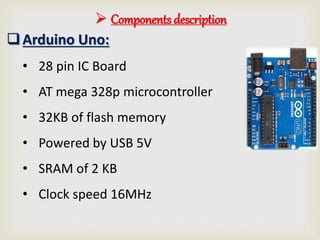
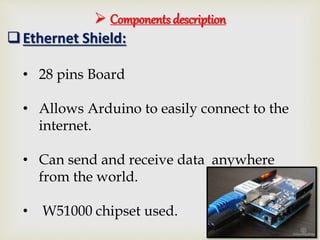
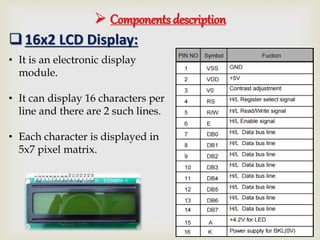

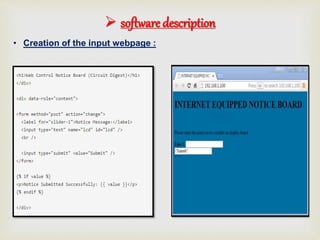
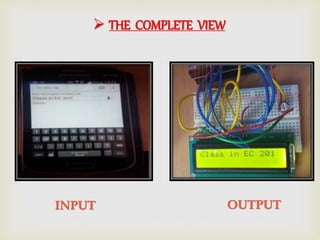
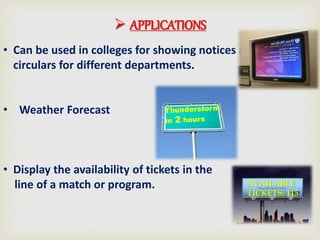
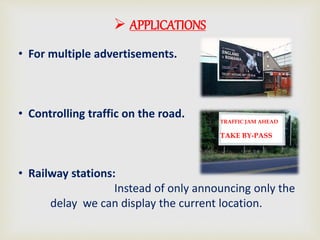


The document discusses the development of an internet-based smart notice board that allows for easy access to important information without the need for paper. It compares traditional notice boards with the proposed smart version, highlighting benefits such as efficiency, reduced paper use, and the ability to display multiple messages simultaneously. Key components include an Arduino Uno, an Ethernet shield, and a 16x2 LCD display, with potential applications in various institutions and future modifications like voice command integration.