Download to read offline


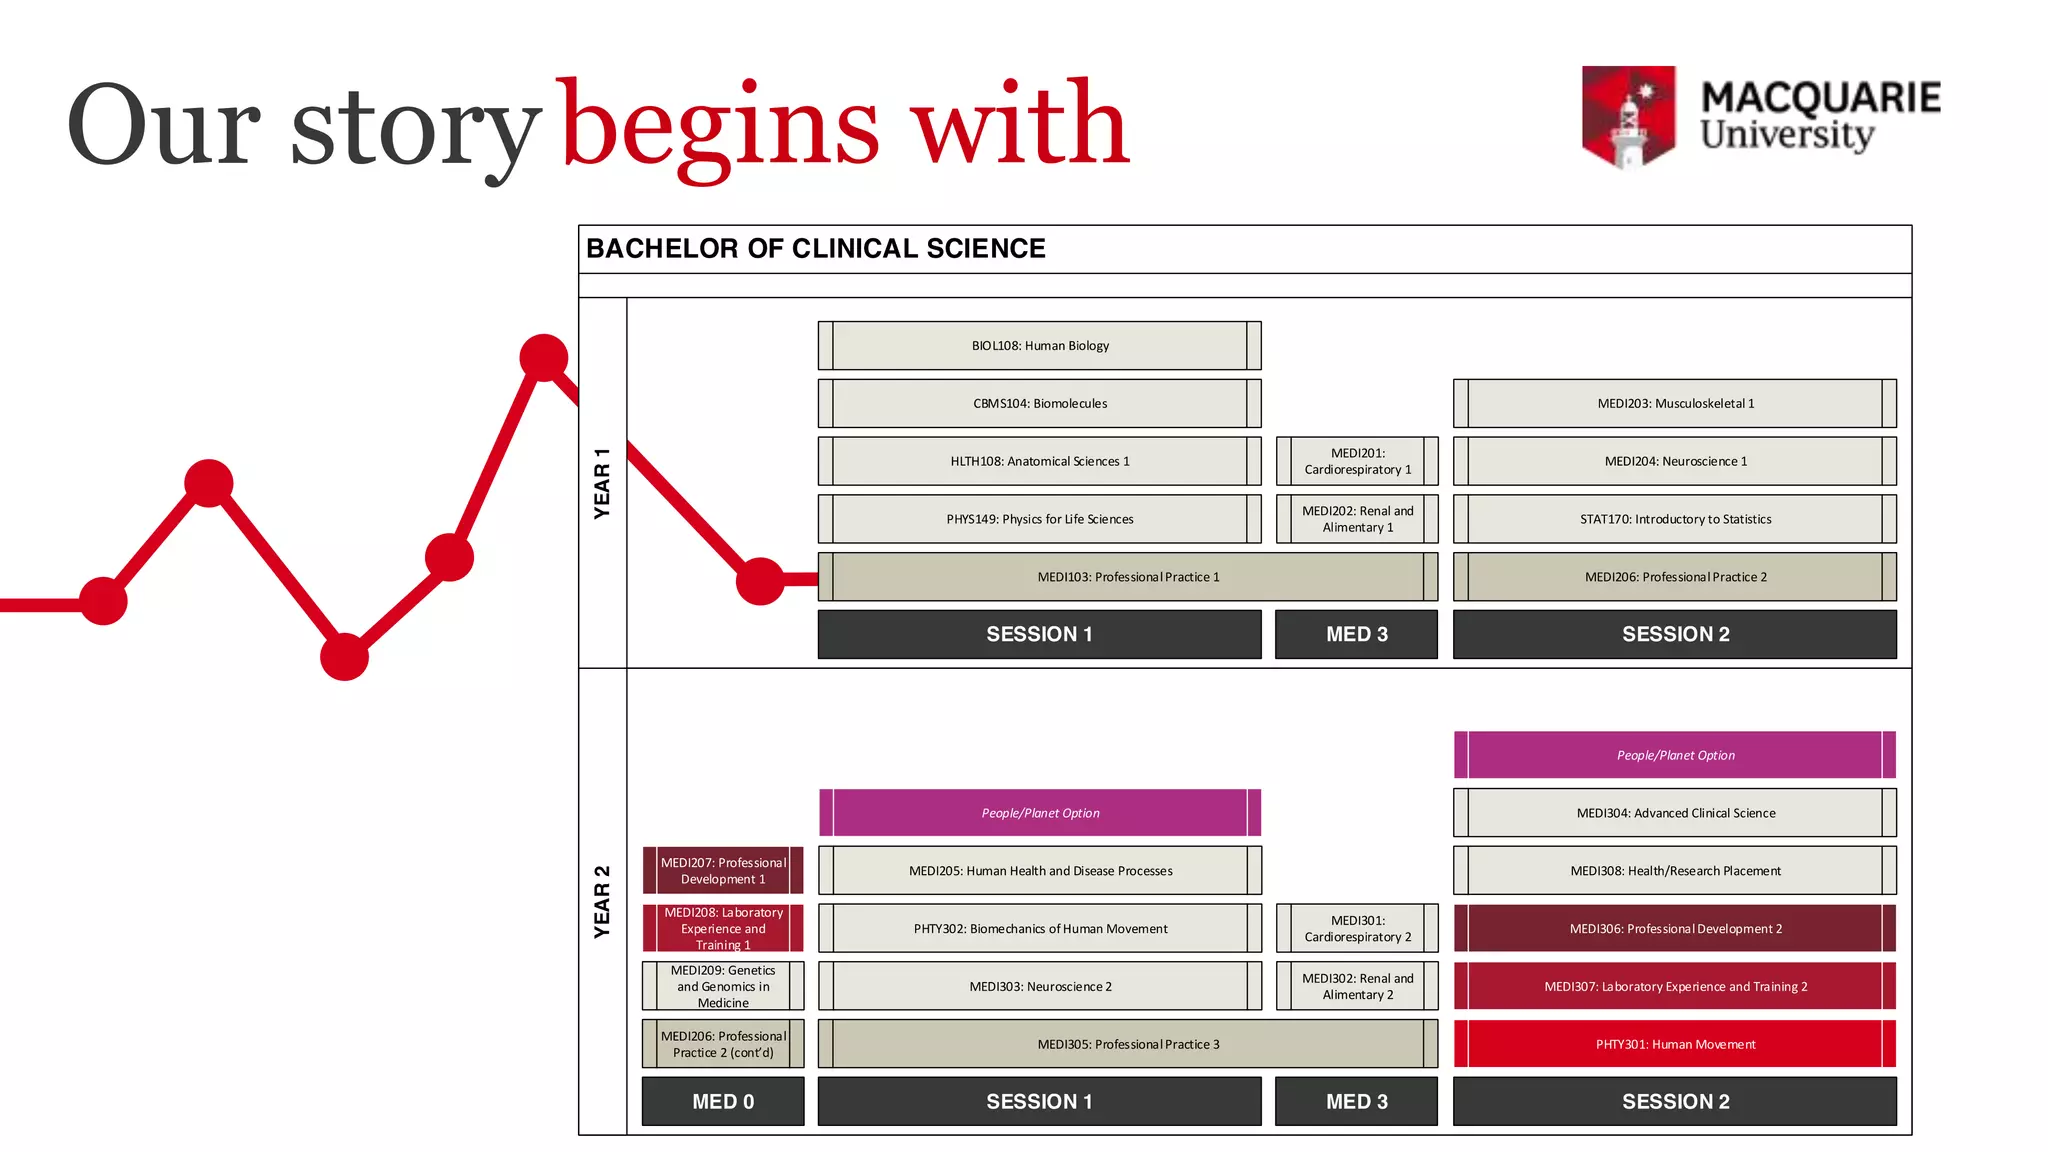
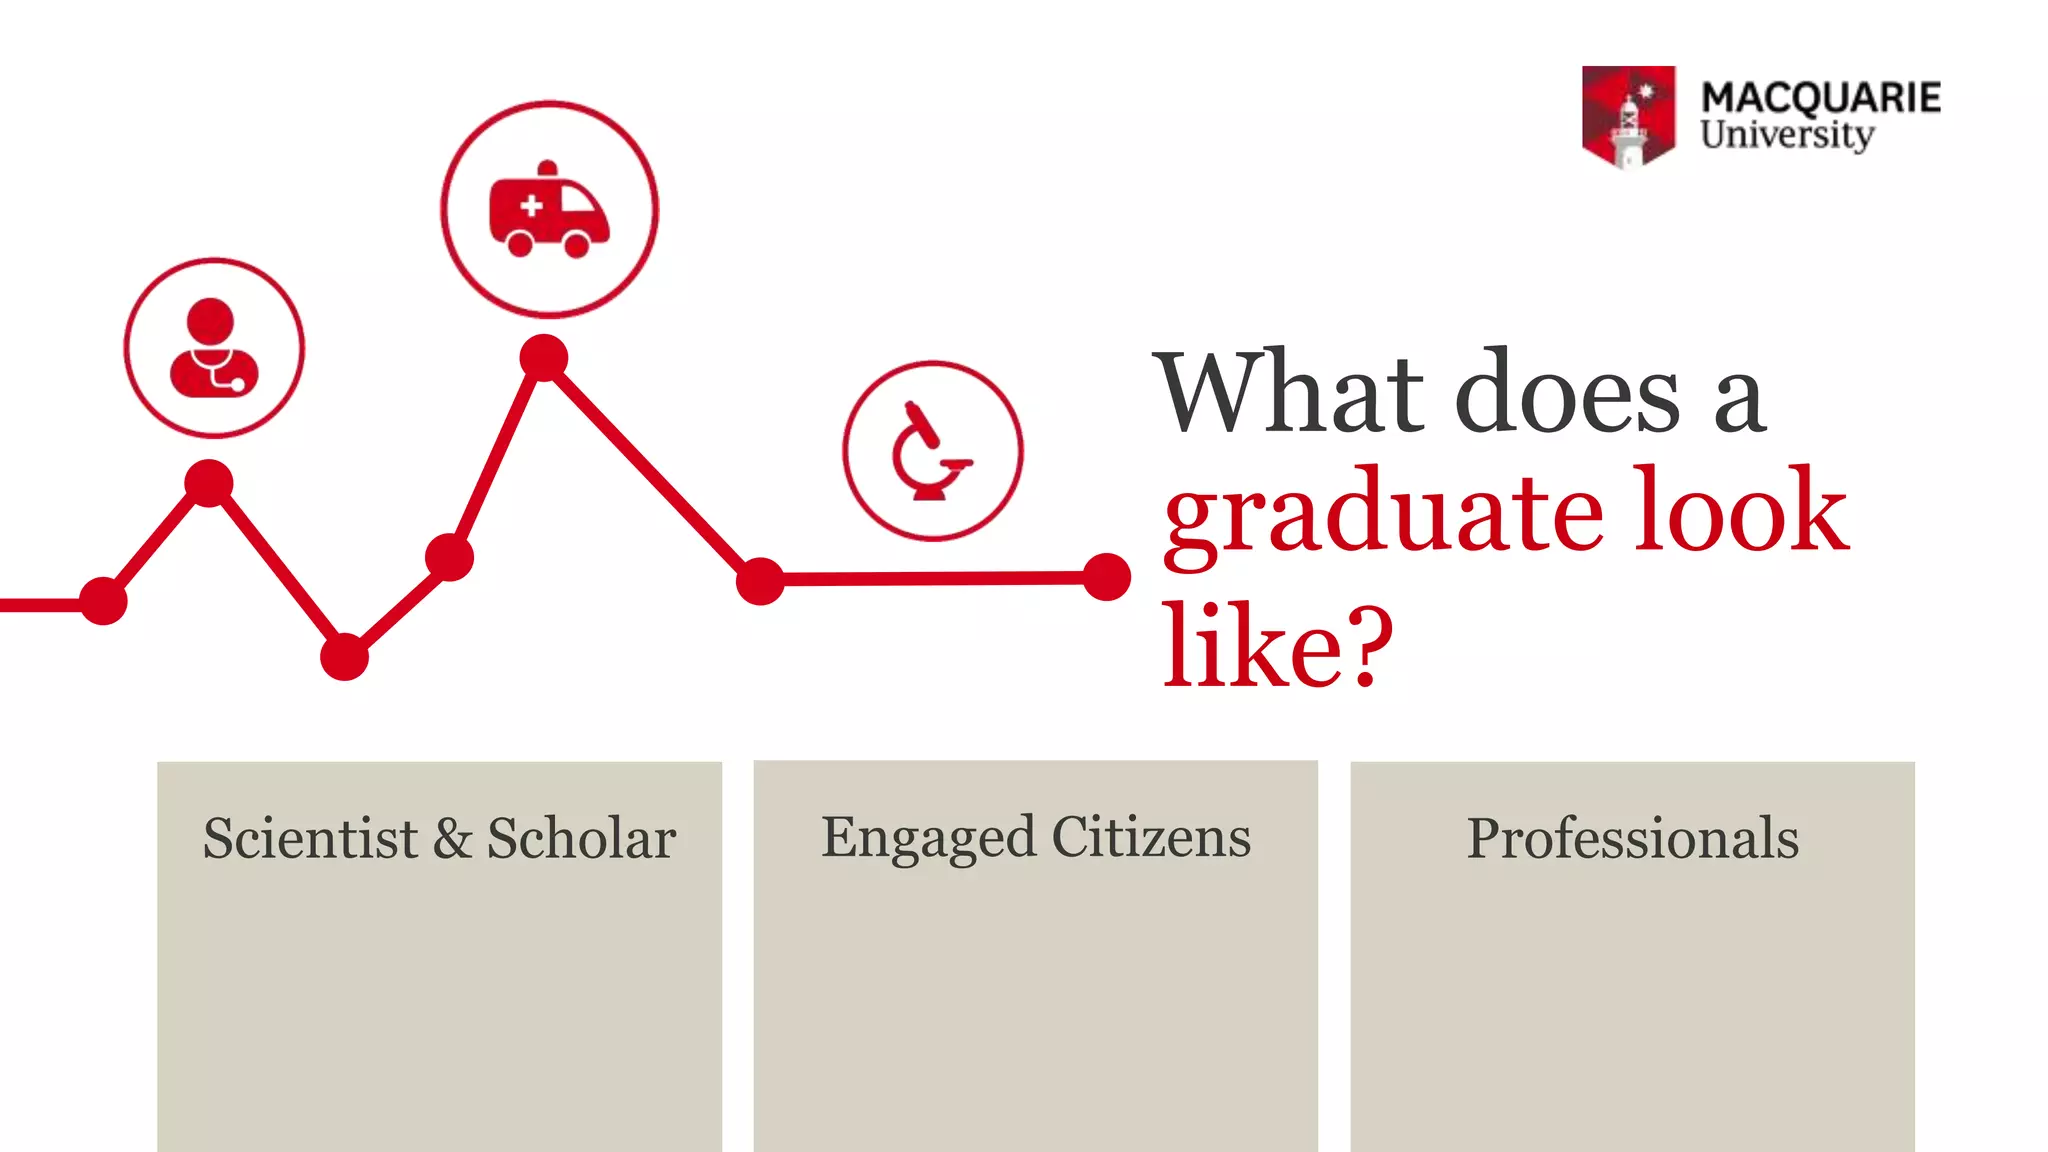

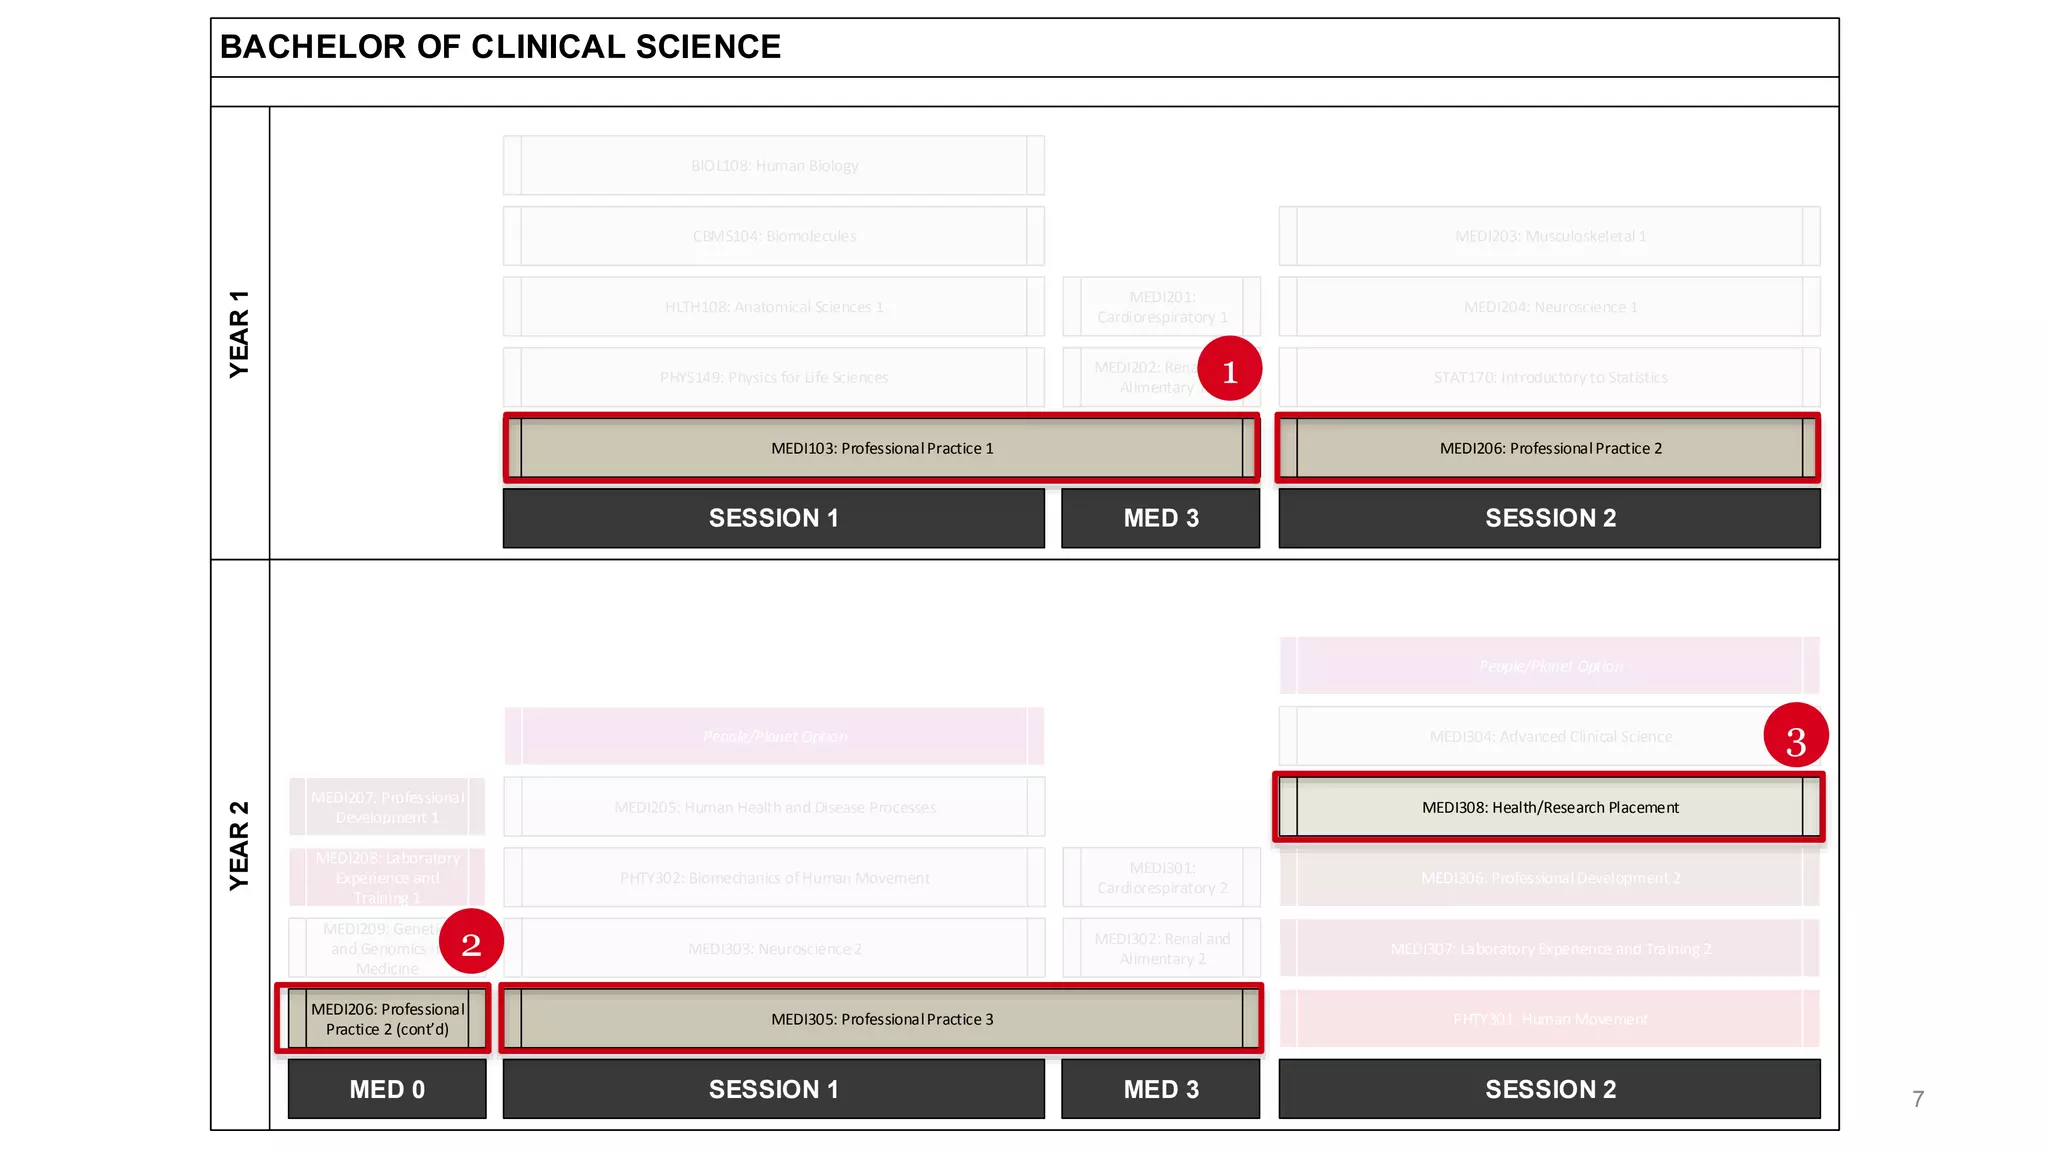
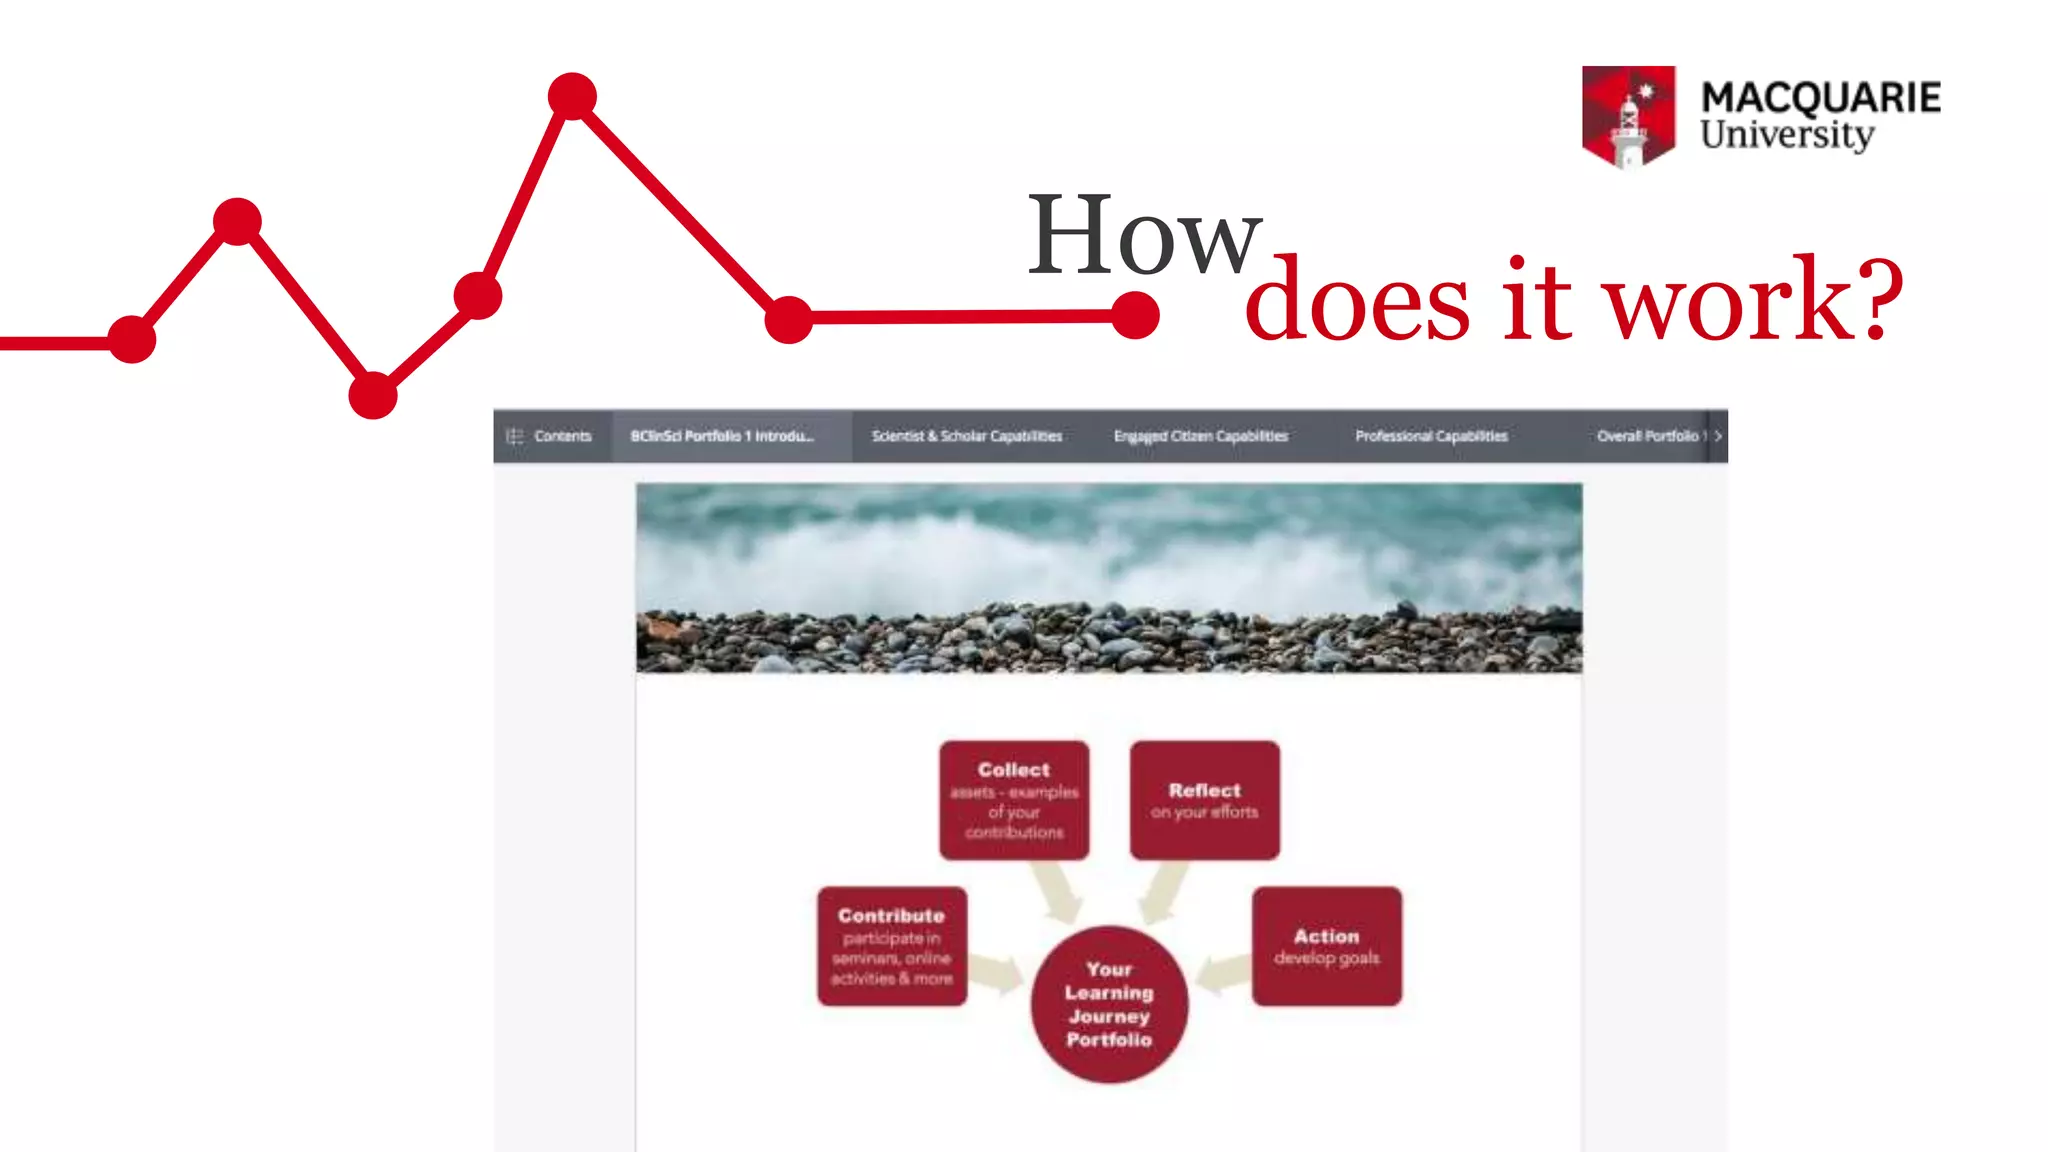
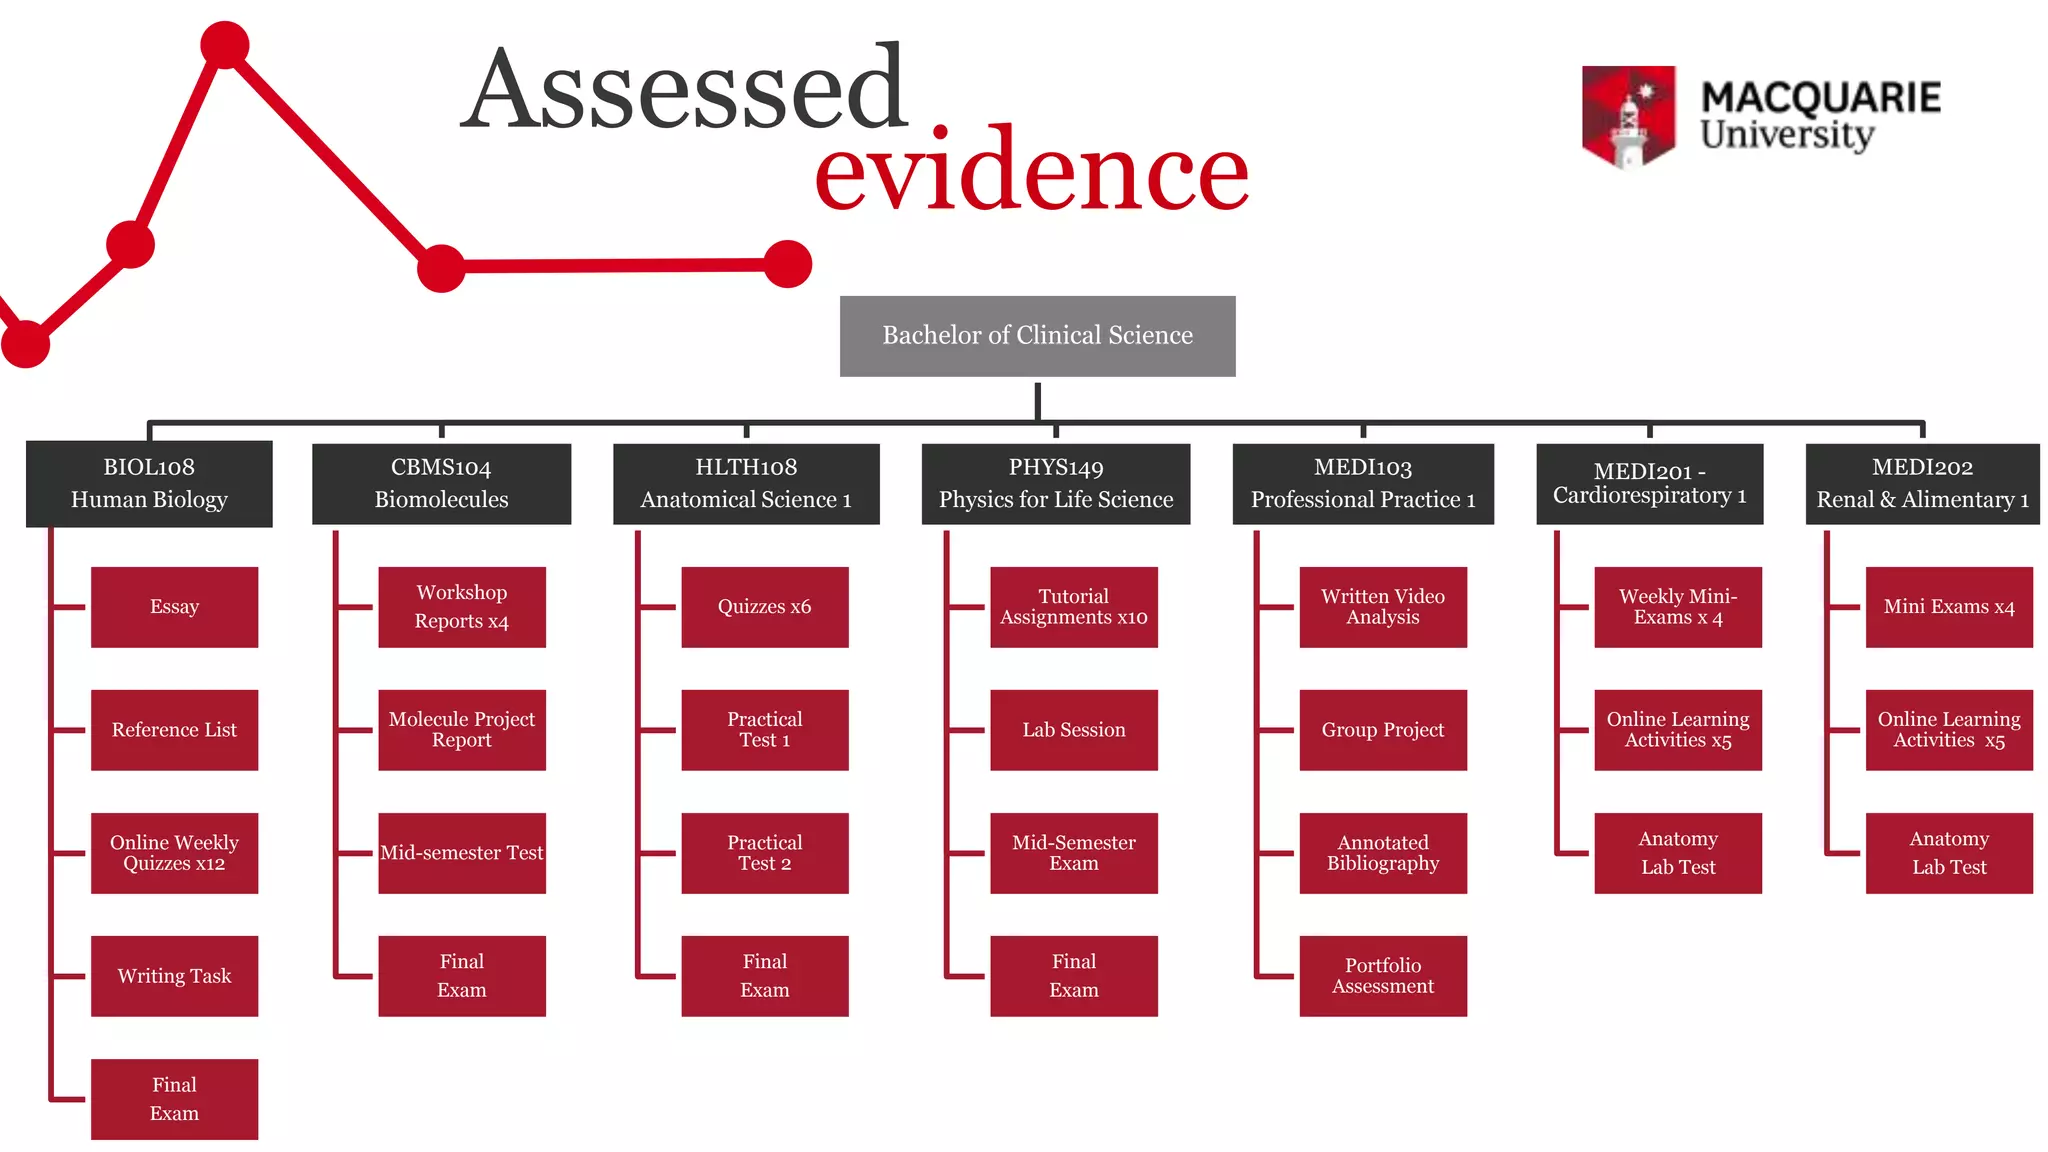

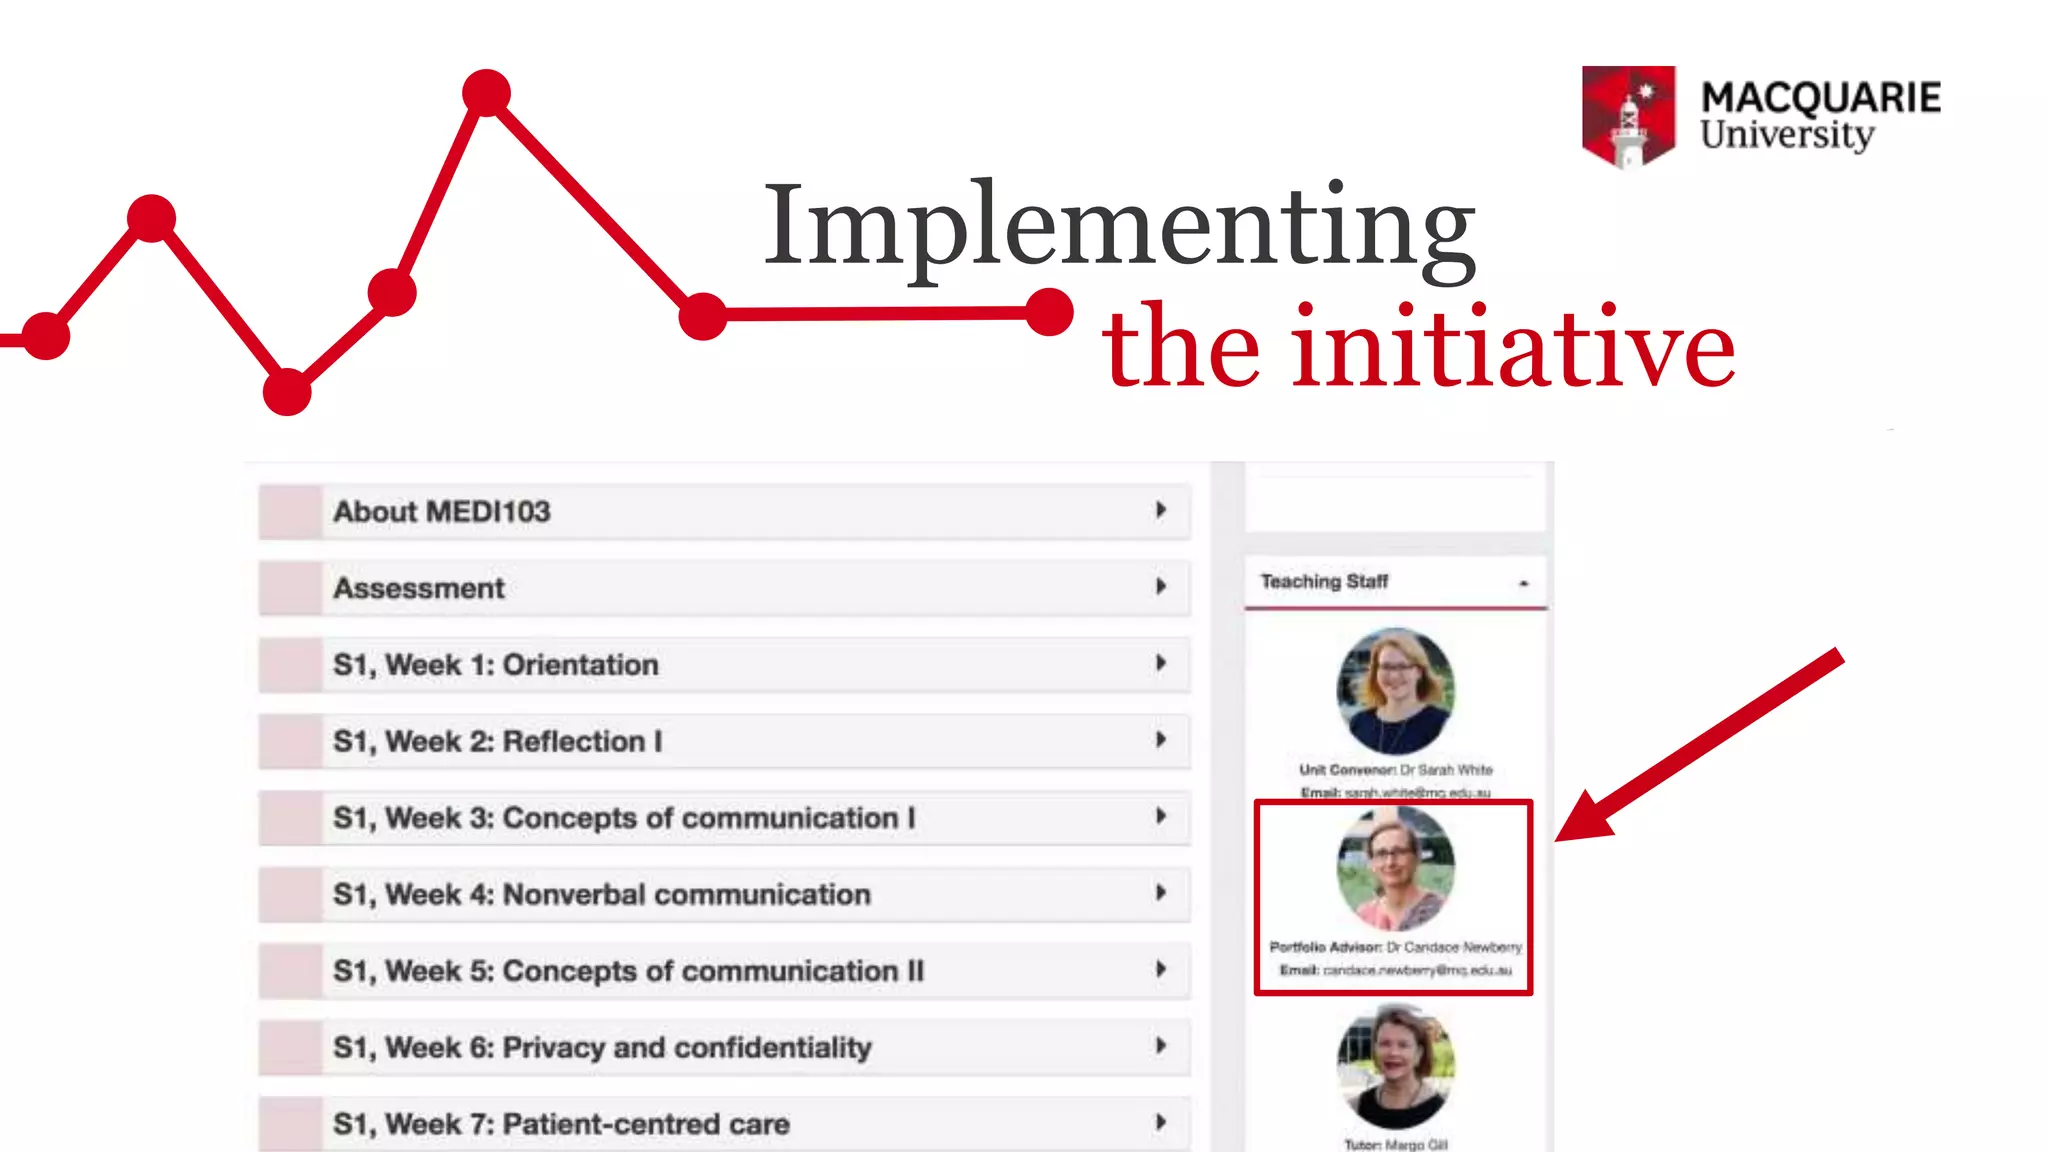


The document discusses the design and implementation of program-level assessments using e-portfolios in the Bachelor of Clinical Science program. It outlines the process of using PebblePad for assessment, reflection, and showcasing student achievements, while also addressing feedback mechanisms and the program's evaluation process. The authors emphasize the importance of integrating e-portfolios into the curriculum for enhancing student learning experiences and professional development.